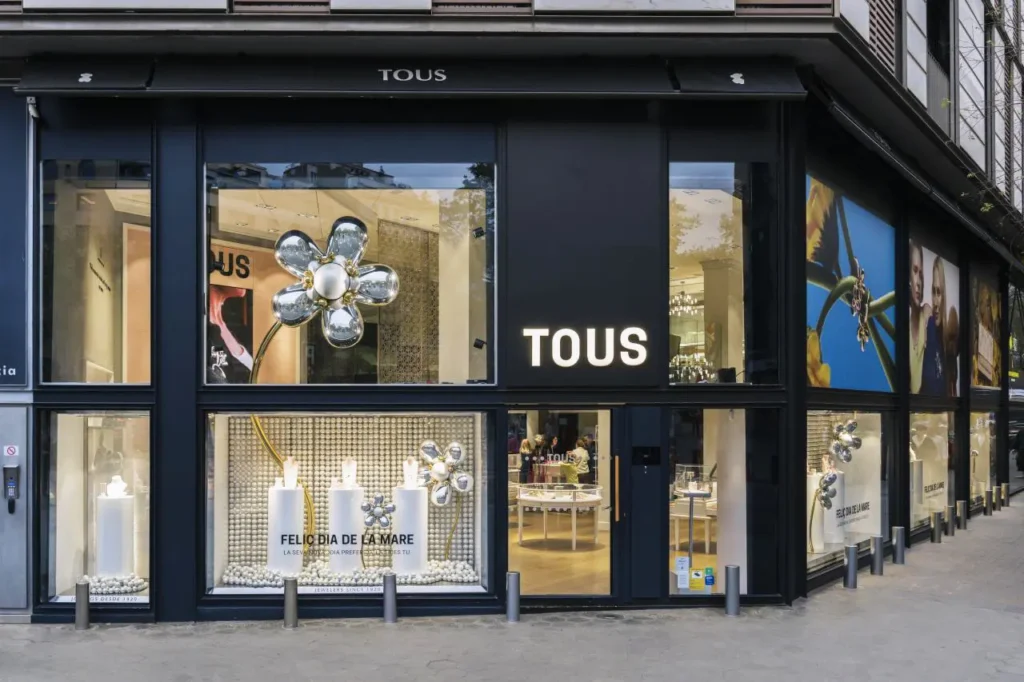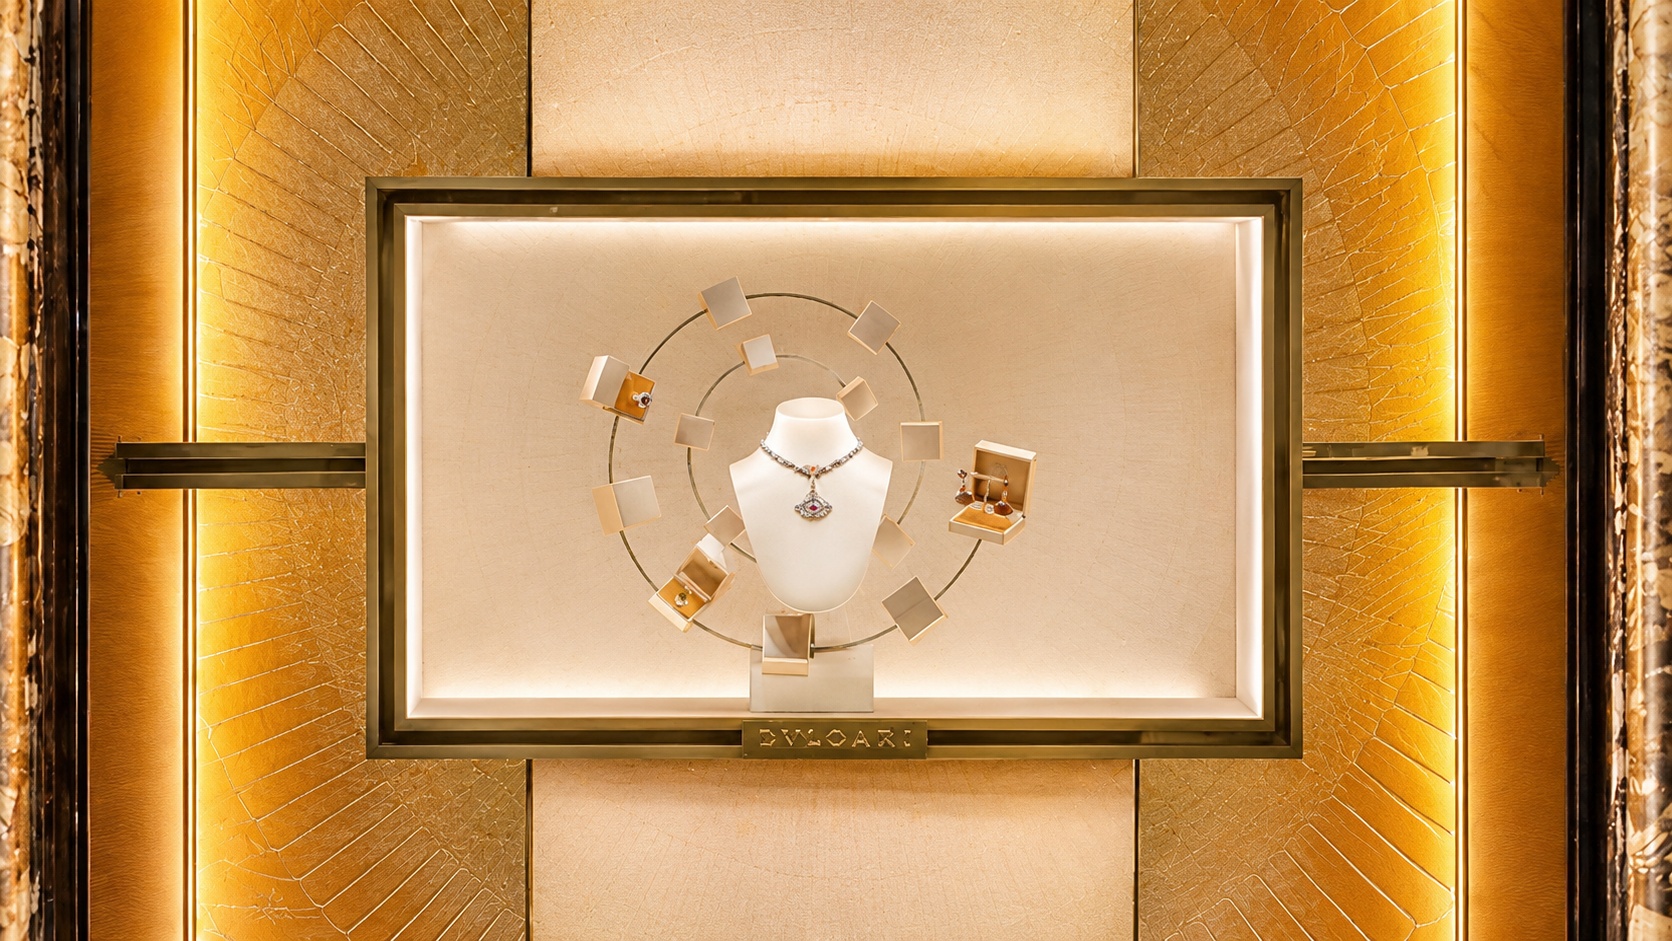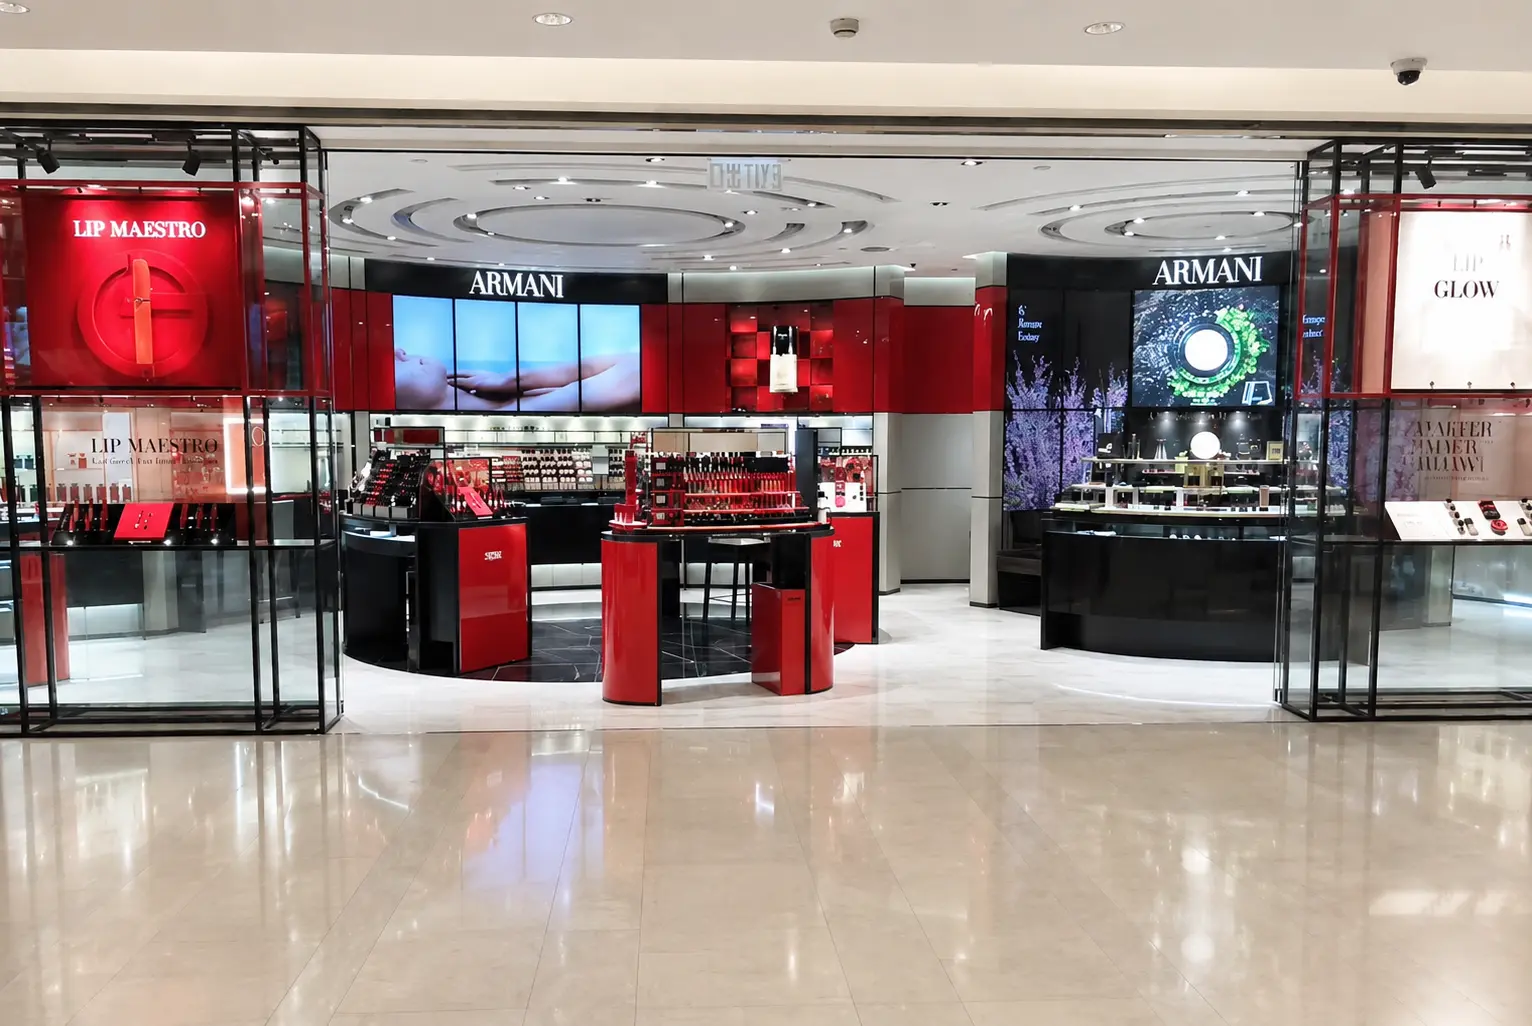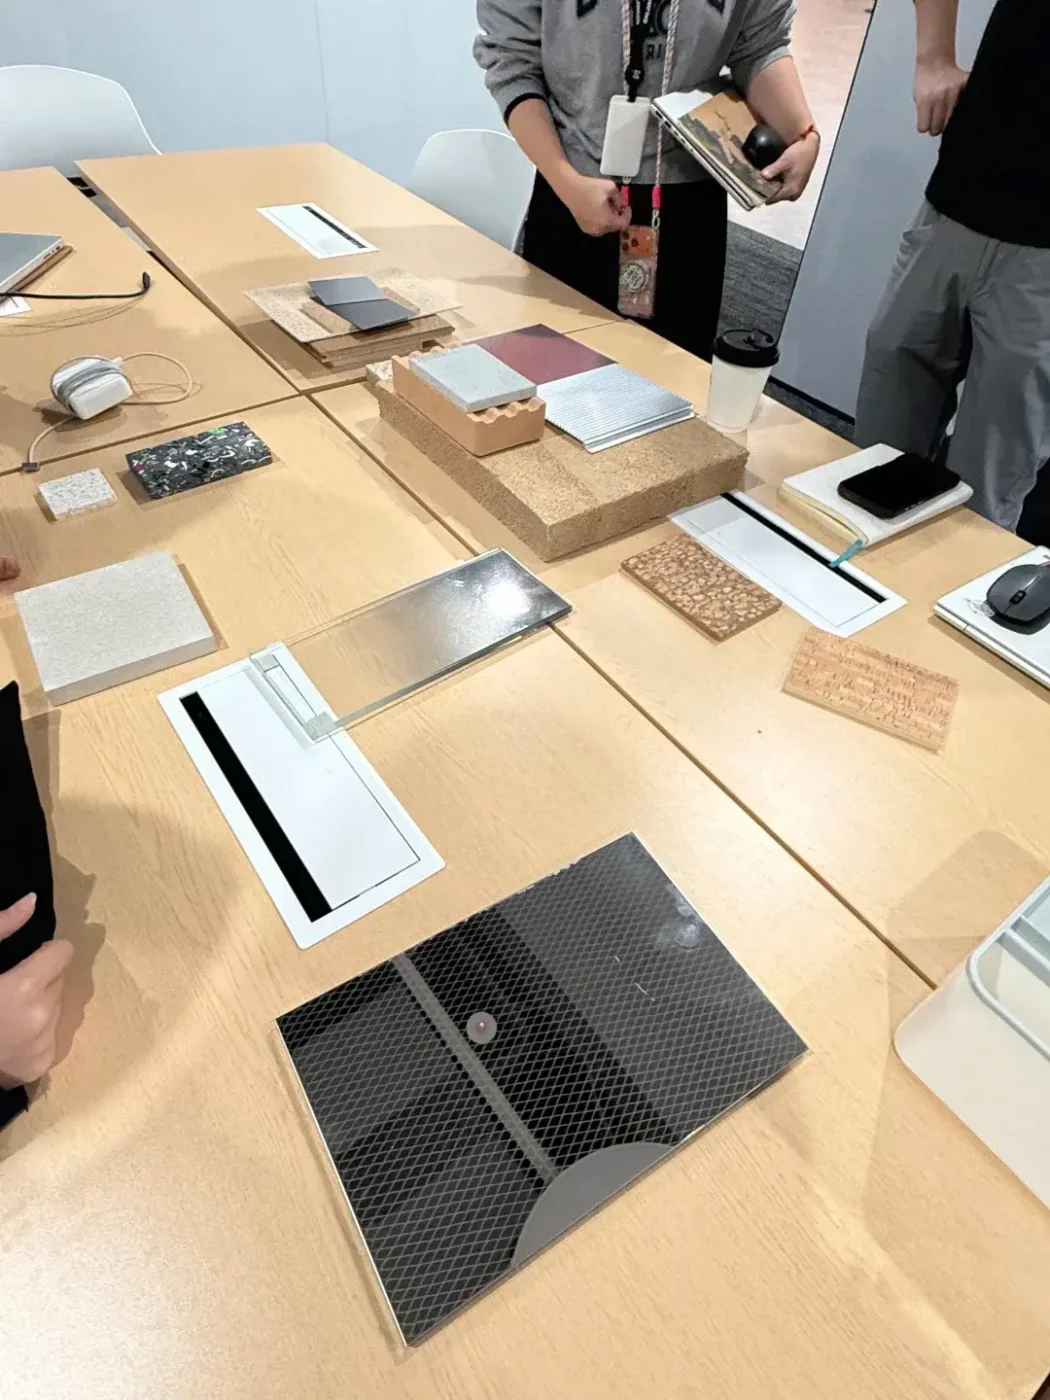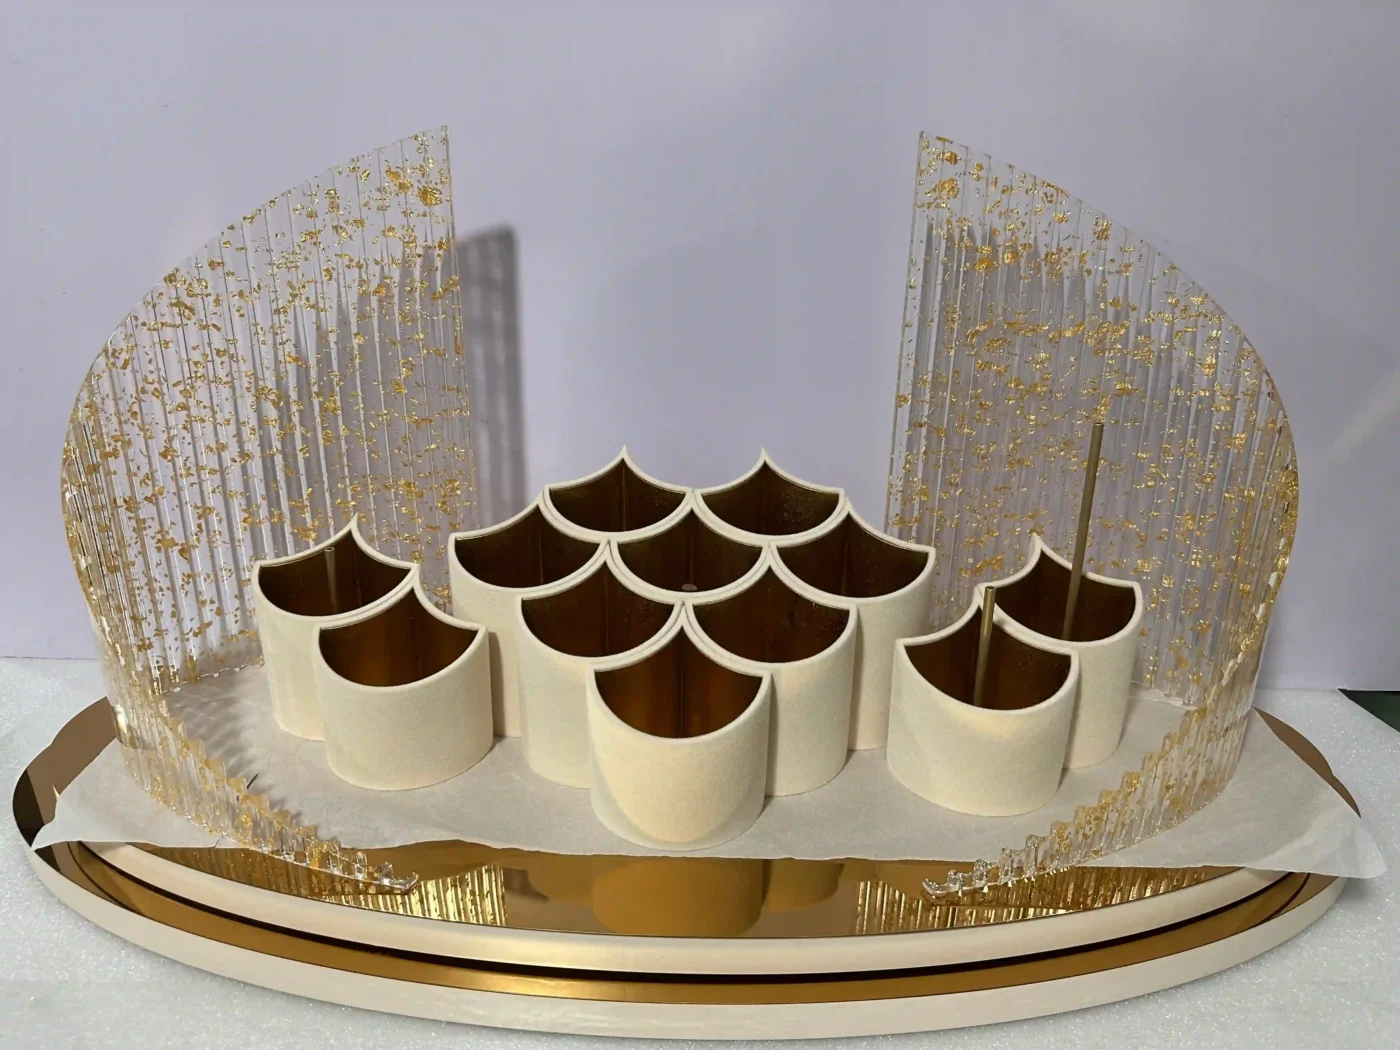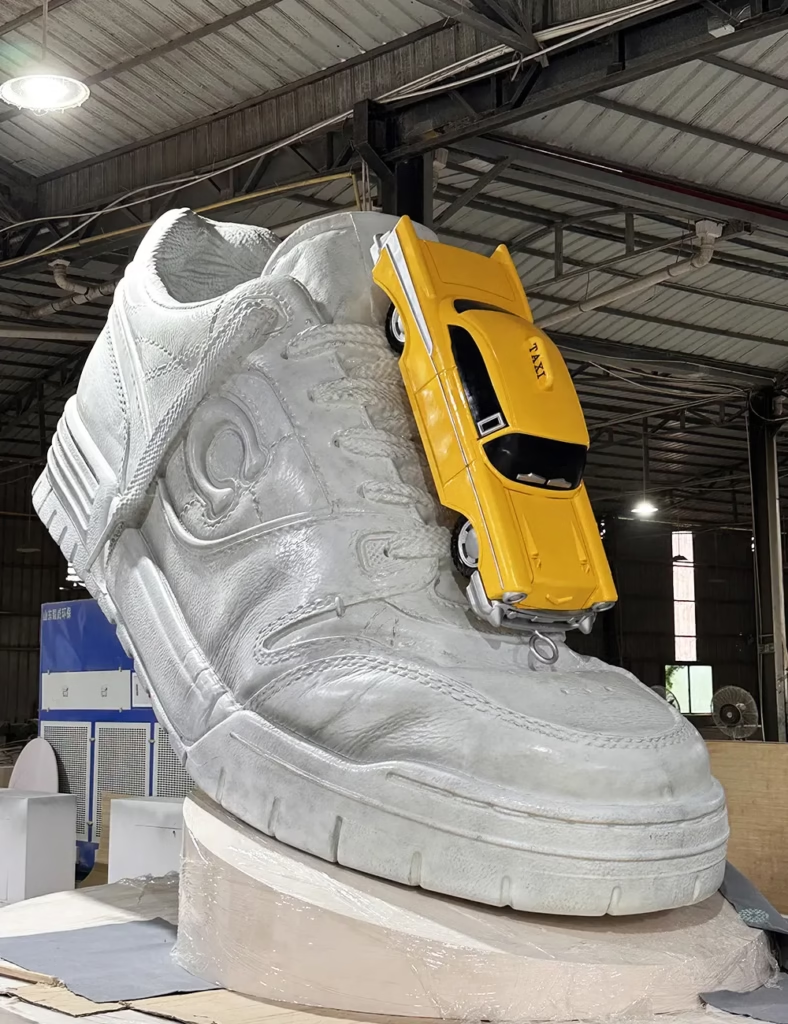

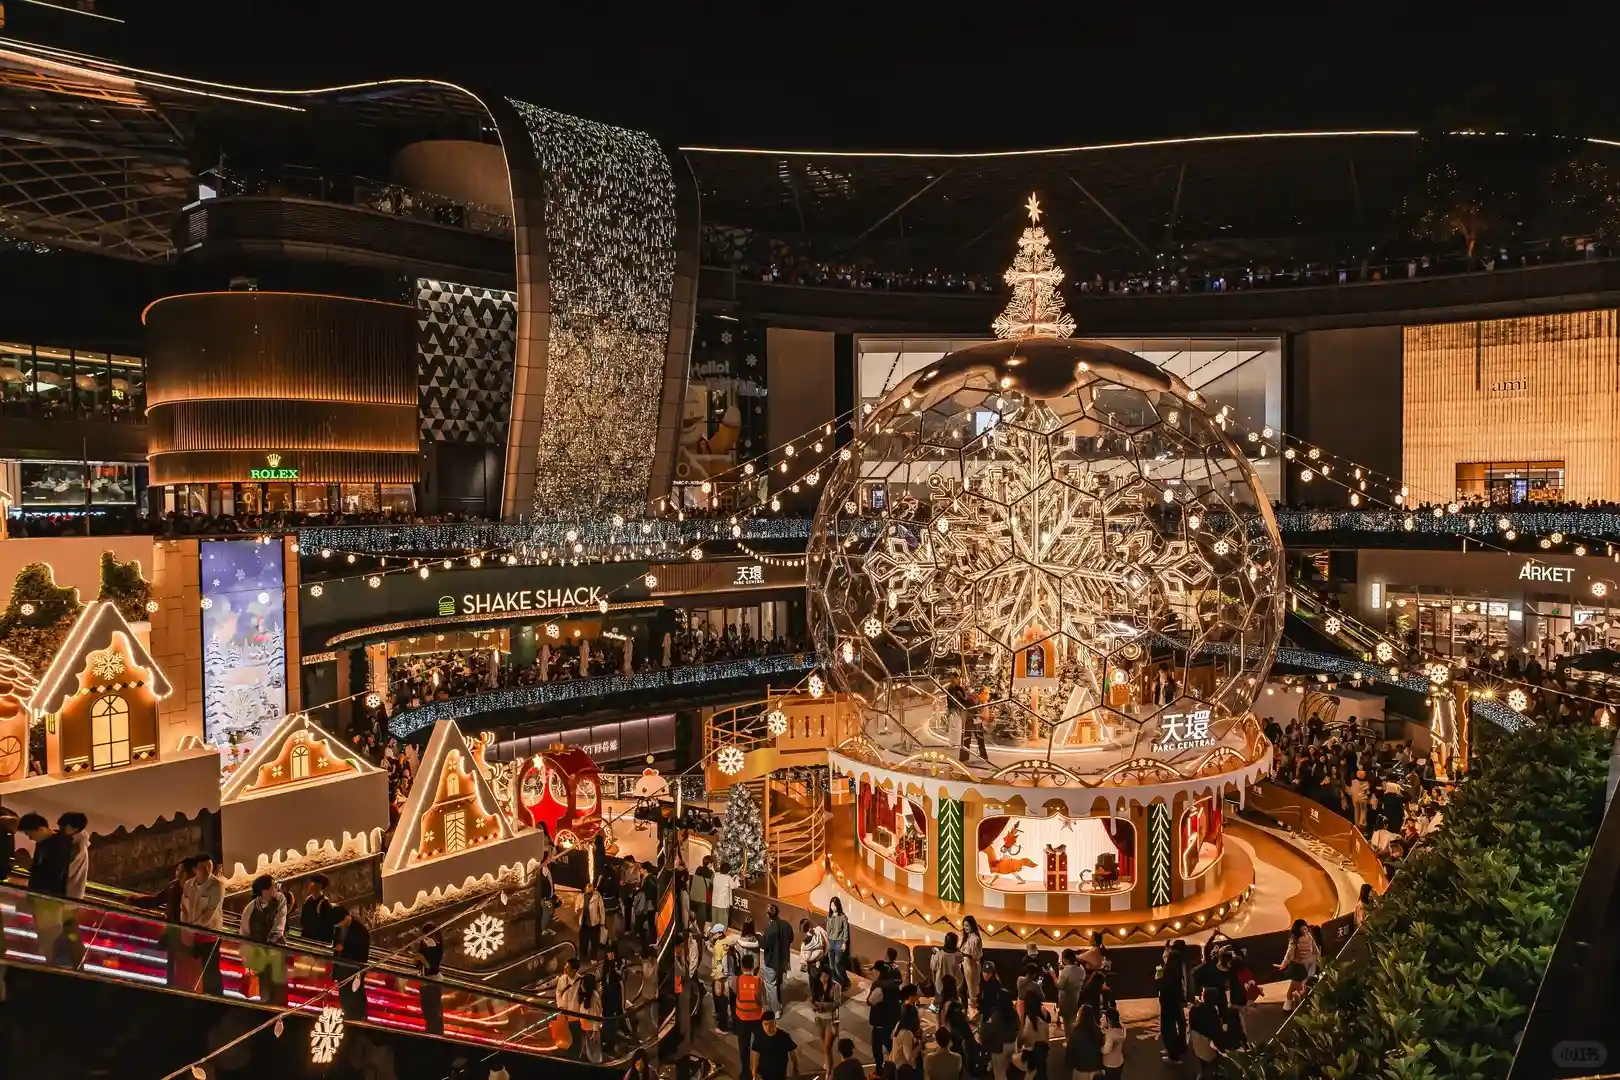
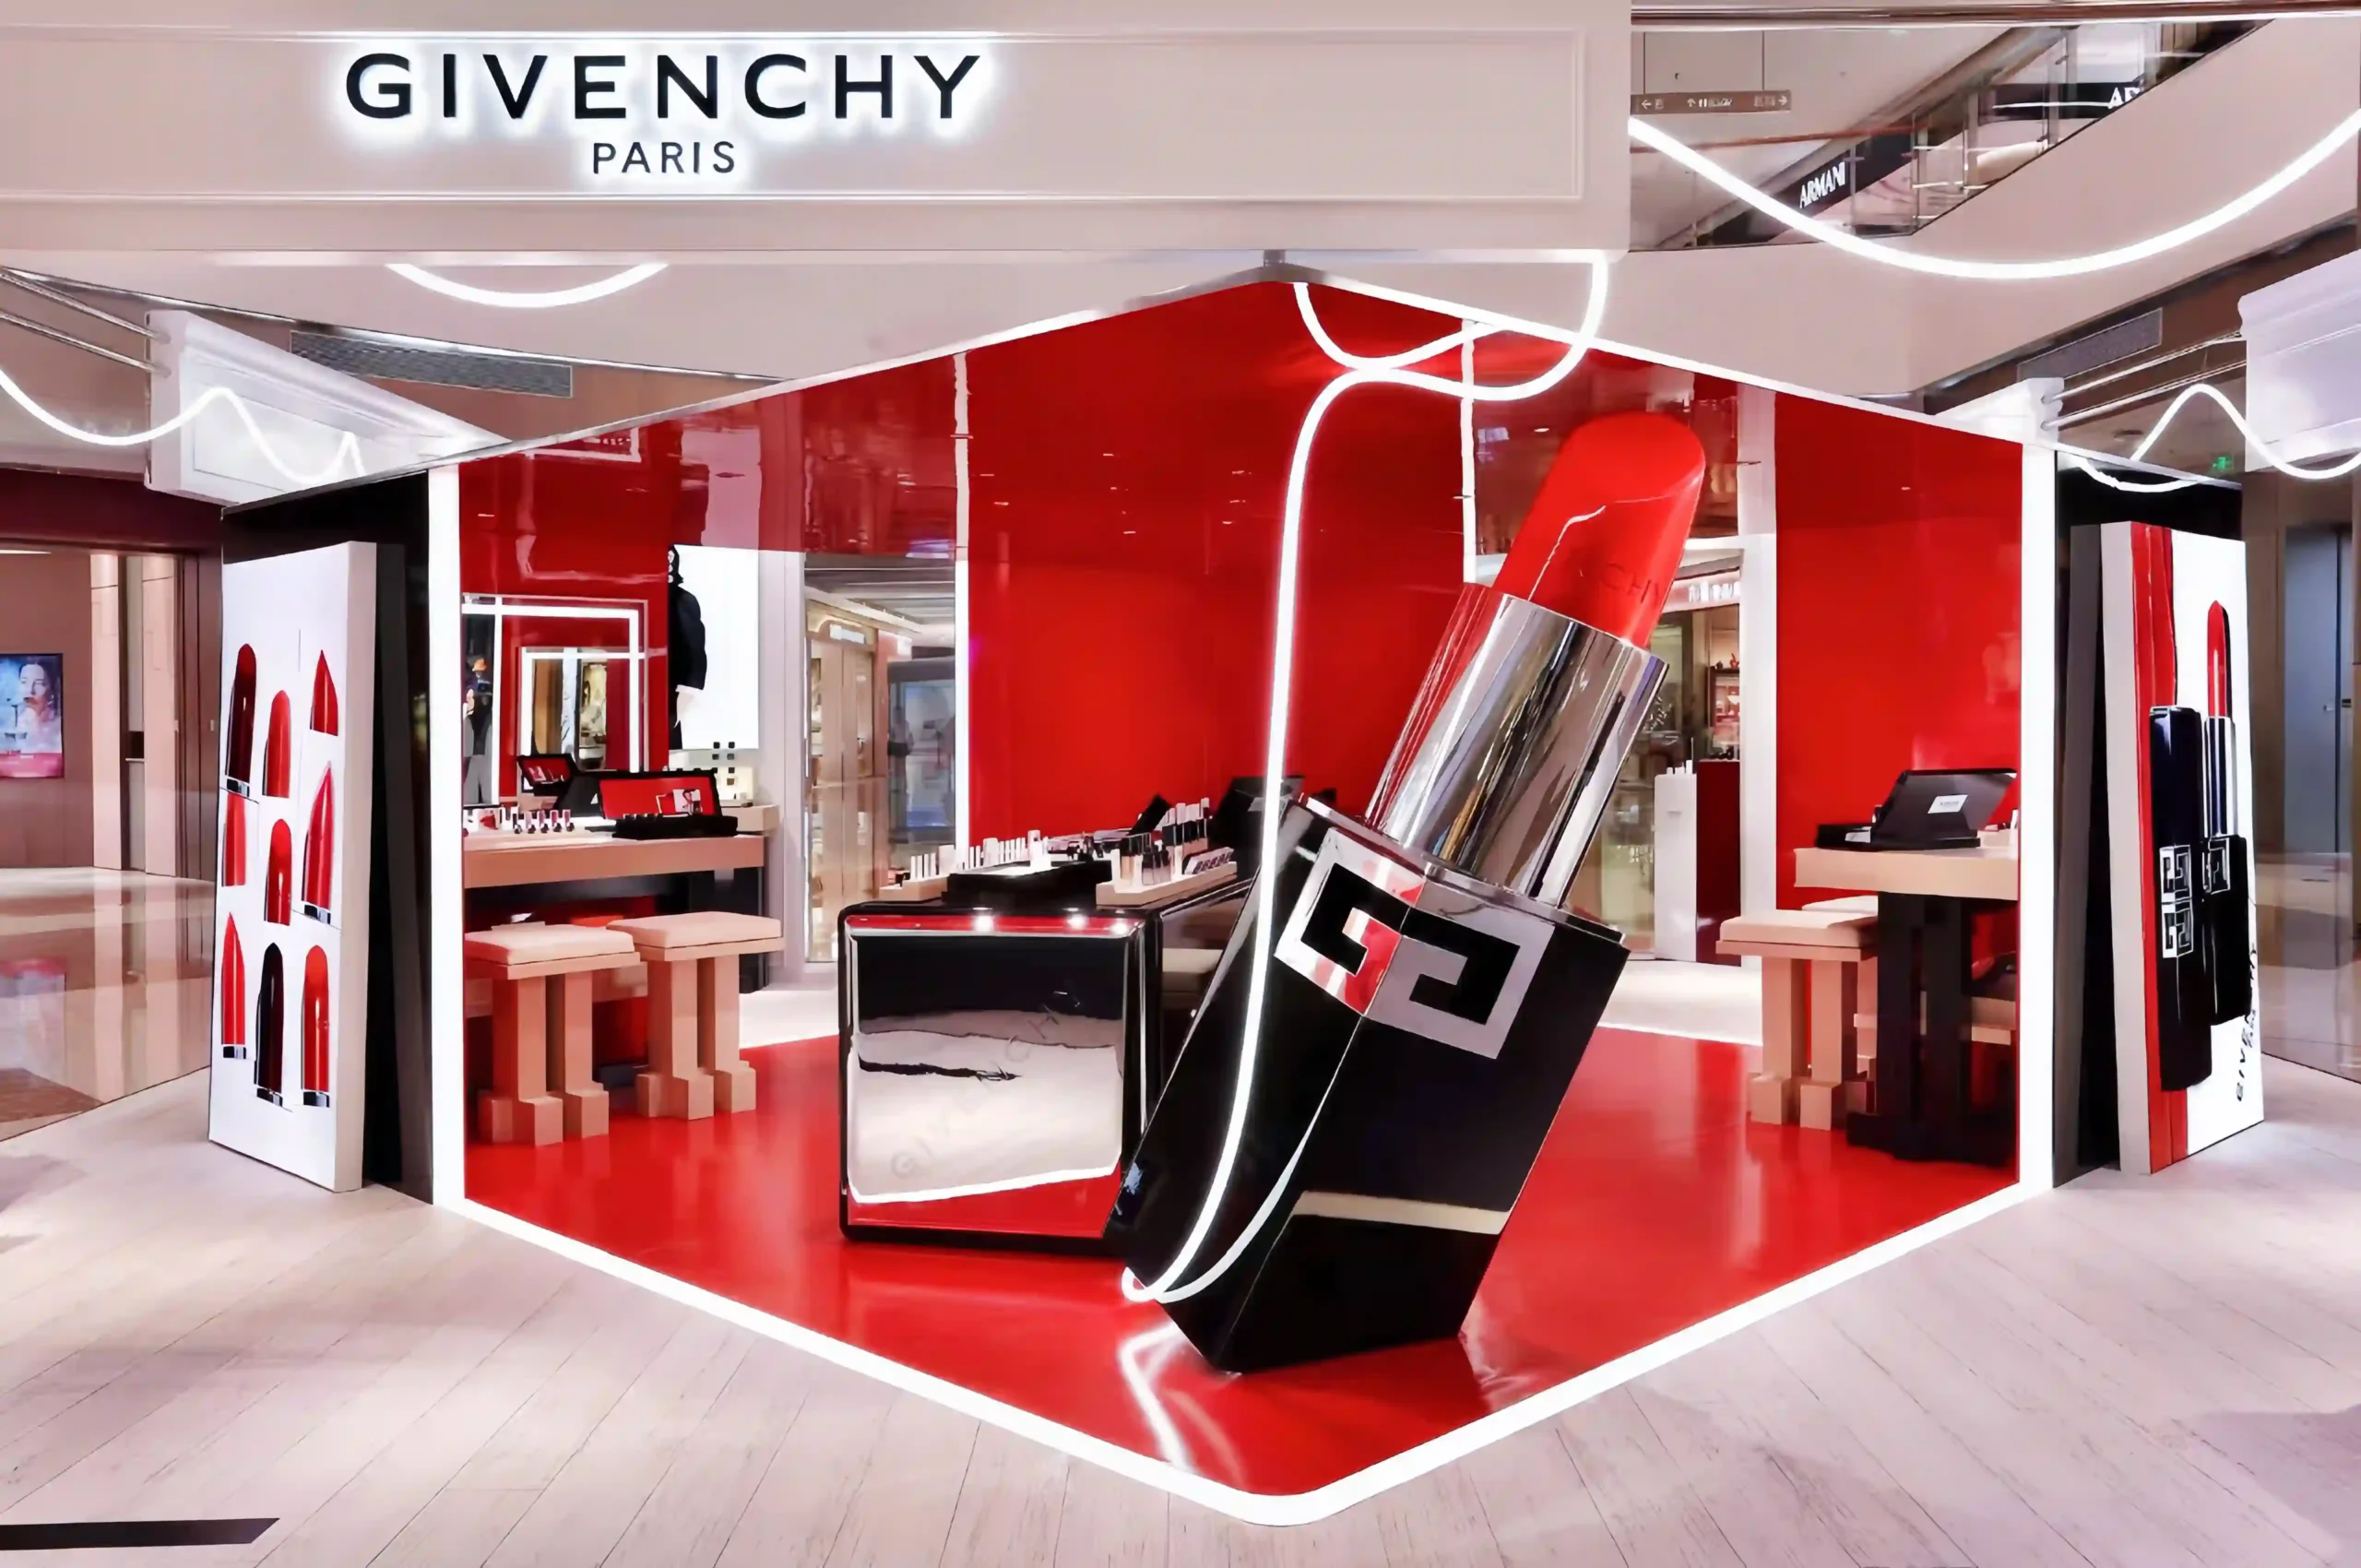

A sample can look finished on a workshop table and still fail in a store window.
A pale colour drifts under warm spotlights. An acrylic edge that seemed clean shows haze behind glass. A base that stood perfectly empty moves once the real handbag is placed on it. None of this is visible in a render, and all of it is expensive to fix once batch production has started.
Sample approval is the last low-cost moment to catch these problems. This guide sets out what brand VM teams, agencies and procurement managers should check before they sign off a display prop sample and release production.
In short: approve a display sample only when its colour has been checked on the real material under the real lighting, its visible details hold up at arm’s length, its structure has carried the real product, its packing and assembly have been tested, and every decision has been written into an approval record that production can follow.

What sample approval actually decides
Sample approval is not a design review. The concept has already been agreed. Approval answers a narrower question: is this physical piece the standard that every production unit should match?
Once a sample is approved, it usually becomes the golden sample. A golden sample is the approved physical reference that controls production, quality inspection, packing and store installation. Every batch piece is judged against it, not against the render.
Sample approval also depends on how well the supplier controls changes between rounds, which is one of the points in the window display factory audit checklist.
That is why approval needs a clear scope. Different samples prove different things: a finish panel confirms a coating, a structural sample proves stability, and a full-size prototype proves the complete composition. The display prop sample guide explains each type. For multi-store windows, a full-size window display prototype is often the final rehearsal before approval.
Before the review starts, name what this sample is meant to prove. Then check the six areas below.


1. Approve colour on the real material, not the screen
A digital colour reference is a starting point, not a specification. The same brand colour behaves differently on paint, acrylic, flocking, printed film, fabric and metallised surfaces. Substrate, gloss level, spray method and inspection light all move the result.
Low-saturation colours expose this fastest. Blush, ivory, sage, lavender and pale grey look simple in a render and reveal every shift in a physical sample.
At approval, confirm:
- The physical colour standard used for comparison
- The substrate and coating route the sample represents
- The gloss or matte level
- The light under which colour was judged
- The acceptable variation between the golden sample and production pieces
Pantone advises keeping a current, non-faded physical reference once colour leaves the digital stage. See Pantone’s guidance on physical colour samples.
One approved colour chip does not control every material equally. A finish approved on an FRP flower will not automatically match a translucent acrylic panel or a printed graphic. The approval record should name the material, finish and surface each colour reference applies to.
2. Inspect the details customers see at arm’s length
Renders hide the details that decide whether a prop looks premium up close. The sample should show them deliberately.
| Area | What to check |
|---|---|
| Curved and sculpted edges | Thickness, symmetry, sanding quality and the softness of the visible profile |
| Seams and joints | Position, filler quality, paint continuity and whether the joint is visible from the street |
| Acrylic | Edge polish, haze, scratches, glue marks, reflections and hidden support |
| Metallic and mirror surfaces | Fingerprints, distortion, handling marks and the protection needed in packing |
| Fabric and flocking | Pile direction, adhesion, colour consistency and resistance to handling |
| Printed graphics | Registration, colour, mounting method and how a damaged panel is replaced |
The rule is simple: judge the sample at the distance a customer will stand, not only at the distance a photographer will.
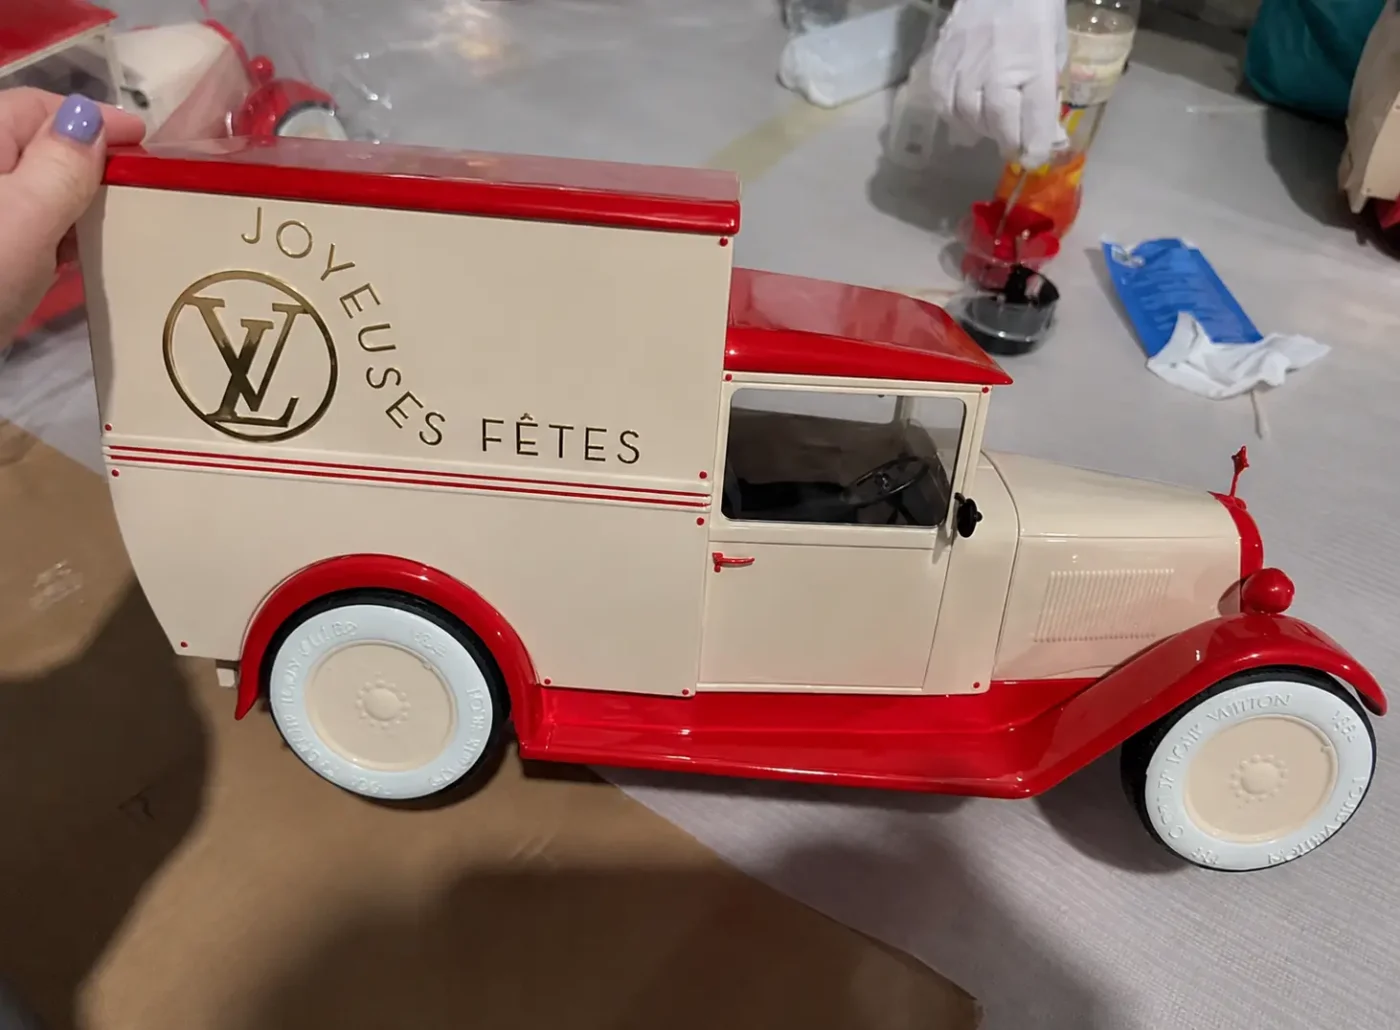
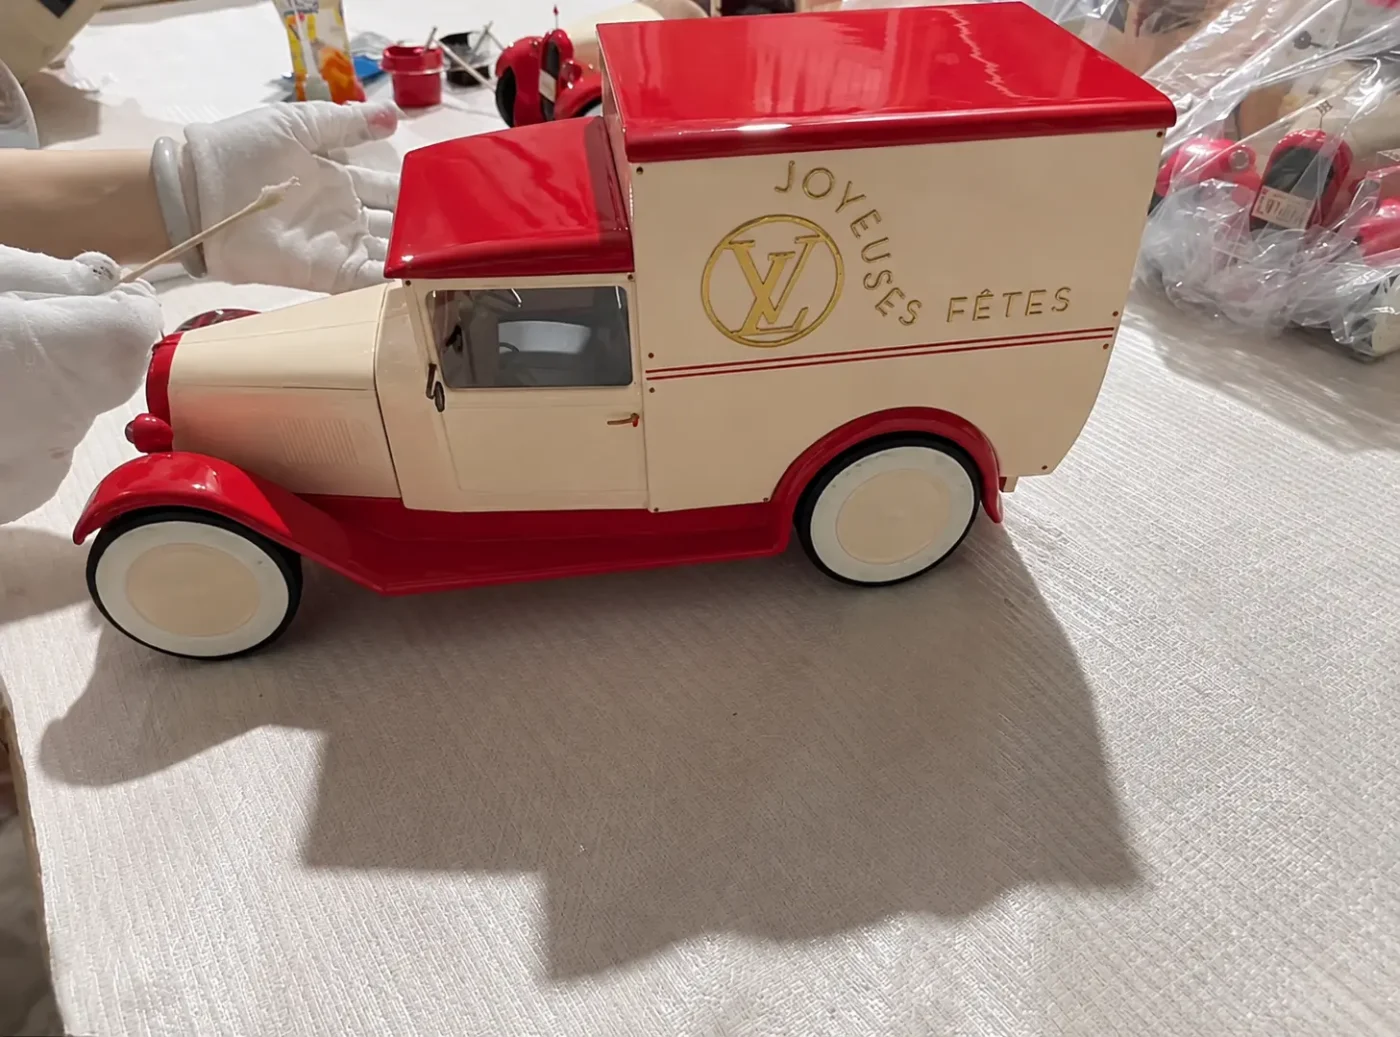
3. Test the structure with the real product
A display can look weightless and still need serious hidden support. Tall stems, cantilevered forms, suspended elements and narrow bases all need a structural answer that the sample must prove.
Check that:
- The piece stands without movement on the intended floor, plinth or window bed
- Ballast is concealed but still reachable if it needs adjusting
- Hanging points and fixing plates sit in the approved positions
- The display carries the real merchandise, not an empty placeholder
- Sharp or load-bearing details are protected from customers and installers
- A store team can assemble it without forcing joints or improvising tools
A render shows intention. A sample shows consequences. On a multi-store project, that is the difference between correcting one piece and correcting every store.
4. Review the sample under retail lighting
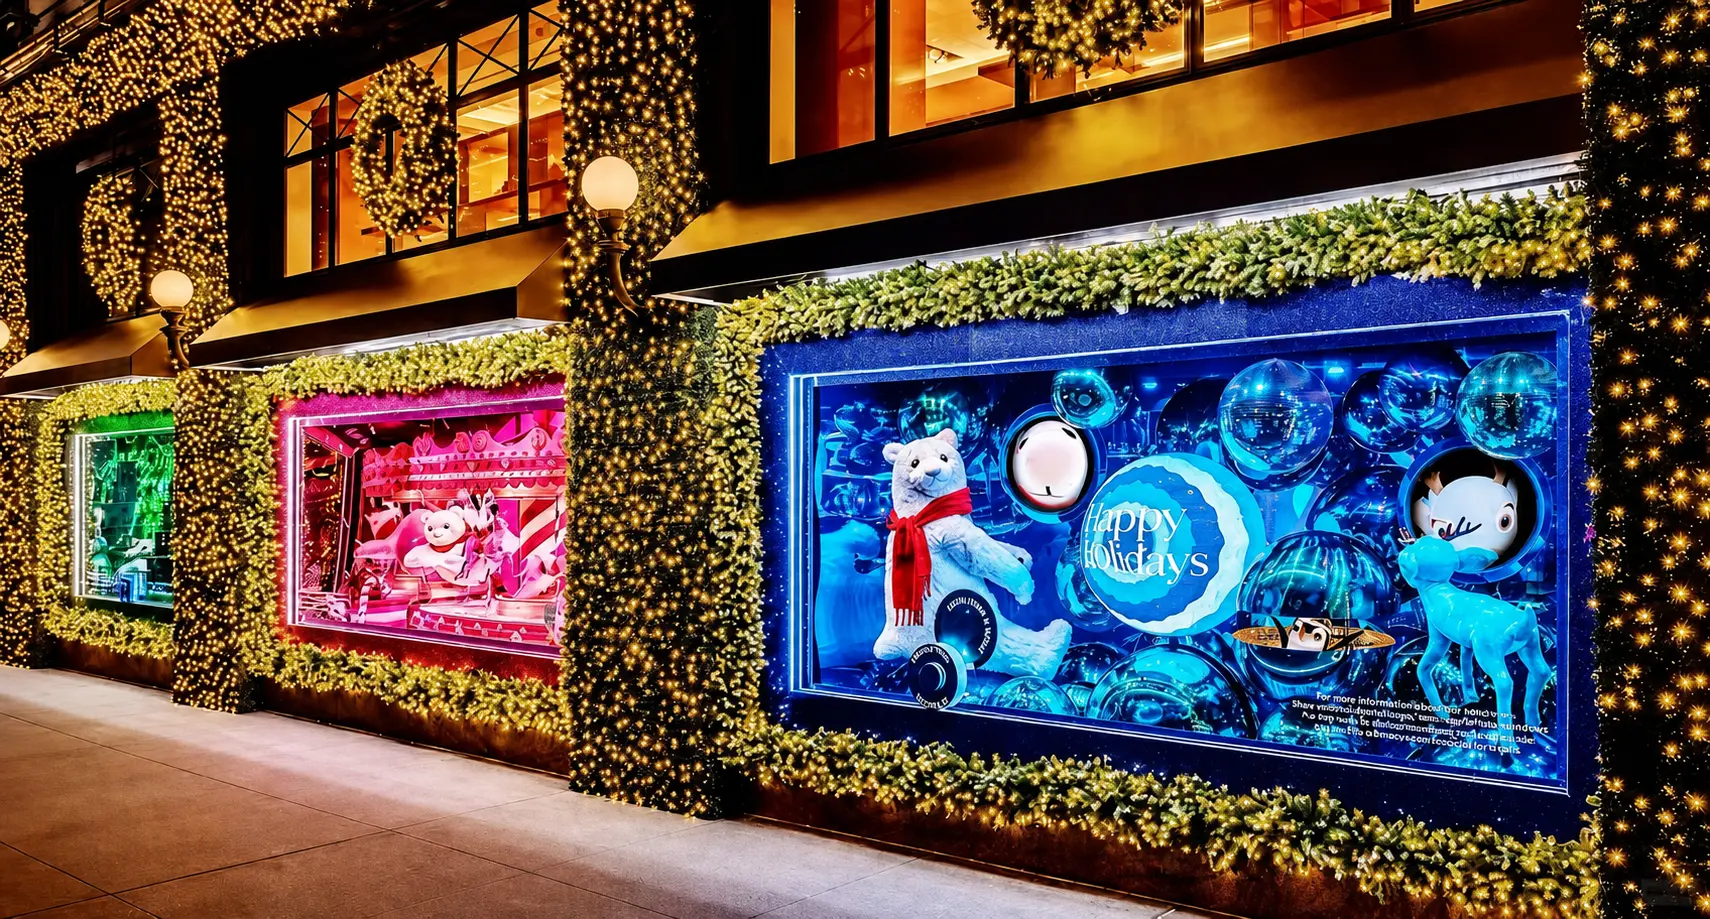
Workshop light is not storefront light. Store windows combine spotlights, warm lamps, cool LEDs, daylight and glass reflection, seen from changing angles. A finish that looks smooth in the workshop can turn chalky, patchy or glaring behind glass.
A useful lighting review checks the sample:
- Under the planned light source, or the closest available equivalent
- From street distance and from close to the glass
- With real merchandise in place
- With lights on and off, where backlighting or reflection is part of the concept
- From a customer’s eye height, not only from inside the workshop
If the display includes illuminated logos, translucent acrylic or hidden LEDs, confirm service access too. A light that cannot be reached for maintenance is not finished.
5. Check the store set, not only the hero piece
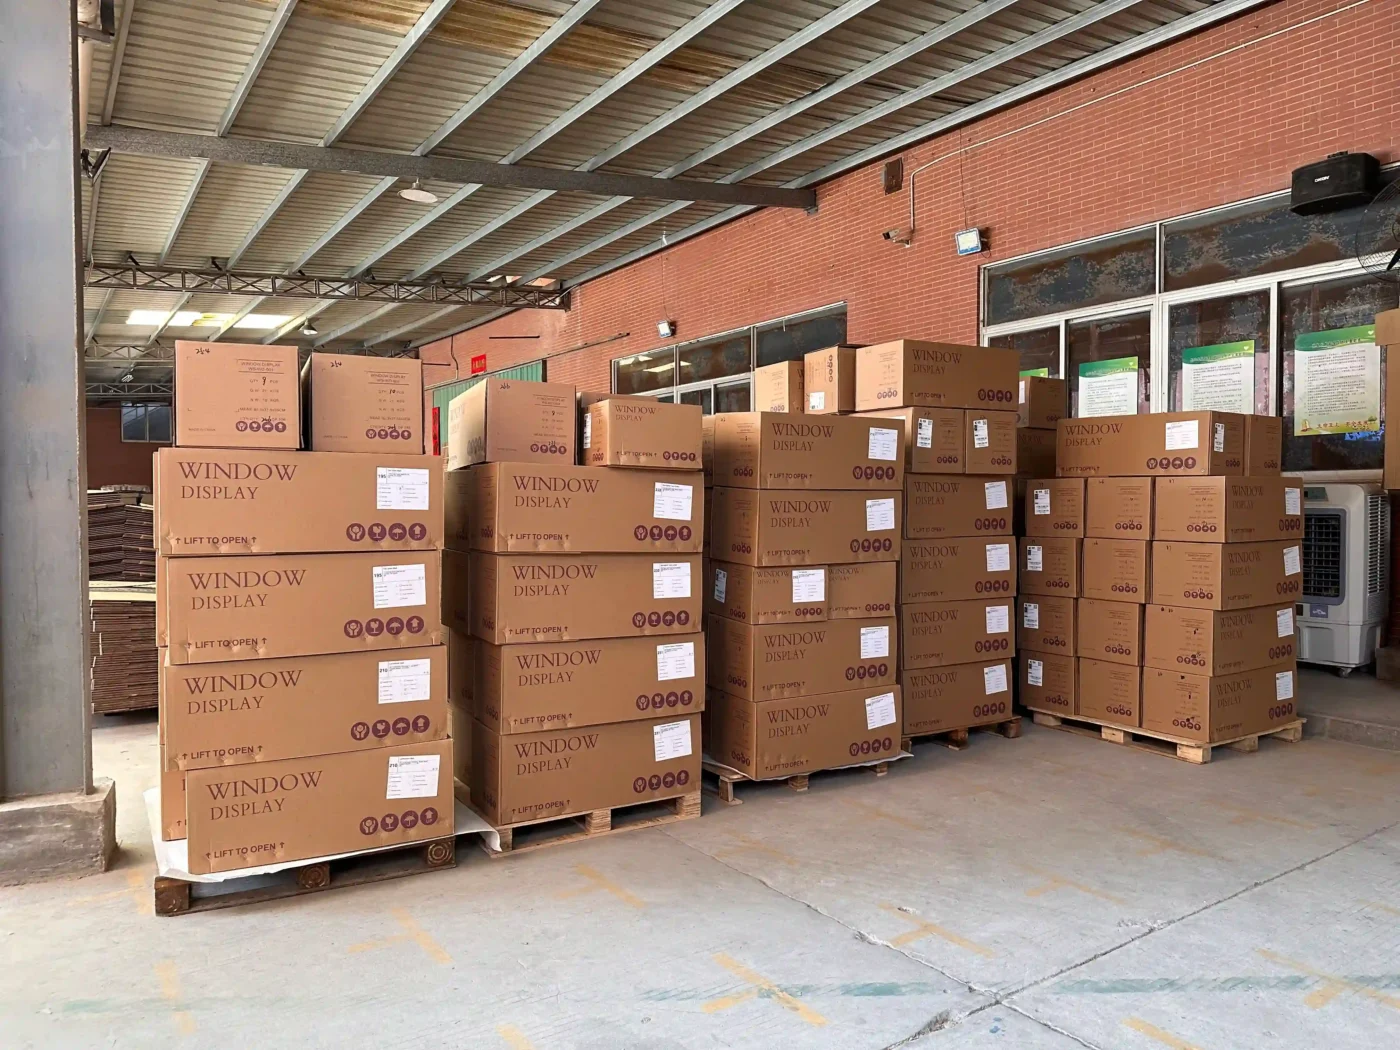
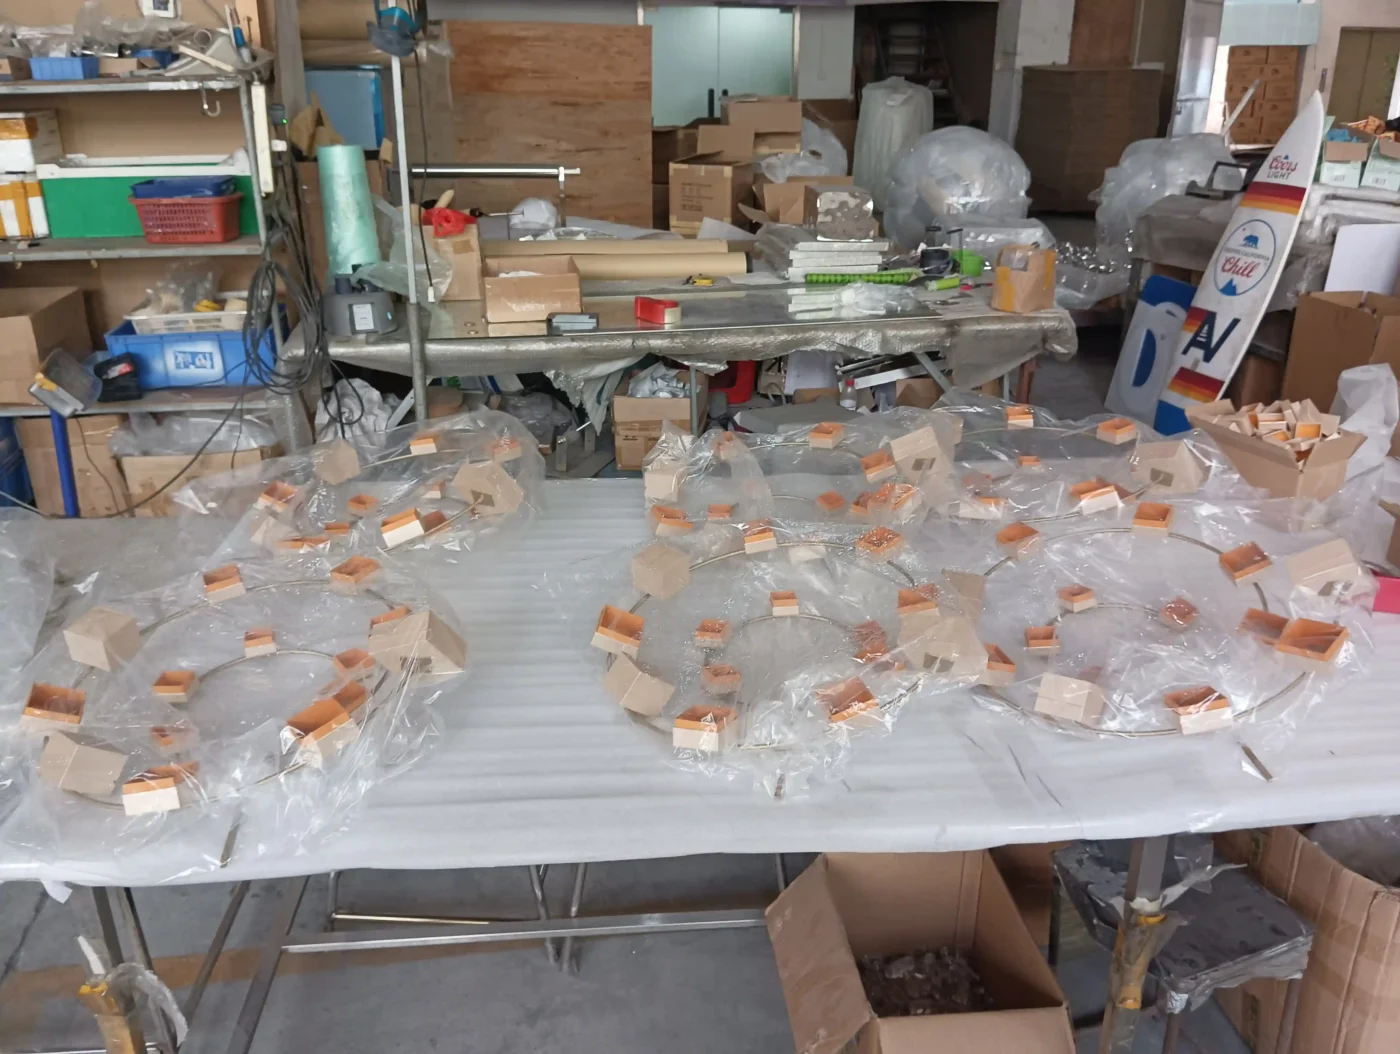
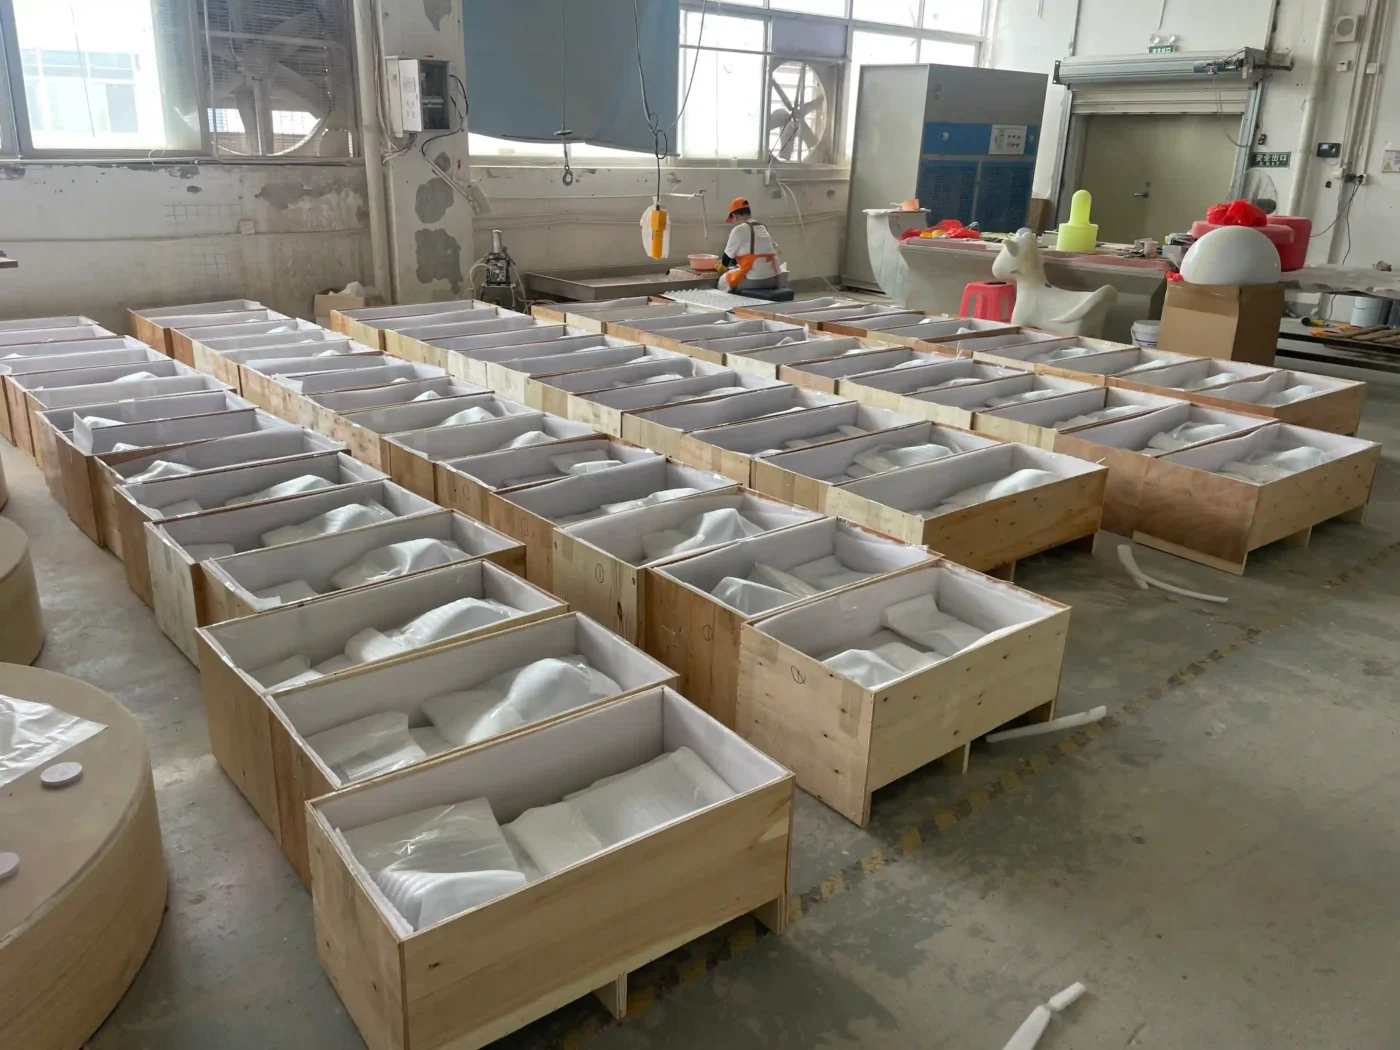
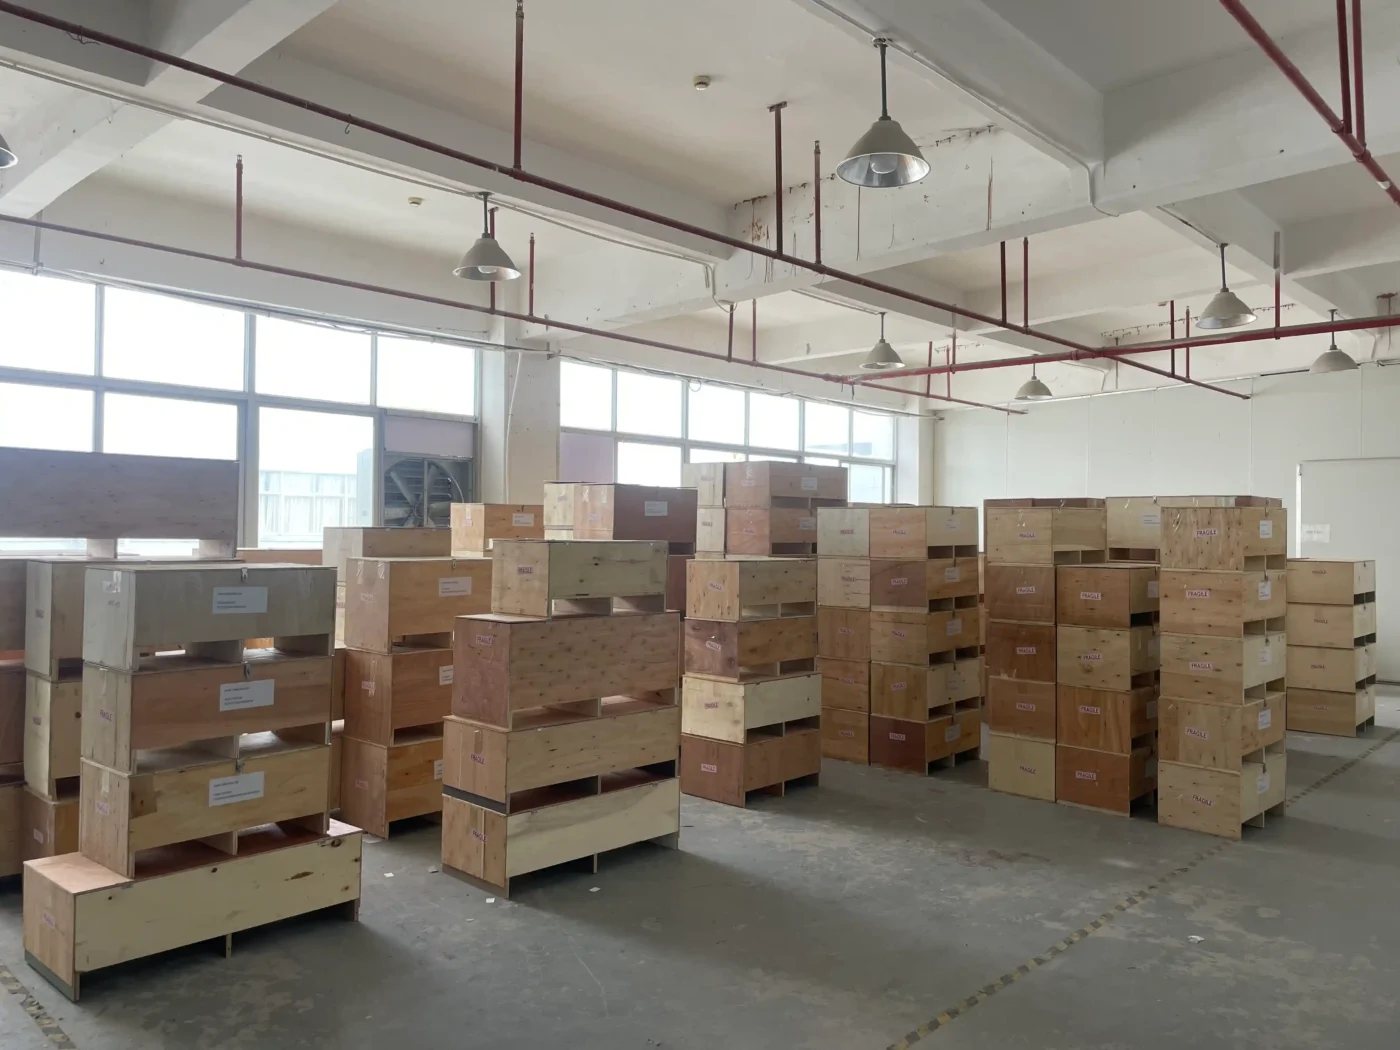
Stores receive a set, not a single sculpture. Approval should cover everything that ships with the hero prop: bases, fixings, graphics, hardware, instructions and protective packaging.
Ask the manufacturer to show:
- What goes into each carton or crate
- Which parts are packed together and which travel separately
- How parts are numbered for one store set
- Which surface needs the most protection
- The assembly order
- What happens if a small common component arrives damaged or missing
For multi-location work, approval should end with a complete golden set that controls production, inspection, packing and installation across every store. The window display rollout guide covers how that set is then scaled.
6. Seasonal watch-outs
The checklist applies to any campaign, but each season stresses different points.
Spring and summer. Pale pastels, translucent acrylic and gloss finishes show colour drift, dust and edge flaws more than any other palette. Judge colour under warm and cool light, and inspect acrylic edges behind glass. Soft textures need the same care: on the Aritzia Spring 2026 strawberry window props, a seasonal effect had to be produced as a repeatable physical piece, not only as a concept image. Spring sampling also runs close to the Chinese New Year production break, so plan approval rounds early. See the spring window display production timeline.
Holiday and Christmas. Dark lacquers and metallic finishes hide small colour variation but show fingerprints, scratches and handling marks. Packing protection and glove handling deserve extra attention at approval. Large holiday projects often go through several sampling rounds, so approval criteria should be fixed before the first round, not after the third. The Christmas window display production timeline shows where those rounds sit in the calendar.
7. Record the approval in writing
Final approval should never be an email saying “looks good”. It should state exactly what is approved and what remains open.
A concise golden sample record includes:
- Project name, revision number and review date
- Photos of the approved sample from every relevant angle
- Material, finish and colour references
- Dimensions and allowed variations between store formats
- Lighting and electrical decisions
- Structural, fixing and ballast confirmation
- Packing and installation notes
- Agreed deviations from the original render
- Approver names and the release decision
This record becomes the production reference. It also gives the brand a clear answer later, when someone asks why a component was split, finished or fixed in a particular way.
Red flags that should pause release
Hold production release if any of these remain open:
- The approved colour exists only as a digital file
- The real merchandise has not been tested in the display
- A tall or hanging piece has not been physically load-checked
- The sample was seen only in workshop light
- The store installation method is still undecided
- The sample uses placeholder materials that behave differently from batch materials
- Packing has not been tested on a fragile or high-gloss piece
- Different store formats have not been separated into clear versions
Pausing here is not a schedule failure. It is the last inexpensive chance to protect the production timeline, and to protect the production budget from rework.
Display sample approval checklist
Before releasing production, confirm the team has approved:
- Physical colour and finish references, per material
- Visible edge, seam and surface quality
- Real product position and sightlines
- Structural stability and fixing method
- Lighting effect and service access
- Differences between store formats
- Complete component allocation per store set
- Packing protection and store-set labels
- Installation order and instructions
- The written golden sample record
The project can then move from “we like this sample” to “we know exactly what every store will receive.”
FAQ
What is a golden sample in display production?
A golden sample is the approved physical reference for a display prop or display set. Production, quality inspection, packing and installation are all checked against it, rather than against the render or a digital file.
How many sample rounds does a display project usually need?
It depends on complexity and risk. A simple prop may be approved after one round, while large seasonal or tender projects often go through several rounds. Fixing approval criteria before the first round keeps the number of rounds down.
Can a finish panel replace a full sample?
No. A finish panel confirms a coating or colour on one substrate. It cannot prove structure, scale, lighting effect, product fit or packing. Use finish panels early, and approve the complete piece or set before release.
Who should sign off a display prop sample?
Usually the brand VM lead or the agency project lead, with input from whoever owns lighting, installation and logistics. The record should name every approver so production knows whose decision it follows.
What should be checked under store lighting?
Colour shift under warm and cool light, reflection and glare on gloss or acrylic, how backlit elements read, and whether finishes look even from street distance and close to the glass.
Planning a sample review? Share your render, campaign date, store count, material direction and the risks your team wants the sample to test, and we will propose a sample plan. Start a project