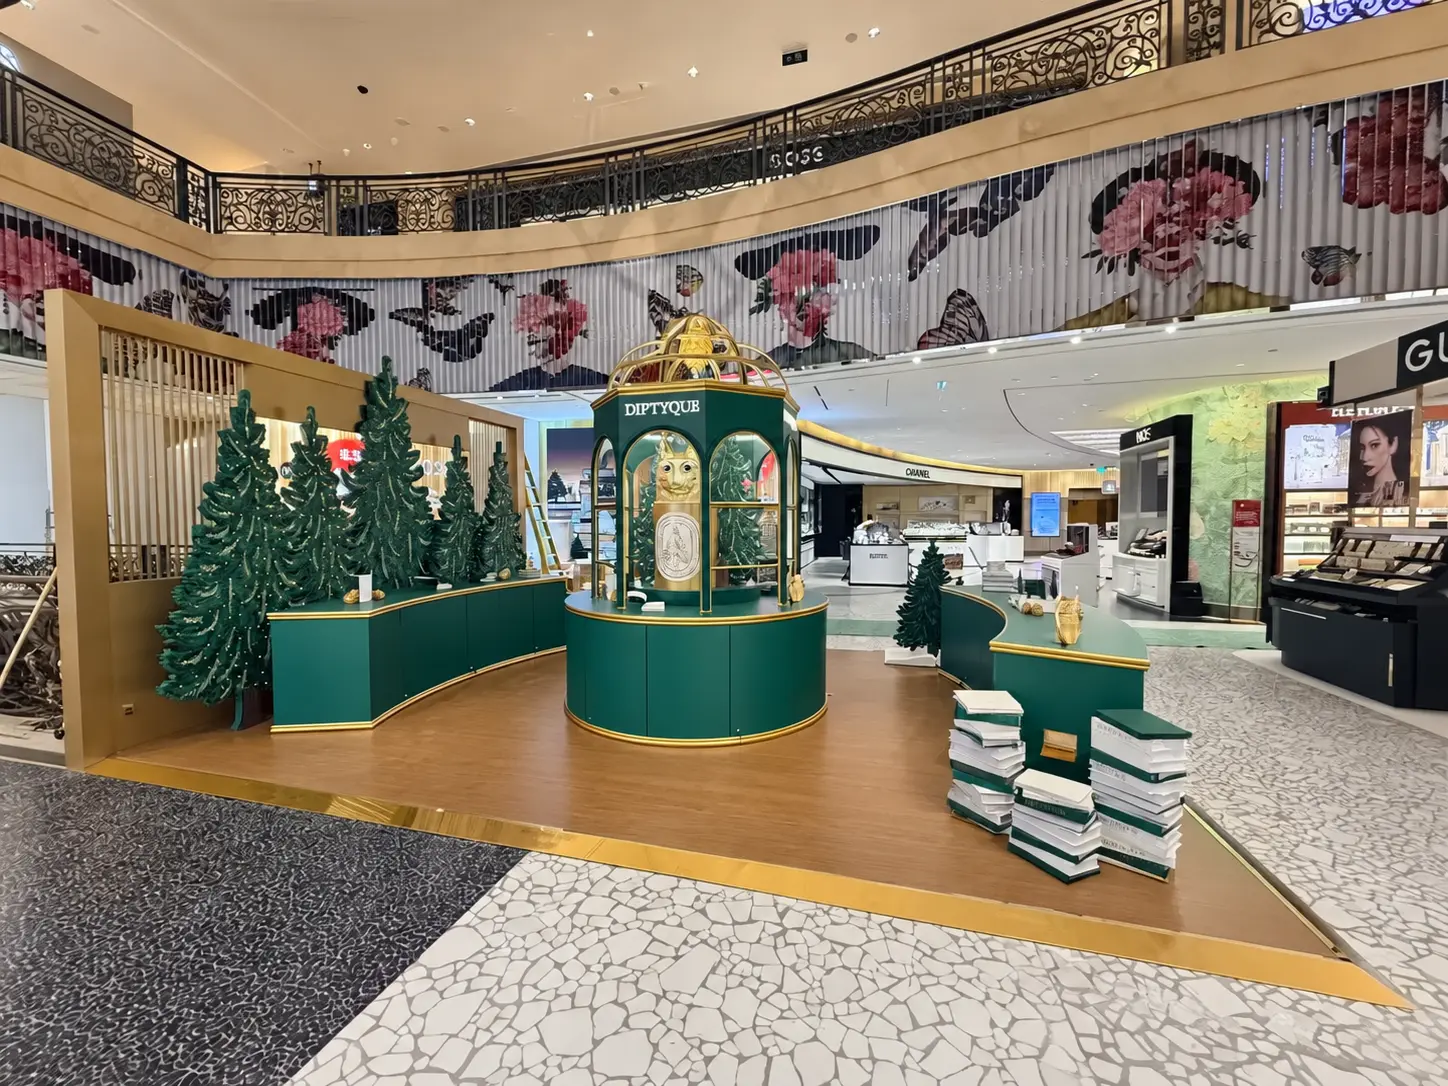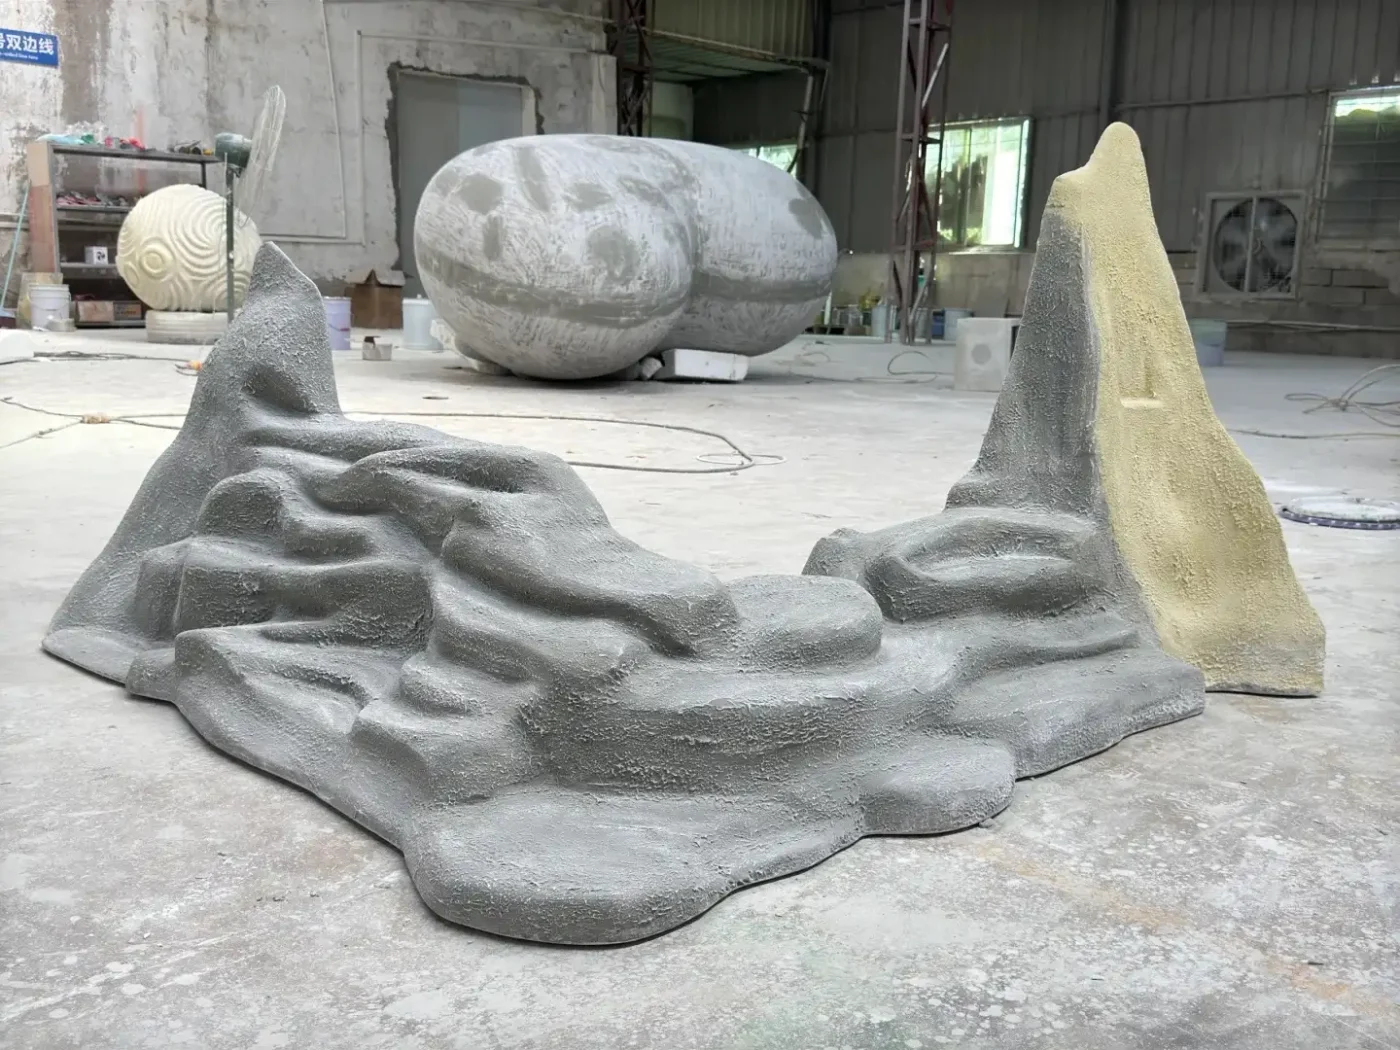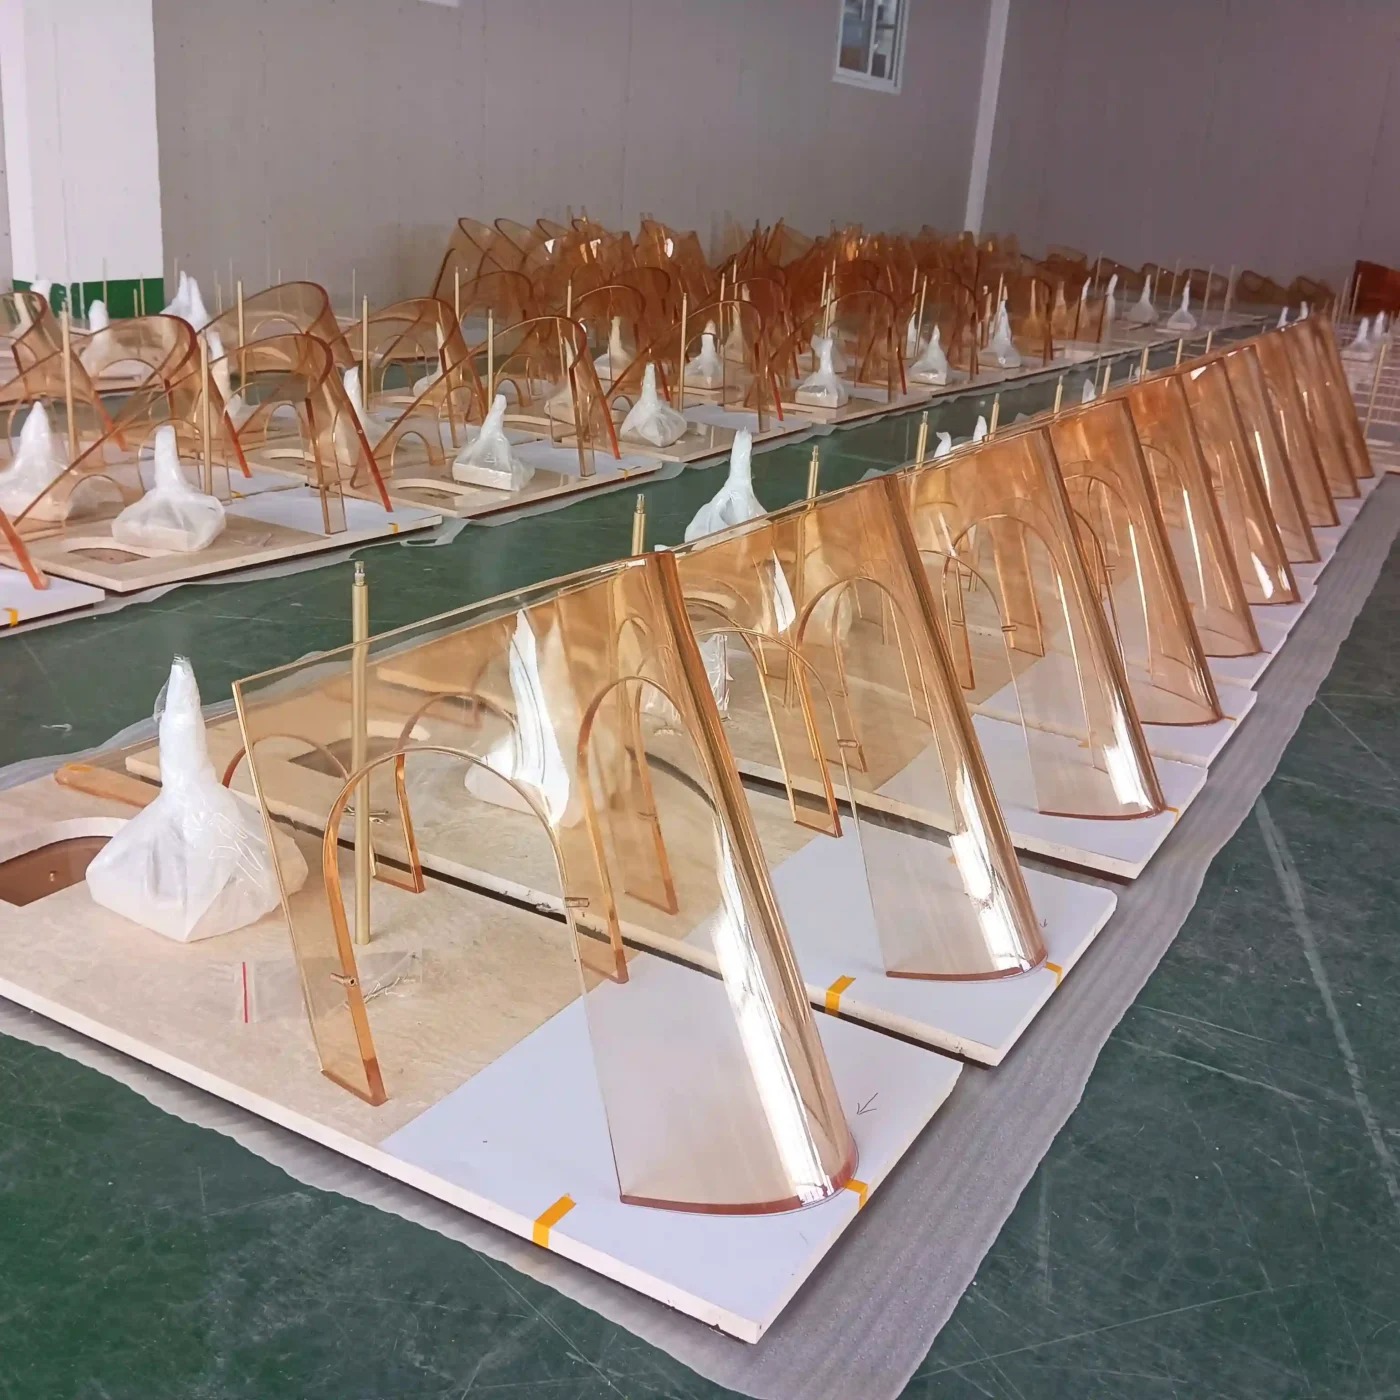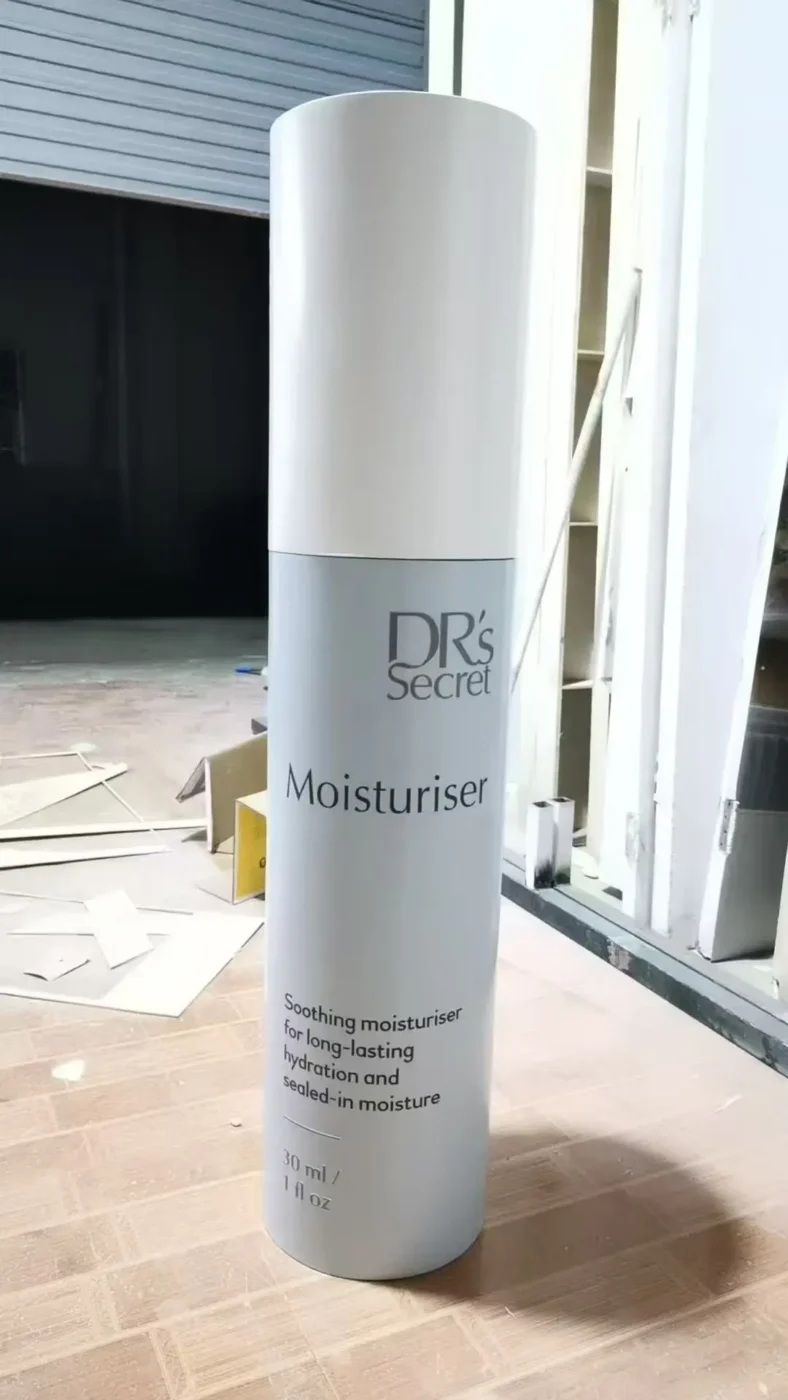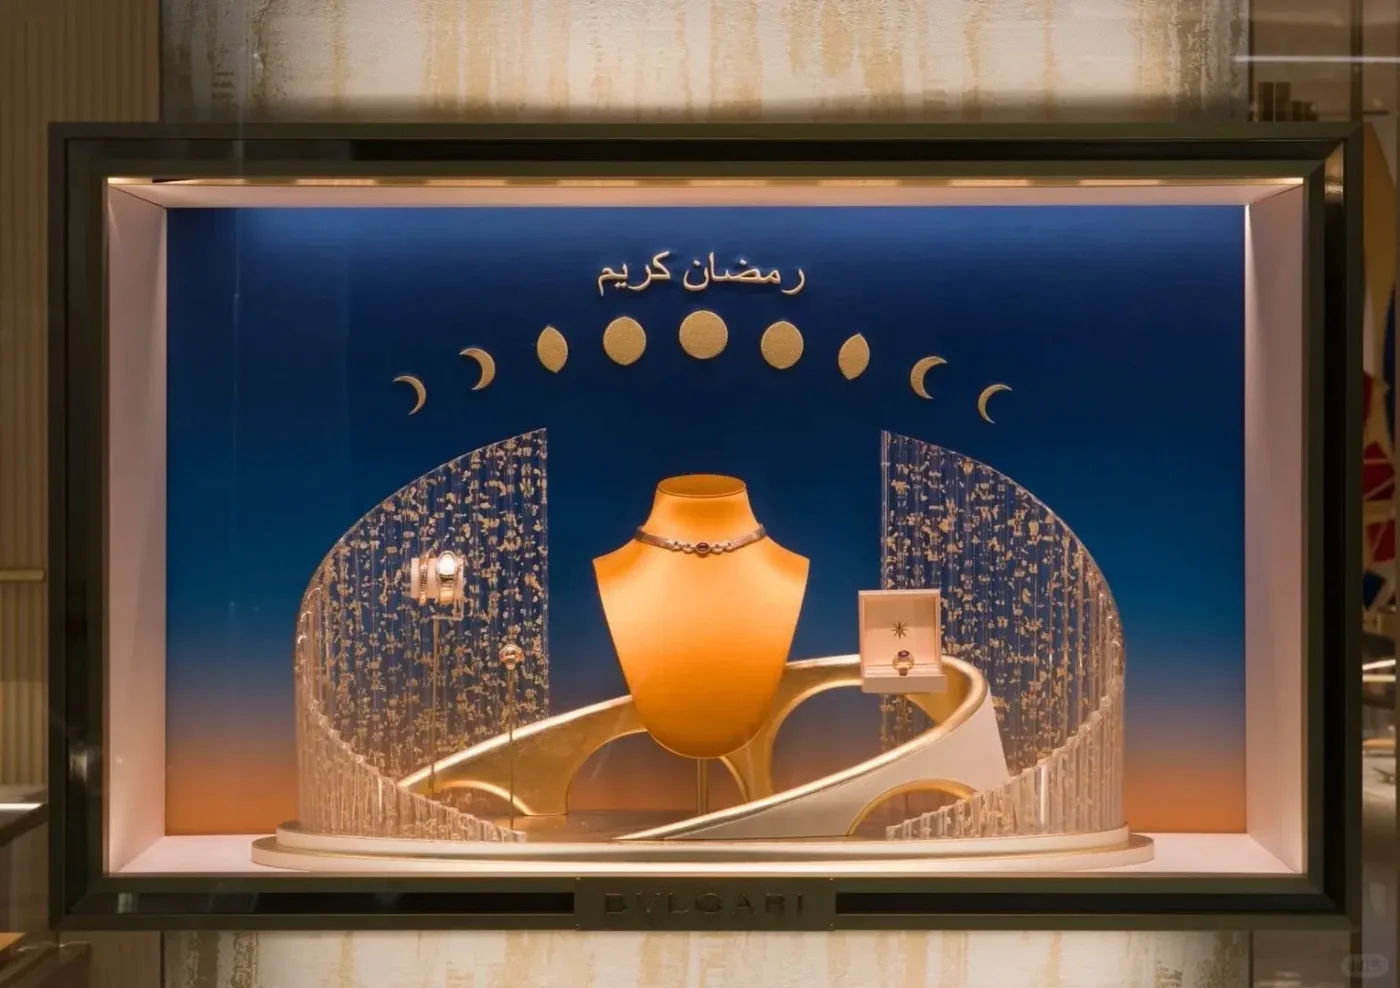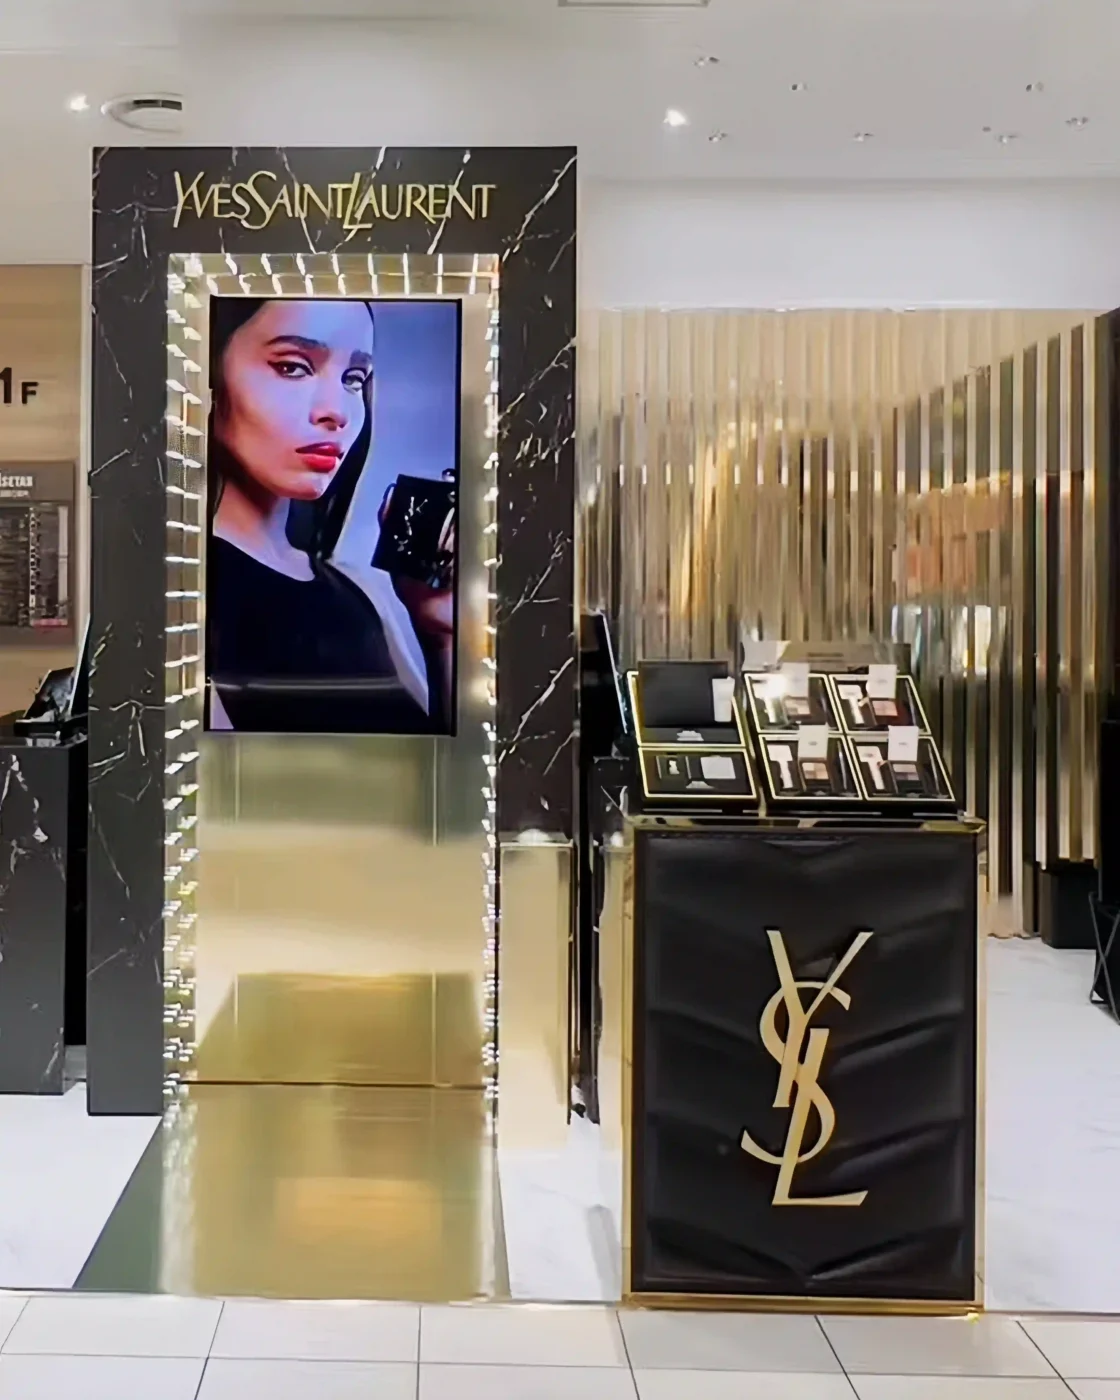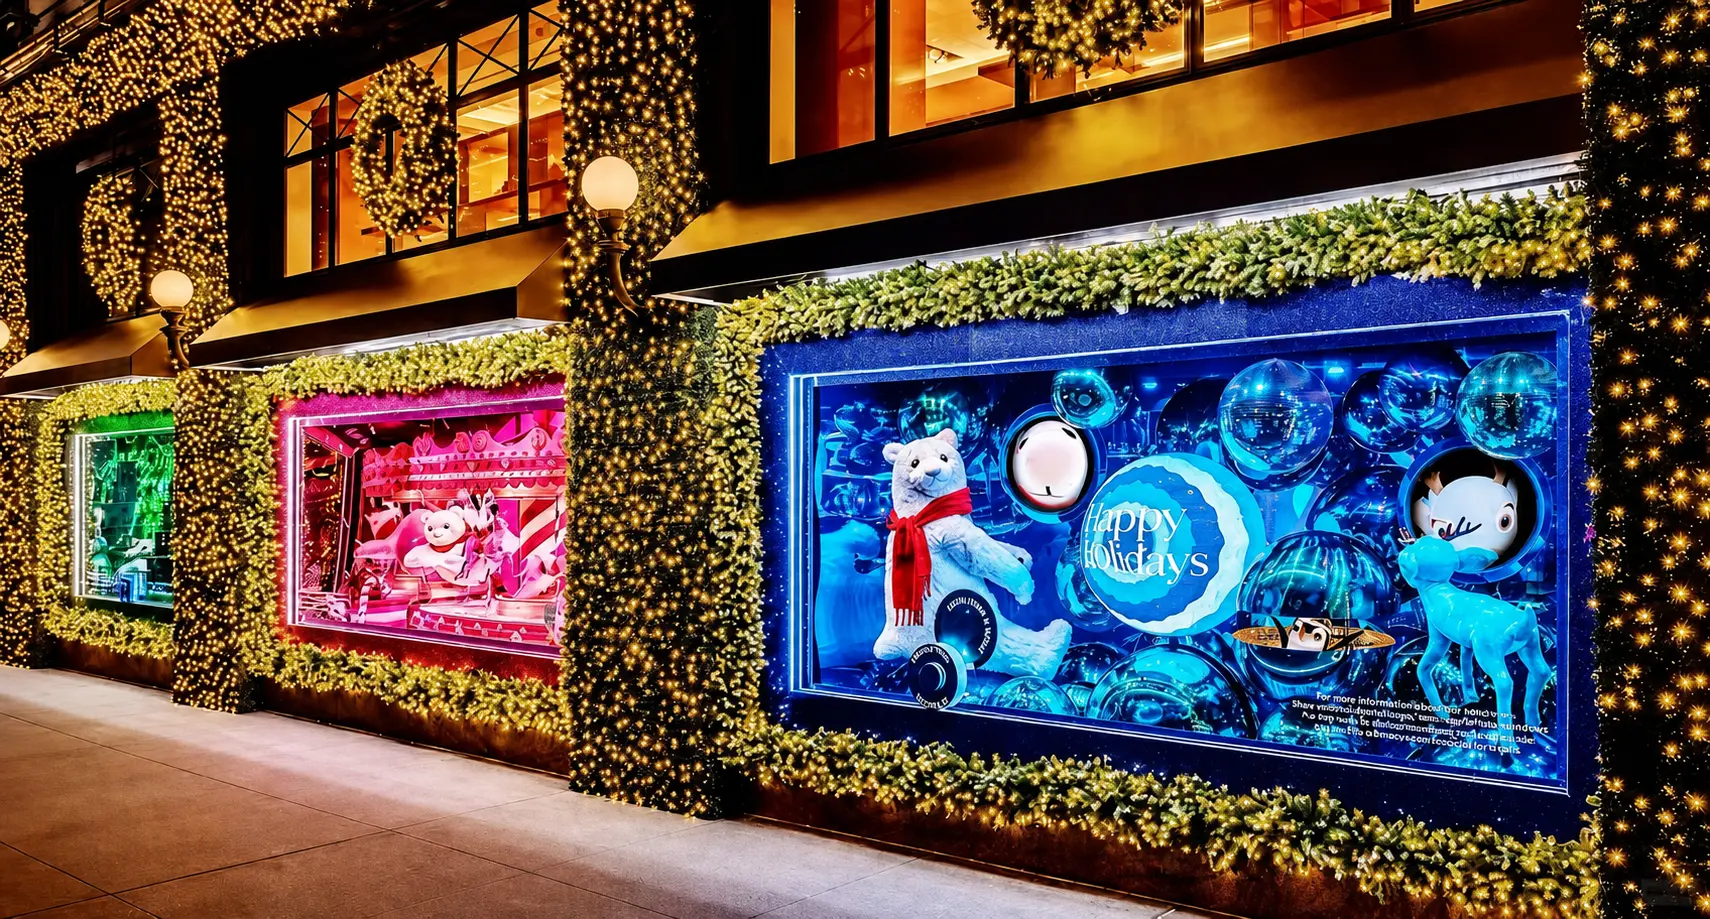
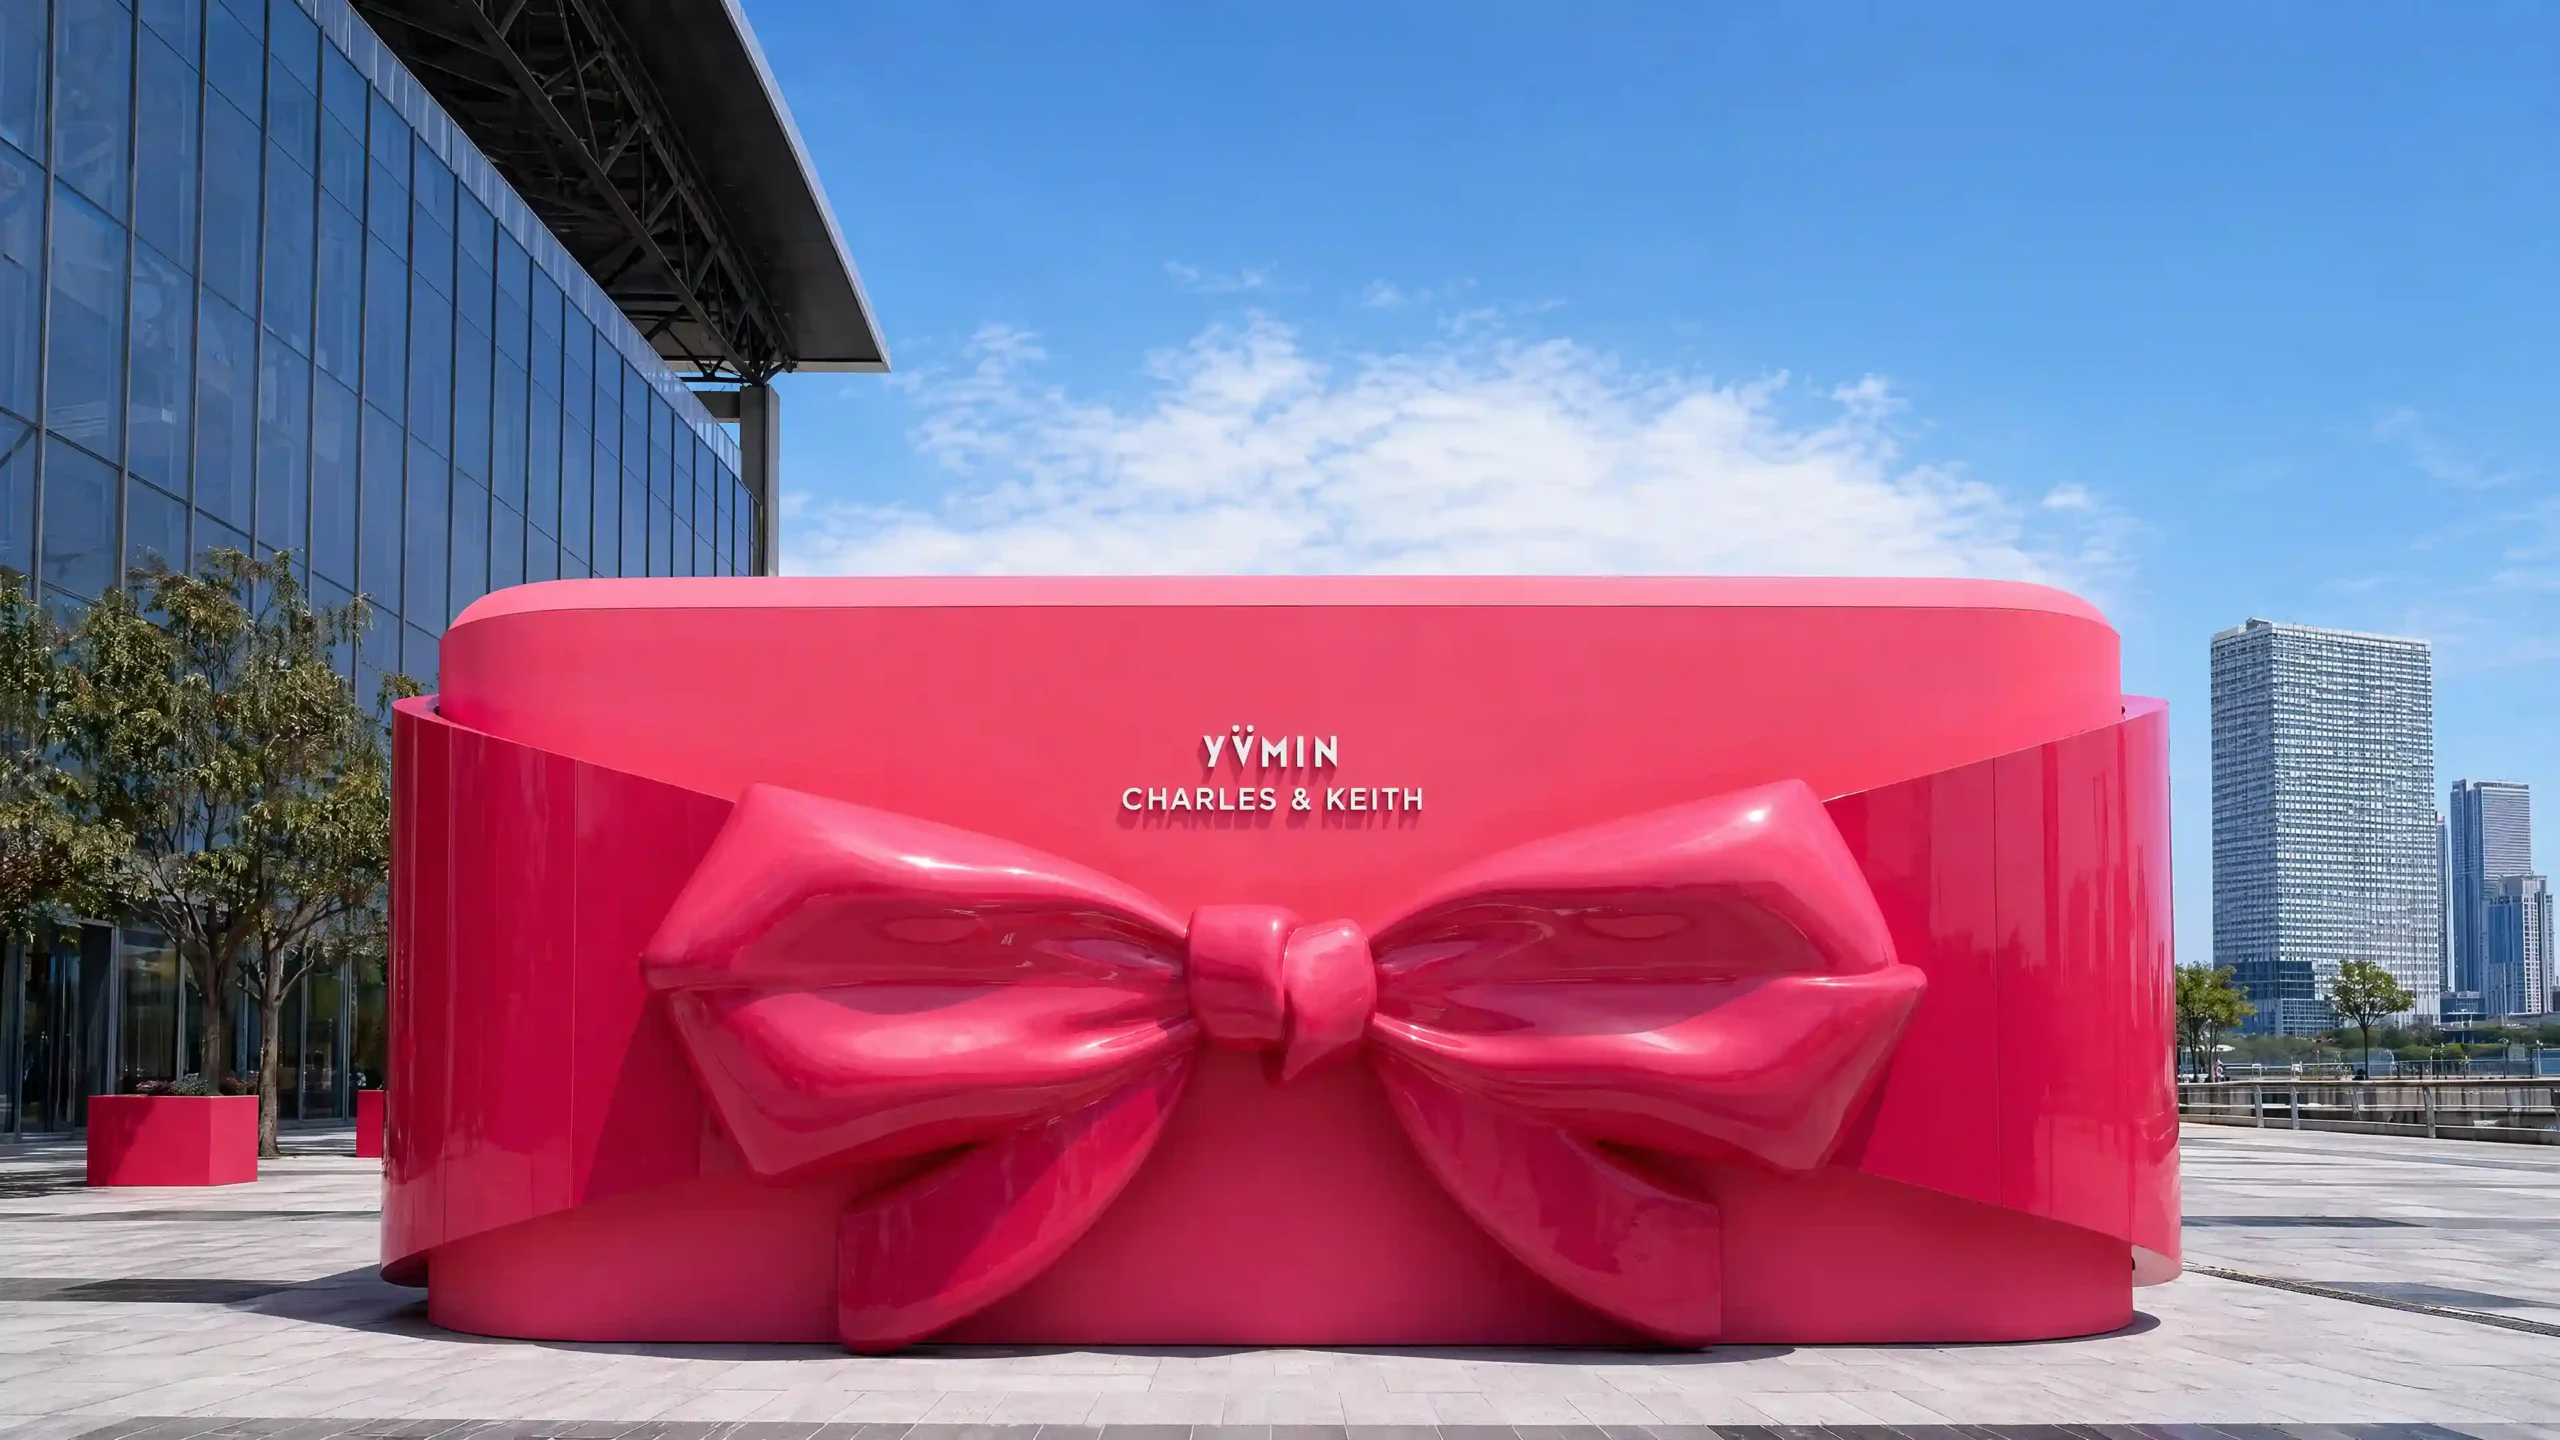
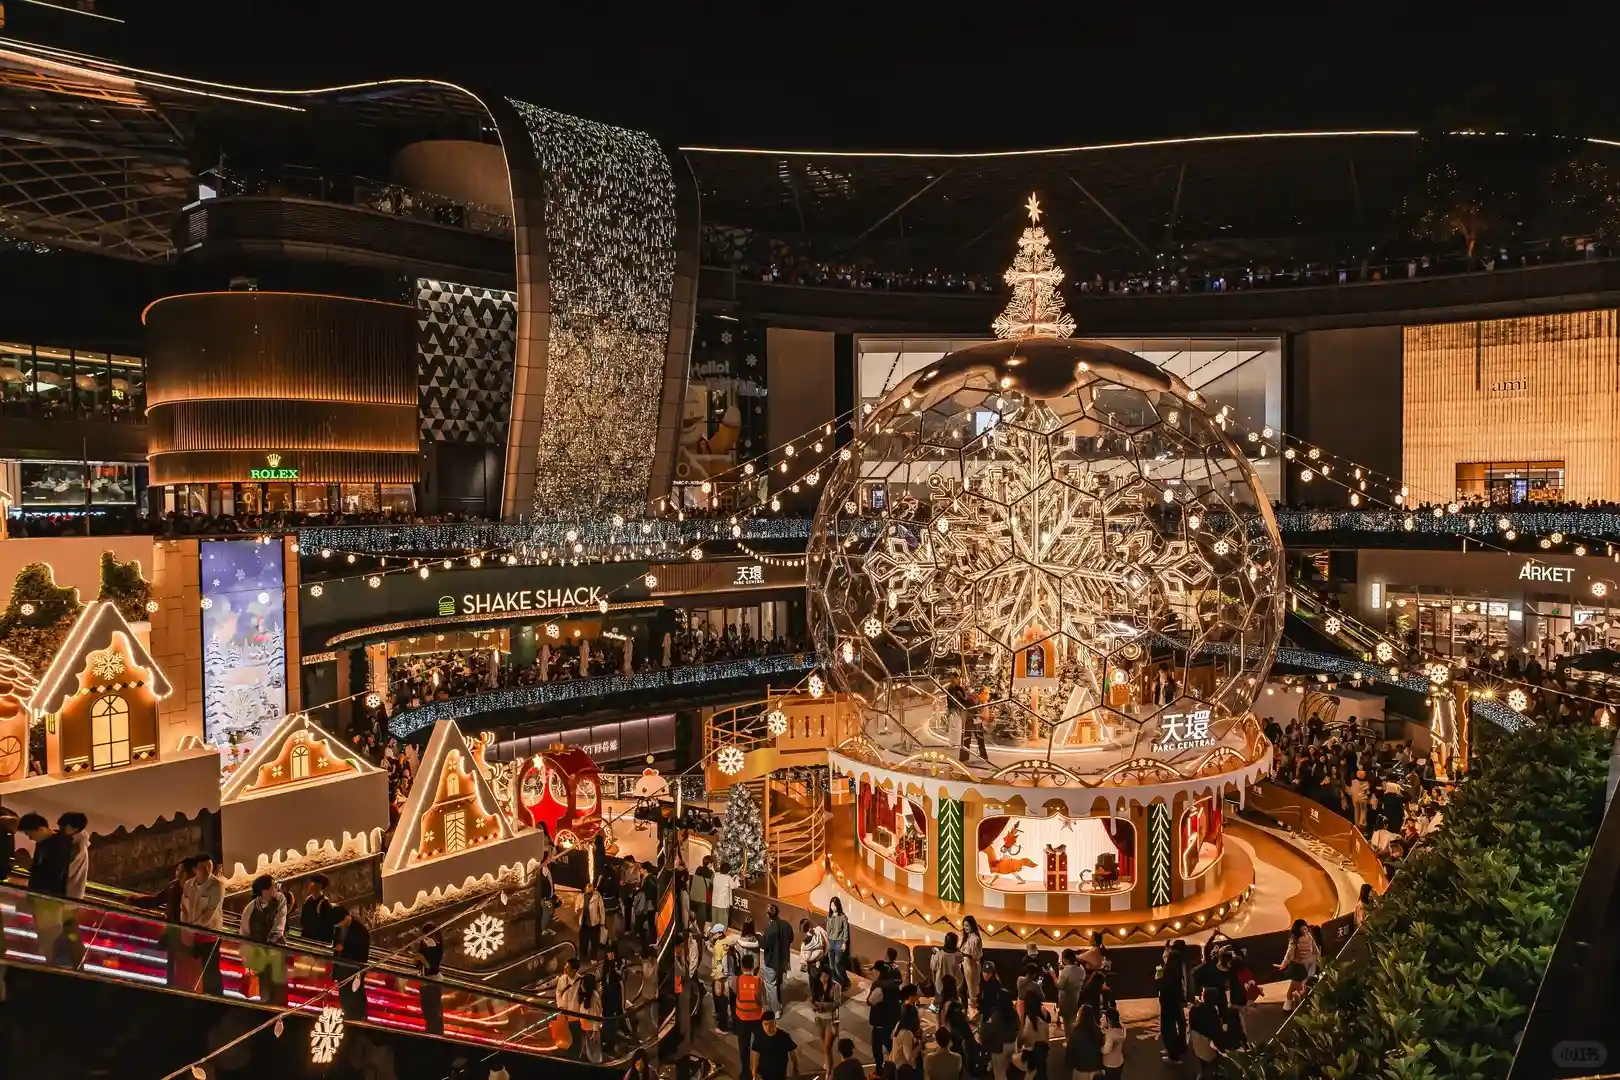
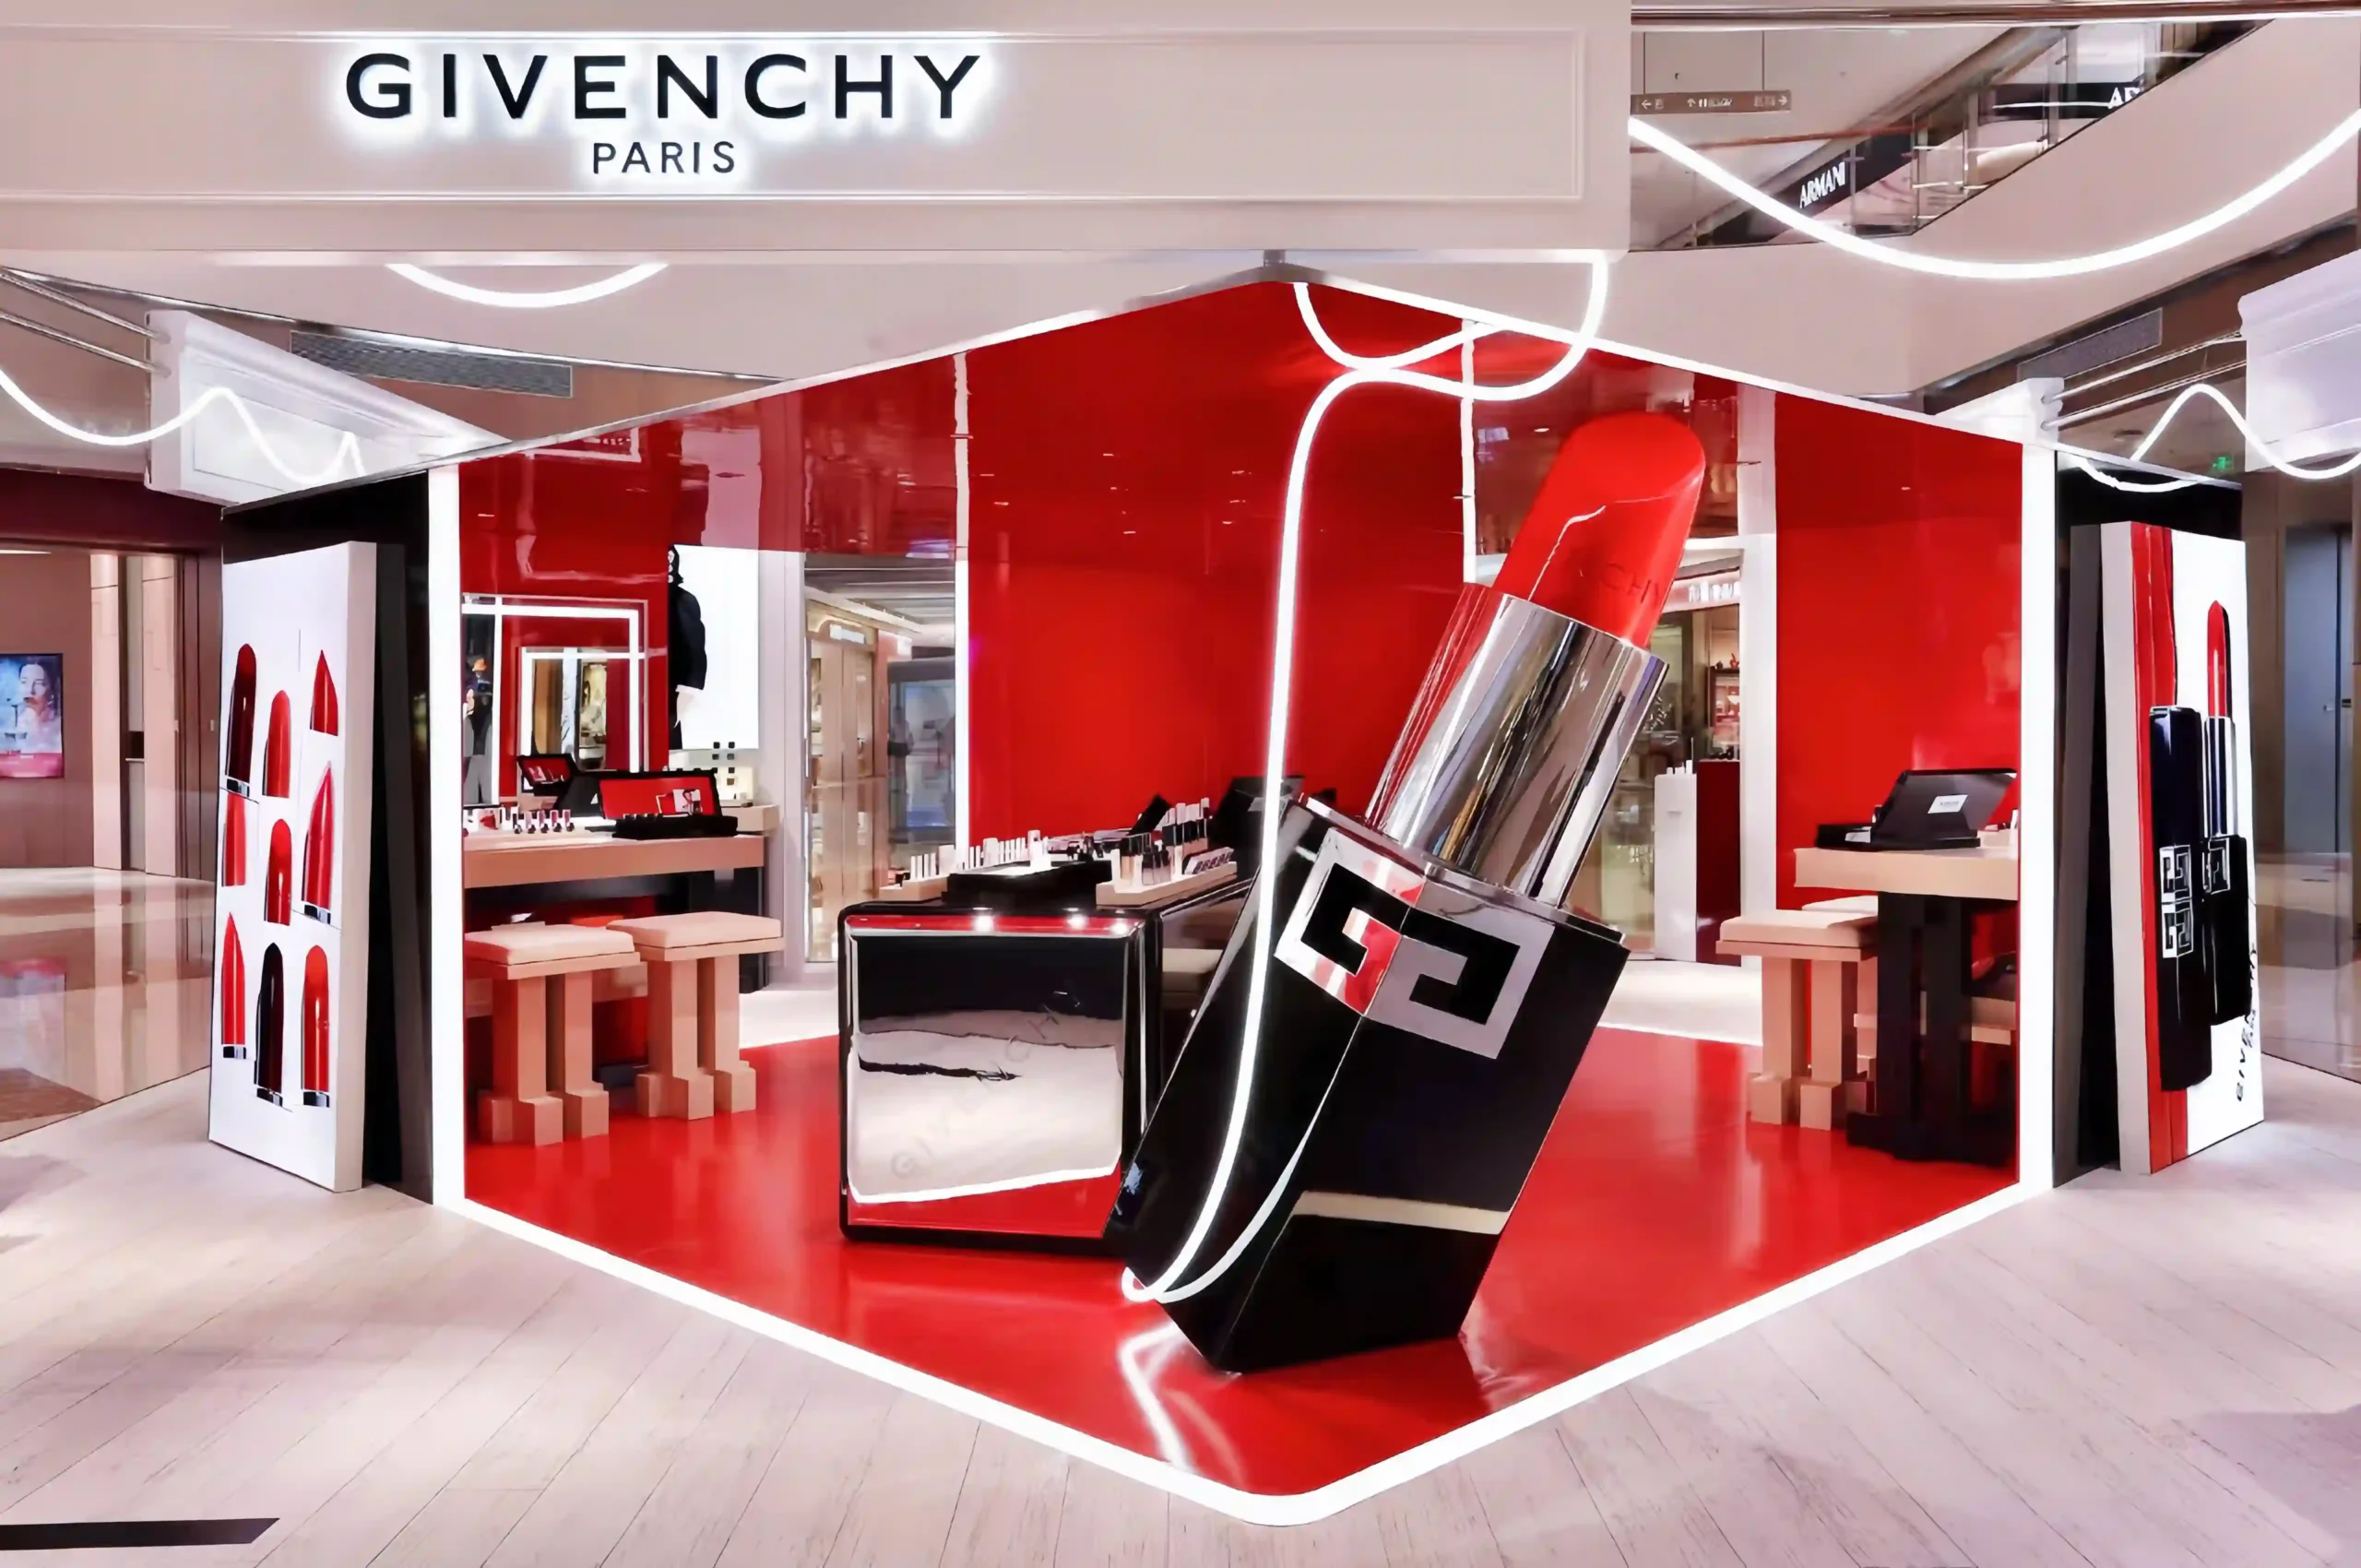
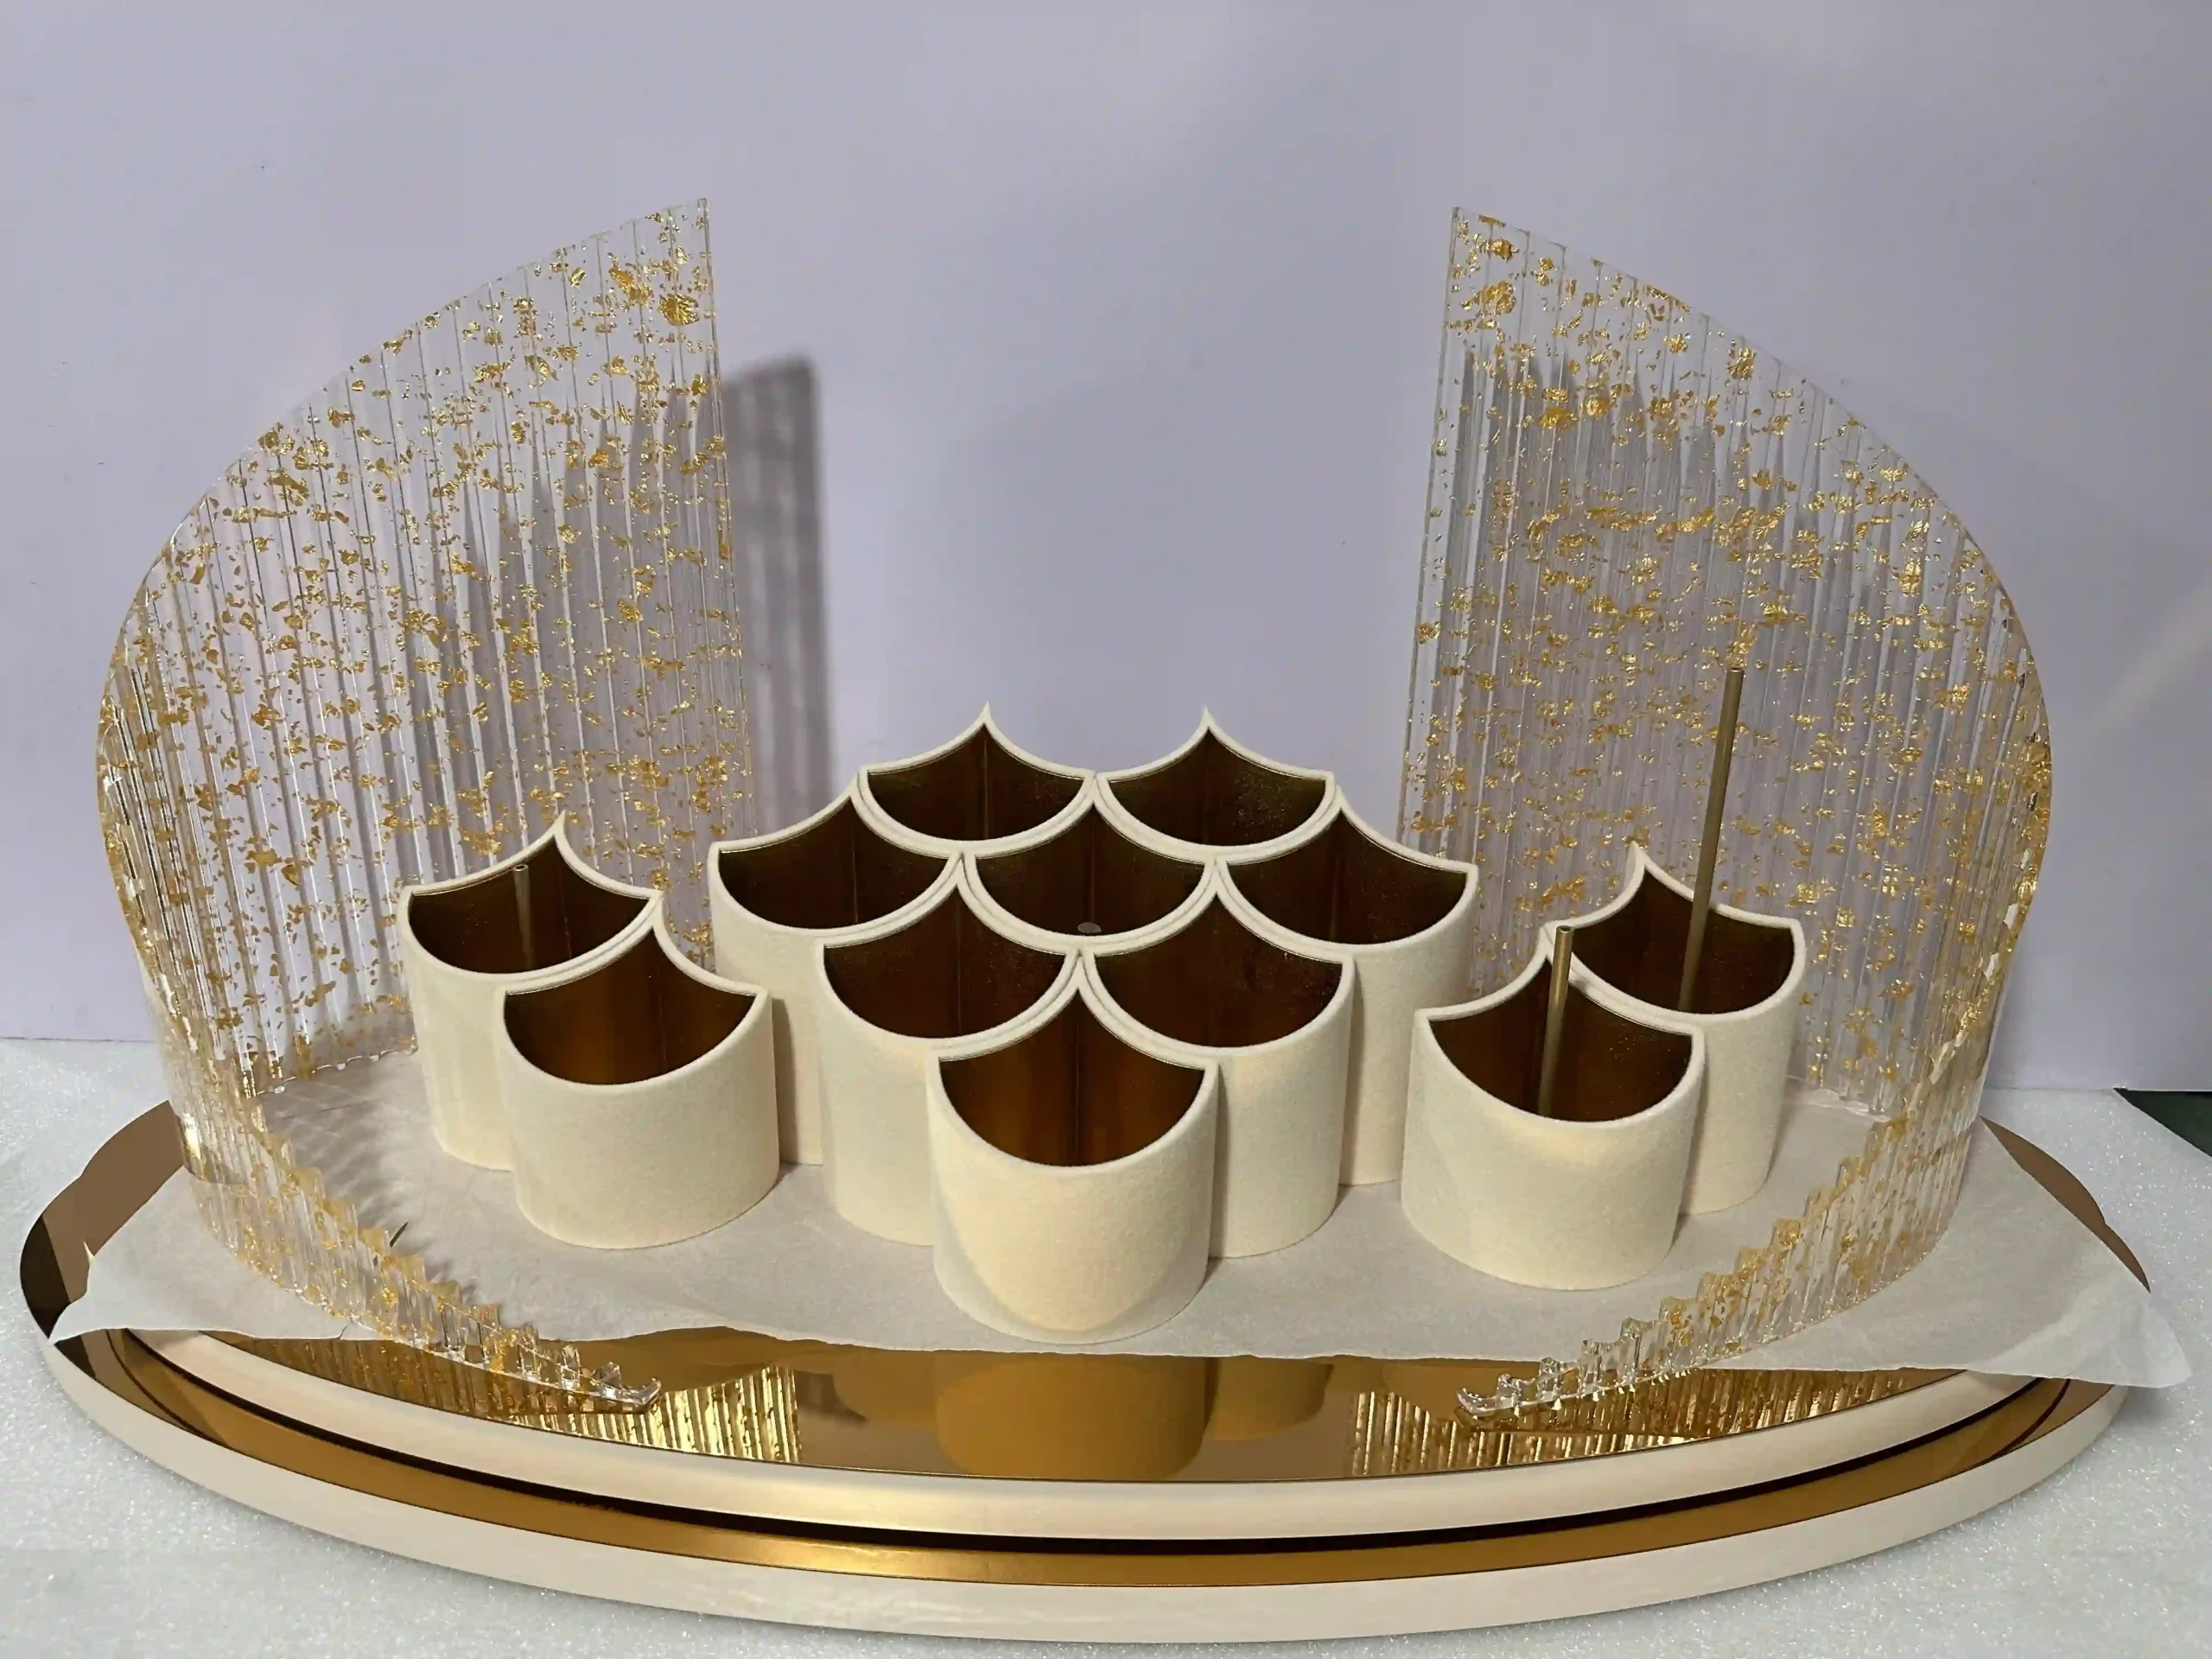
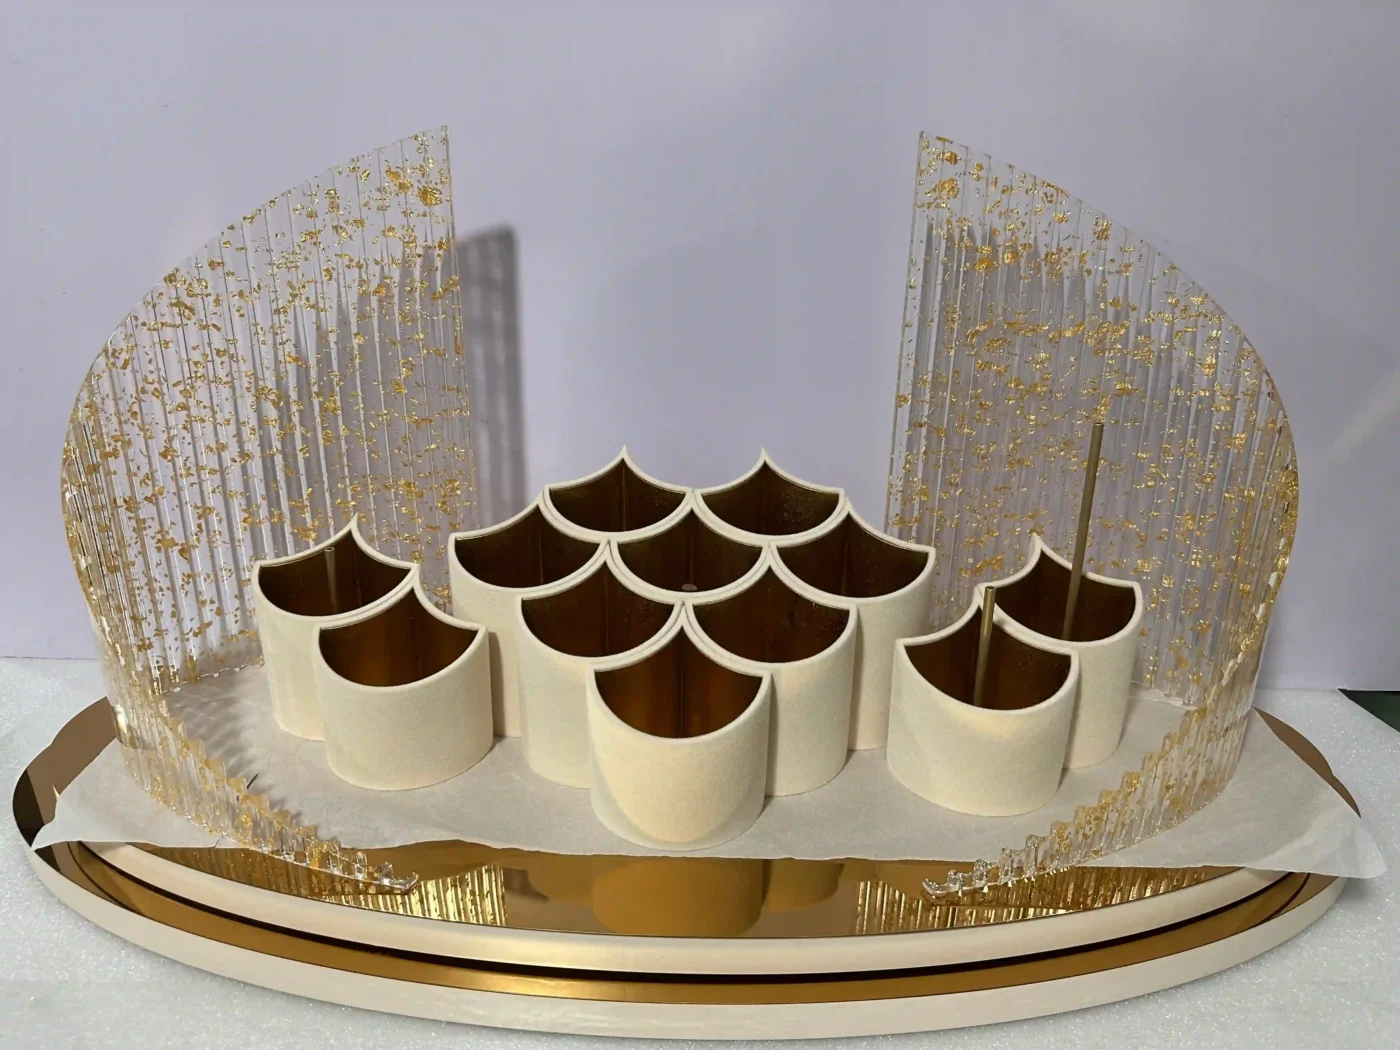
A full-size window display prototype, often called a mock-up or mock window, is a physical build of the complete window at or near its installation size. It brings the props, merchandise positions, backdrop, lighting, graphics, fixings and installation sequence together so the brand can approve the whole display before mass production begins.
It is not the same as a prop sample. A finished prop sample proves that one object can be made. A full-size prototype proves that the entire window works: in proportion, behind glass, under light, with real product, and in the hands of the people who will install it.
If a display will be repeated across many stores, the first complete set should be treated as a rehearsal, not another sample. Its purpose is not to admire how closely the factory matched the render. Its purpose is to find everything the render did not reveal.
In short:
- A prop sample approves one object. A window prototype approves the complete display.
- It is most valuable for multi-store, oversized, illuminated or first-time designs.
- Agree in writing which elements are final, representative or excluded before the build starts.
- Review ten areas: footprint, sightlines, merchandise, proportion, finishes, lighting, stability, installation, store variations and packing.
- The approved prototype becomes the documented standard that every production unit is inspected against.
Prop Sample vs Full-Size Window Prototype
The difference is scope. A sample answers a question about one material or object. A prototype answers a question about the complete retail window.
| Prop Sample | Full-Size Window Prototype | |
|---|---|---|
| What it tests | Material, finish, structure or function of one item | Composition, lighting, merchandise, installation and packing of the whole window |
| What it proves | The object can be manufactured to standard | The display works as a retail environment |
| What it cannot prove | How elements behave together at full scale | Every variation across all store formats |
| Typical timing | Early development | After drawings and key samples are approved, before mass production |
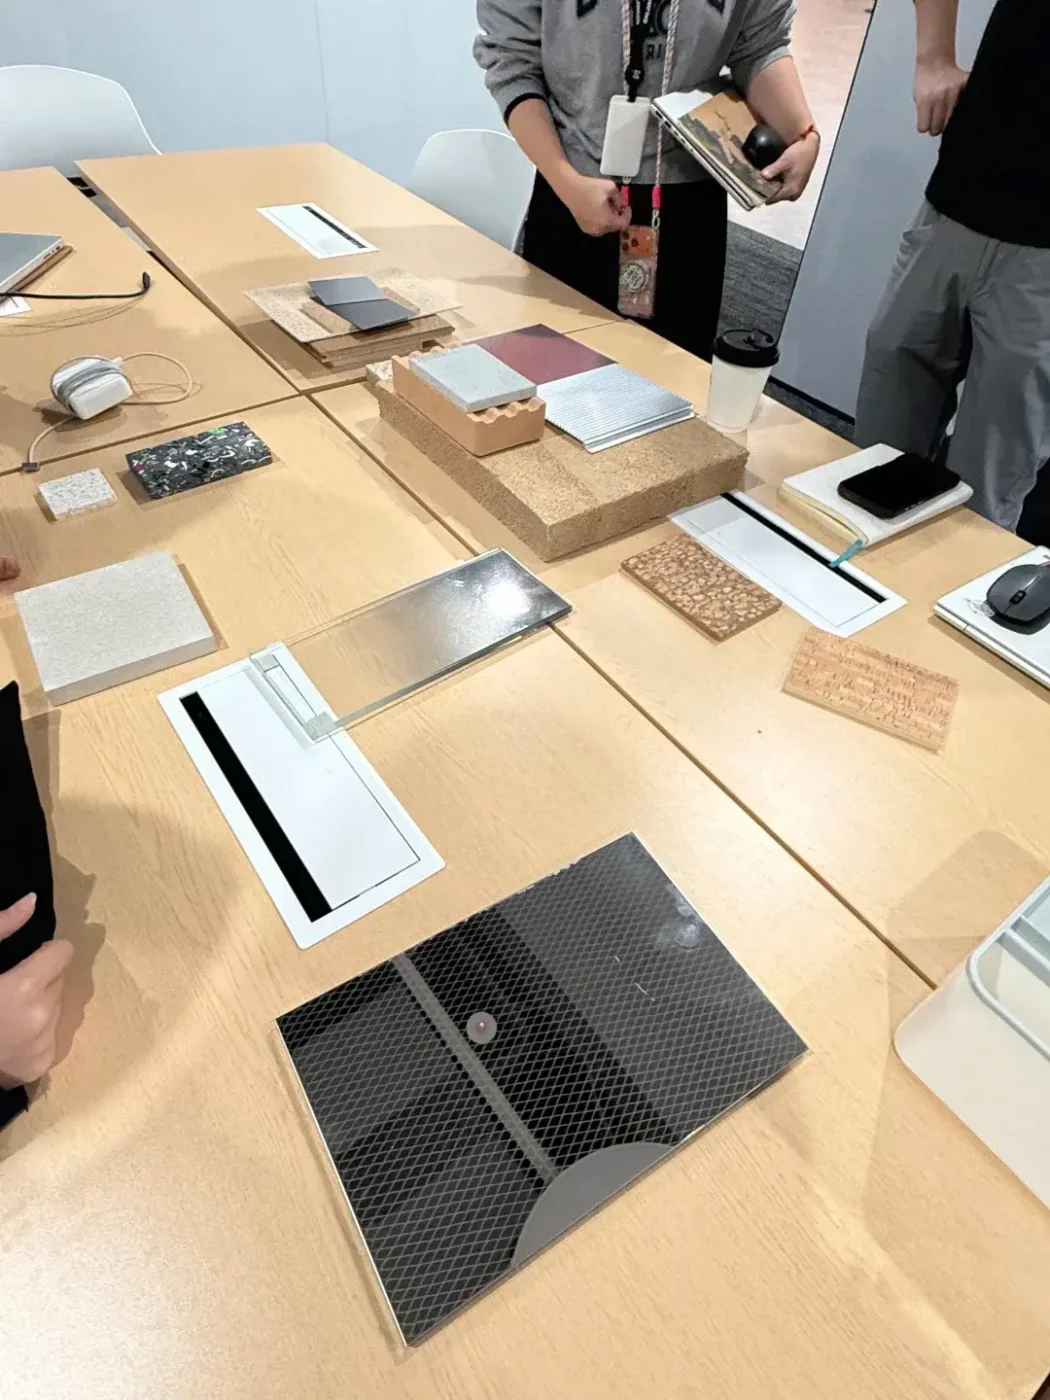
Most projects need both. Our guide to display prop sample types and approval explains how material panels, finish samples, structural tests and pre-production samples each answer a different risk question. The window prototype comes after them and asks the final question: does it all work together?
When Is a Full-Size Prototype Worth It?
A full-size prototype is worth the time and budget when an unresolved problem would be multiplied across many units or would only surface on site. The decision should follow risk, not habit.
It is particularly valuable when:
- The design will be repeated across multiple stores
- The hero prop is oversized or suspended
- Several materials and finishes must align visually
- Lighting or movement is integrated into the display
- Merchandise is small relative to the props, as with jewellery or cosmetics
- Local teams must install without factory support, often overnight
- The structure must adapt to different storefront sizes
- The manufacturer is producing the design for the first time
It is often unnecessary for a repeat order that reuses an already approved design, material, finish and packing method. In that case, a pre-production sample of the changed elements is usually enough.
How Much Time and Budget Does a Prototype Add?
The prototype timeline is set by the slowest component, plus assembly, review and any revision round. Most components are developed in parallel, so the window does not take as long as all its parts added together.
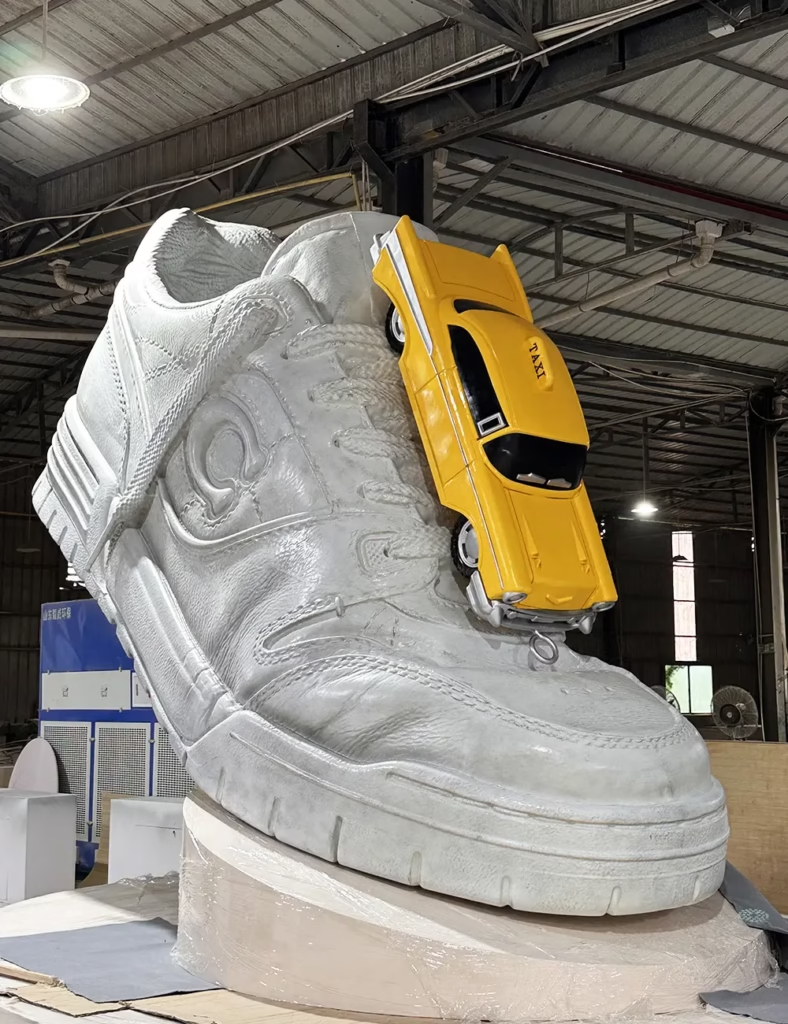
As a reference, a single sculpted FRP prop typically takes around 15 days from mould to finished electroplated sample. A window with several new forms, custom lighting and specialist finishes will run longer, and each revision round that requires another physical review adds time again. The review date should therefore be fixed in the project schedule from the start, not added when sampling finishes. Our visual merchandising production timeline explains how a late approval pushes back every stage after it.
For seasonal campaigns this matters most. Large holiday programmes usually begin development in spring, so that the prototype can be reviewed and corrected before production. A project that starts sampling in late summer rarely has room for a meaningful prototype stage.
On budget, the main drivers are:
- New tooling. Moulds, CNC masters and jigs are usually needed for production anyway, so most of this cost is not wasted.
- Finish level. Final finishes on every element cost more than representative finishes on low-risk parts.
- Lighting and electrics. Working illuminated elements cost more than placeholders, but they are where many surprises hide.
- Store replica. Rebuilding the real window frame, floor level and fixing points adds labour, and often saves the most.
Whether the prototype set can later become a store unit or retained reference should be agreed before it is built. If it is to ship to a store, it must be inspected to the same standard as the production batch. For a broader view of what moves a quote, see what shapes window display production cost.
Agree the Prototype Scope Before Anything Is Built
Before the build begins, the brand and manufacturer should agree which elements are final, which are representative and which are excluded. Without this, one side approves “the complete display” while the other believes it was only checking scale.
| Project Type | Typical Prototype Scope |
|---|---|
| Simple window | Hero prop at full size, backdrop footprint, product plinths, major graphics, representative lighting, planned fixing system |
| Complex rollout | Every visible prop, real merchandise, complete backdrops and floor panels, illuminated logos, cable routes, hanging systems, moving elements, final graphics, real packing, store-specific variations |
The elements carrying the greatest visual, structural or functional risk should use final or production-representative materials. Temporary materials are acceptable for low-risk spatial elements, as long as the approval record says so.
The 10 Checkpoints to Approve Before Mass Production
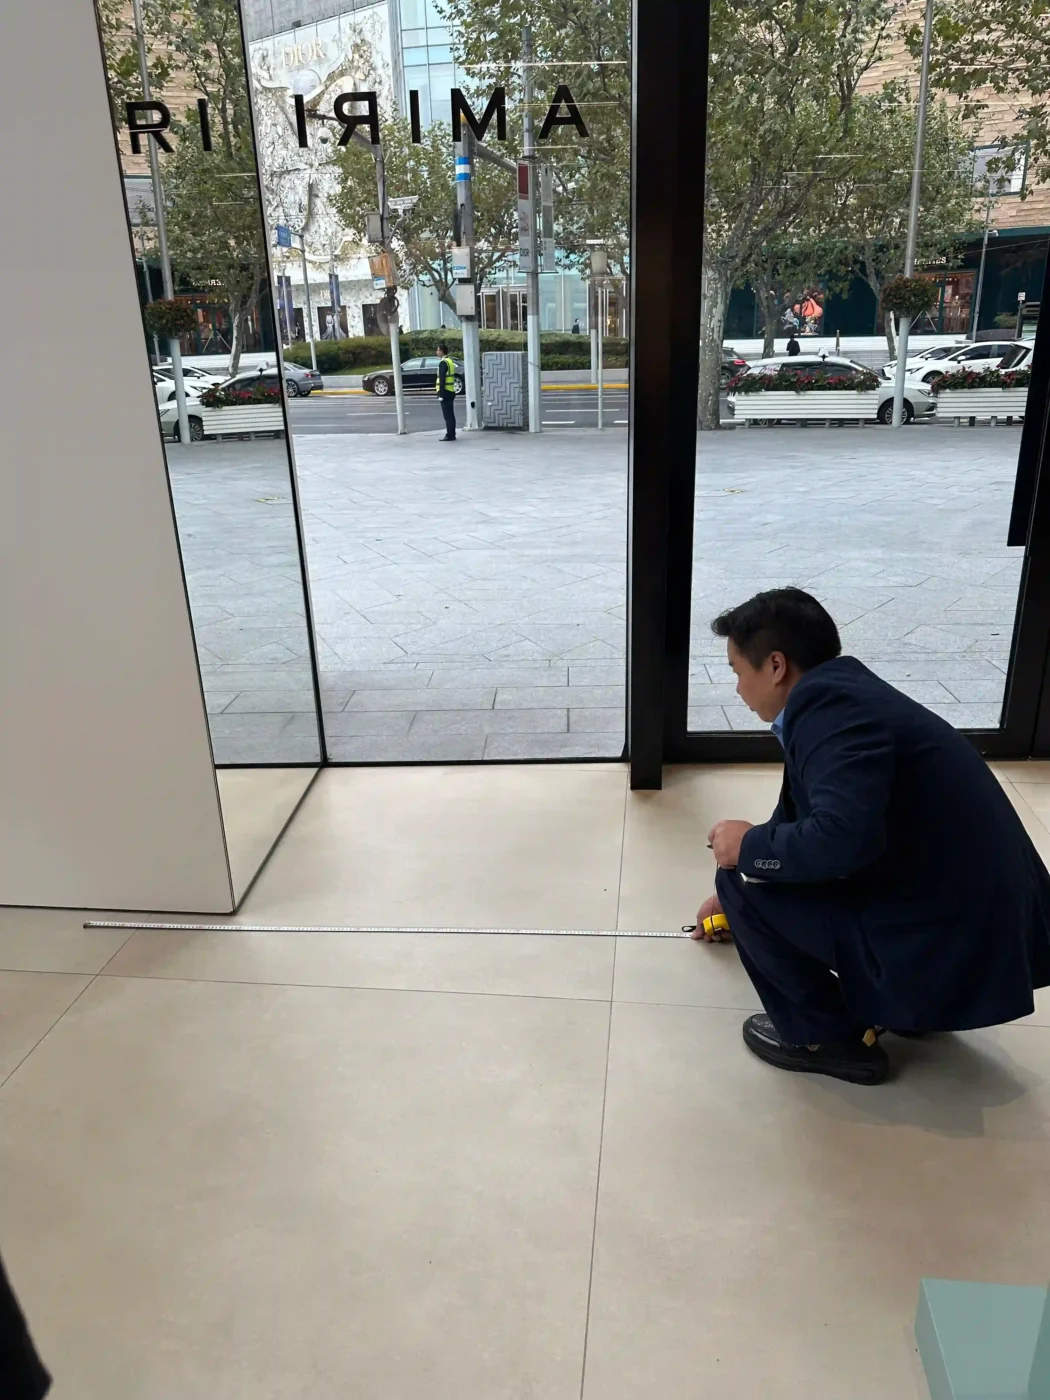
1. The Real Store Footprint, Not Only the Design Dimensions
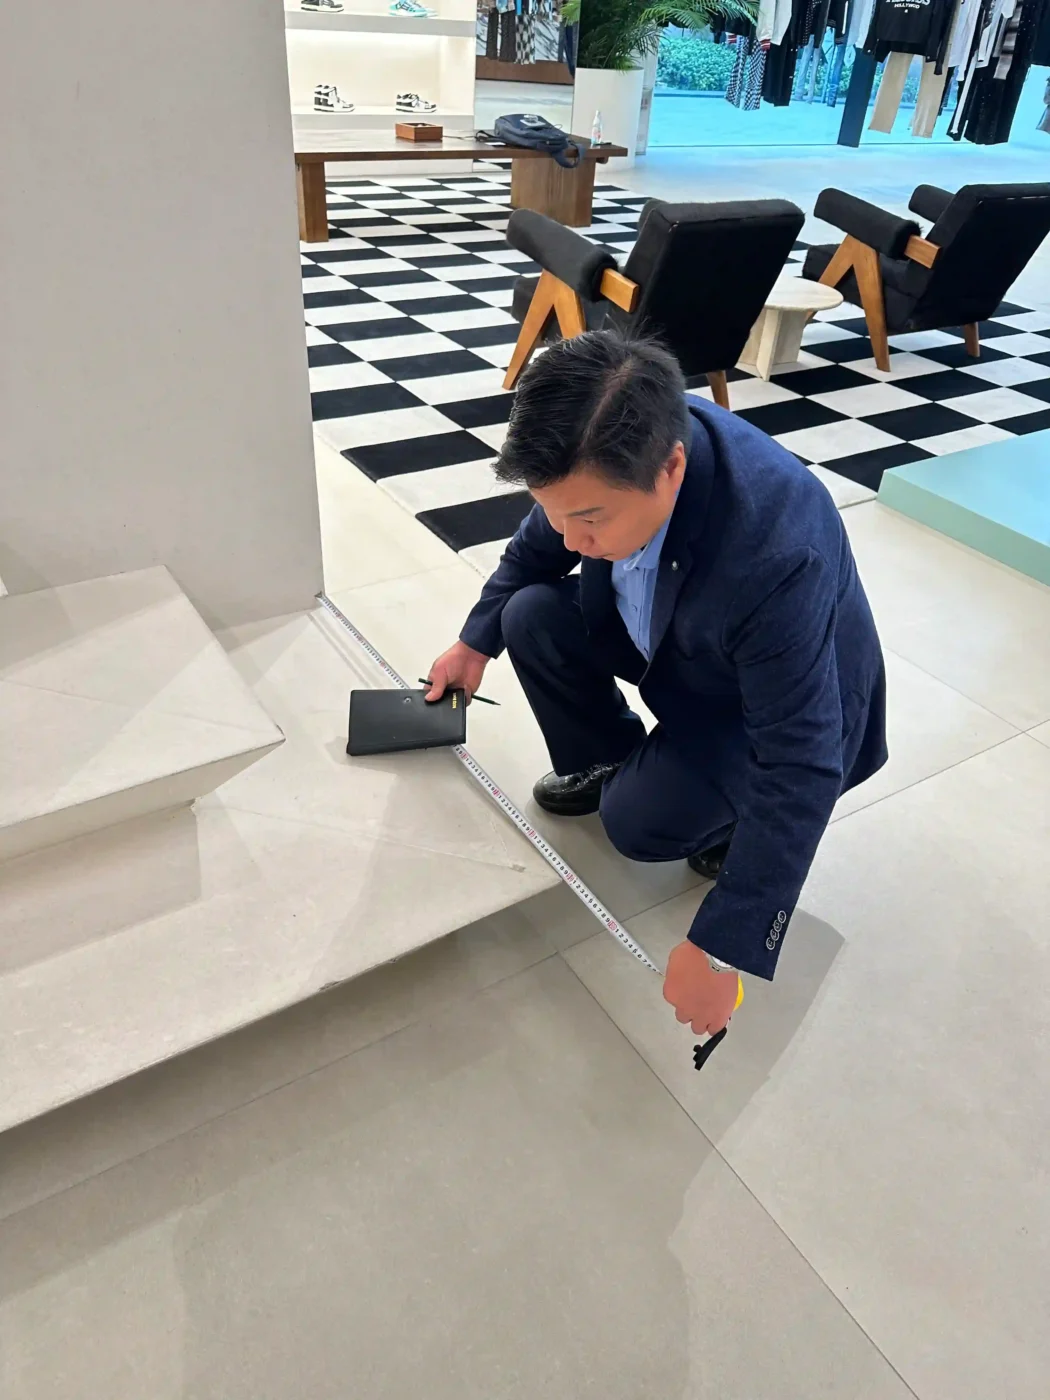
Confirm that the display fits the physical store, including the working space around it. The prototype area should reproduce:
- Window width, height and depth, and the glass position
- Ceiling and floor fixing points
- Columns, skirting and structural obstructions
- Access door dimensions
- Power outlets, sprinklers, vents and lighting tracks
- Required staff and customer clearances
A component can fit inside the window and still be impossible to rotate into position. A backdrop can match the wall and block the only power outlet. These are found in the prototype or found on installation night.
2. Real Customer Sightlines
Never approve a window from one front-facing photograph. Review it from directly in front, from both approach directions, from across the street or mall corridor, close to the glass, from the store entrance and from inside the store where relevant.
Then ask one question: what should a customer notice first, second and third? If five stakeholders give five answers, the composition is not yet doing its job.
3. The Real Merchandise
Placeholder boxes are fine in early development but not for final approval. Real products differ in size, colour, reflectivity, packaging, weight, orientation and security attachments.
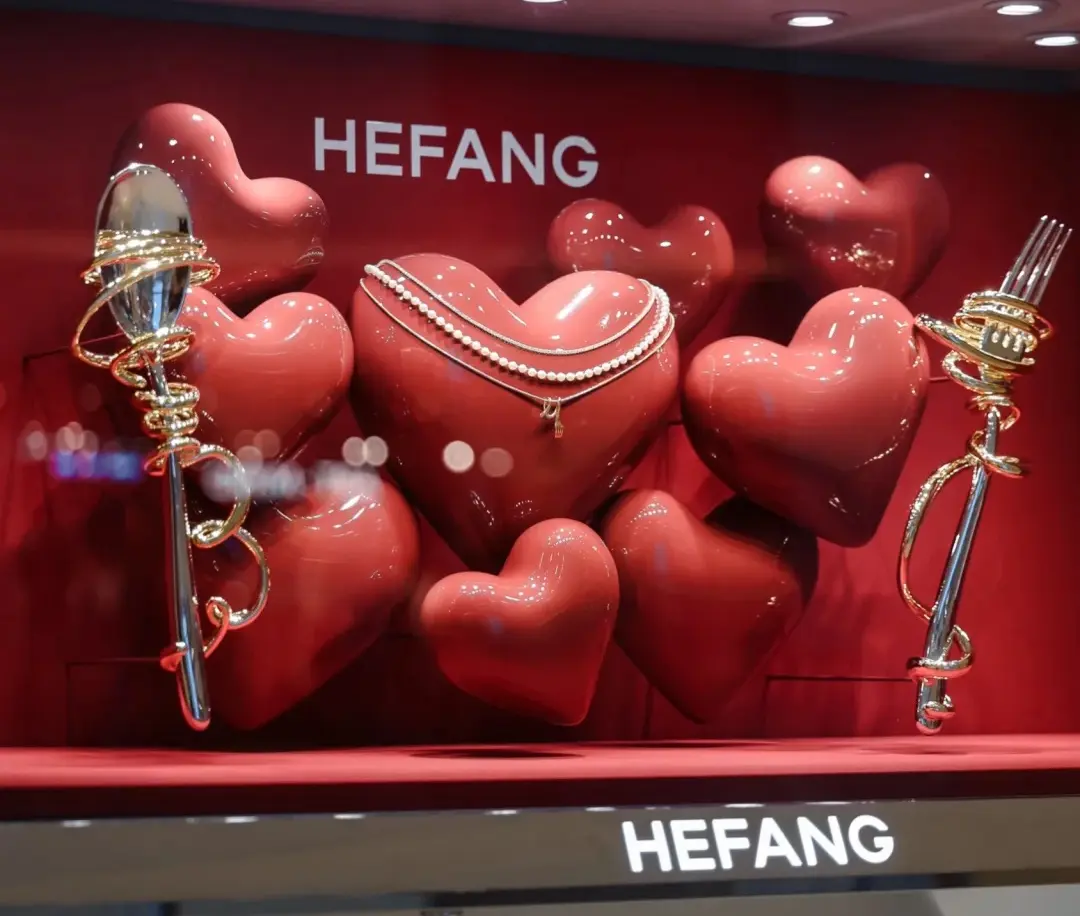
This is critical for jewellery, cosmetics, footwear and small leather goods, where a sculptural prop can easily overpower the product. The display exists to present merchandise, not to show how large an object the factory can make. Check that staff can place, secure, remove and replace products without disturbing the composition.
4. Proportion, Judged in Person
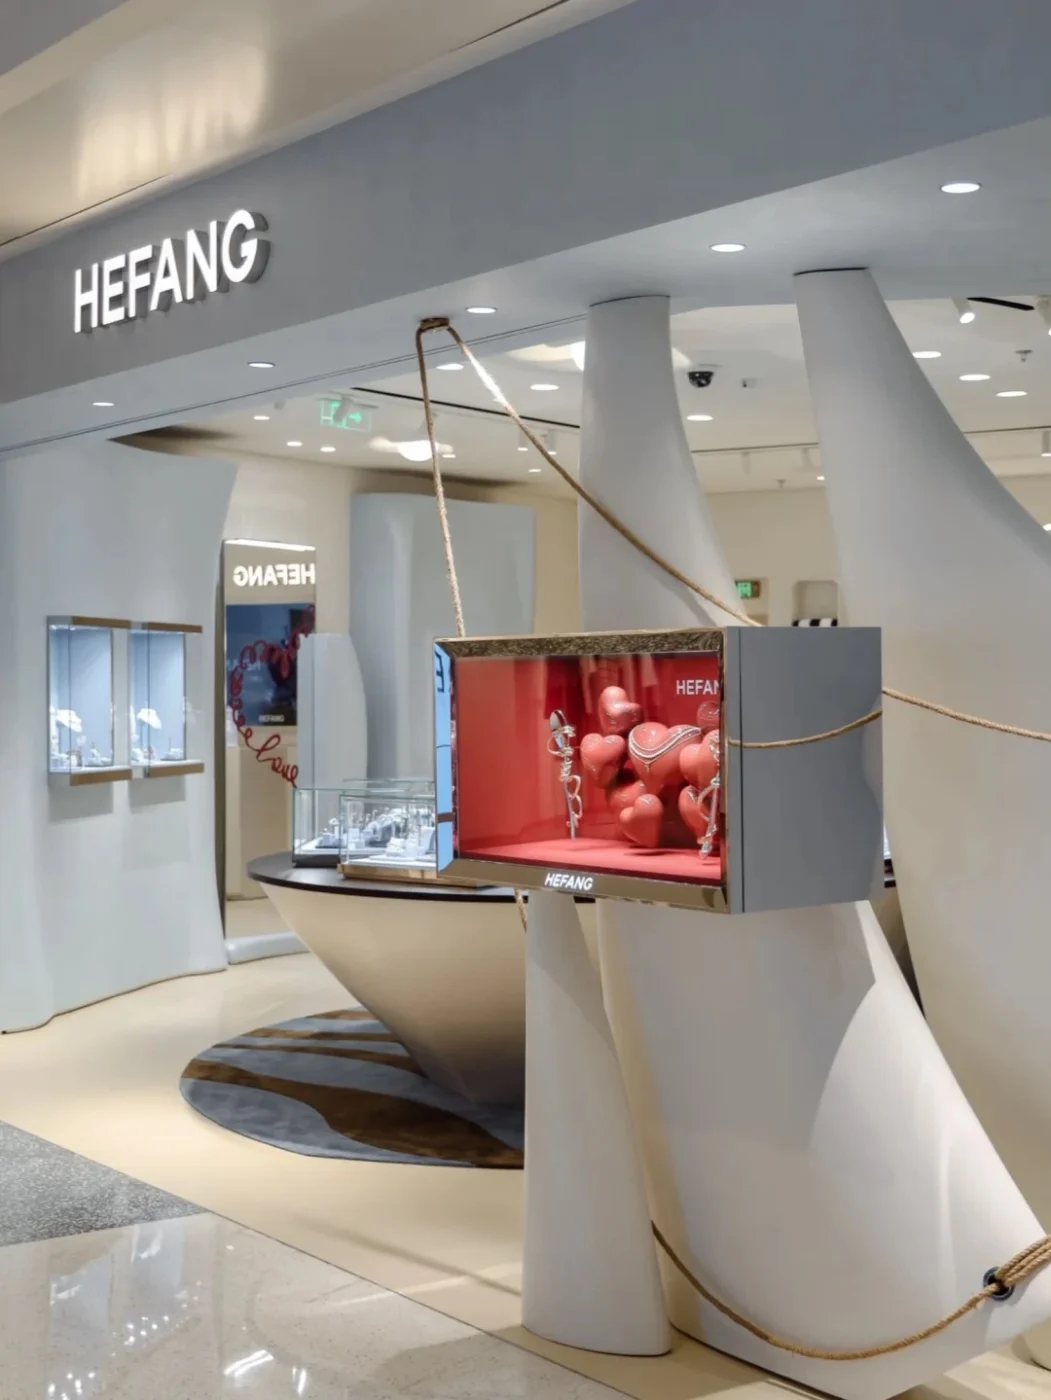
Forms that look elegant in a render can feel heavy behind glass, or lose impact because they are too small for the storefront. Review hero prop size against the window, product size against the props, spacing, negative space, height variation, layering, logo scale and graphic reading distance.
A component can be dimensionally correct and still feel wrong. The guide on translating creative renders into production drawings explains how design intent becomes engineering information. The prototype is where the team confirms those engineering decisions still serve the visual result.
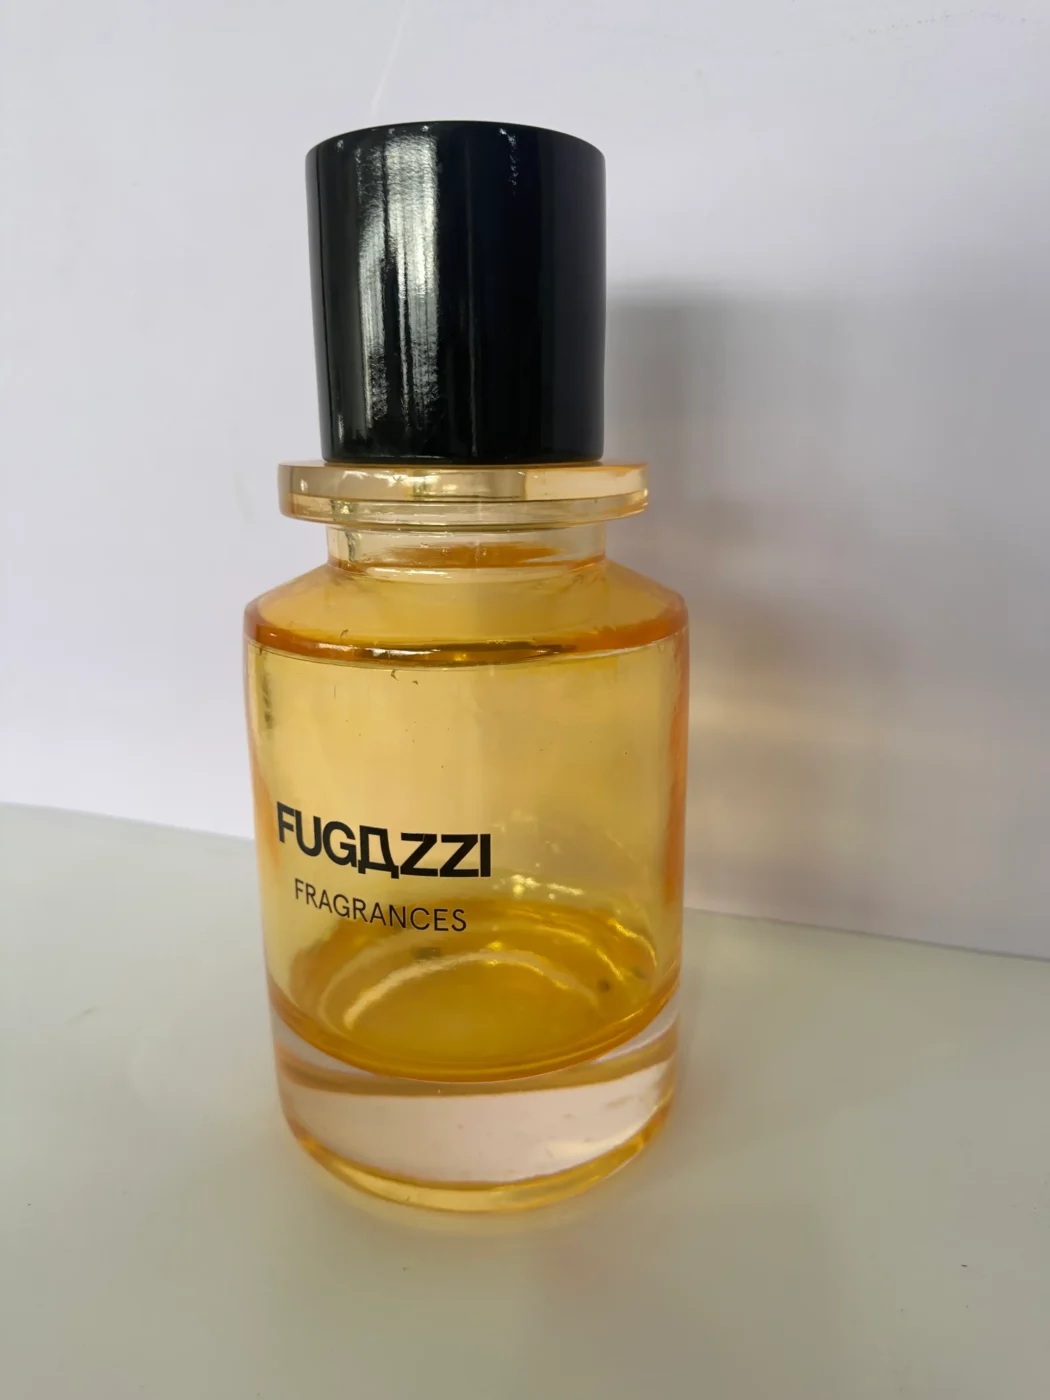
5. Colour and Finish Under Representative Lighting
Do not approve colour on a phone screen. Paint, acrylic, mirror, metallic coatings, fabric and print all shift under different light and through storefront glass.
Review finishes under lighting close to the final store, at normal viewing distance and up close. Look for colour mismatch, uneven gloss, sanding marks, surface waves, dust in paint, adhesive marks, open seams, distorted reflections and light leaking through joints.
Agree an objective colour reference and a physical approved finish panel. “Slightly warmer gold” is not a production instruction.
6. Lighting as Part of the Display
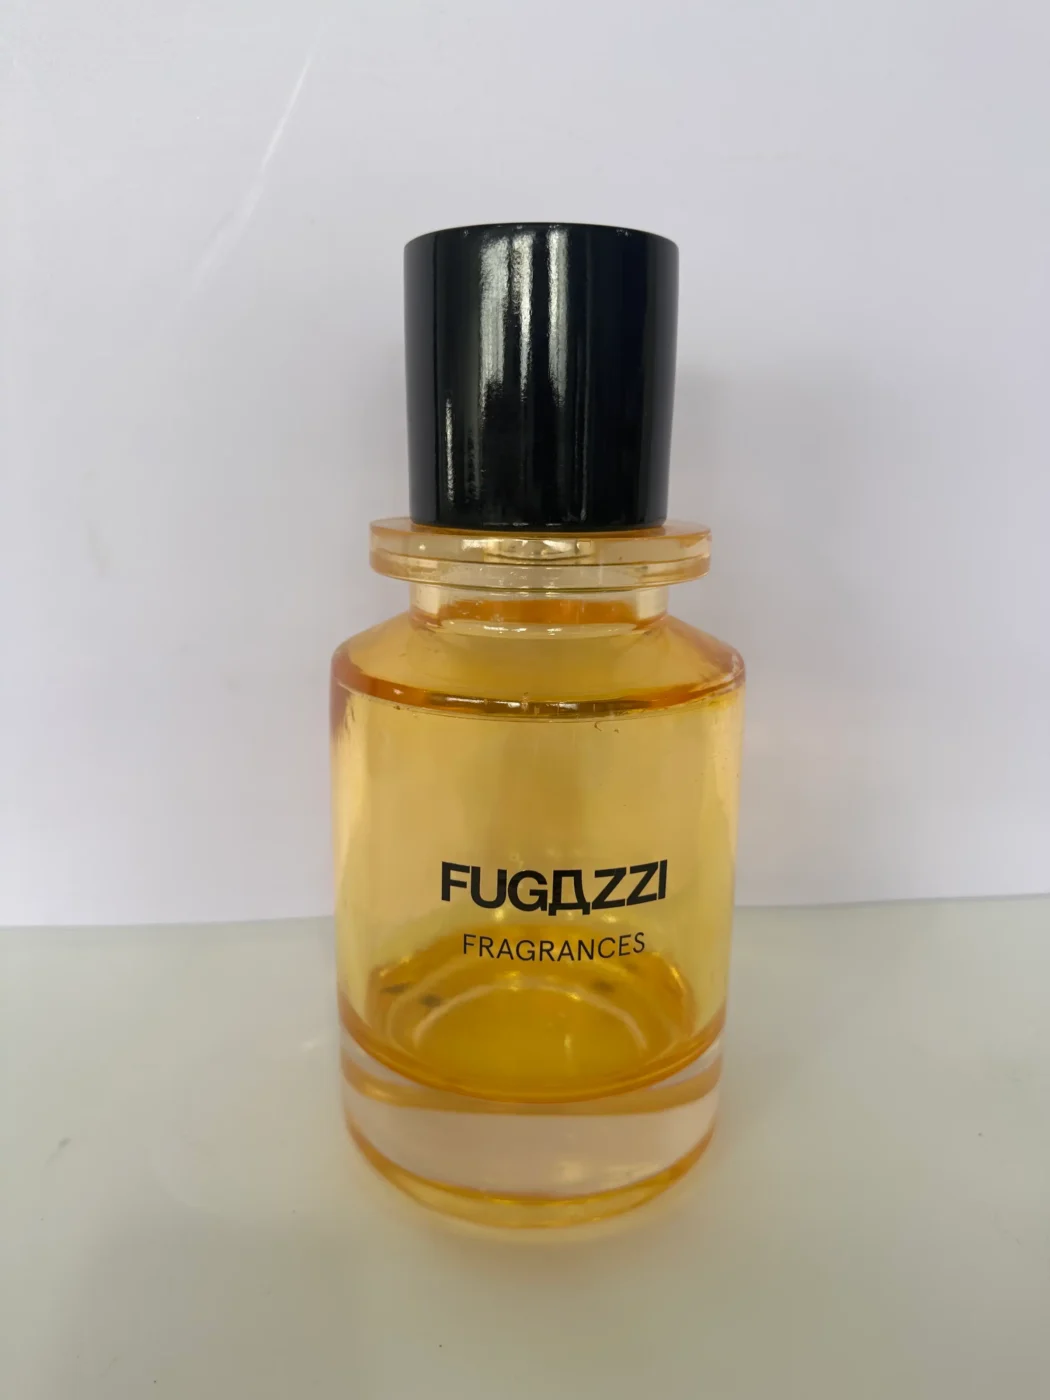
A lighting unit can work perfectly while the window still looks wrong. Turn off the surrounding workshop lights and check light distribution, hot spots, dark areas, colour consistency between modules, shadows on products, reflections in acrylic and glass, visible LED points, cable routes, heat around enclosed components, and access to drivers and power supplies after installation.
7. Stability, Fixings and Human Interaction
The prototype should be handled, not only viewed. Installers should assemble it, staff should approach it, and hinged, rotating or removable parts should be operated. Check base stability, fixing and hanging points, alignment, load on product supports, sharp edges, pinch points and movement from normal contact.
Site-specific engineering, fire and electrical requirements must be confirmed by the responsible project team before production. A visually successful prototype should not be approved while the fixing method is still “to be confirmed.”
8. The Installation Itself
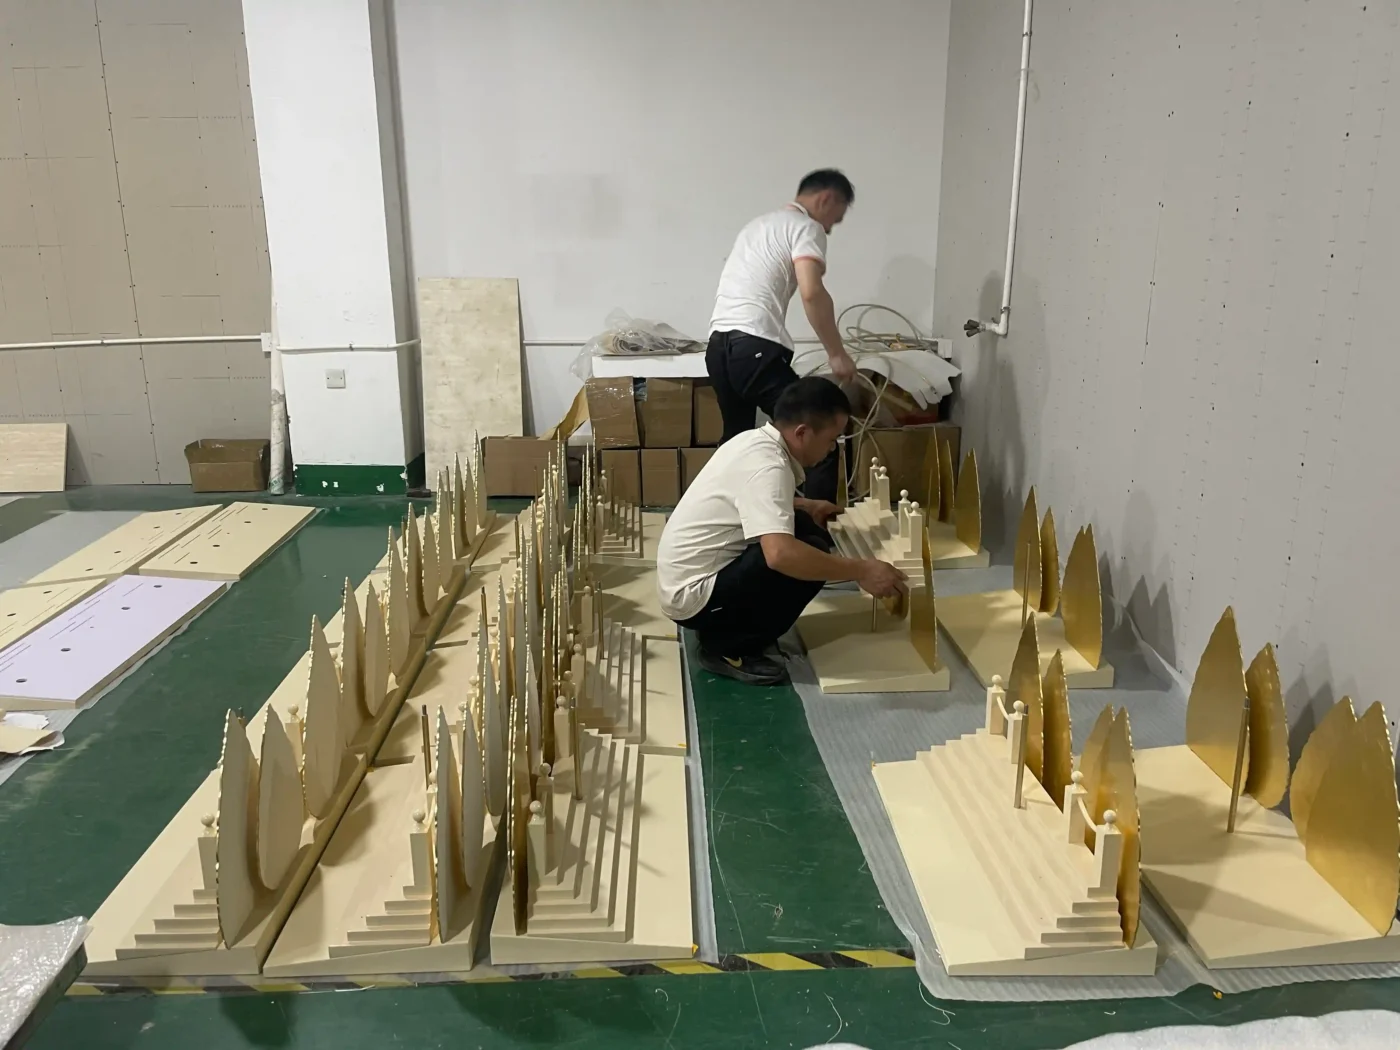
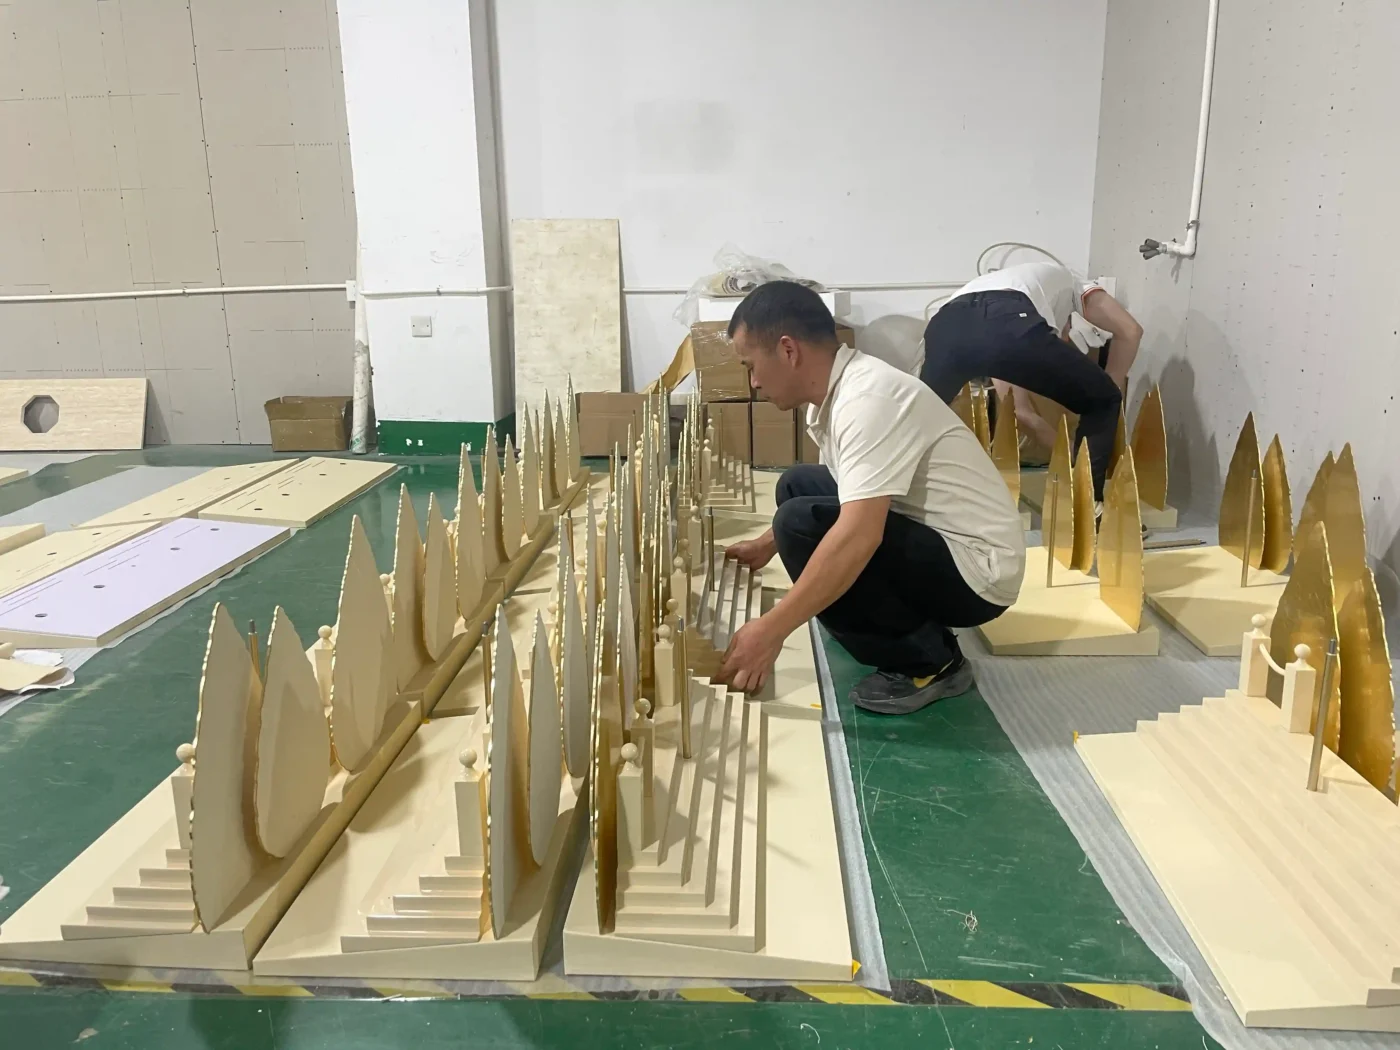
Ask the intended installation team, or people working only from the written instructions, to assemble the display. Record the number of people, tools, sequence, difficult lifting points, parts that can be fitted incorrectly, cable connection order, alignment method and disassembly.
If an engineer has to explain every connection verbally, the installation system is not ready for a rollout. Parts should be designed and labelled so the correct sequence is obvious.
9. Store Variations
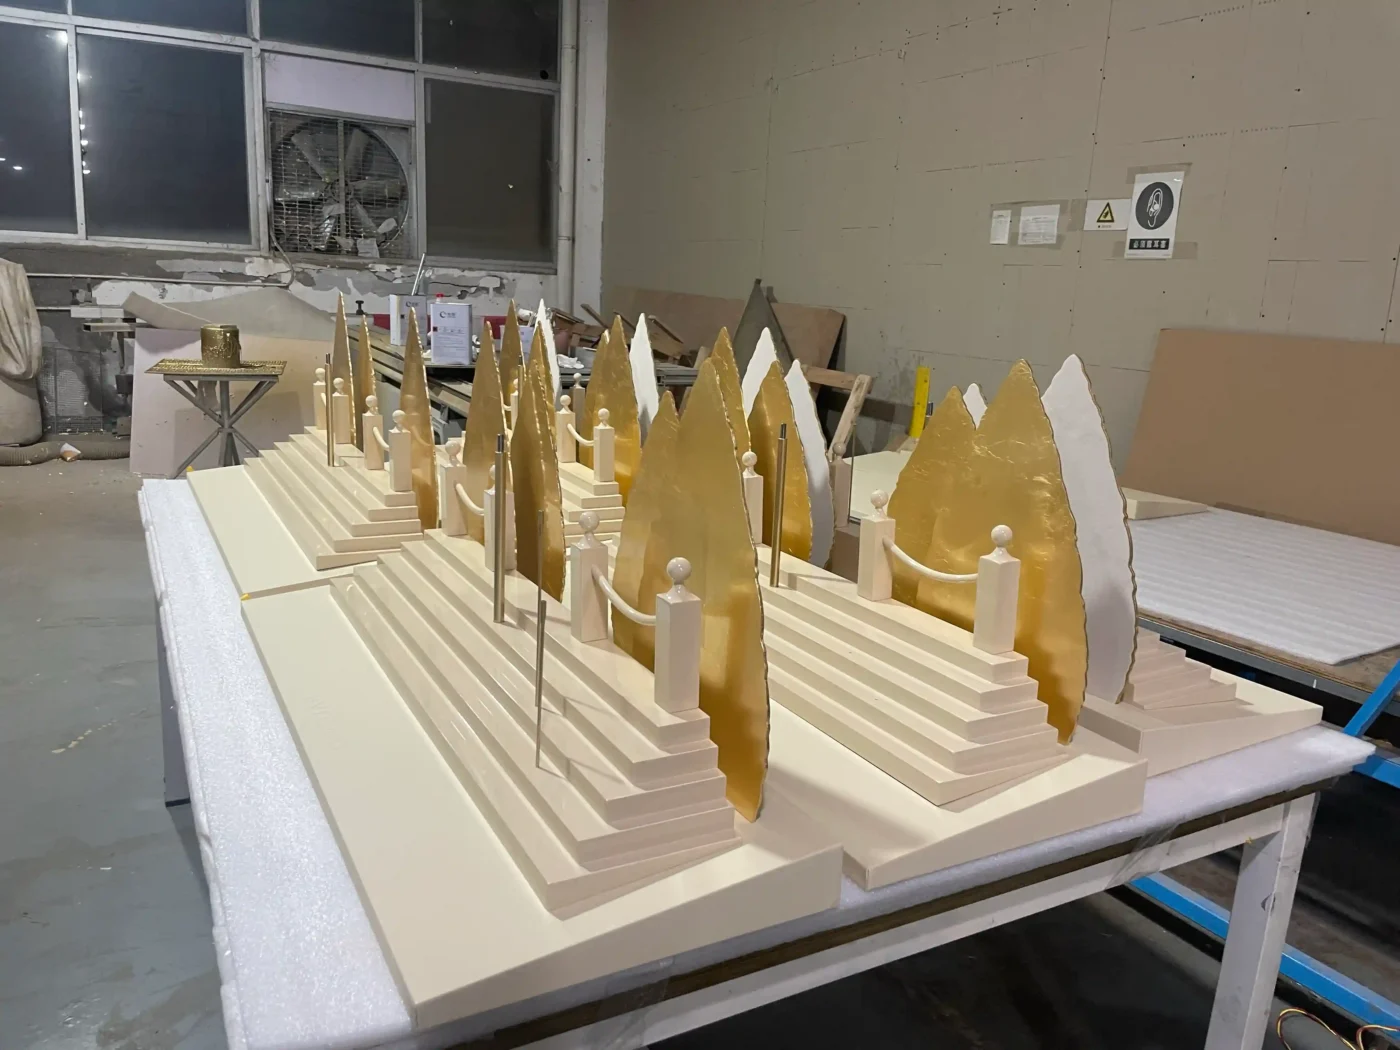
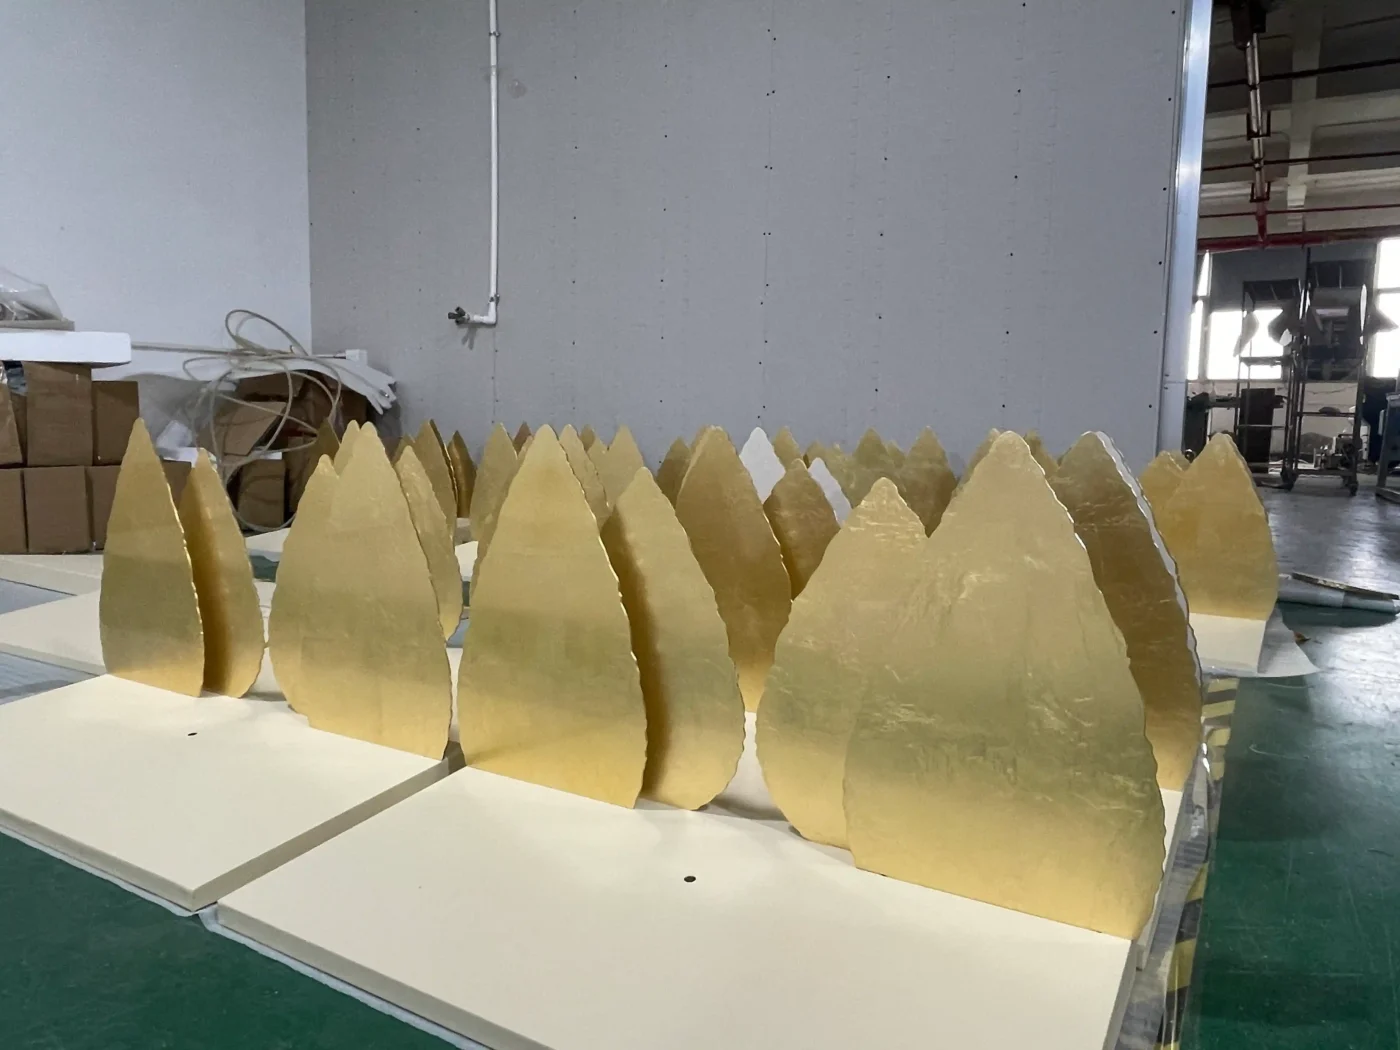
Multi-store campaigns rarely use identical windows. Widths, depths, ceiling heights, power positions, hanging restrictions and installation time all vary.
Group locations into repeatable formats, such as standard, narrow, wide, shallow, corner and no-overhead-fixing windows, and give each format a documented layout and bill of materials. One hero prop may need different bases, backdrop widths or fixings across the programme. Installers should never have to improvise dimensions after delivery. This is where the prototype connects directly to running a multi-store window display rollout.
10. Disassembly, Packing and Repacking
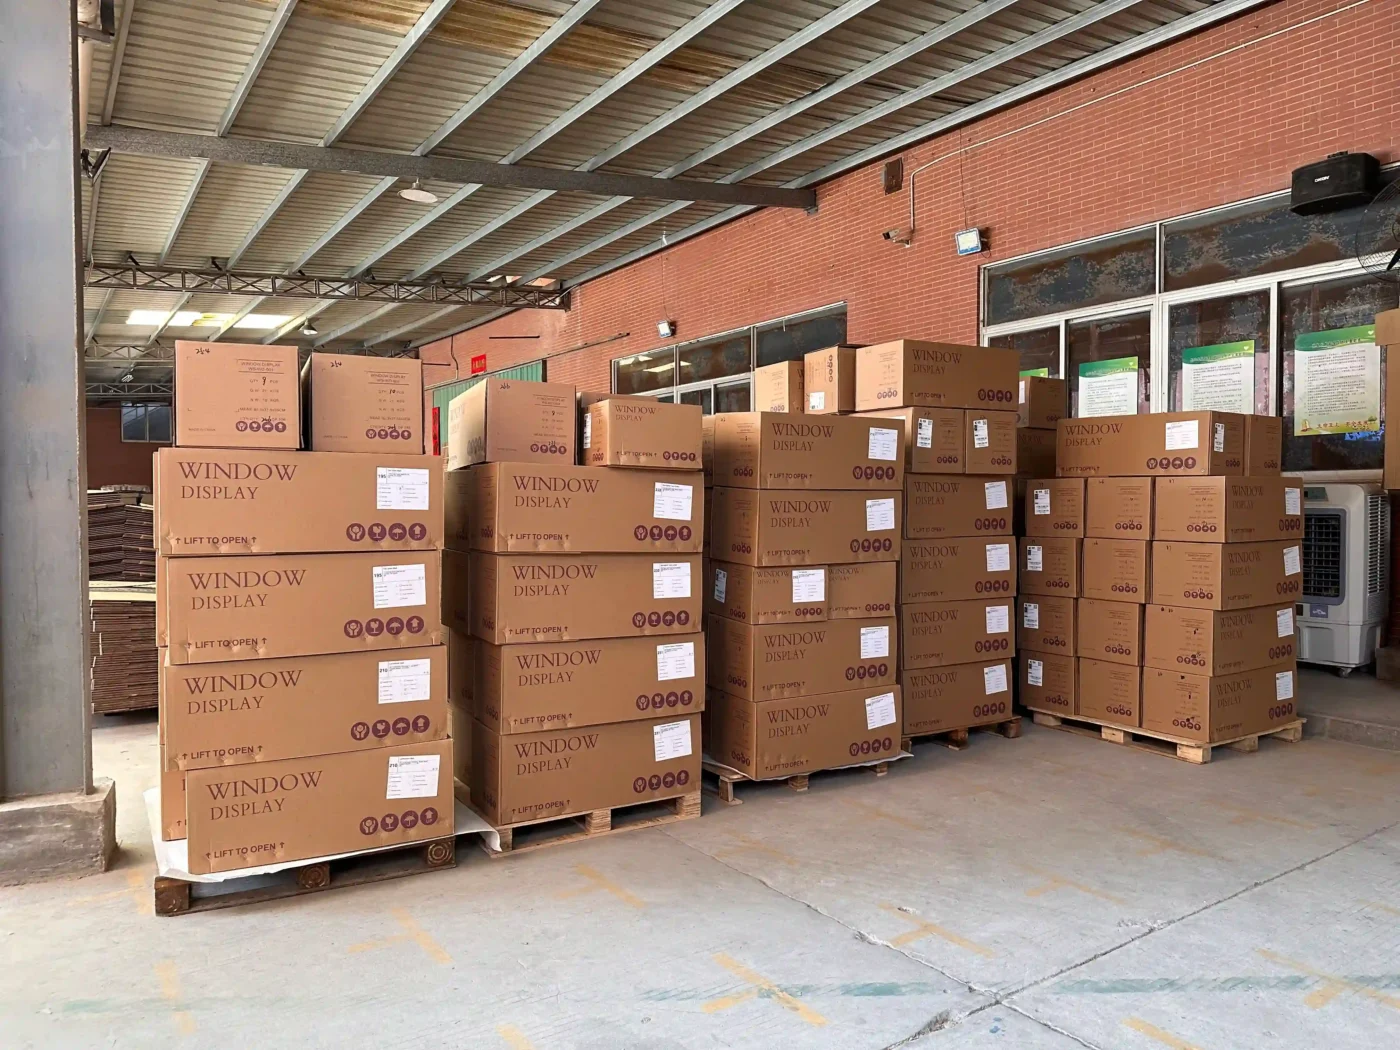
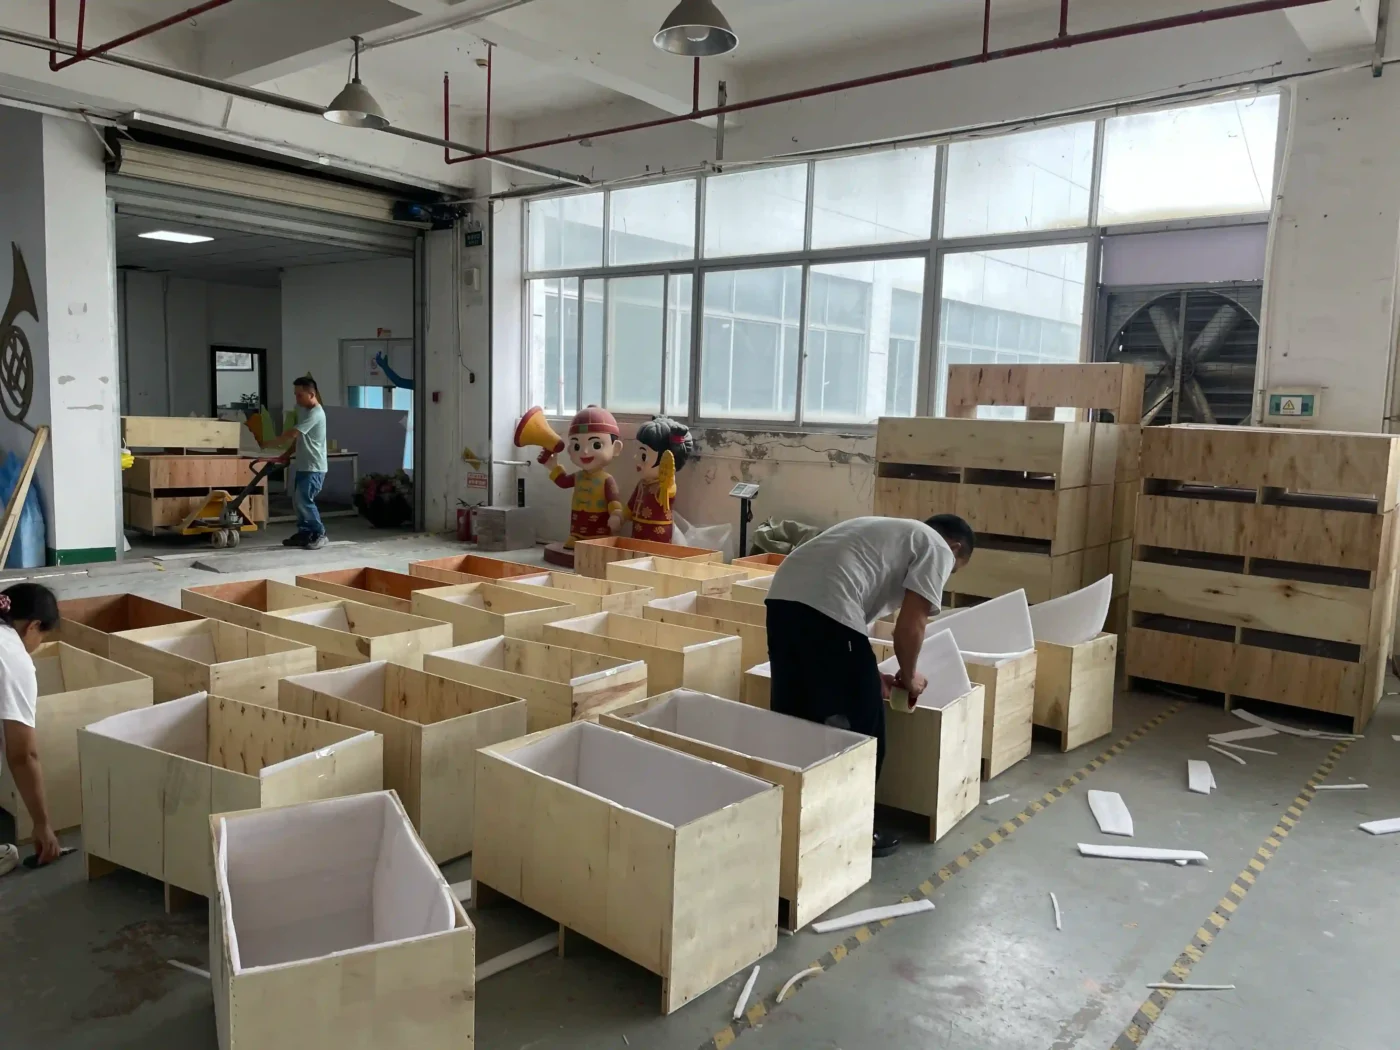
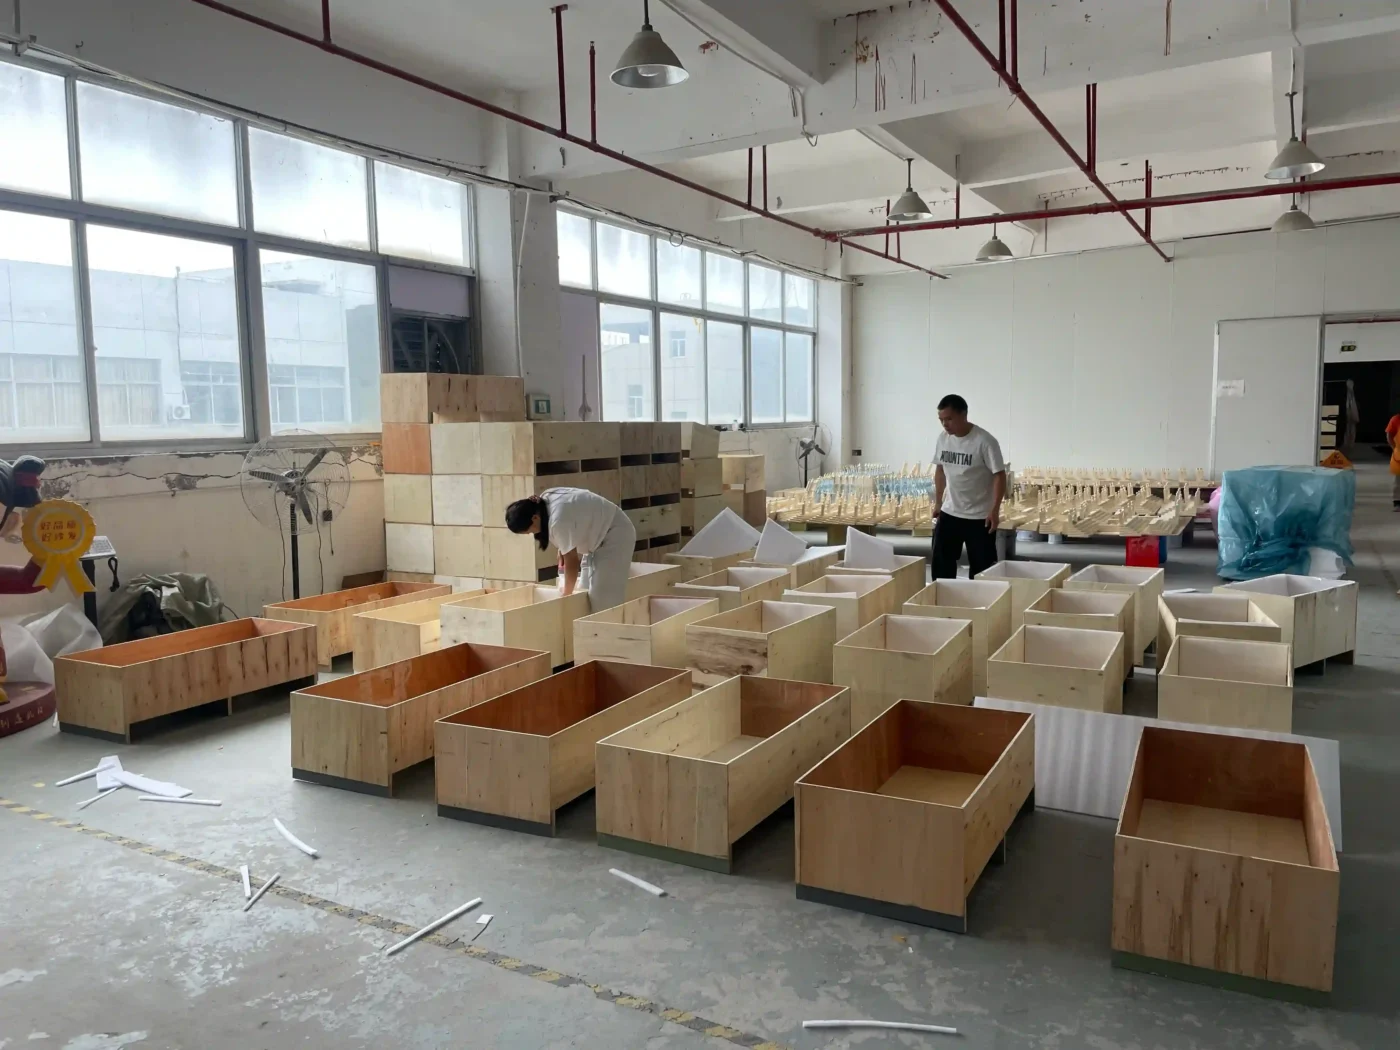
The review is not finished when the window looks right. Take it apart and test the packing: contact points between components, protection for painted, polished and mirrored surfaces, pressure on fragile edges, movement inside the crate, orientation and store labels, hardware bags, instructions, spares, and whether reusable props can be repacked after the campaign.
This stage often reveals a small structural change, such as a removable arm or a split base, that cuts shipping volume and simplifies installation without changing the visible design. Packing should be approved as part of the product.
Who Should Approve What
Approval works when each stakeholder knows what they are responsible for.
| Stakeholder | Approval Responsibility |
|---|---|
| Creative or design team | Composition, proportion, colour, brand expression |
| Visual merchandising team | Product presentation, sightlines, store practicality |
| Technical or engineering team | Structure, connections, fixings, electrical integration |
| Procurement | Approved specification, quantity, cost-impacting changes, documentation |
| Retail operations | Staff access, replenishment, store-level handling |
| Installation partner | Assembly sequence, tools, labour, site constraints |
| Manufacturer | Manufacturability, repeatability, QC standard, packing method |
One brand-side owner should consolidate all feedback into a single controlled document. A factory receiving separate, conflicting notes from the designer, procurement, a regional VM manager and the installer cannot close revisions reliably.
How to Run a Productive Prototype Review
Before the review, send the manufacturer the approved render, latest production drawings, store survey, merchandise samples, colour and finish references, graphic files, electrical requirements, installation restrictions, the review checklist and the names of authorised approvers.
During the review, follow a fixed sequence:
- Inspect the empty structure
- Install every component in the planned order
- Add the real merchandise
- Switch on all lighting and moving elements
- Review from the agreed customer viewpoints
- Inspect finishes under representative lighting
- Photograph and measure every requested change
- Disassemble and test the packing
- Confirm which changes need another physical review
After the review, issue one approval record with approved photographs, final dimensions, material and finish references, lighting components, hardware, installation and packing notes, accepted deviations, required corrections, revision number, date and approver names.
Remote Prototype Approval: What Evidence to Request
Remote approval can work, but a few polished photographs are not enough. Request:
- A continuous video walkthrough and wide views of the complete prototype
- Photographs from each agreed sightline
- Close-ups of surfaces, joints and fixings
- Dimensions shown with measuring tools
- Merchandise placement
- Lighting filmed under different surrounding light levels
- Assembly, disassembly and stability footage
- Packing trial photographs
- A written issue and revision list
Colour-critical and metallic finishes may still need physical panels shipped to the brand, because cameras and screens alter them. Remote approval should reproduce the logic of an in-person inspection, not reduce it to “looks good in the video.”
Red Flags That Should Pause Approval
Pause the approval if any of these are true:
- Real merchandise has not been tested
- Prototype dimensions do not match the store survey
- Final lighting is missing from the review
- Fixings are still “to be confirmed,” or visible cables are expected to be solved on site
- The factory cannot demonstrate disassembly and packing
- Parts could be confused between stores or formats
- Finish approval relies only on edited photographs
- Mass production is requested before open revisions are closed
Approving with open questions does not remove them. It moves them into mass production, where they cost more.
From Approved Prototype to Production Standard
Once approved, the prototype becomes the reference for production and quality control. “Approved” must mean something measurable, so the standard should include:
- A retained master sample or reference components (sometimes called a golden sample)
- Photographs from controlled angles
- Approved colour and finish panels
- Final drawings, component list and hardware specification
- Lighting and electrical specification
- Assembly instructions and inspection checkpoints
- Packing layout and approved deviation notes
Batch inspection then compares production units against this standard, not against a verbal description or an old render.
Frequently Asked Questions
What is a full-size window display prototype?
A full-size window display prototype, also called a mock-up or mock window, is a physical assembly of the complete retail window at or near installation size. It verifies composition, merchandise visibility, finishes, lighting, structure, installation and packing before mass production.
Is a window display prototype the same as a prop sample?
No. A prop sample tests one material, finish, structure or object. A window prototype tests how all elements work together as a complete display, including merchandise, lighting, installation and packing.
Does every window display project need a full-size prototype?
No. Repeat orders using already approved designs, materials and packing usually do not. New, oversized, illuminated or multi-store displays benefit most, because any unresolved problem is repeated in every unit.
How long does a window display prototype take?
It depends on the slowest component and the number of revision rounds. A single sculpted FRP prop typically takes around 15 days from mould to finished sample, and complex windows with lighting and multiple finishes take longer. The review date should be built into the schedule from the start.
Can a window display prototype be approved remotely?
Yes, if the manufacturer provides structured evidence: video walkthroughs, measured views, close-ups, lighting tests, assembly footage and packing trials. Colour-critical or metallic finishes may still need physical panels.
Should the prototype use final materials?
Elements with the highest visual, structural or functional risk should use final or production-representative materials. Temporary materials are acceptable for low-risk spatial elements if the approval record states clearly what is representative.
What happens after the prototype is approved?
The manufacturer closes the revision list, updates drawings and specifications, documents the approved standard and begins mass production. Batch inspection compares each production unit against that approved reference.
Approve the Window Before You Multiply It
A full-size prototype is not theatre for the approval meeting. It is a working test. Challenge the dimensions, sightlines, merchandise hierarchy, lighting, installation sequence and packing. Ask installers to handle it. Ask retail operations to reach the product. Look at it through glass and from the wrong angle, not only from the photographer’s chosen position.
The best time to discover that a window is difficult to install is while there is still only one of it. For multi-store campaigns, the most expensive sentence in a project is often “we will solve that on site.” A proper prototype replaces that sentence with a documented answer.
Planning a Full-Size Window Display Prototype?
VM Display supports custom retail window projects from engineering and prototyping through production, inspection, packing and delivery. Share your creative render, storefront dimensions, quantity, merchandise requirements and installation date, and we will help plan the right prototype scope before production.