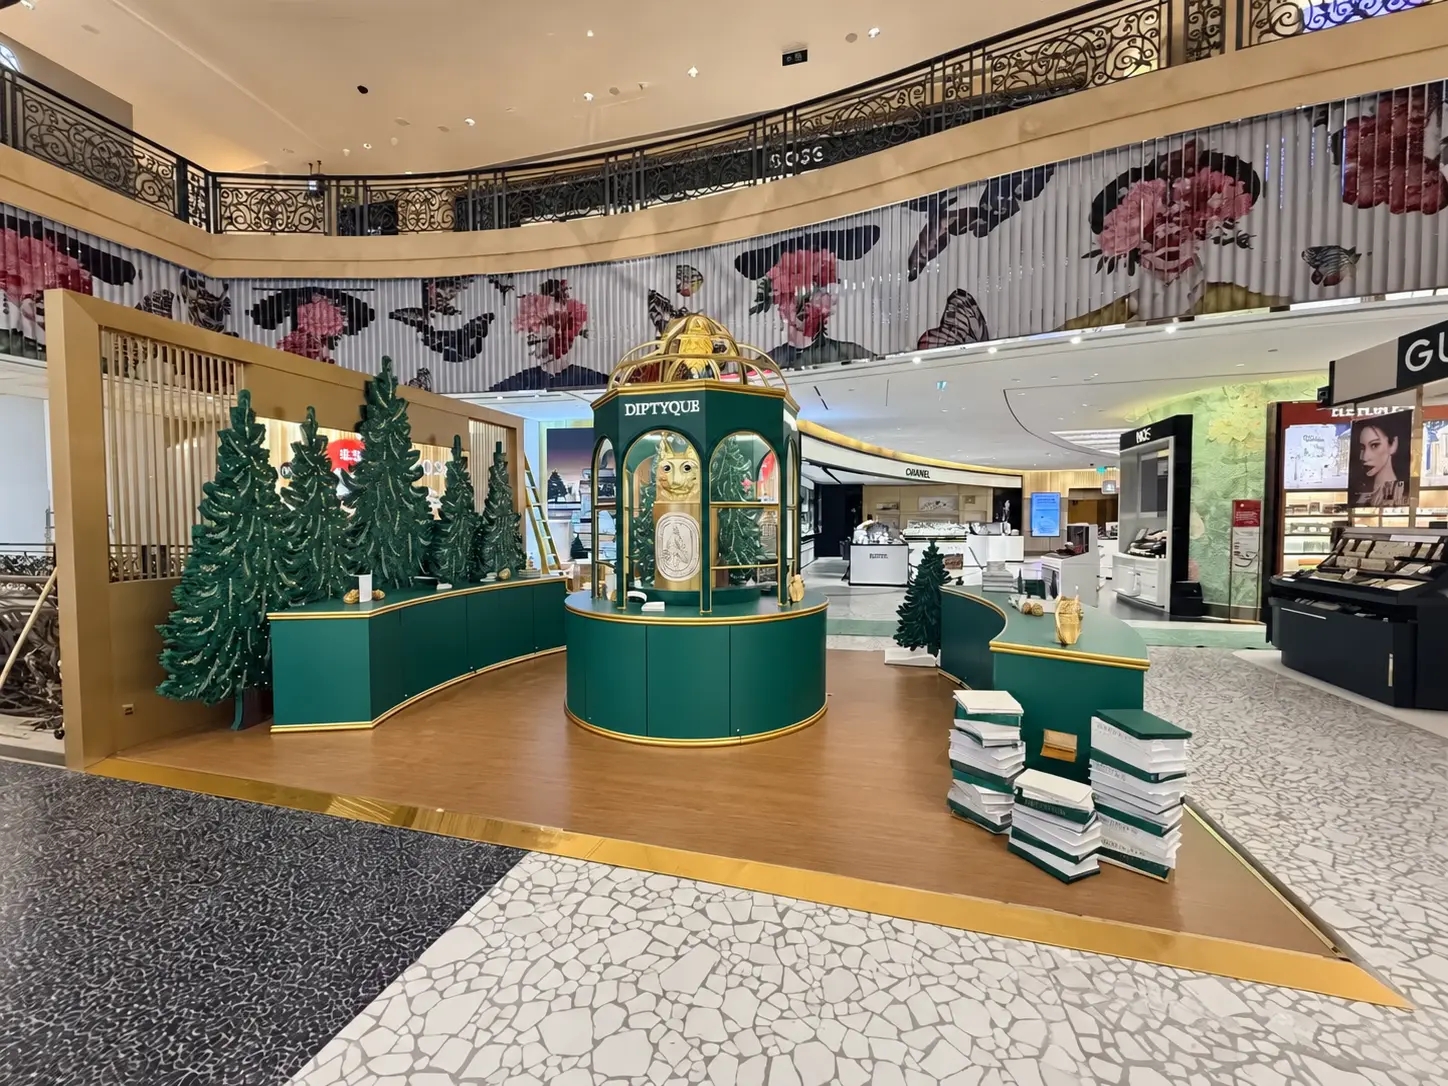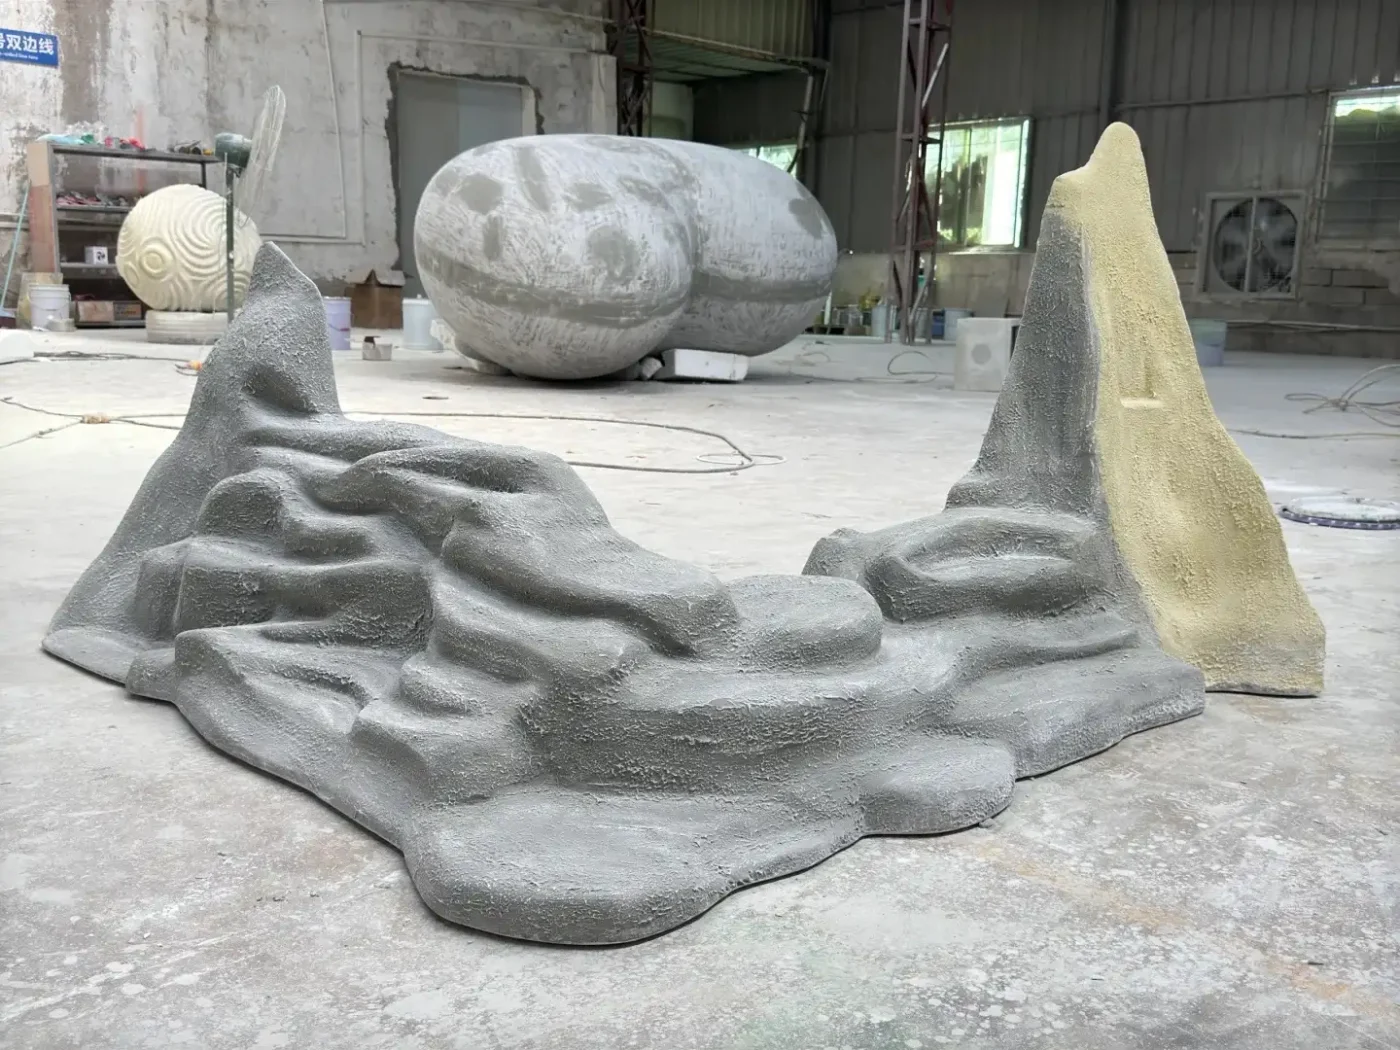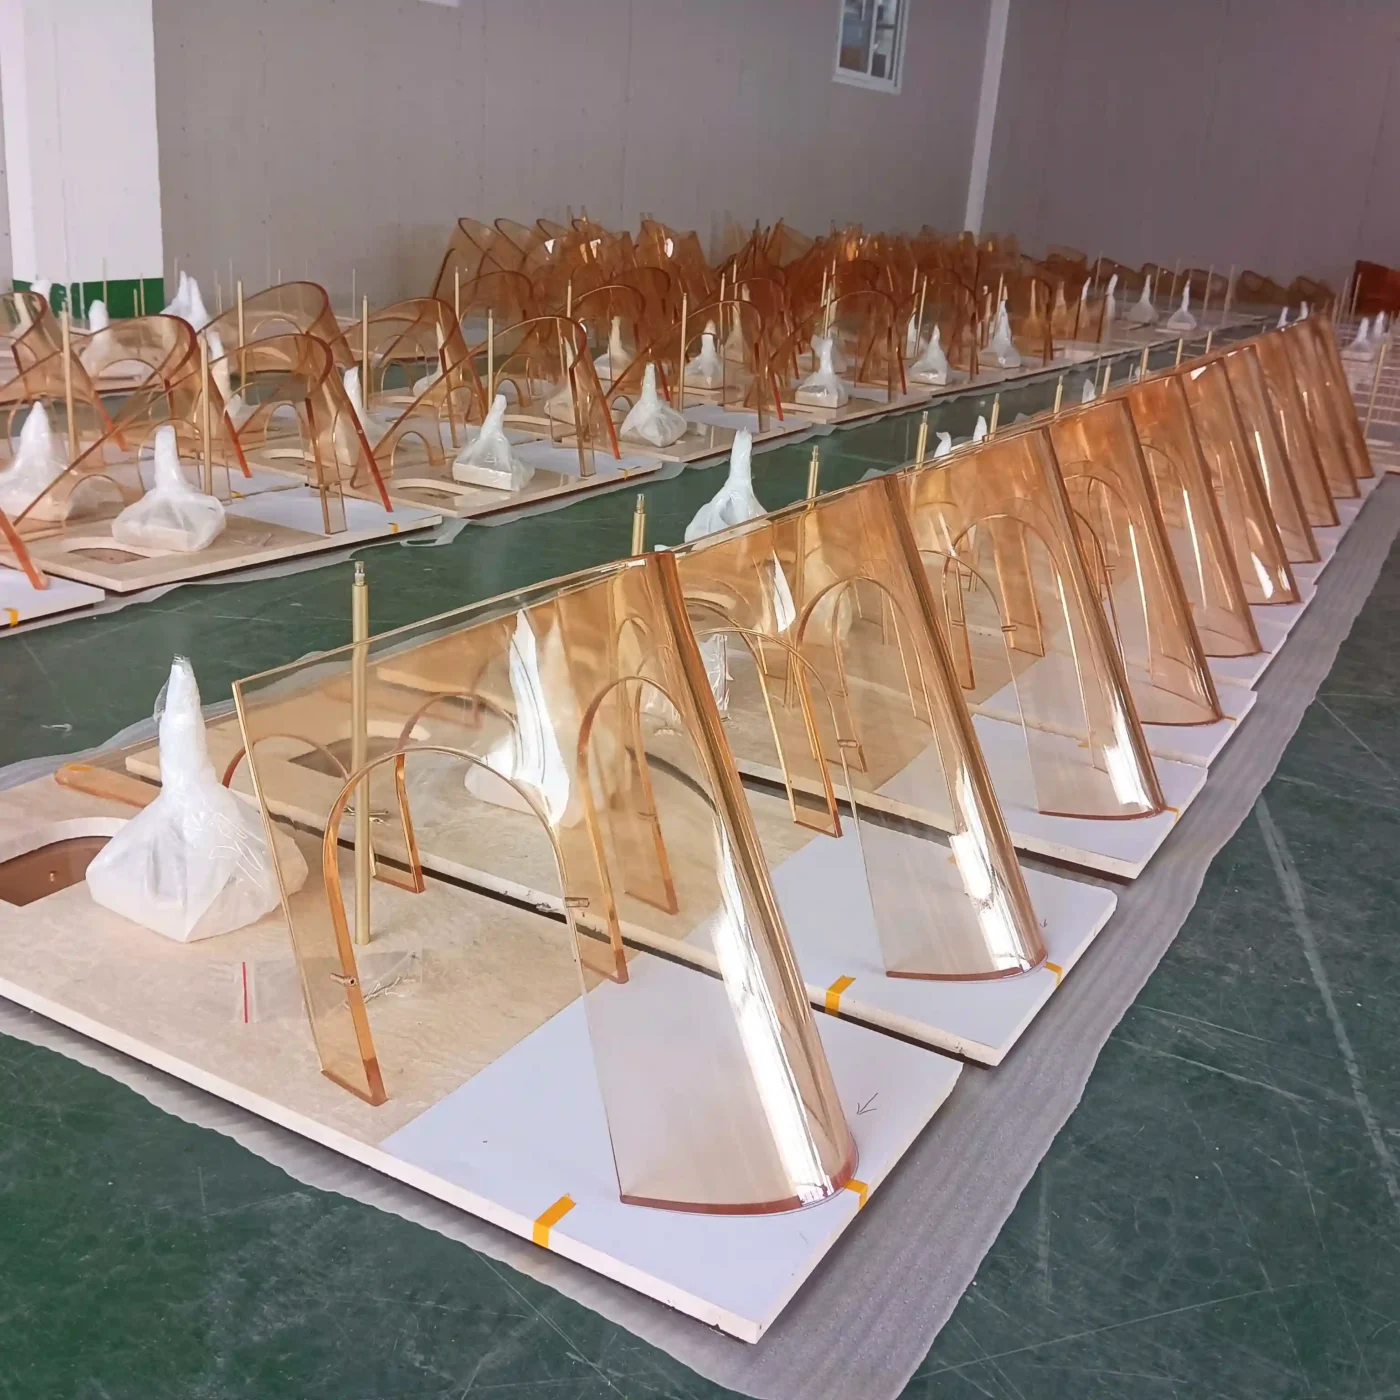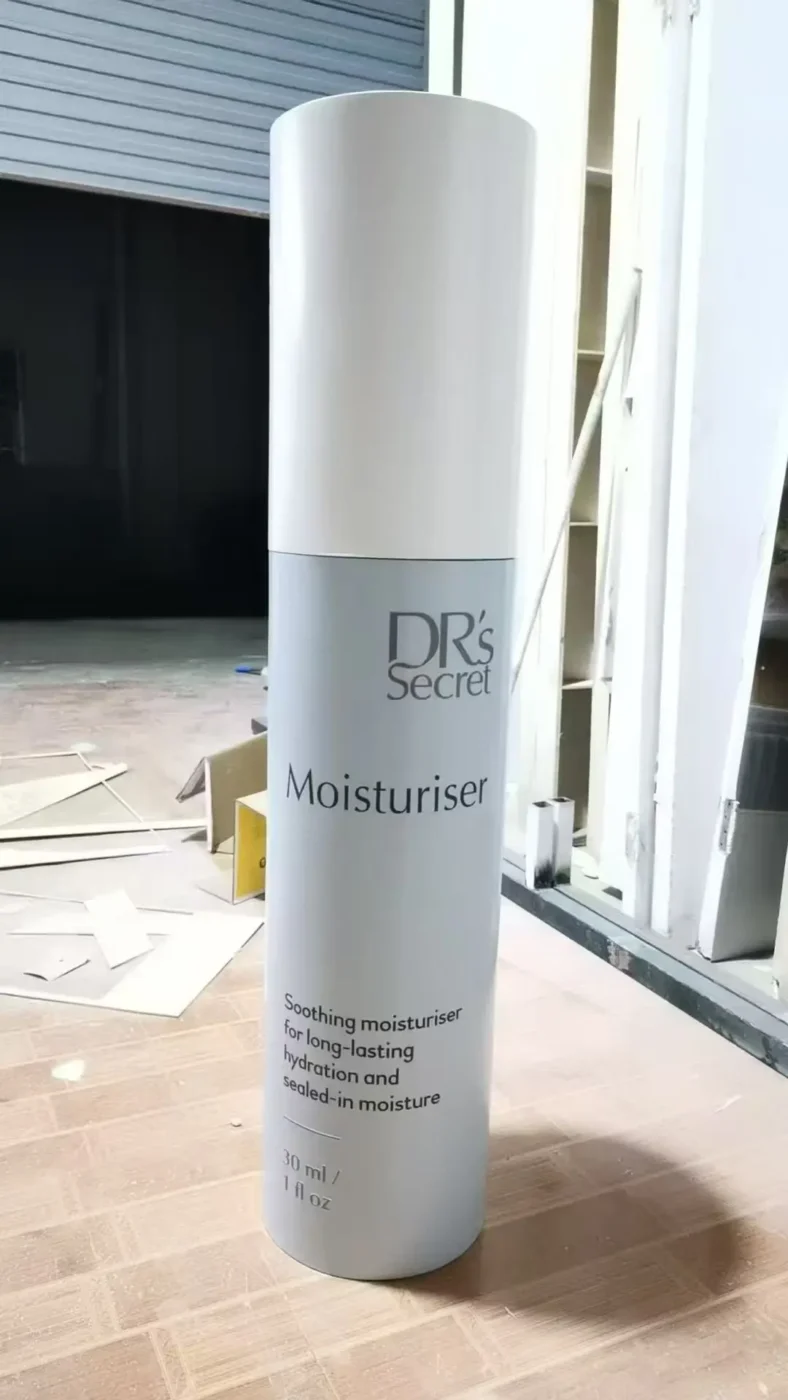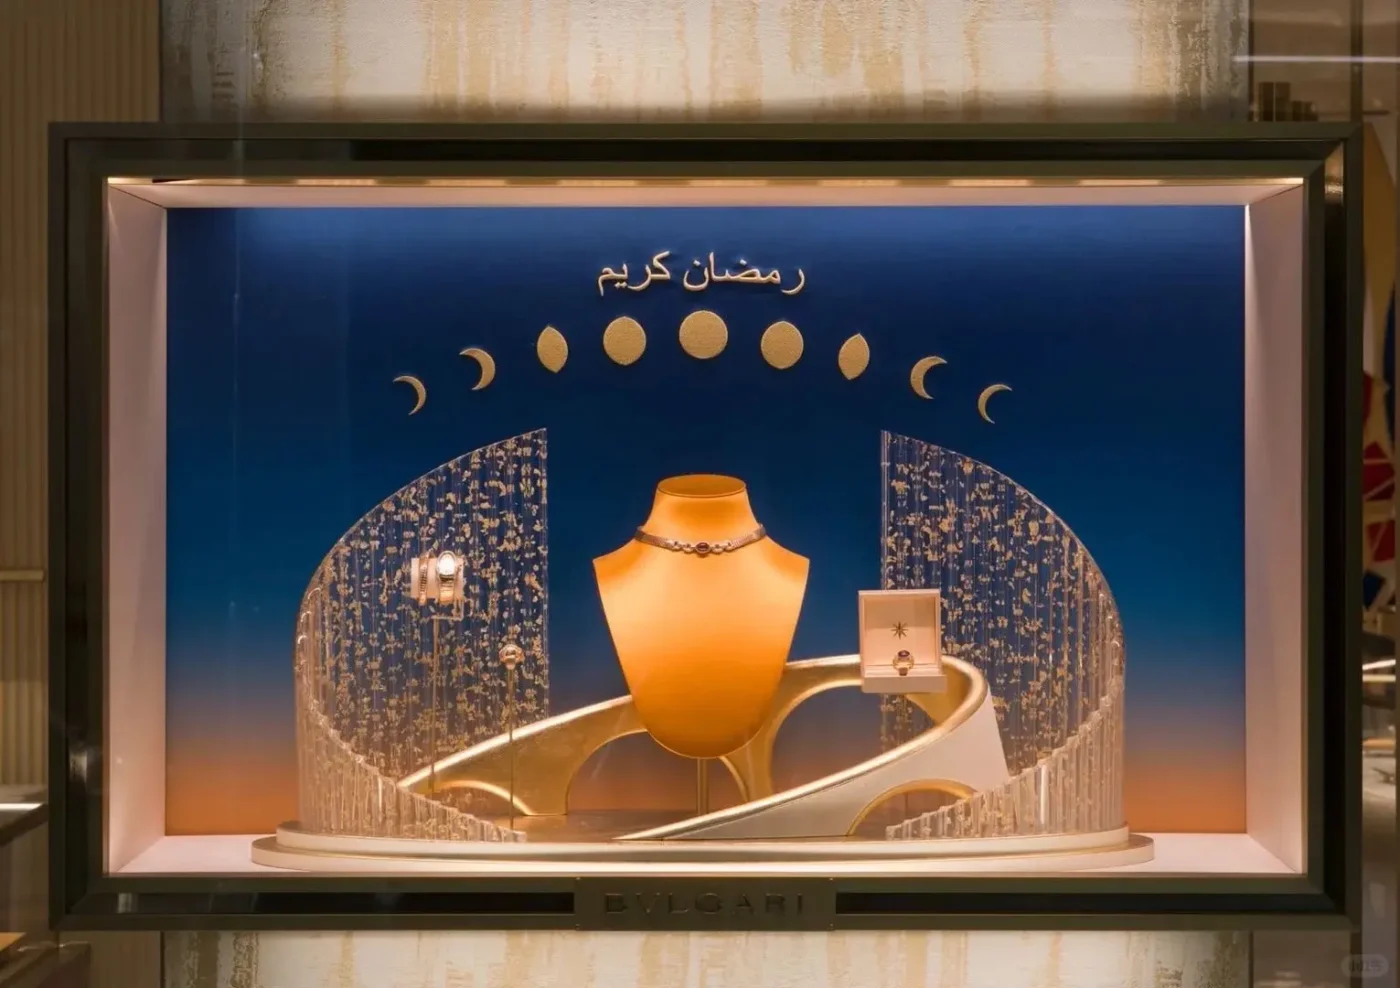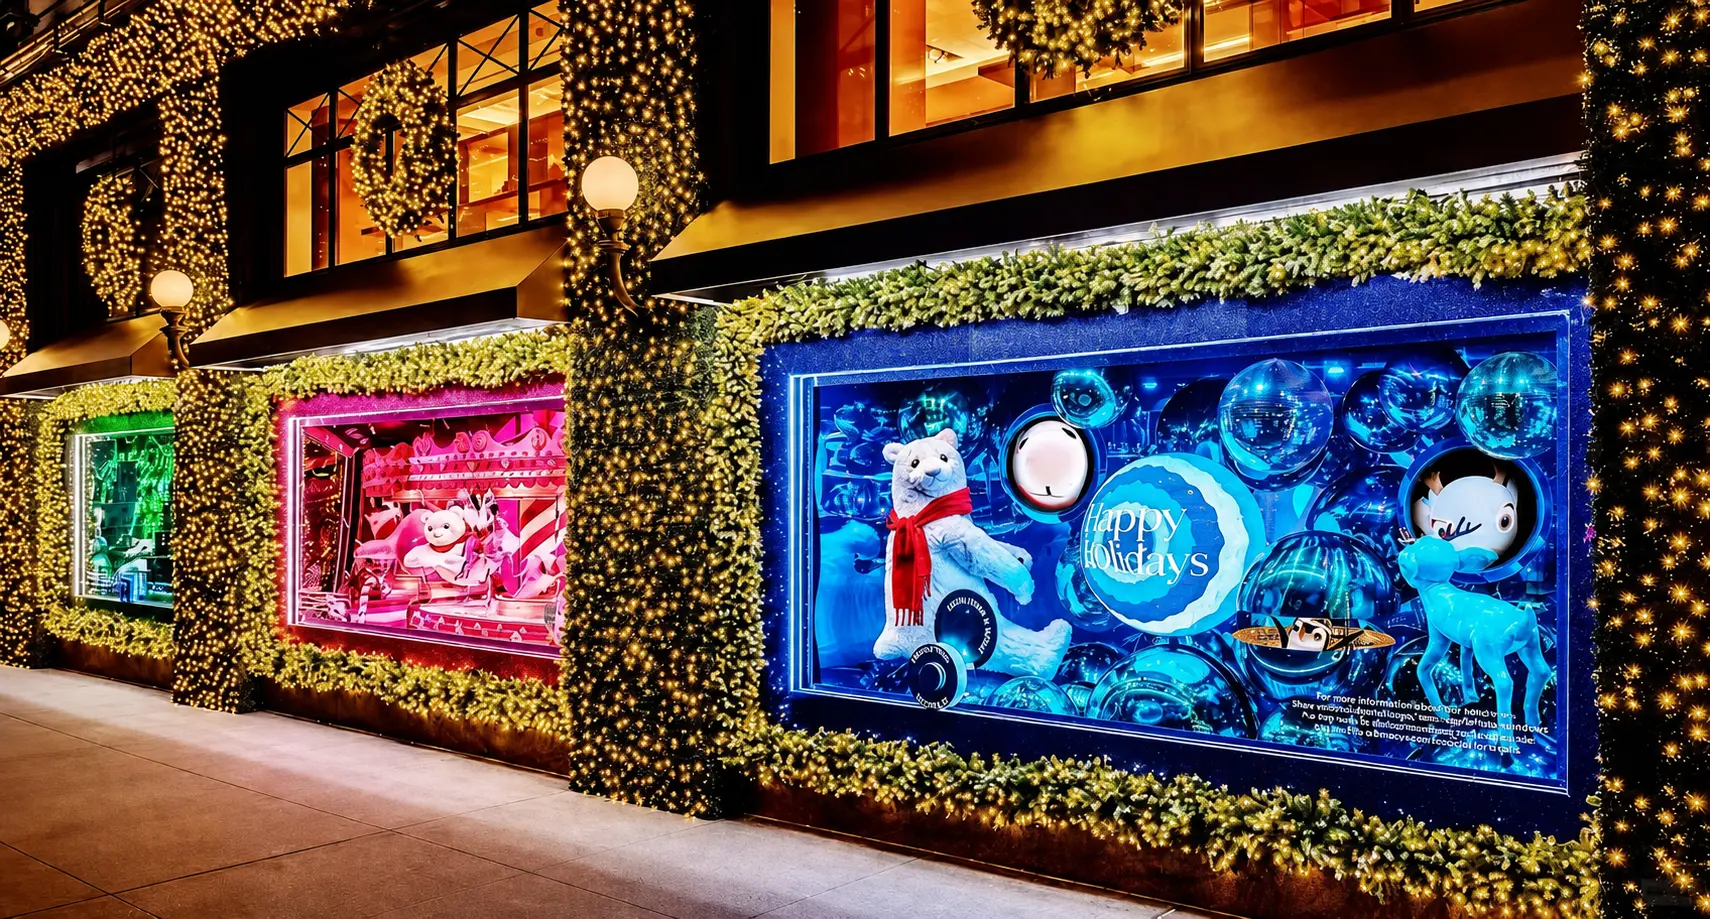
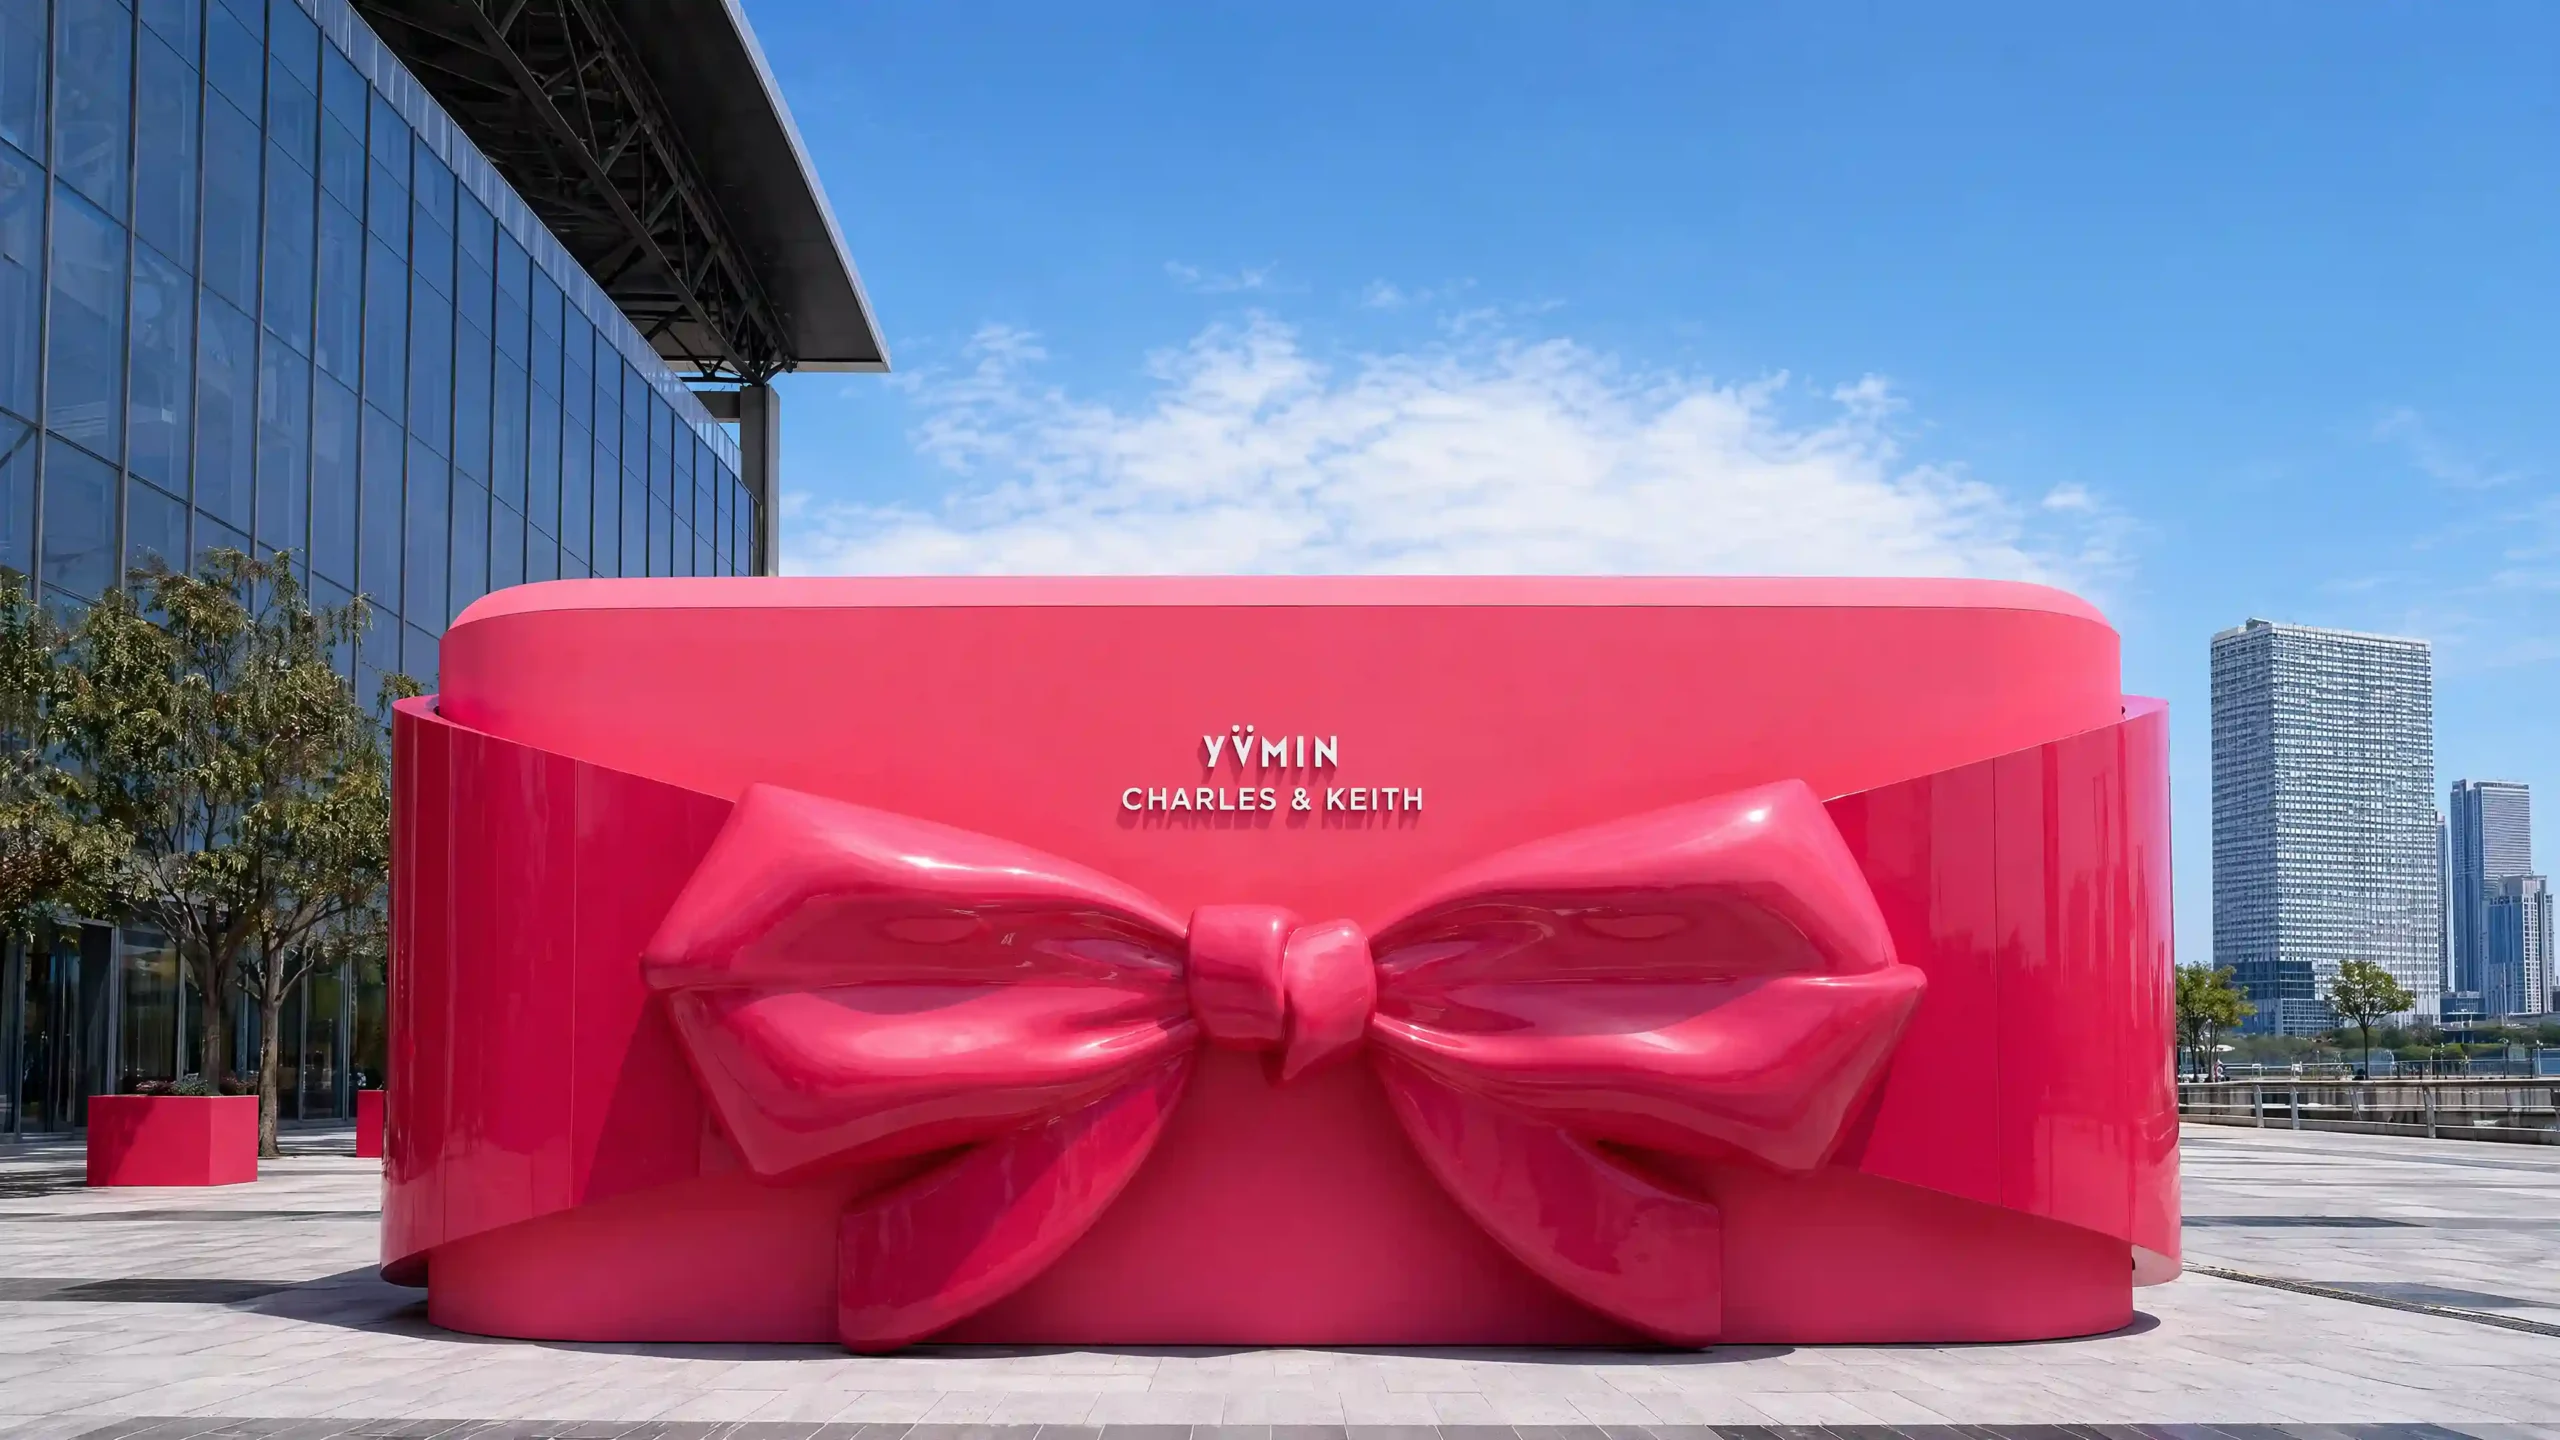
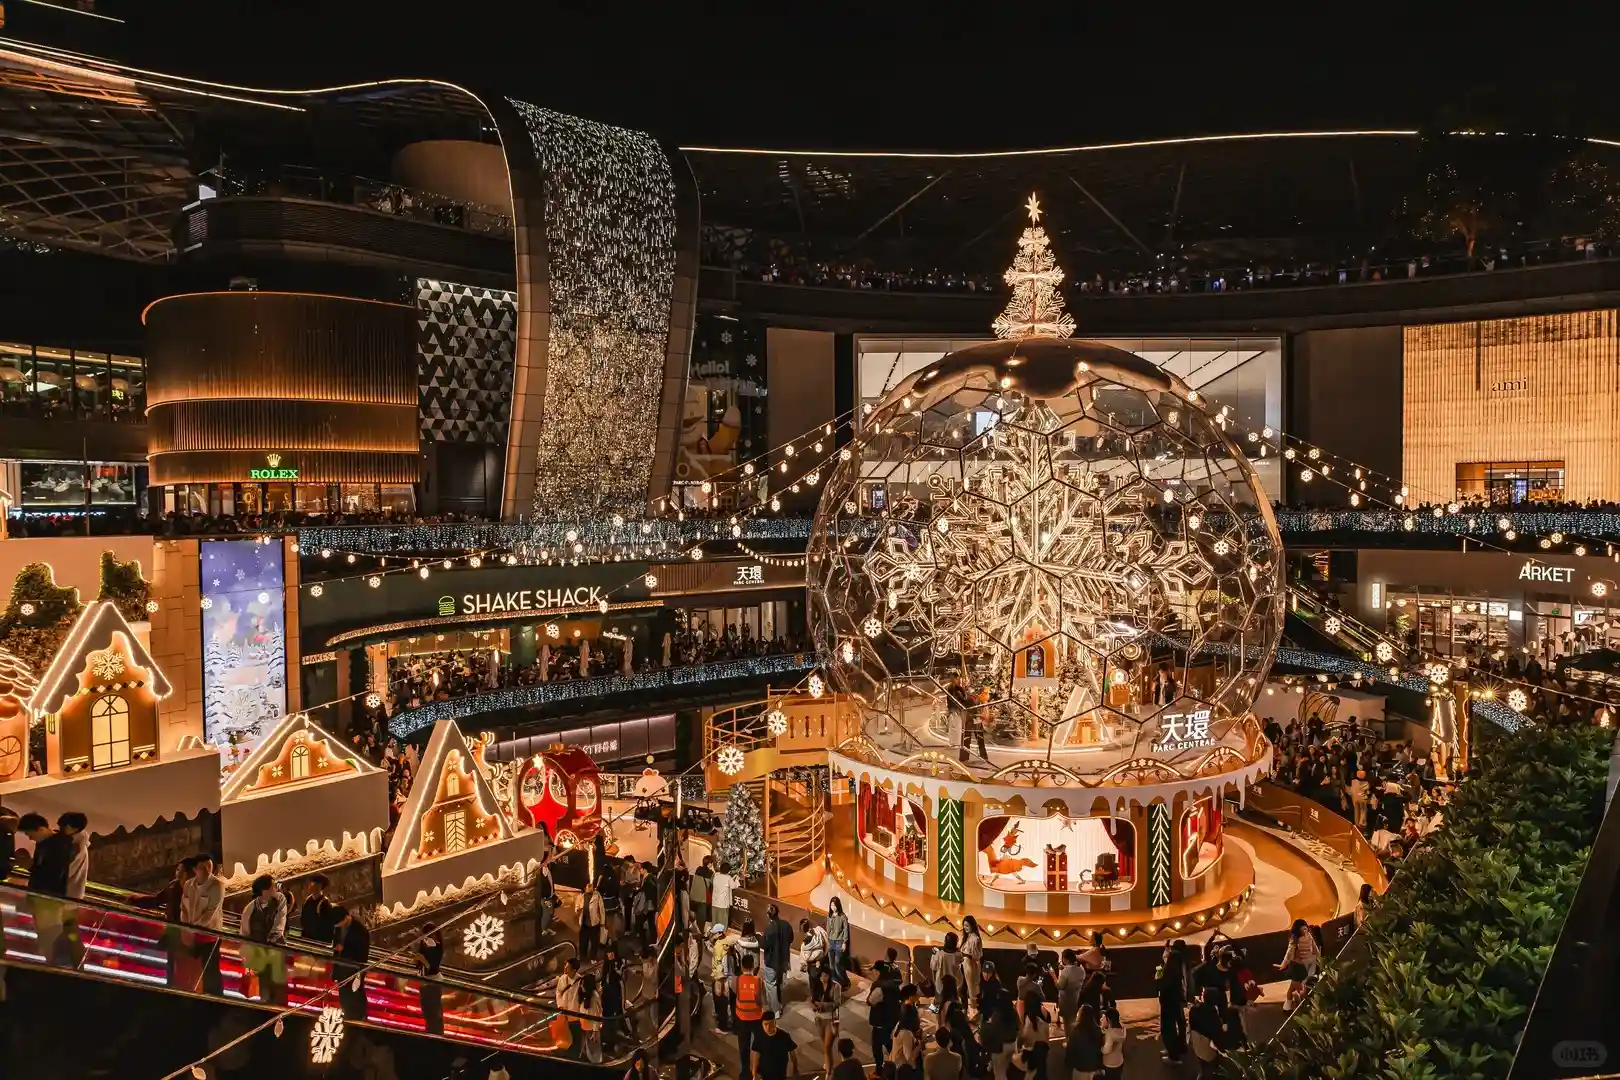
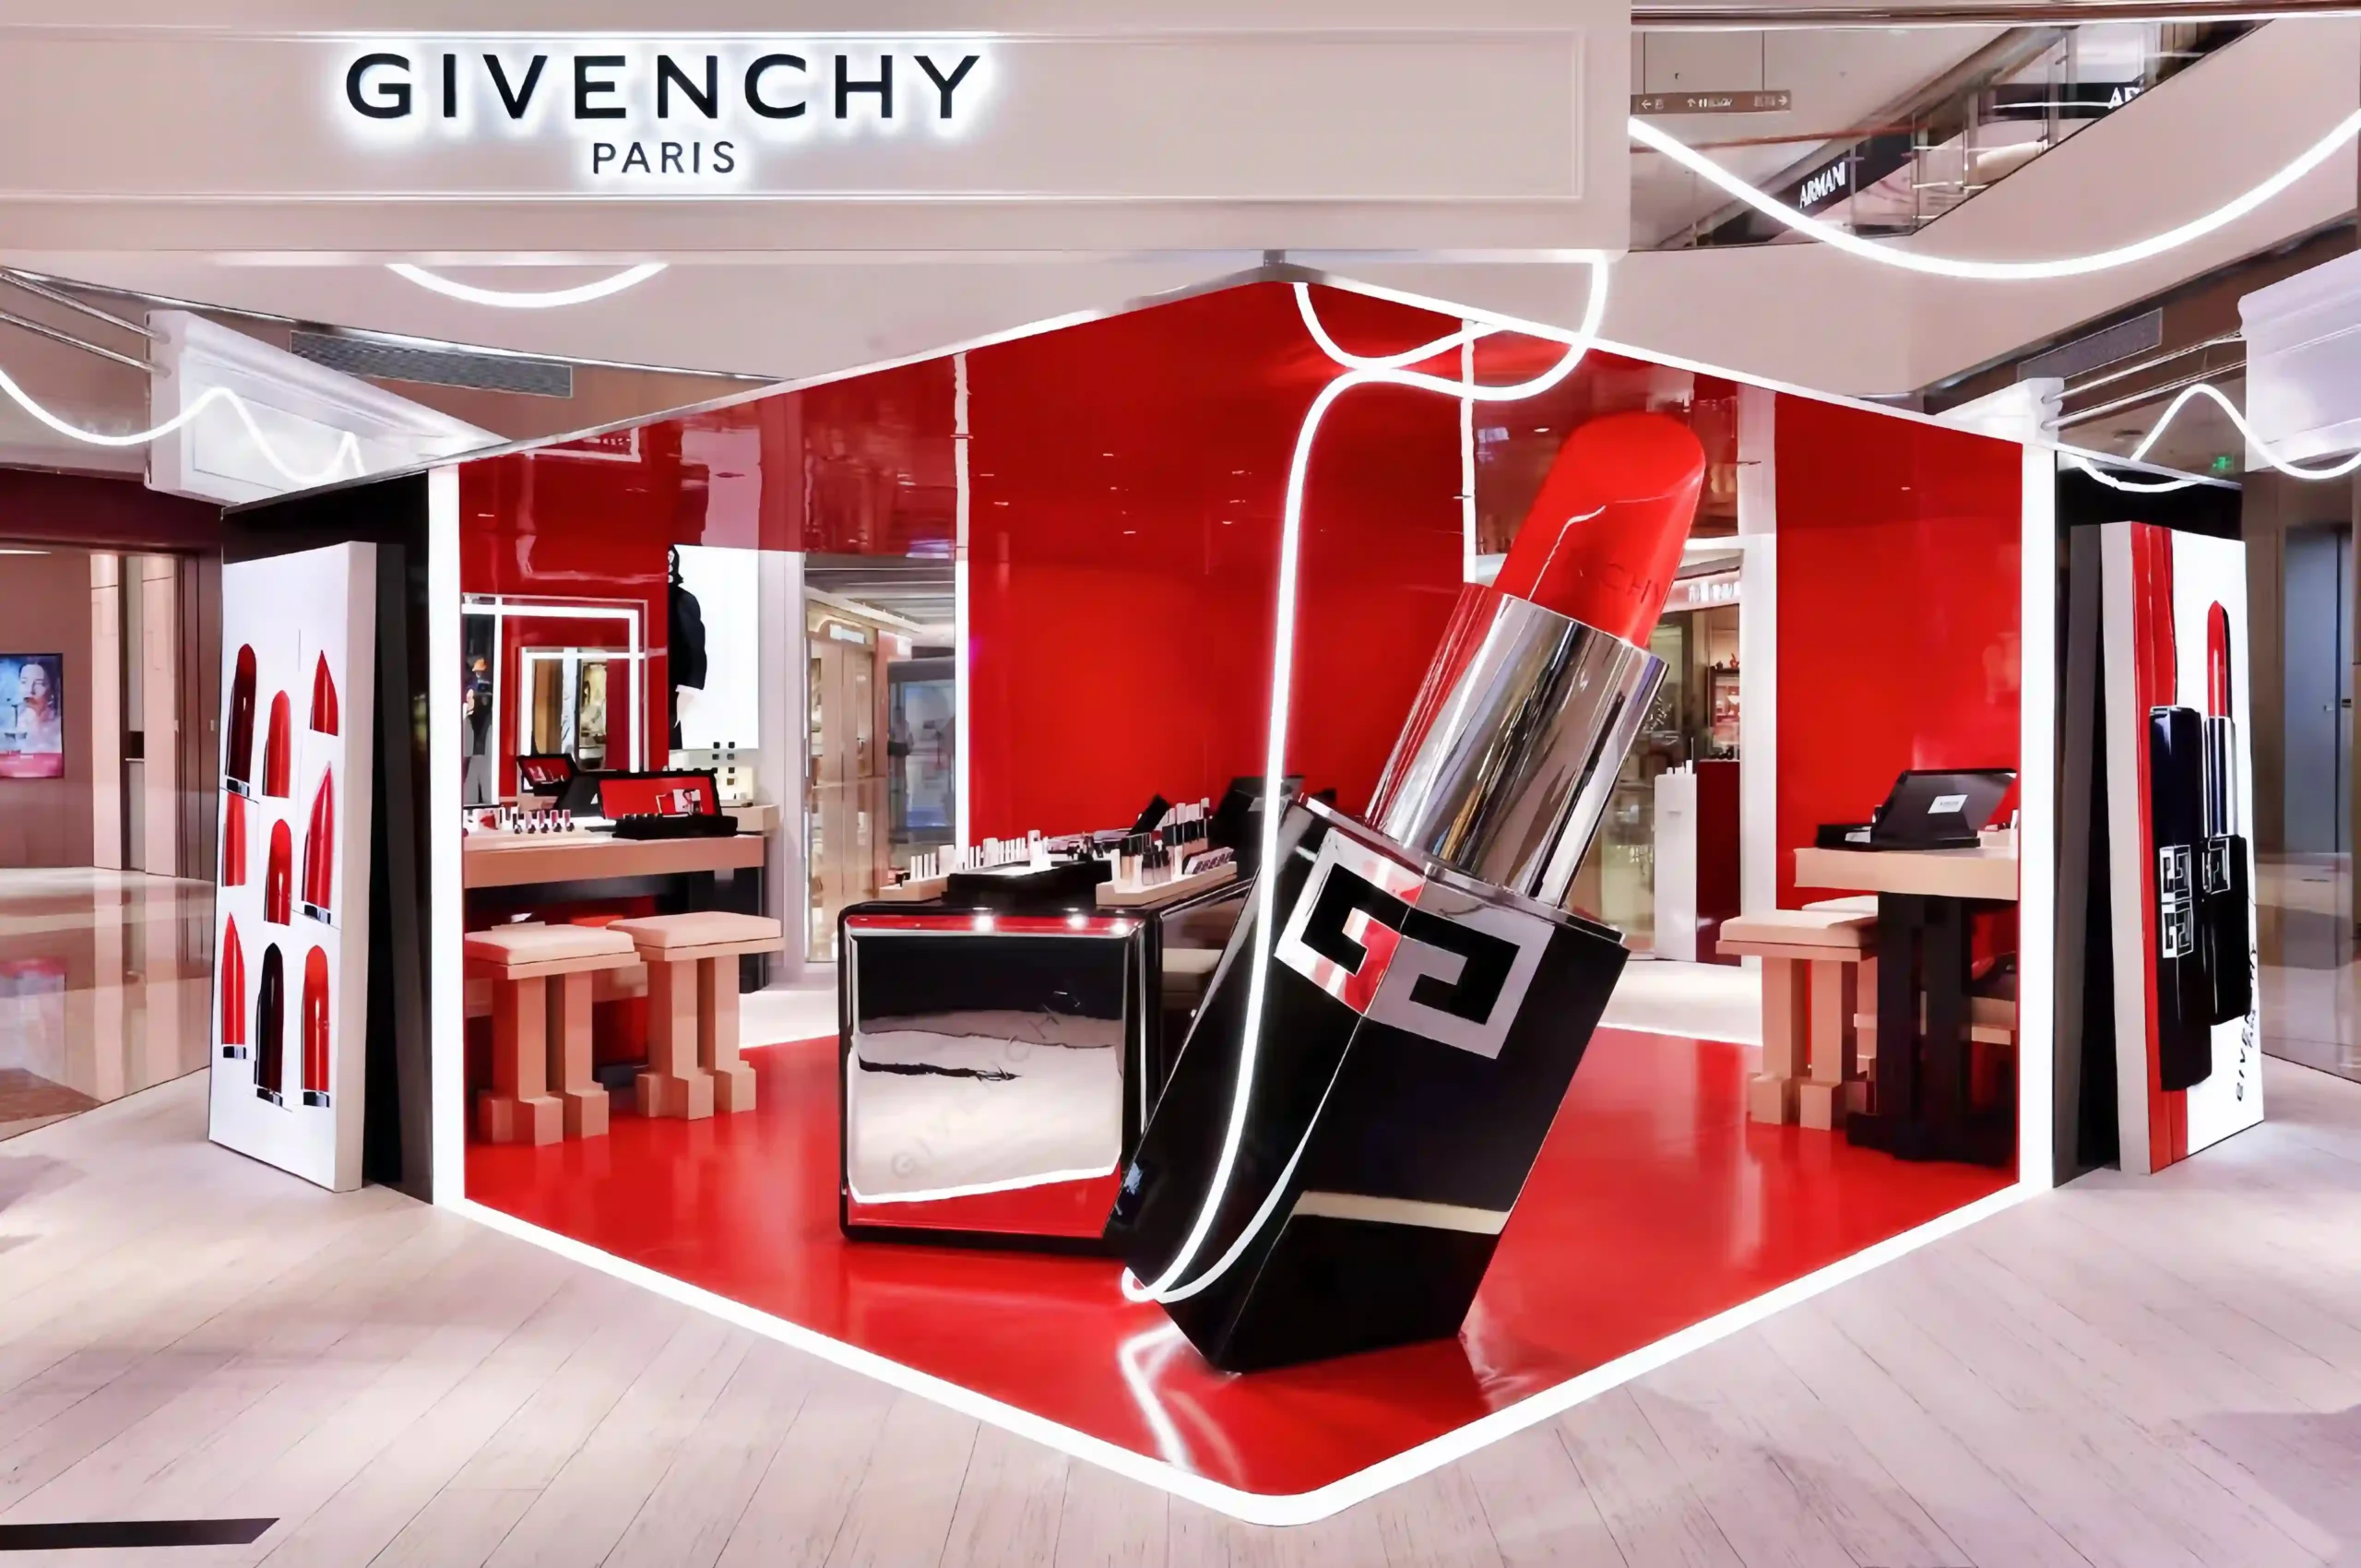
A display prop sample is a pre-production object — such as a finish panel, partial structure or full-scale prototype — made before mass production of custom retail display props begins. Its purpose is to confirm that a design can actually be manufactured, finished, packed and installed as intended. Samples test specific risk areas including shape, material, surface finish, colour, structural strength, lighting integration and packing method. Not every sample is a complete replica of the final prop. The sample type depends on which aspect of the project carries the highest production risk. A simple MDF plinth may only require a colour swatch, while a two-metre fiberglass sculpture typically requires a full-size structural test. For multi-store retail rollouts, an approved sample also becomes the reference standard for batch quality control and inspection.
A display prop sample approval process is not a slow step. It is a protective step.
If a project involves unusual shape, large size, premium finish, lighting, hanging structure or multi-store rollout quantity, skipping the sample may save a few days at the beginning and create much bigger problems later.
Why a Sample Matters More Than a Render
A render shows intention. A sample shows consequences.
A render can make every surface look perfect. It can make a heavy object appear weightless. It can make a thin structure look stable. It can hide joints, seams, screws, hanging points and packing problems. A sample cannot hide these things. This is exactly why it is useful.
When a sample is made properly, it helps answer practical questions that no render or drawing can resolve:
- Does the size feel right in person?
- Is the surface finish close to the brand expectation?
- Can the colour be repeated consistently?
- Is the structure strong enough to stand or hang safely?
- Can the object be packed without damage?
- Can store staff install it without specialist tools?
- Does the lighting look clean and even?
- Does the prop still look premium under real store lighting?
For a retail brand or VM agency, this reduces uncertainty before committing to full production. For a manufacturer, the sample also becomes the technical standard. Once approved, production teams follow it as the reference for batch output.
In our experience, around 40% of first-time custom prop projects require at least one revision during the sample stage. That is not a sign of failure — it is the sampling process doing its job. A finish that looks right on screen can look different in person. A structure that works in a 3D model can behave differently under real weight. Catching these issues during sampling costs days. Catching them during production costs weeks.
A real example. In one project, a fiberglass prop over 1.5 metres tall was originally designed with a pure FRP shell as the main support. When the structural sample was made and tested, the base was not stable enough — light contact caused visible movement. The team added an internal metal frame and a weighted base during the sample stage. The fix took a few days. Without the sample, the same problem would have appeared after installation across multiple stores, creating a safety concern and an expensive retrofit.
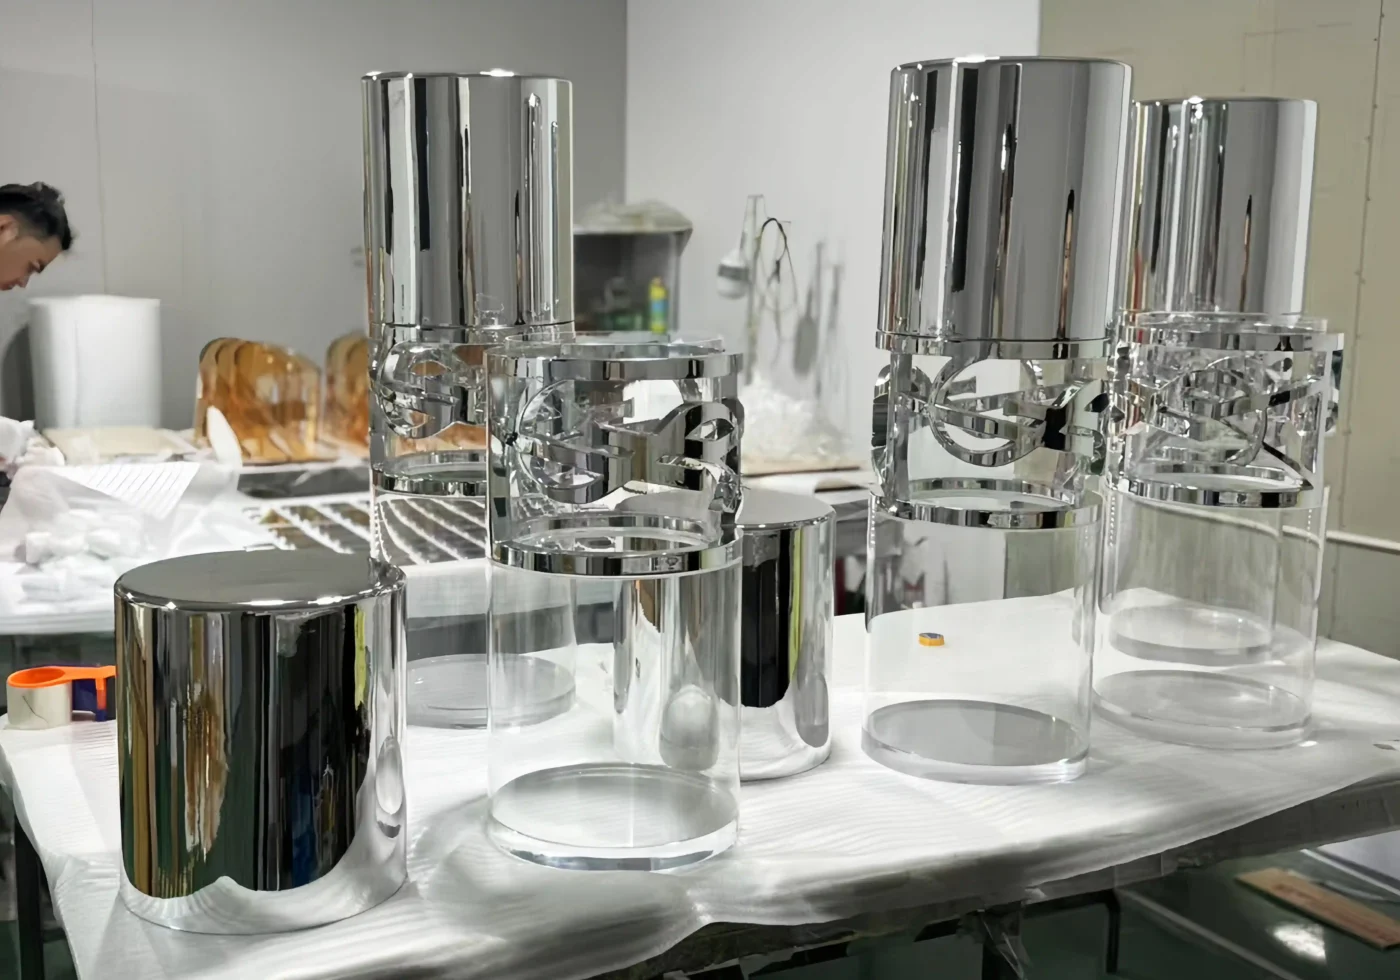
What Are the Main Types of Display Prop Samples?
Not every project needs the same kind of sample. The right type depends on where the production risk is highest.
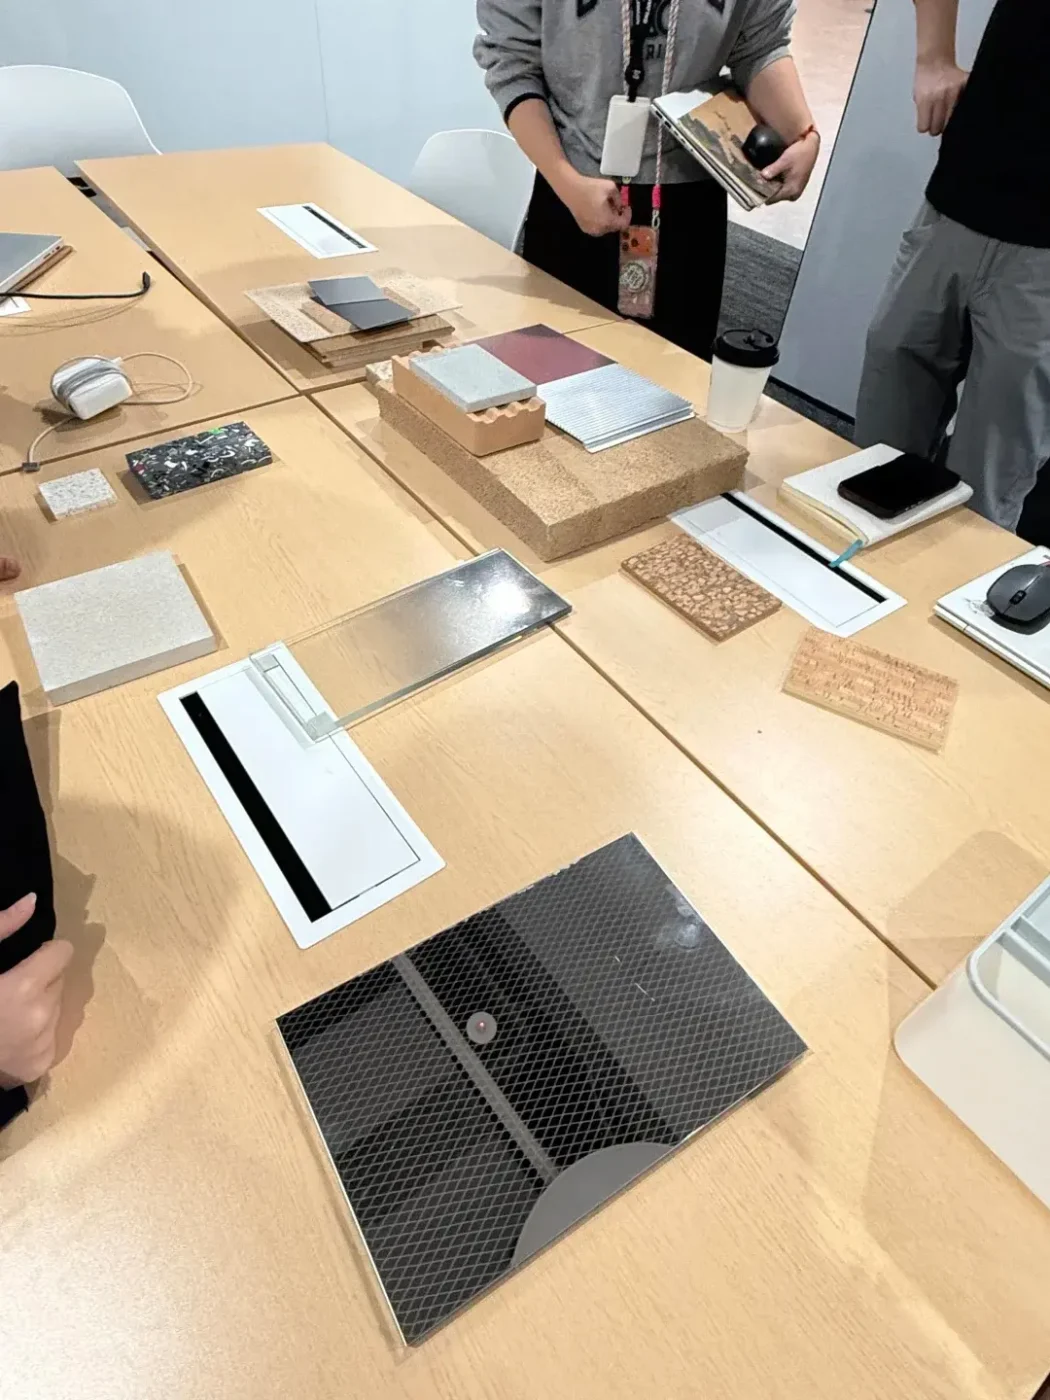
1. Material Sample
A material sample confirms the basic substrate before the final prop is made. This may include FRP, acrylic, metal, MDF, foam, fabric, resin or mixed materials. It is useful when the buyer is not sure which material best suits the design.
For example, a buyer may want a large flower prop but not know whether it should be made from foam, FRP or acrylic. A material sample or small mock-up can show weight, surface quality and durability differences.
Best for: projects where the material choice is still open, or where the buyer has not worked with a specific substrate before.
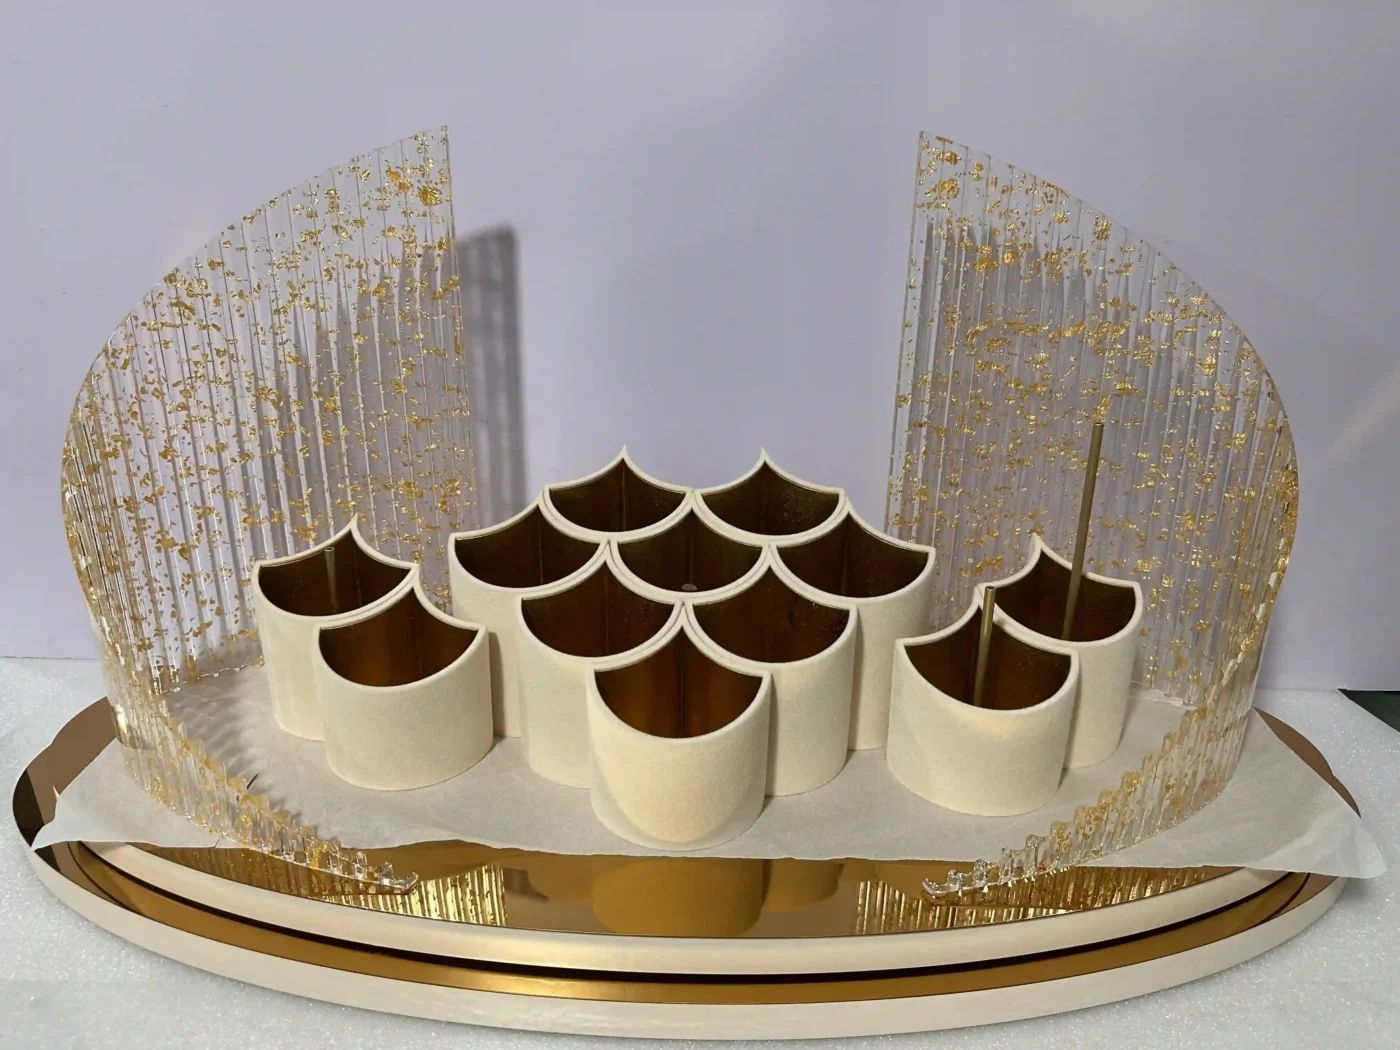
2. Finish Sample
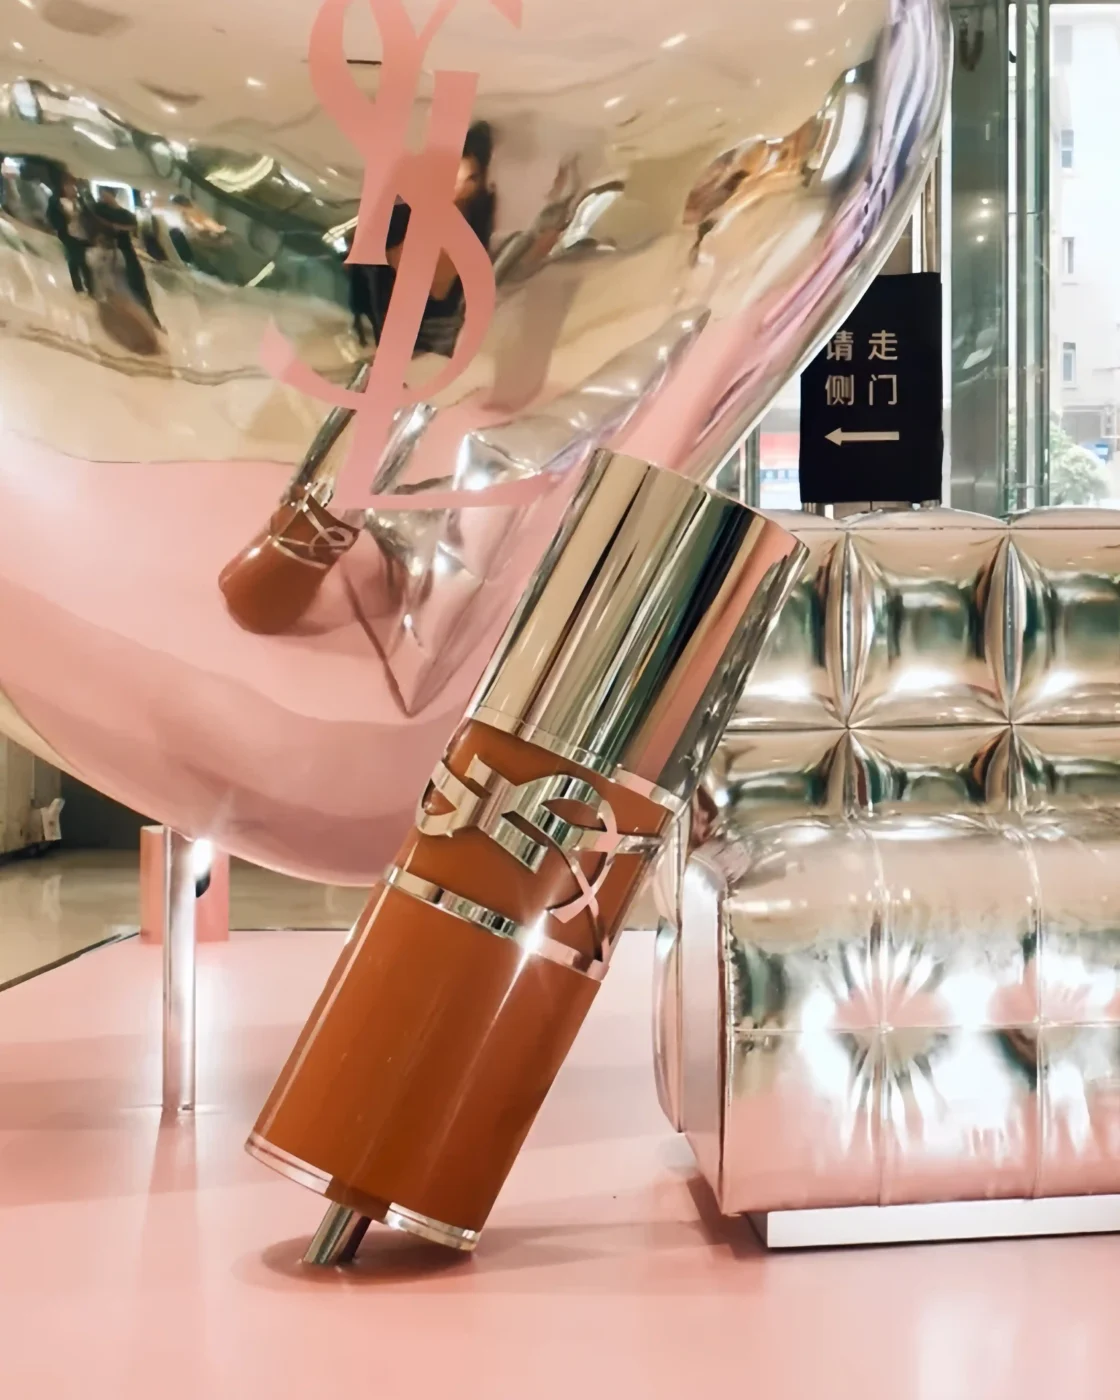
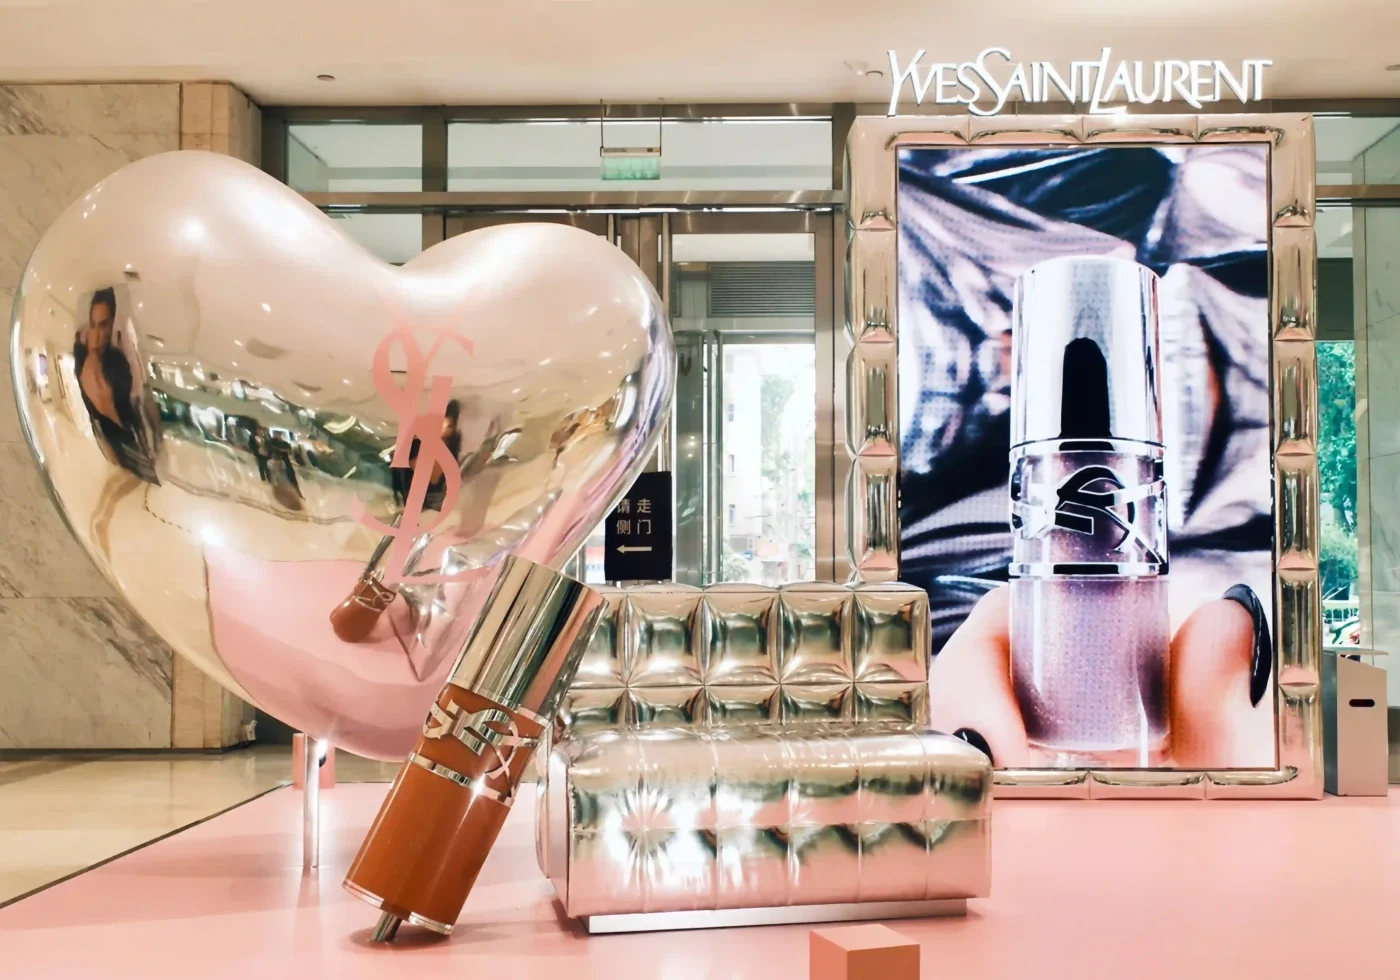
A finish sample confirms the surface effect. Options include spray paint, chrome effect, UV metallising, gold or silver leaf, flocking, glitter coating, leather wrapping, printed acrylic, matte coating and high-gloss lacquer.
Finish samples are often more important than buyers expect. A prop can have the right shape but the wrong finish, and the whole display will feel wrong. Premium retail finish samples should be reviewed under realistic store lighting whenever possible. Metallic and reflective finishes in particular can shift noticeably under different colour temperatures — a gold effect may lean warm under halogen spotlights and appear cooler or flatter under LED panels.
Best for: premium surfaces, brand colour matching, reflective or metallic effects, and any finish the buyer has not seen produced before.
A custom acrylic logo sign with LED light is a good example — both the acrylic quality and the lighting effect need to be checked physically, not just from a photo.
3. Structural Sample
A structural sample tests whether the object can stand, hang, support weight or survive handling. This is important for oversized props, hanging ornaments, freestanding sculptures, display arches, shopfront installations, props with internal lighting and props that need repeated assembly and disassembly.
A structural sample may not look beautiful at first. It may be raw, unfinished or only partially painted. That is normal. Its purpose is to test construction logic before surface finishing begins.
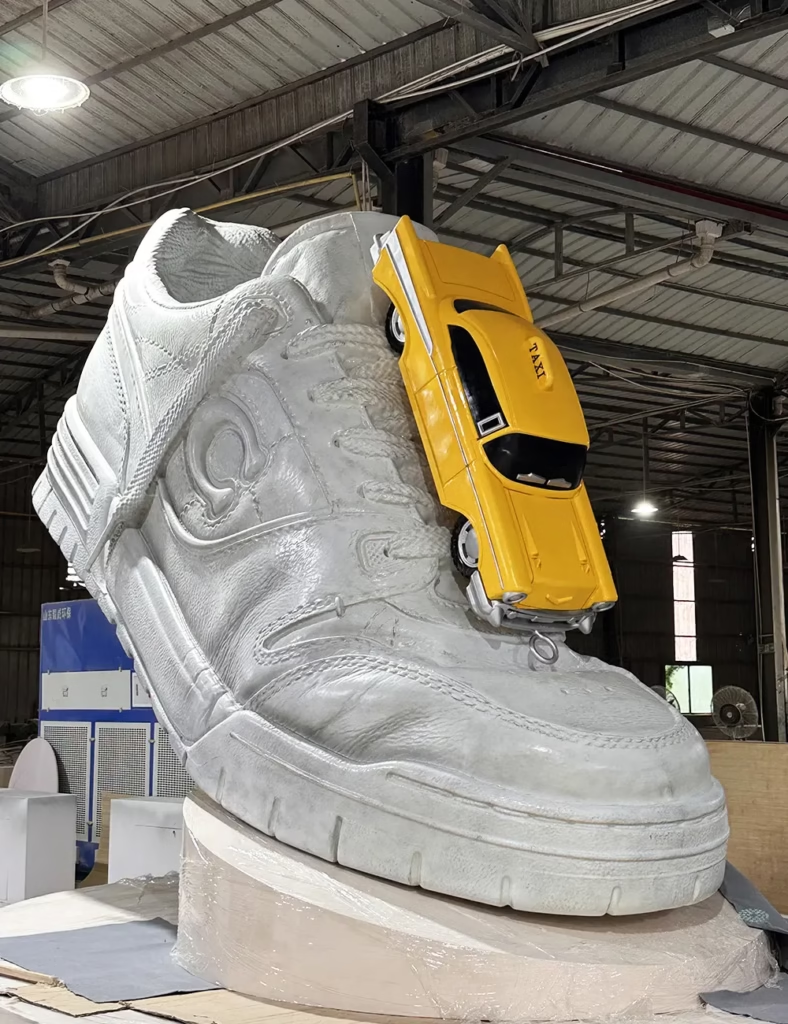
For large sculptural projects, such as custom giant fiberglass statues, structure is not optional. It affects safety, packing and installation.
Best for: oversized props, hanging installations, props for public spaces, and any design where weight or stability is uncertain.
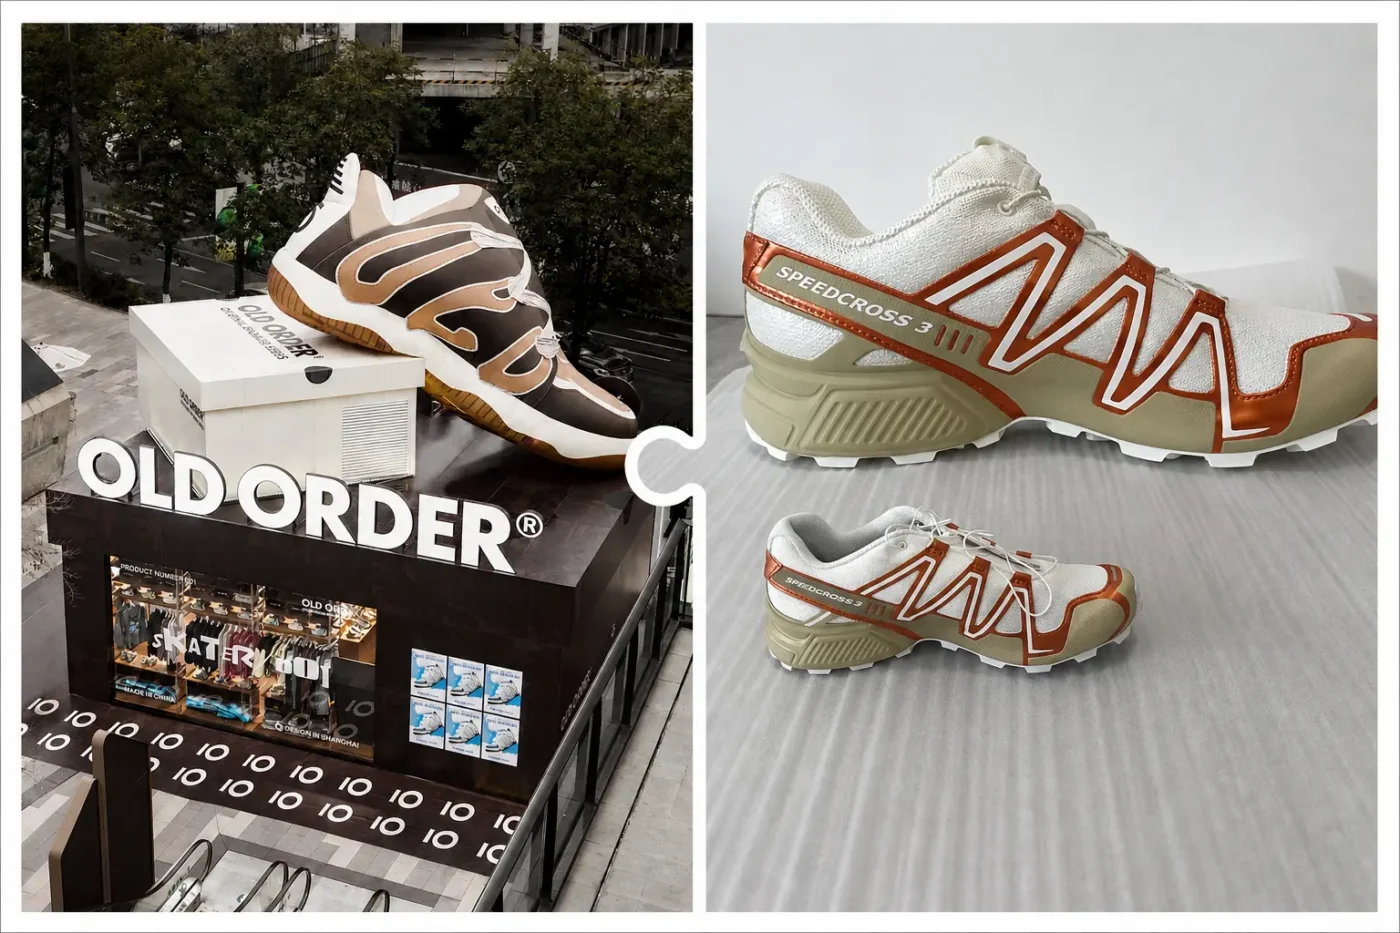
4. Full-Size Prototype
A full-size prototype is the closest version of the final product before mass production. It is usually needed when the prop is large, the shape is complex, the finish is difficult, the display will be repeated across many stores, the client needs physical approval, or the brand has strict visual standards.
A full-size prototype costs more than a small sample, but it can prevent expensive mistakes. If a brand plans to use the same hero prop in 30 stores, approving one full-size prototype allows everyone to agree on size, surface, colour, structure and packing before the full batch begins.
When the project involves a complete storefront rather than one individual prop, use this full-size window display approval checklist to evaluate composition, merchandise visibility, lighting, installation and packing together.
Best for: complex or high-value props, multi-store rollouts, and projects where physical sign-off is required before production.
5. Pre-Production Sample
A pre-production sample is made after most design details are confirmed. It is used as the final standard before mass production begins. This sample should match the final product in material, size, finish, structure, colour, logo position, assembly method and packing logic.
Once approved, it becomes the reference for production and quality control. If the production batch differs from the approved sample, the manufacturer identifies and corrects the issue before shipment.
For a retail display production service, this type of sample is especially useful for multi-store rollouts because it reduces disagreement later.
Best for: batch production runs where consistency across units is critical.
Sample Type Comparison
| Sample Type | What It Tests | Typical Timeline | Best For |
|---|---|---|---|
| Material sample | Substrate suitability, weight, durability | 4–5 days | New material decisions |
| Finish sample | Surface effect, colour accuracy | 4–5 days | Premium finishes, brand colour matching |
| Structural sample | Load bearing, stability, safety | 7–15 days | Oversized, hanging or public-space props |
| Full-size prototype | Complete appearance and function | 10–15 days (simple) to 3–4 weeks (complex) | Multi-store rollouts, complex designs |
| Pre-production sample | Final production standard | 10–15 days | Batch production reference and QC |
How to Decide If Your Project Needs a Sample
A sample is not always required, but it is strongly recommended when the project carries production uncertainty.
The question should not be “Can we skip the sample?” The better question is: “What risk are we accepting if we skip it?”
The following framework can help buyers decide:
| Project Characteristic | Recommended Sample Type | Why |
|---|---|---|
| First time working with this material | Material sample | Confirms substrate is suitable before committing |
| Premium, reflective or brand-matched colour | Finish sample | Colour and surface effects shift under real lighting |
| Prop is over 1 metre tall or weighs over 10 kg | Structural sample | Tests stability, internal support and handling safety |
| Prop includes LED or internal wiring | Full-size prototype | Confirms light distribution, wiring path and heat |
| Multi-store rollout (10+ locations) | Pre-production sample | Sets the QC reference for batch consistency |
| Hanging installation or wall-mounted | Structural sample | Tests fixing method, load and safety under real conditions |
| Complex shape or sculptural form | Full-size prototype | Validates that 3D design translates to physical production |
| New supplier relationship | Full-size prototype or finish sample | Establishes visual and quality expectations |
A real example. An acrylic logo sign with LED backlighting was sampled before production. The first sample showed uneven light distribution — the area closest to the LED strip was noticeably brighter than the centre and edges. The team adjusted the LED layout density and the acrylic panel thickness. The second sample had even, clean illumination. Without sampling, this unevenness would have appeared in every unit across the production batch.
If the project is simple and repeatable — such as a standard MDF plinth in a known colour from a familiar supplier — a sample may not be necessary. But if the prop is large, sculptural, reflective, illuminated or difficult to pack, a sample is almost always worth the time.
What Should Buyers Check Before Approving a Sample?
A display prop sample should be reviewed carefully before mass production begins. Approving too quickly can create problems that only become visible during production or after delivery.
Buyers should check:
- Shape and dimensions — Does it match the approved drawing? Are proportions correct in person?
- Colour — Does it match the brand colour reference under store-type lighting?
- Surface finish — Is the texture, gloss level and coating quality consistent?
- Material feel — Does the weight and surface quality meet expectations?
- Logo position and size — Is placement accurate and properly scaled?
- Lighting effect — Is illumination even, with no hot spots or dark areas?
- Edge quality — Are edges clean, with no rough spots, glue marks or visible joints?
- Stability — Does the prop stand securely? Can it handle light contact without tipping?
- Hanging or fixing method — Is the attachment secure and practical for store staff?
- Packing method — Is the prop protected against scratches, pressure marks and transit damage?
- Assembly practicality — Can store staff assemble or install it without specialist tools?
For custom window display props, sample review is particularly important. A window display is viewed from close distance and from the street. Small imperfections become visible under strong lighting or through glass reflection.
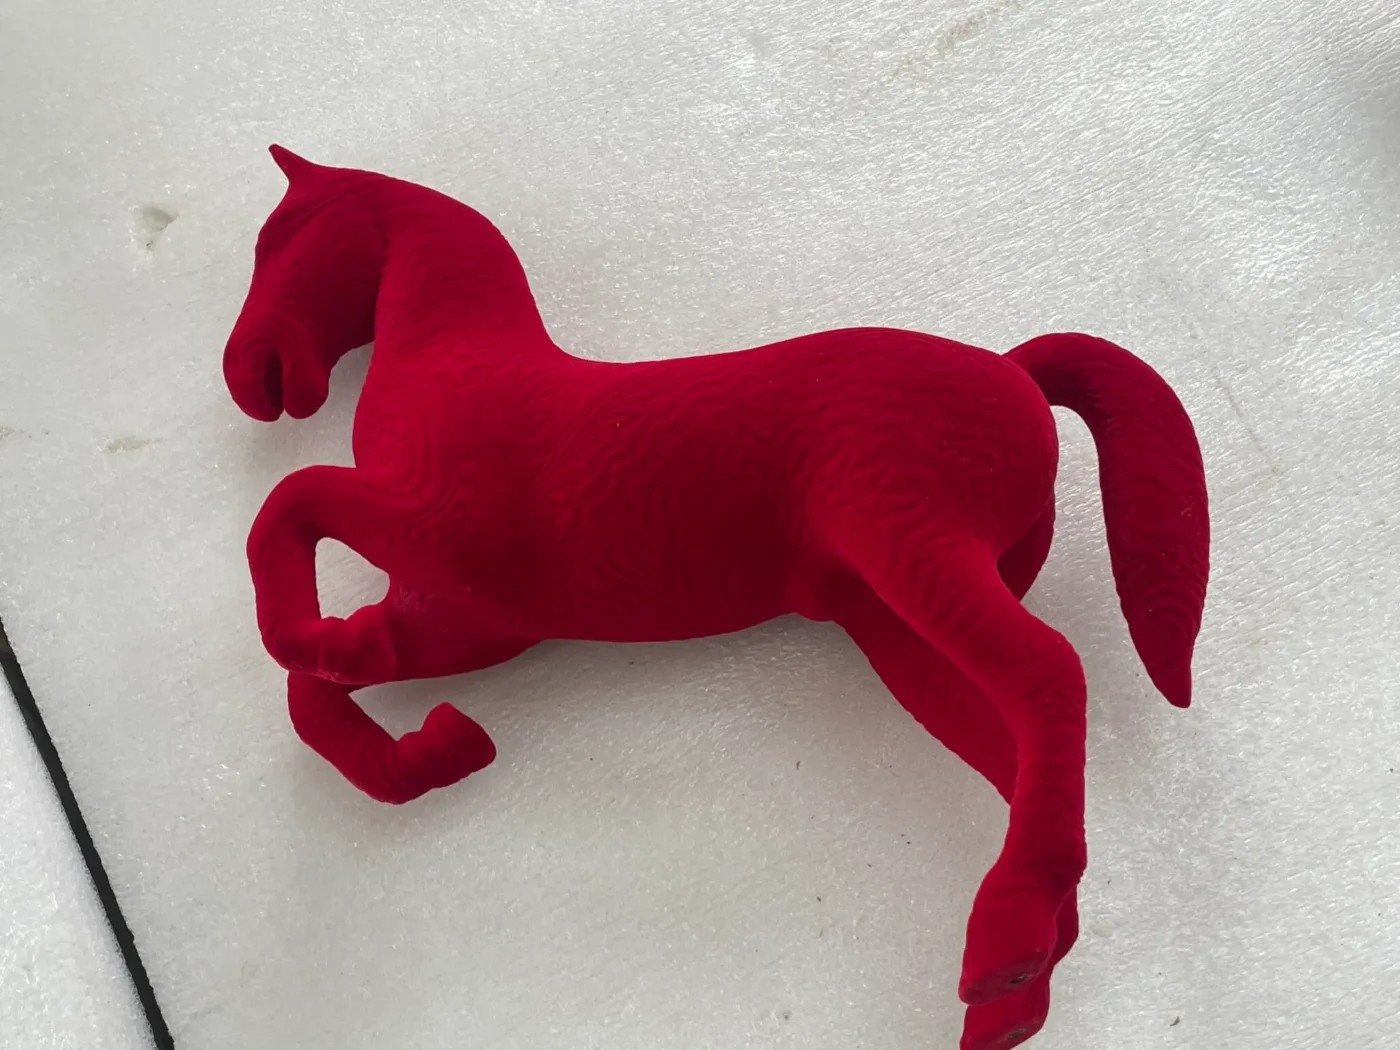
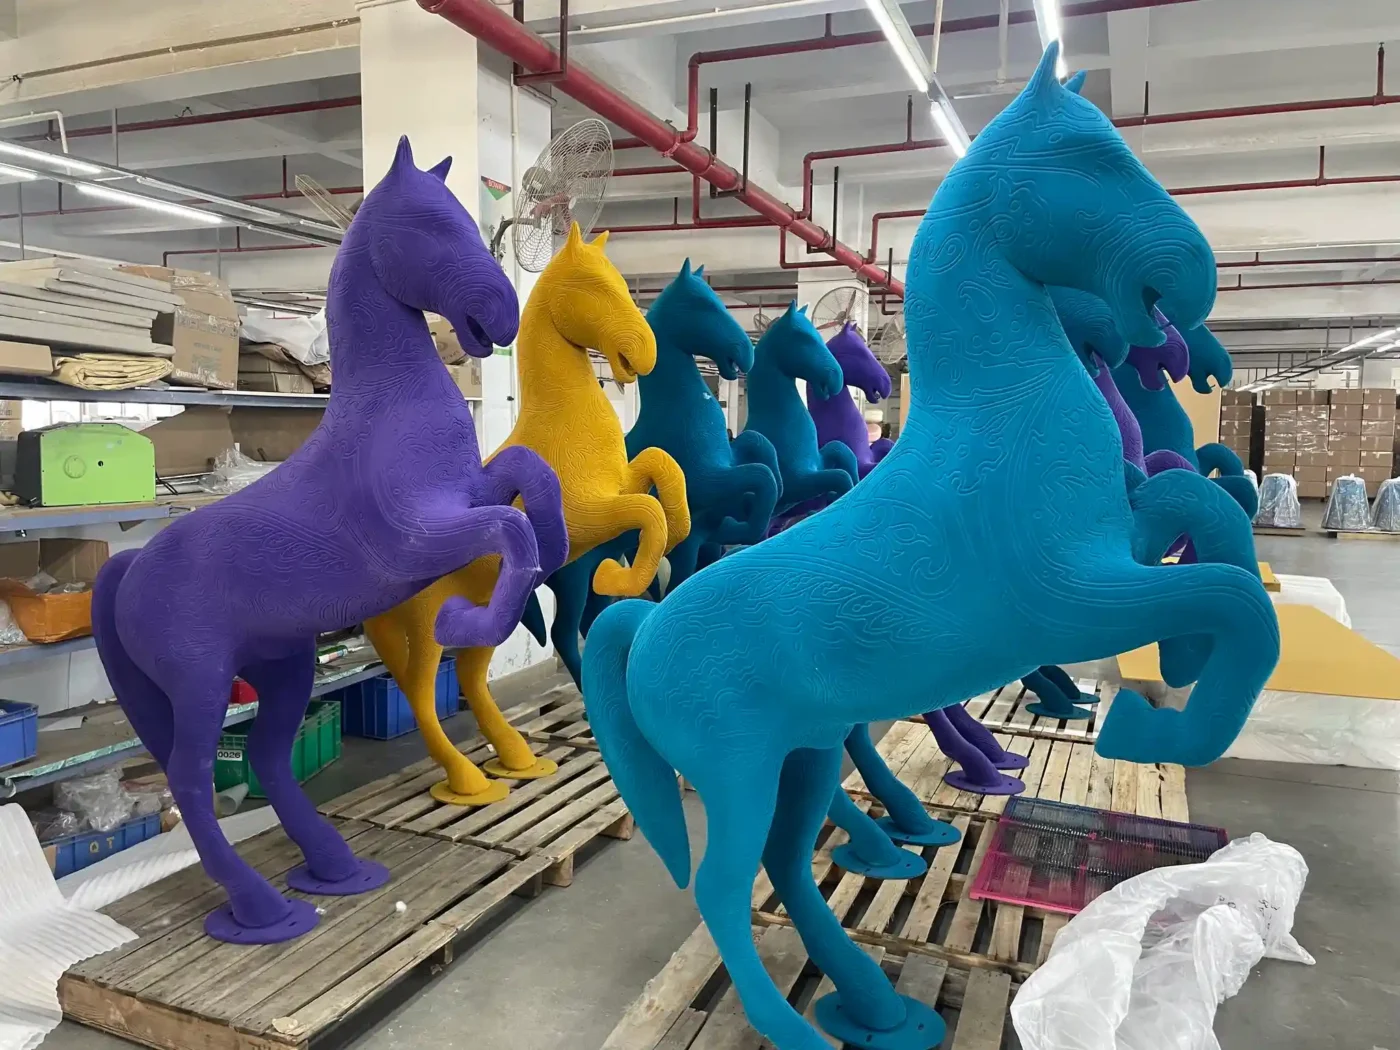
How Long Does a Sample Take and What Does It Cost?
Timeline
Sample lead time depends on the type of sample, material and finish complexity.
| Sample Type | Typical Timeline |
|---|---|
| Finish sample (colour swatch, paint panel) | 4–5 days |
| FRP sample (painted finish) | Approximately 10 days |
| FRP sample (with electroplating or metallic finish) | Approximately 15 days |
| Metal fabrication sample | 7–15 days |
| Full-size illuminated prototype | From 1 week (simple) to 4+ weeks (complex) |
Additional factors that affect sample time include mould making, CNC cutting, 3D printing, surface preparation, paint curing, acrylic polishing, lighting assembly and client revision rounds.
Sample timing should be discussed during the quotation stage. If the buyer needs the finished props for a specific campaign date, the manufacturer needs to know whether the sample stage can realistically fit into the production schedule. For seasonal retail campaigns — particularly Christmas display projects, where production typically begins around April to May — late sampling can push the entire project into urgent production or expensive air freight.
Cost
A sample usually adds cost, but it reduces risk.
Sample development typically represents around 3–8% of the total project value, depending on complexity. This covers material, mould setup, manual labour, finish testing and engineering time. For one-off custom projects, the sample cost may feel proportionally high because the factory is doing real development work before any batch production begins.
Sample fees are generally non-refundable, as they represent completed development work regardless of whether the buyer proceeds to mass production.
However, the sample can prevent much larger costs later — wrong material, wrong colour, weak structure, poor finish, damaged shipment, production remake, installation failure or client rejection. In most commercial display projects, sample cost is not the problem. Uncontrolled risk is the problem.
Not every project needs a full prototype. Sometimes a finish sample is enough. Sometimes a partial structure test is enough. Sometimes a full-size prototype is the only responsible choice. The right sample strategy depends on where the project risk is highest.
What Happens After the Sample Is Approved?
After sample approval, the manufacturer should document the standard clearly. This typically includes final sample photographs, colour references, material notes, approved dimensions, surface finish method, logo placement, assembly instructions, packing specifications and inspection checkpoints.
Mass production then begins with the approved sample as the reference for quality control. If the production batch differs from the sample in any measurable way, the manufacturer should identify and correct the issue before shipment.
For international retail projects, it is also standard practice to maintain photographic records during production. This gives agencies and brands confidence when they cannot inspect goods in person.
For projects managed through a custom visual merchandising service, the approved sample and its documentation become the foundation of the entire production and QC workflow.
What Are the Most Common Mistakes in Display Prop Sampling?
Approving only from a photograph.
Photos can hide surface imperfections, colour differences and scale issues. If physical approval is not possible, request multiple photos and videos taken under different lighting conditions and from different angles.
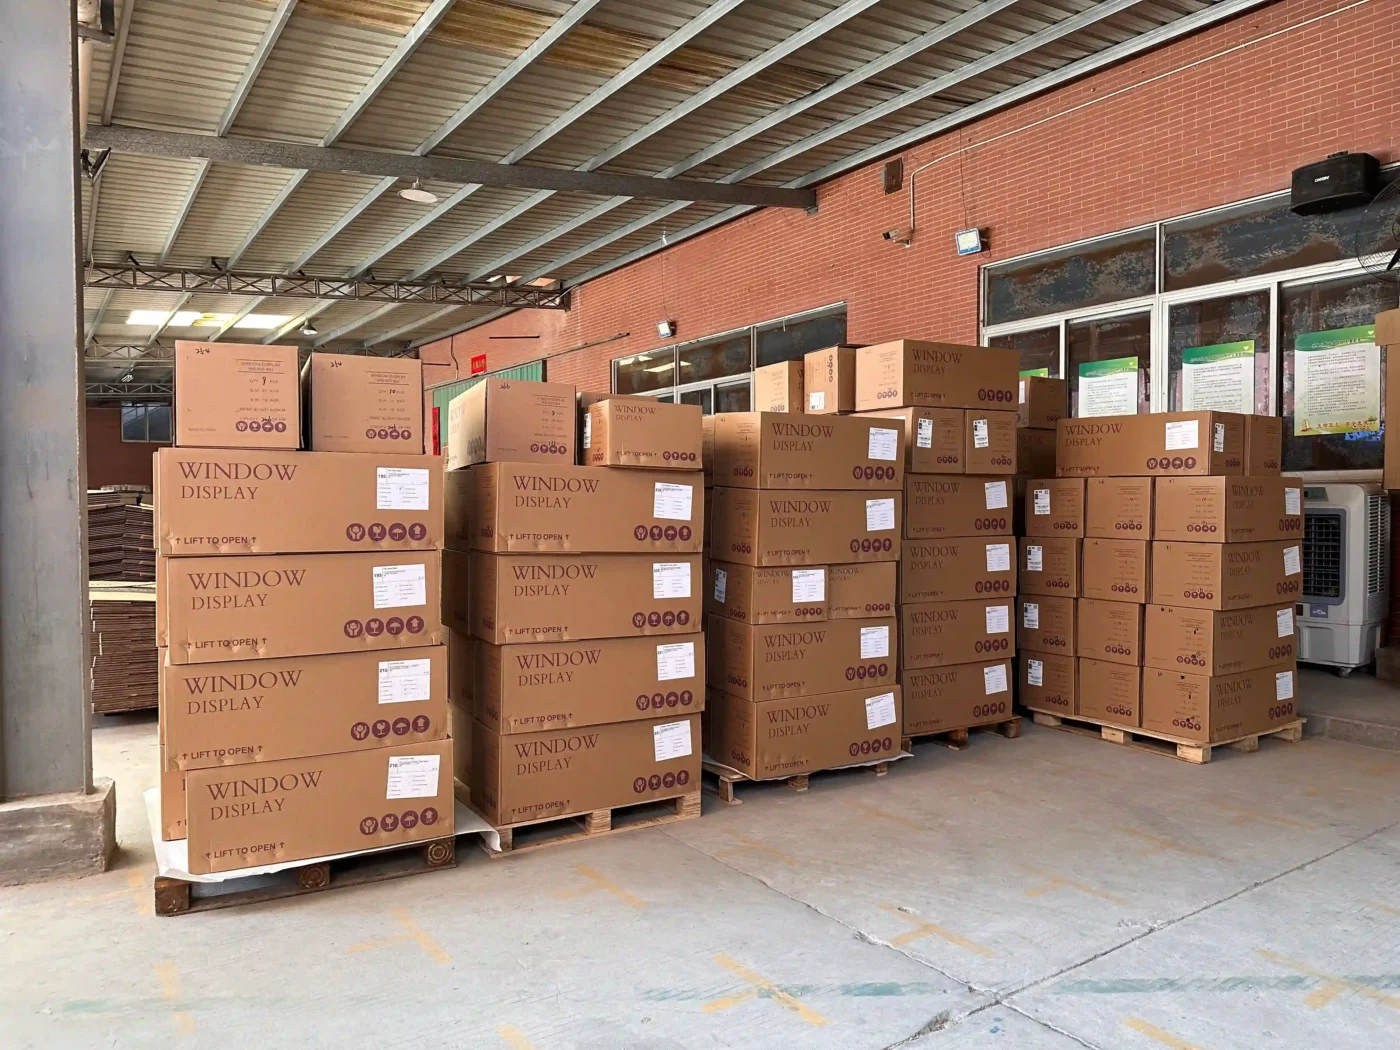
Ignoring packing during the sample stage.
A sample should also help test packing logic, especially for fragile, glossy or oversized props. If packing is considered too late, damage risk during transit increases significantly. High-gloss lacquer surfaces in particular are sensitive to pressure marks from standard foam packaging — this is the kind of issue that only appears when a sample is physically packed and tested.
Changing the design after sample approval.
Even small changes after approval can affect cost, structure and timeline. If changes are needed, confirm with the manufacturer whether a new sample or partial retest is required before production continues.
Treating the sample as free work.
A sample is real development work. It requires material, labour, engineering and finishing time. For custom retail props, sampling should be treated as part of the project investment, not as a courtesy step.
Skipping sample approval for multi-store rollouts.
For repeated store installations, the approved sample becomes the production and QC standard. Skipping it can create quality inconsistency across locations — and once 30 or more sets are produced, correcting the issue is far more expensive than catching it during sampling.
FAQ
Is a display prop sample always required?
No. Simple repeat items with known materials, finishes and proven production methods may not require a new physical sample. However, complex, oversized, illuminated, reflective or multi-store display props almost always benefit from sampling. The decision depends on how much production uncertainty the project carries.
Can I approve a sample by photo or video?
In some cases, yes. Photo and video approval can work for shape, size and general appearance. However, for premium finishes, exact brand colour matching, structural load testing or lighting uniformity, physical sample review is significantly more reliable. Metallic and reflective finishes in particular can appear very different on screen compared to in person.
Who pays for the display prop sample?
Usually the buyer pays for sample development because it involves custom material, labour and production setup. Sample fees are generally non-refundable, as they represent completed development work. In most projects, sample cost represents around 3–8% of the total project value.
Can the sample be changed before mass production?
Yes. That is the purpose of sampling — to identify and resolve issues before the full batch is produced. Around 40% of first-time custom prop projects involve at least one revision during the sample stage. Changes should be confirmed clearly with the manufacturer before production begins.
How do I know what type of sample I need?
The sample type depends on project risk. If the main risk is colour or finish, request a finish sample. If the risk is structural strength or stability, request a structural sample. If the project is complex, involves lighting, or will be repeated across multiple stores, request a full-size prototype. A good manufacturer will recommend the most practical sample route based on the design.
How long does display prop sampling take?
A simple finish sample may take four to five days. An FRP sample with standard paint typically takes around ten days. A full-size illuminated prototype may take one to four weeks or more depending on complexity. Timeline should be discussed at the quotation stage so sampling fits within the overall production schedule.
Need a Display Prop Sample for Your Project?
If your project involves custom retail window displays, oversized props, illuminated signs, premium finishes or multi-store rollouts, a sample can help reduce production risk before the full batch begins.
Send your reference images, dimensions, quantity and deadline. We can suggest the most practical sample route for your project.