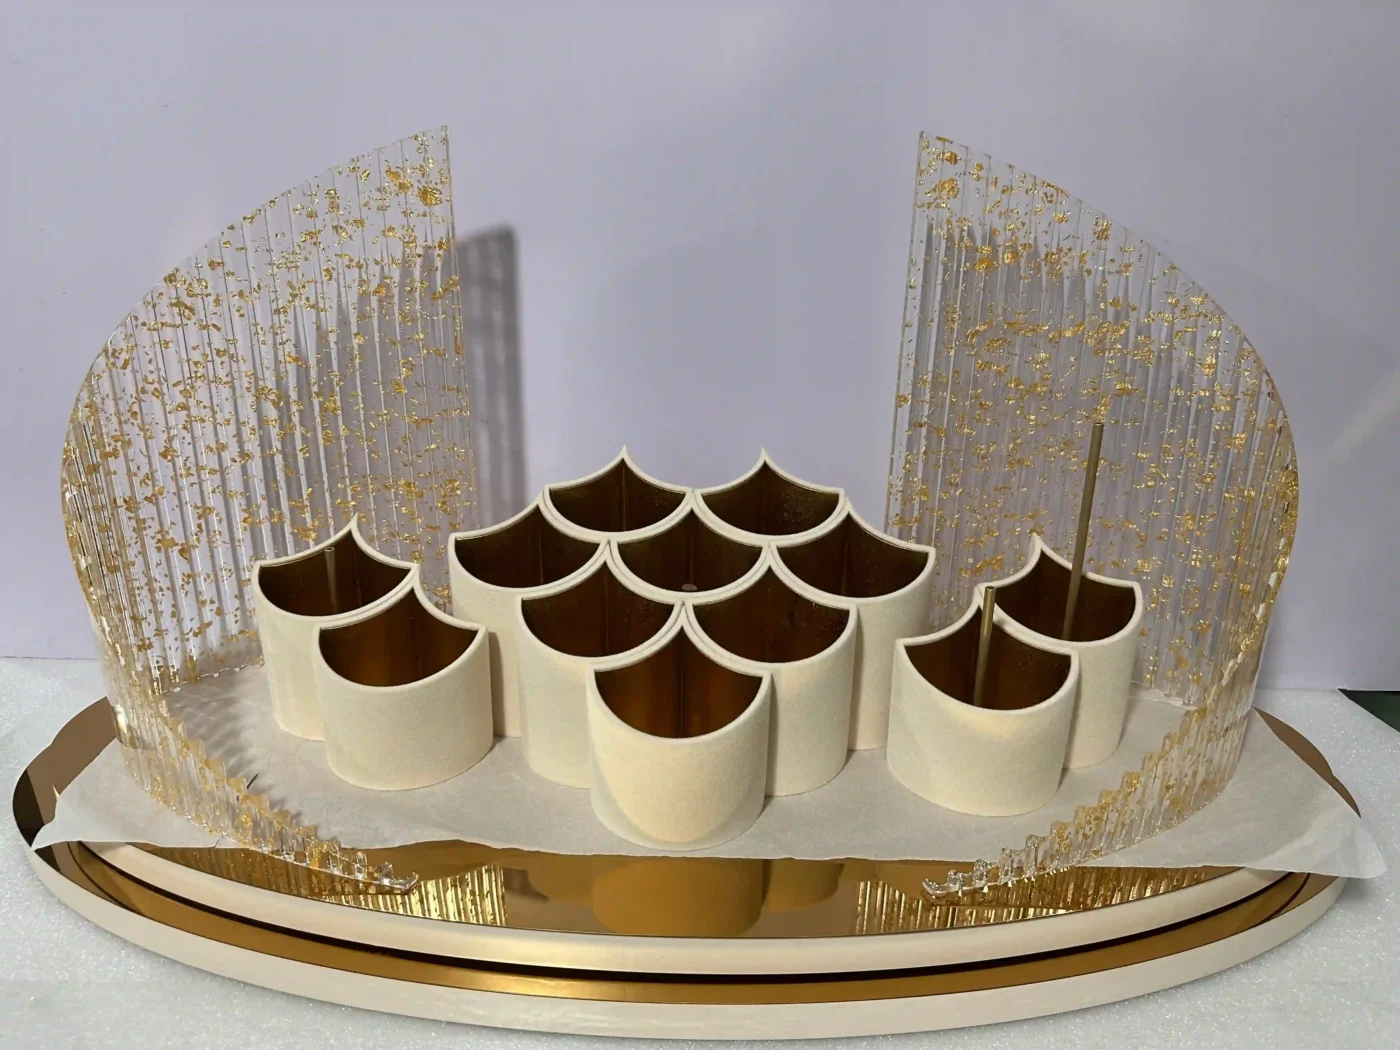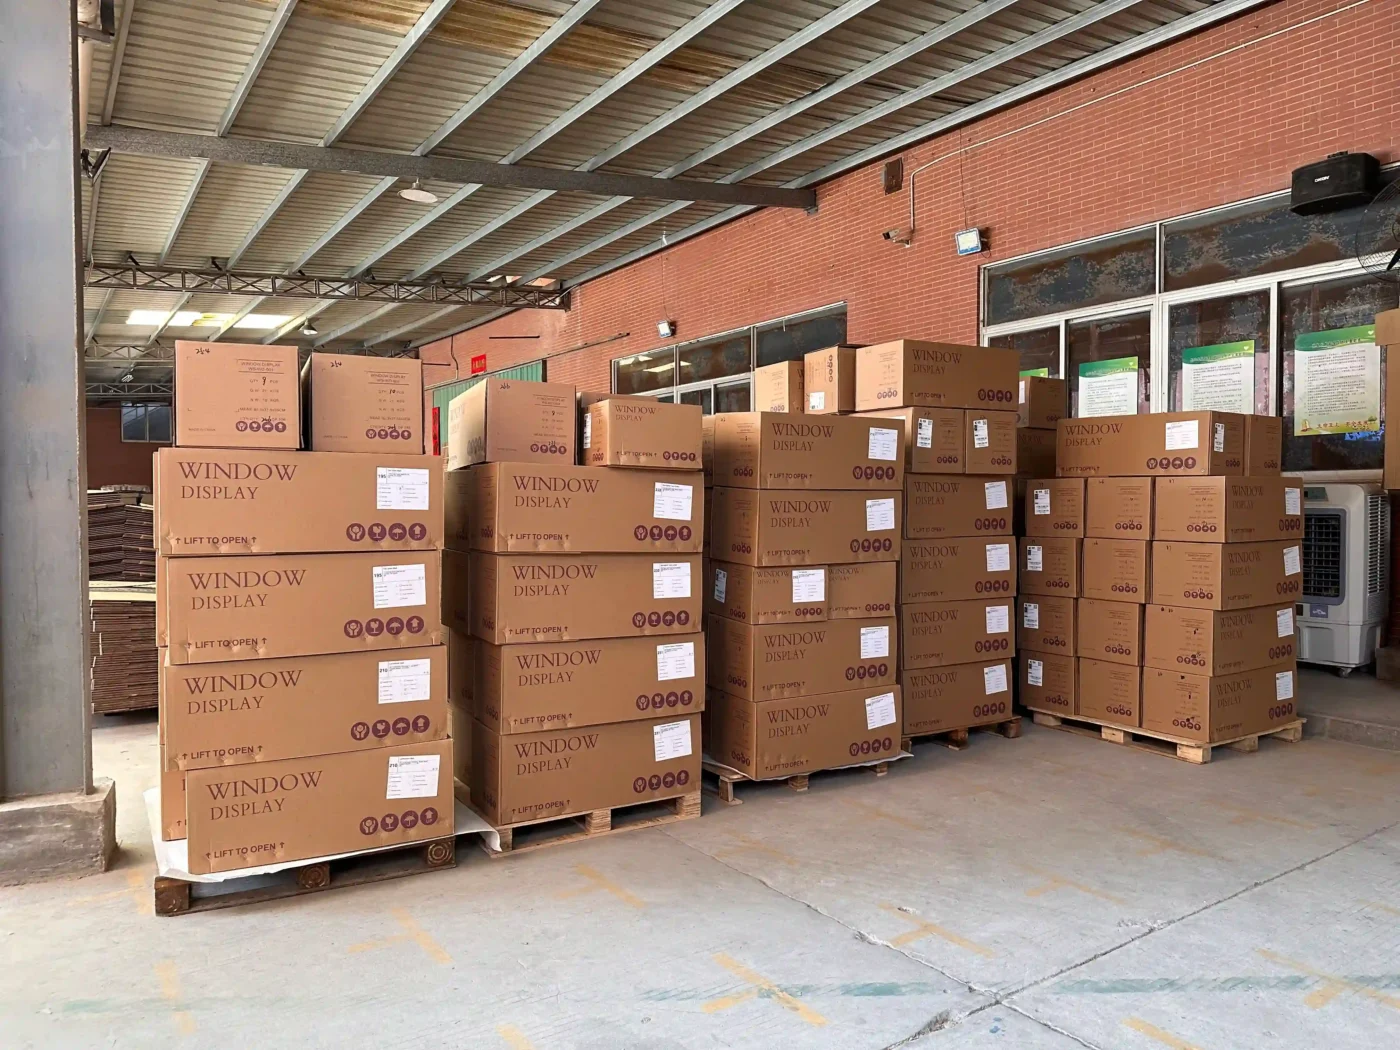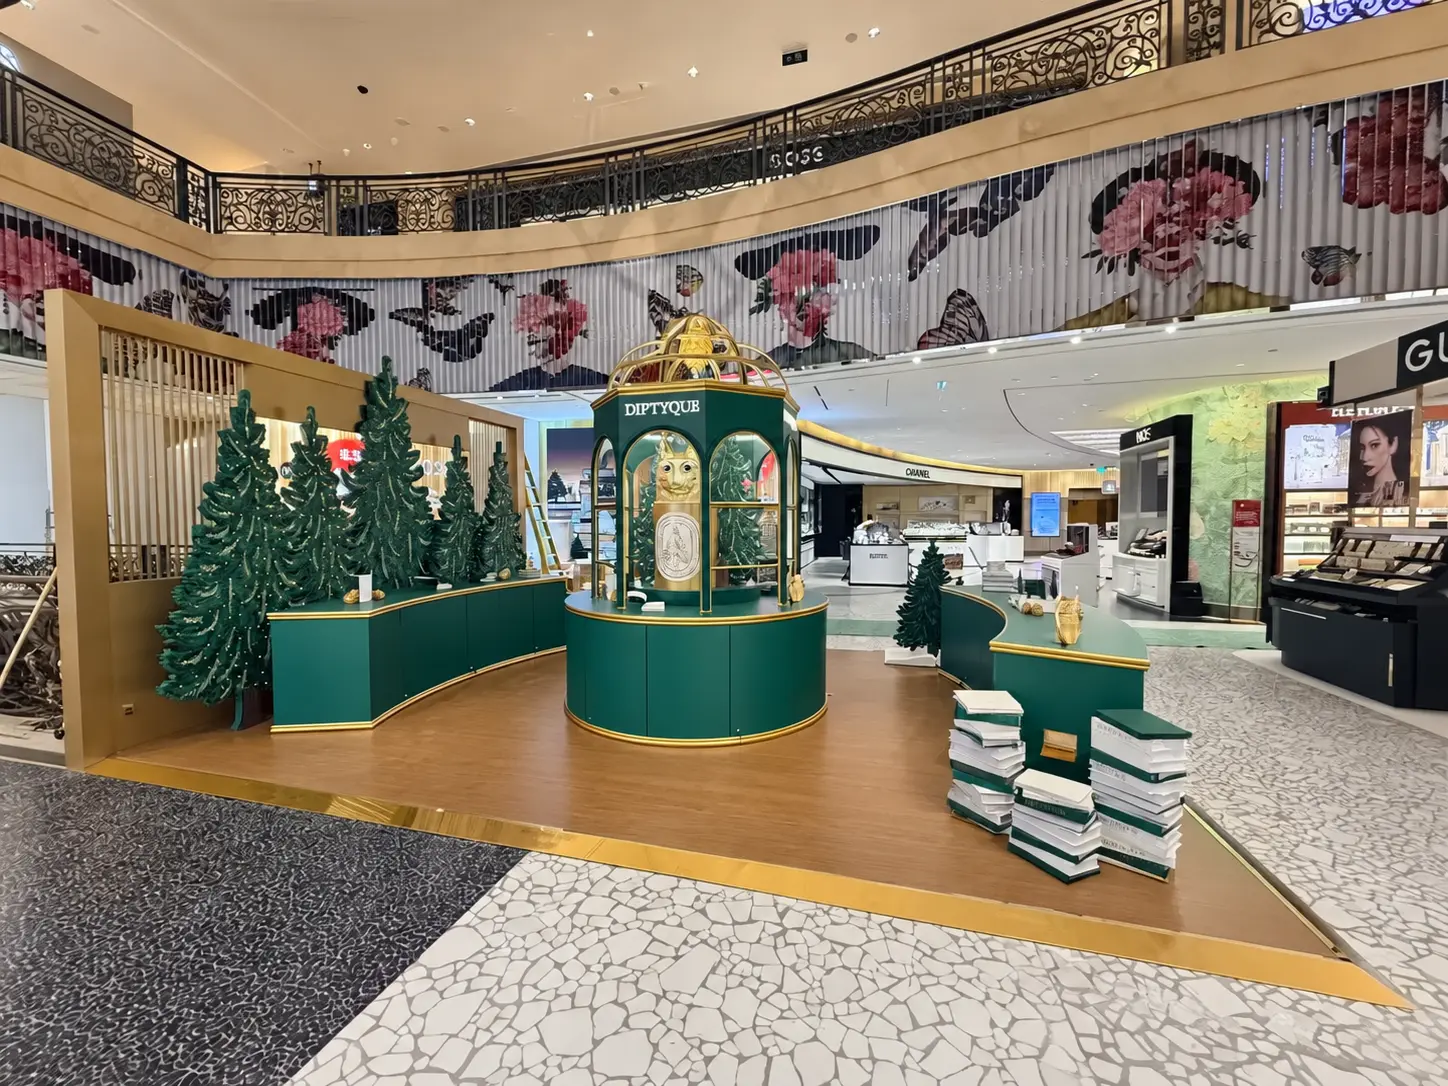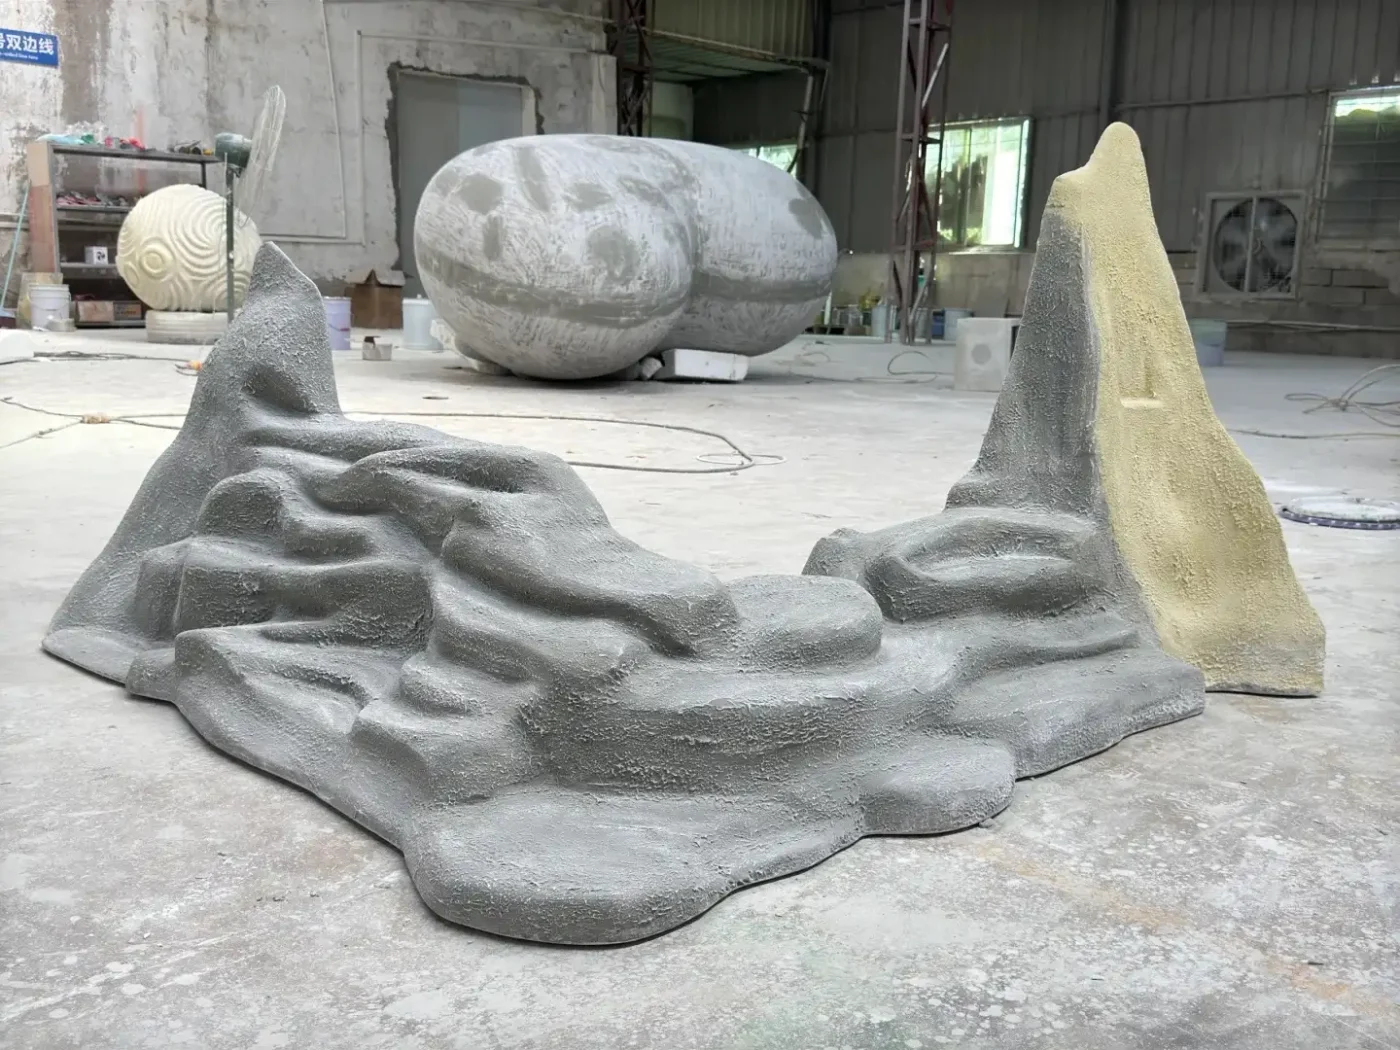

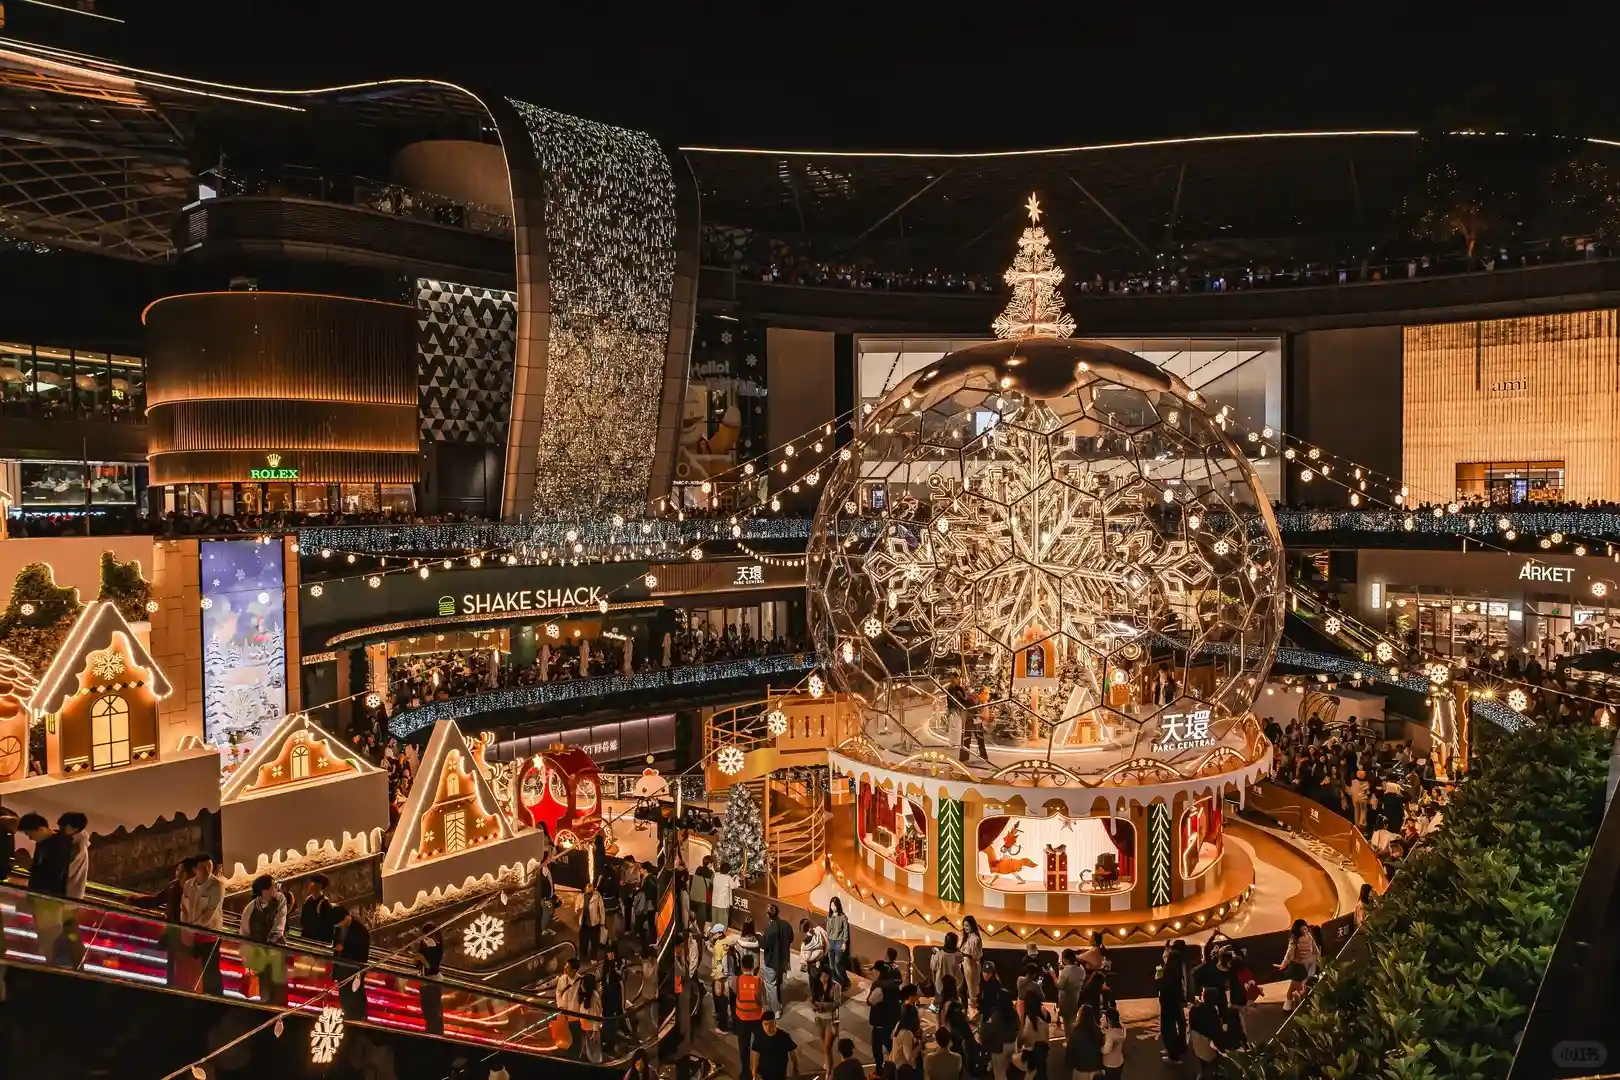
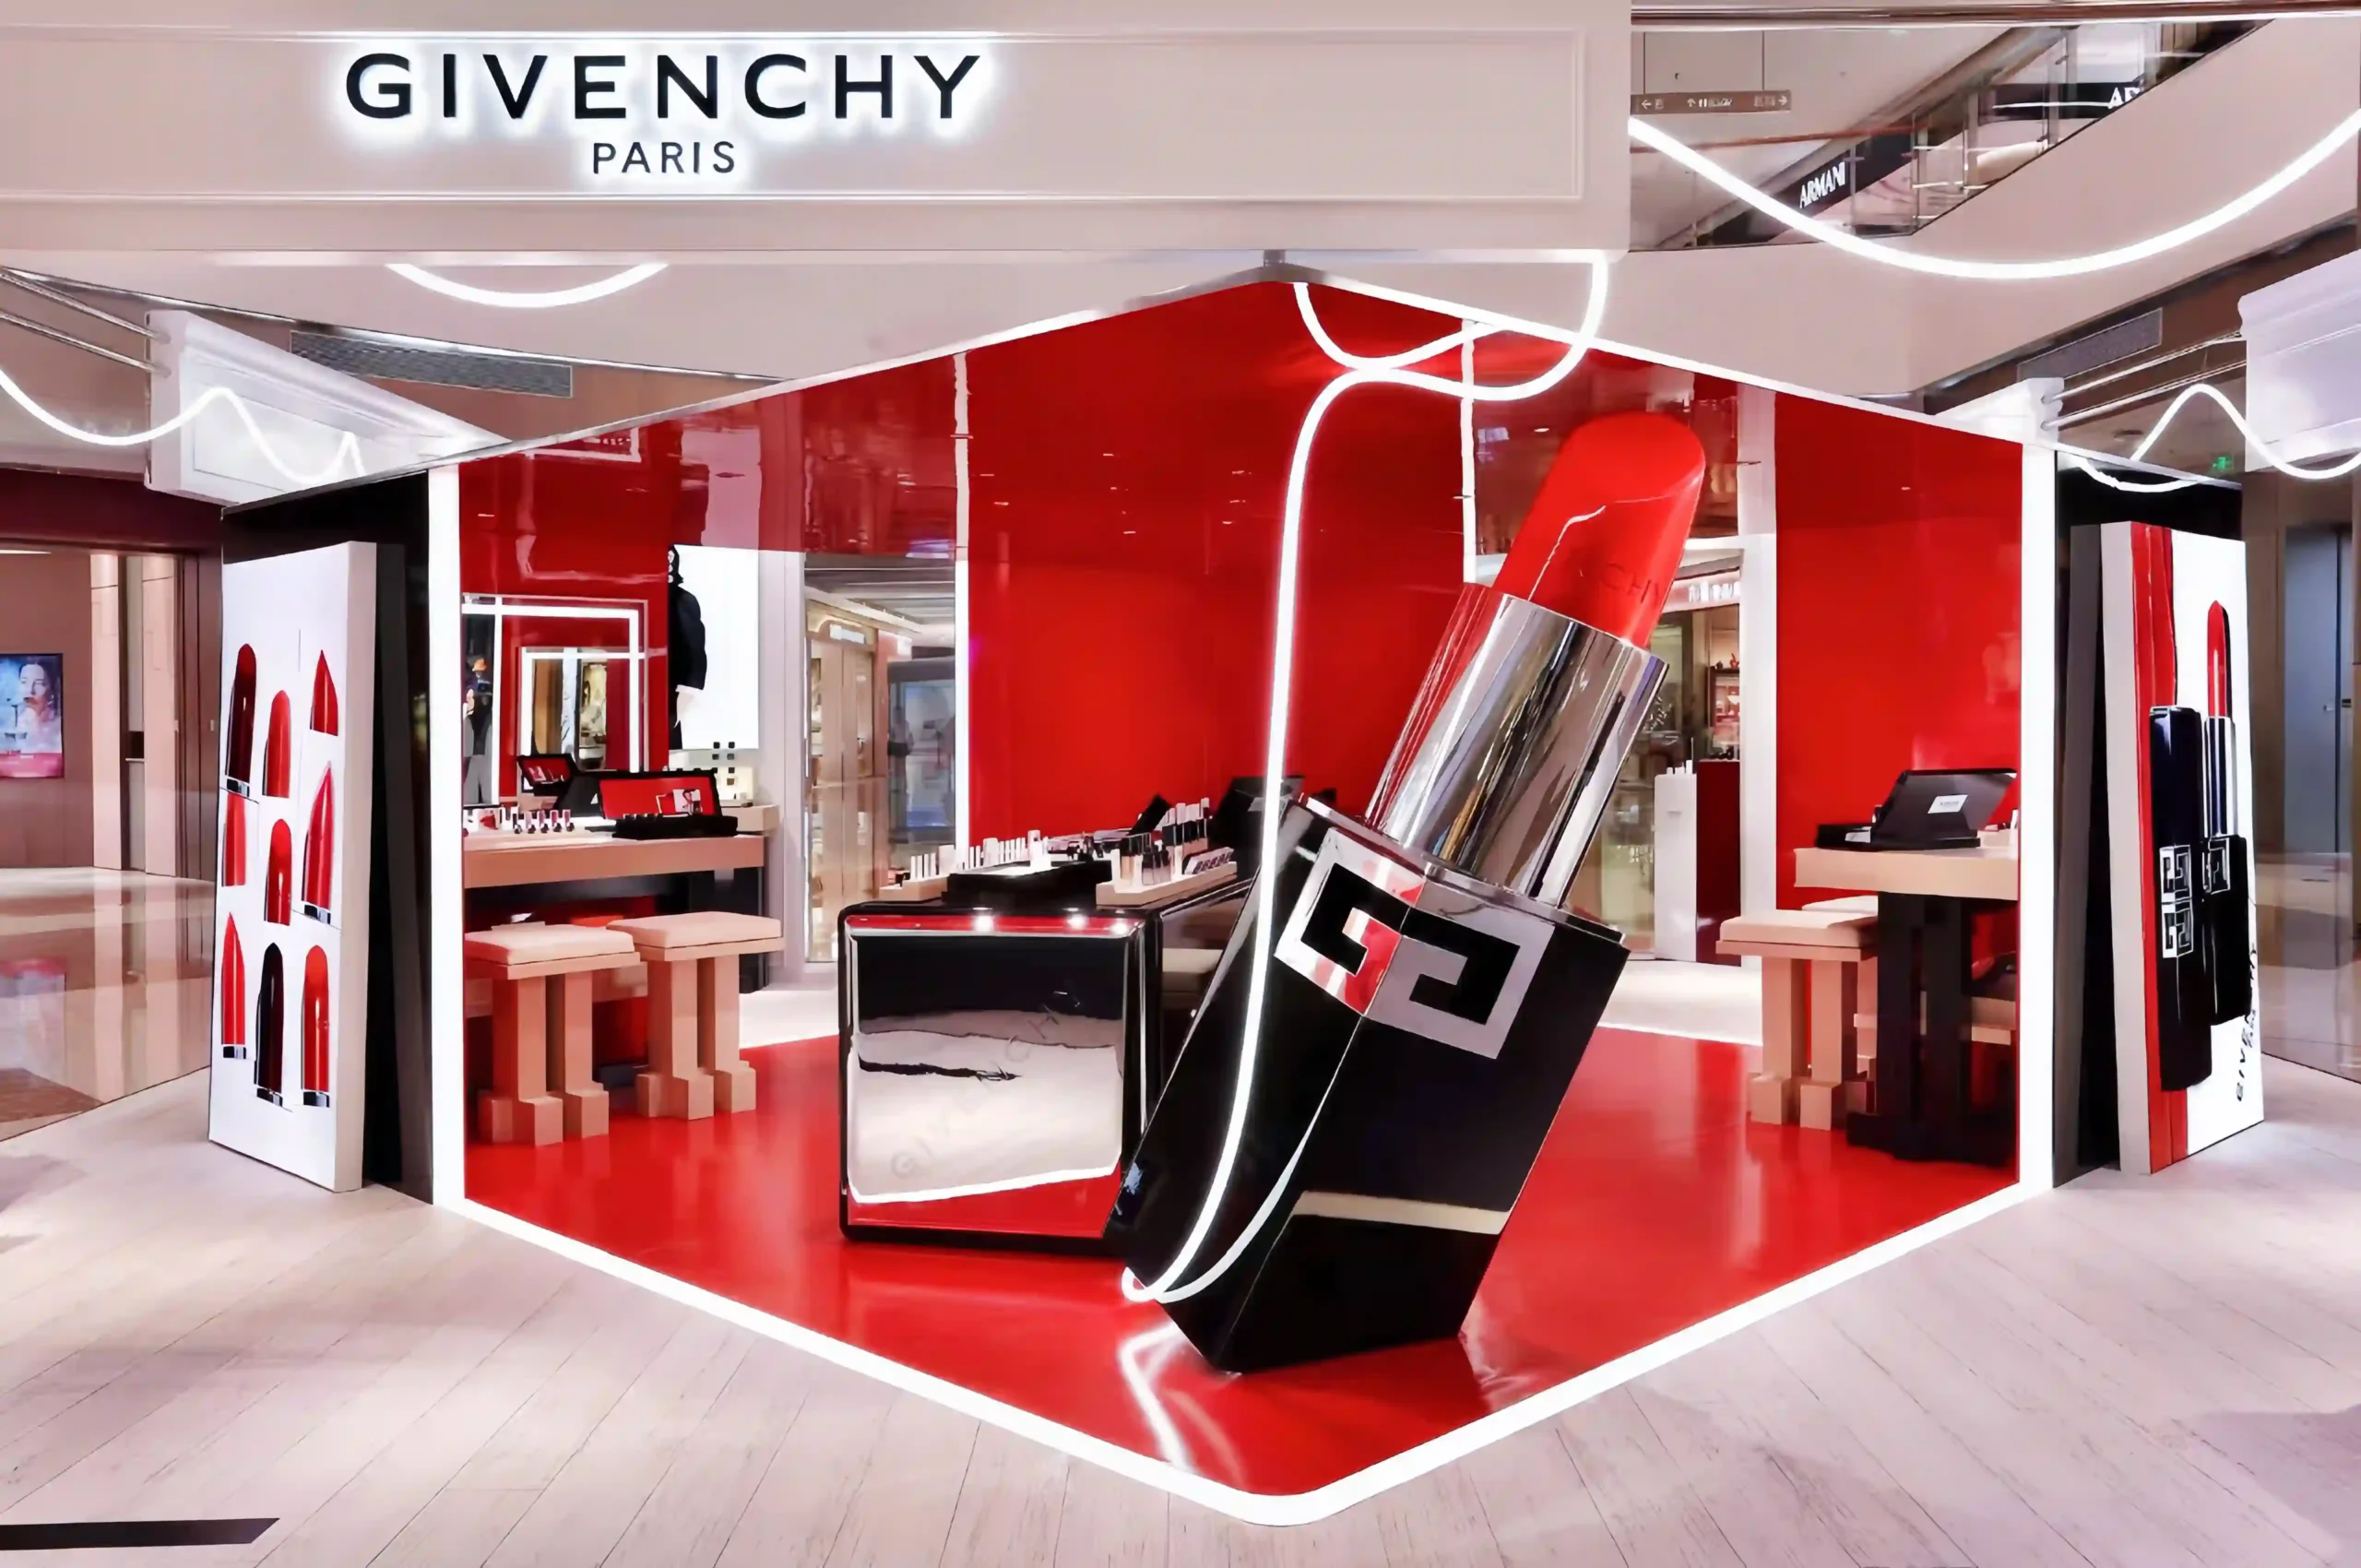

A render can look finished while leaving almost every manufacturing decision unanswered.
Picture a two-meter metallic flower rising beside a fragrance bottle in a flagship window. The render defines the color, the mood and the proportion beautifully. What it does not show is what holds the flower upright, where it separates for shipping, how the gold surface is actually produced, or whether the finished piece will fit through the store entrance.
Closing that gap is the job of 3D drafting.
3D drafting does not redesign the creative concept. It translates an approved visual into a set of production drawings that a factory can build from, inspect against and pack for installation, without inventing critical answers on the workshop floor.
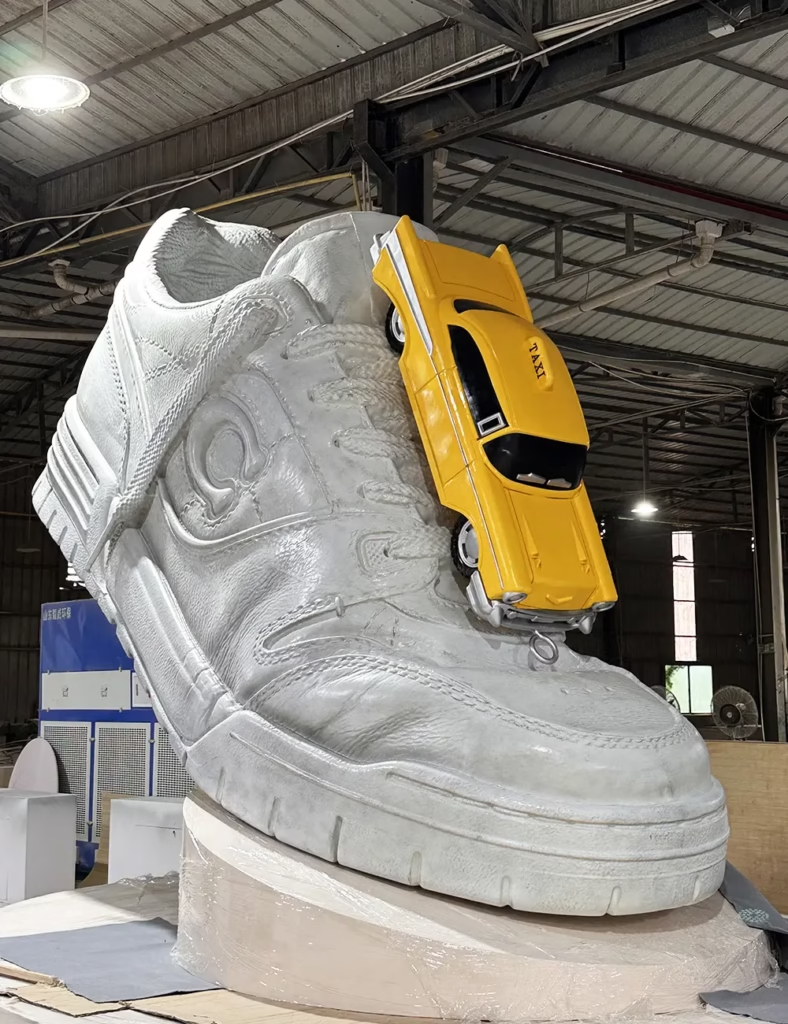
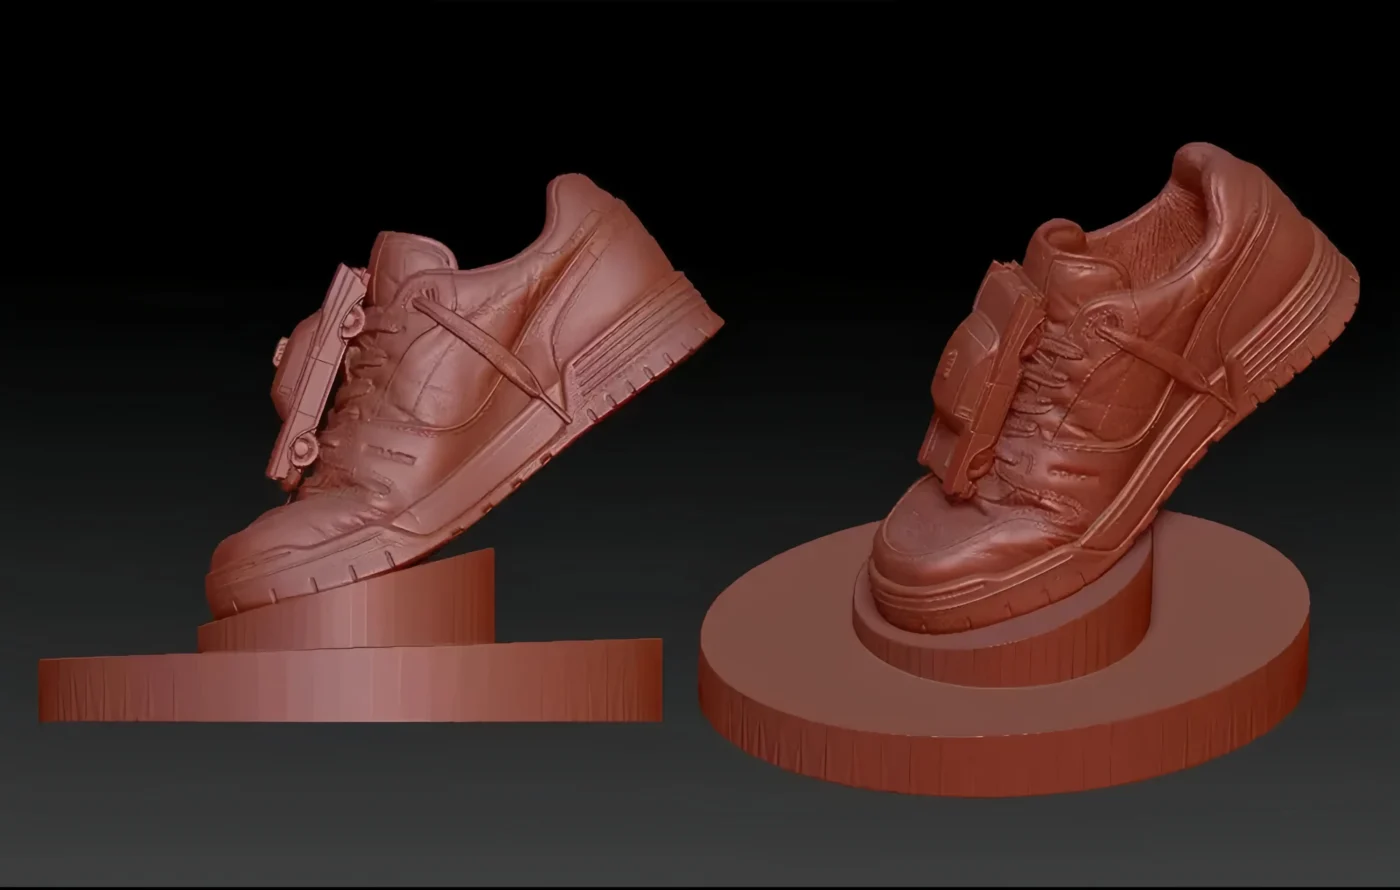
Quick answer: What is 3D drafting for display props? 3D drafting for display props is the stage where a manufacturer converts a creative render into an engineered 3D model and dimensioned production drawings. It defines the internal structure, materials, joints, surface finishes, lighting and packing of each component, so the approved design can be manufactured, shipped and installed as intended.
Render, 3D Model and Production Drawing: Three Files, Three Questions
Brands often send a render and expect a quotation in return. The difficulty is that a render, a model and a drawing answer different questions, and only one of them tells a workshop how to build.
| File | The question it answers | What it contains |
|---|---|---|
| Creative render | What should the customer see and feel? | Composition, color, atmosphere, relationship to the product |
| 3D model | Is the form correct from every angle and at true scale? | Geometry, volume, surface form, proportion |
| Production drawing | How will each part be made and assembled? | Dimensions, materials, internal structure, joints, finishes, tolerances |
| Assembly drawing | How do the parts fit together on site? | Part numbers, sequence, hardware, connections |
| Packing drawing | How will it travel safely? | Disassembly, crate layout, support points, labels |
The guide to 3D modeling for display props explains how the digital model confirms form and scale. Drafting begins where that ends: it asks whether the approved geometry can survive fabrication, transport and real store conditions. In manufacturing this review is often called design for manufacturing, or DFM.
Scale is the first thing drafting confirms, because it changes everything that follows. A 300 mm flower might be cast solid in resin. The same flower at two meters becomes a hollow fiberglass shell over a steel frame, with a weighted base and removable petals. If final dimensions are still moving, the drawing should mark which are confirmed and which are provisional. The checklist of information needed for a custom display props quote covers what to prepare at this point.
What Holds It Up: The Structure the Render Leaves Out
The customer sees the surface. The factory has to solve what sits behind it.
A render leaves the structure out on purpose, because a frame would spoil the image. A production drawing has to show it, because the workshop cannot build a two-meter flower safely from assumptions.
Behind the visible shell, the hidden structure may need to:
- keep a tall, top-heavy form upright on a smooth store floor
- stop a fiberglass shell from flexing when handled
- carry merchandise, acrylic panels or hanging elements
- give the installer fixing points that do not damage the store
- leave access to lighting and electrical parts
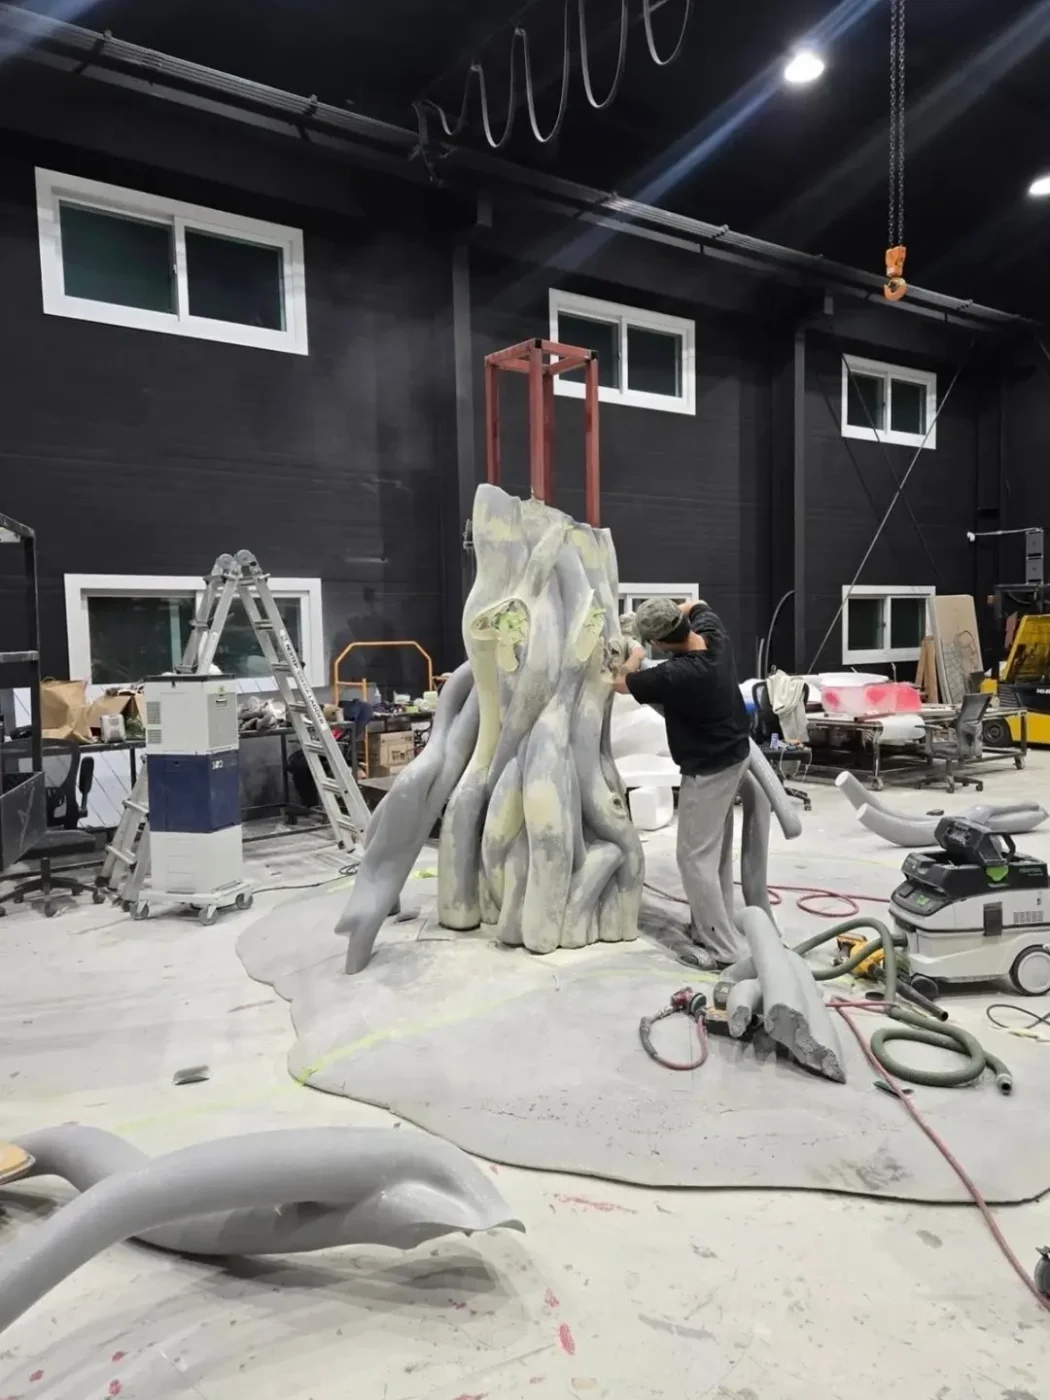
For the flower, drafting would typically define a welded steel spine running through the stem, a ballasted base sized to the center of gravity, and fixing plates inside each petal. The level of engineering should match the risk. A light decorative form needs far less than a suspended element, a load-bearing fixture or a motorized piece.
What the drawing should show: internal frame, base and ballast detail, fixing points, and where service access sits.
Where It Comes Apart: Split Lines, Joints and Shipping Sections
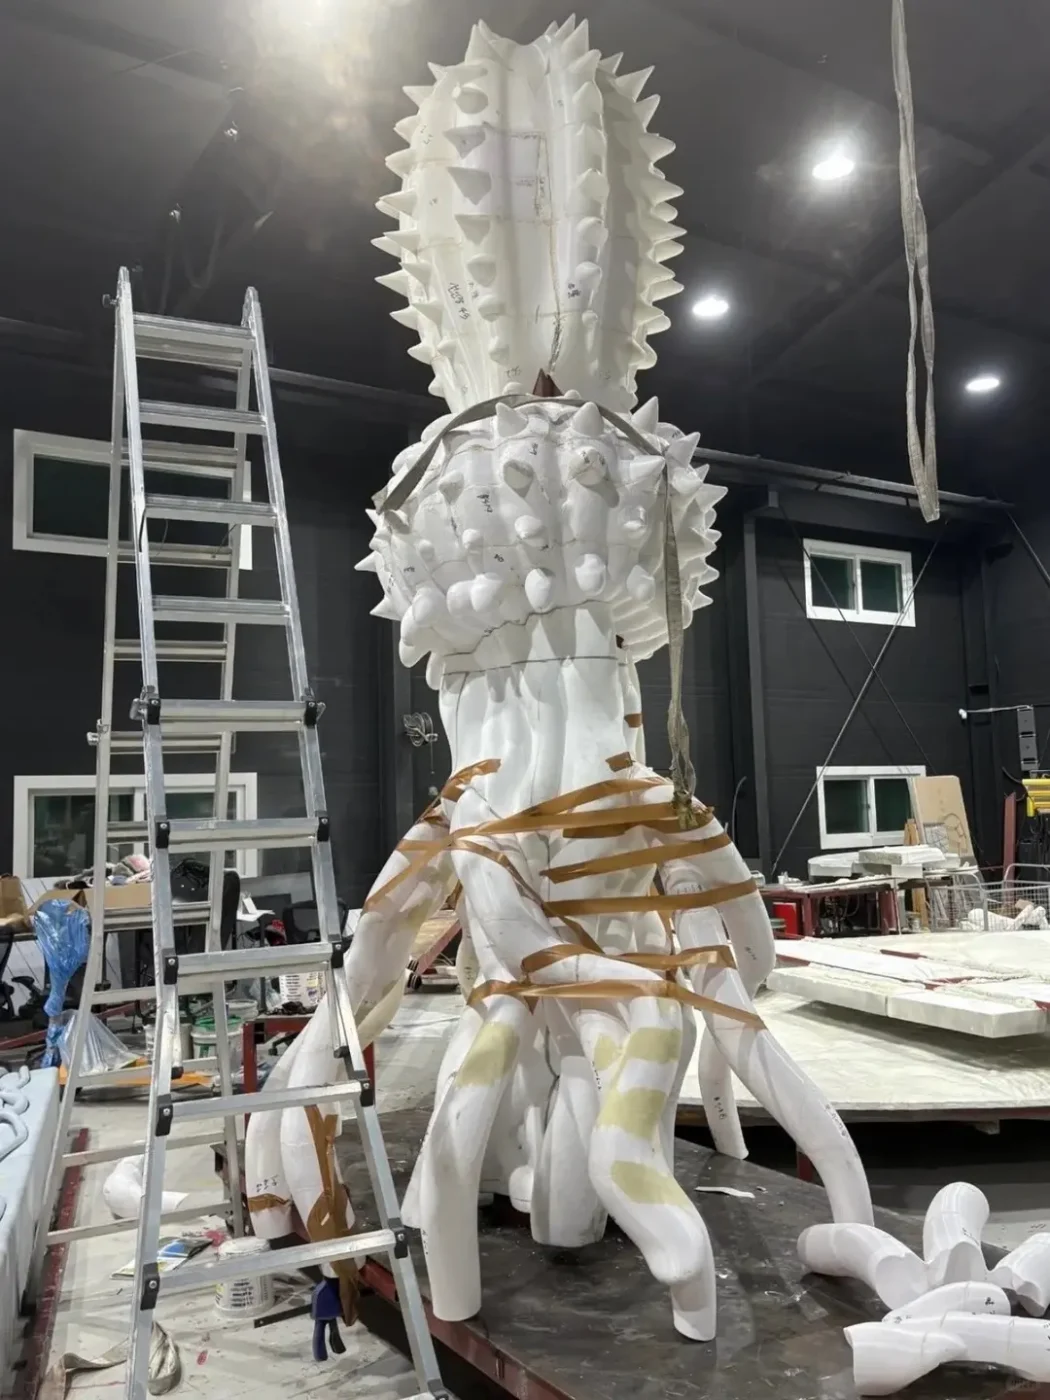
Large props rarely travel in the shape they appear in the window. The flower might ship as a base, a stem and five petals in two crates.
Where those splits fall is a design decision, not a workshop convenience. A joint placed where fabrication is easiest can cut straight across the most visible surface. A joint hidden perfectly can become impossible to reach with a tool during installation.
A good split position balances appearance, strength, crate size, the weight one installer can lift, and how often the piece will be assembled and taken down. On sculptural fiberglass forms, joints usually follow a natural edge, fold or color break. On geometric structures they can sit behind trim or overlapping panels. On mirror finishes, the connection must also avoid distorting the reflection.
What the drawing should show: an exploded view, part numbers, joint type, fasteners, how parts align, and what the finished joint should look like.
What “Gold” Actually Means on a Production Drawing
“Gold,” “red” or “high gloss” describes a look. It does not tell a workshop what to make.
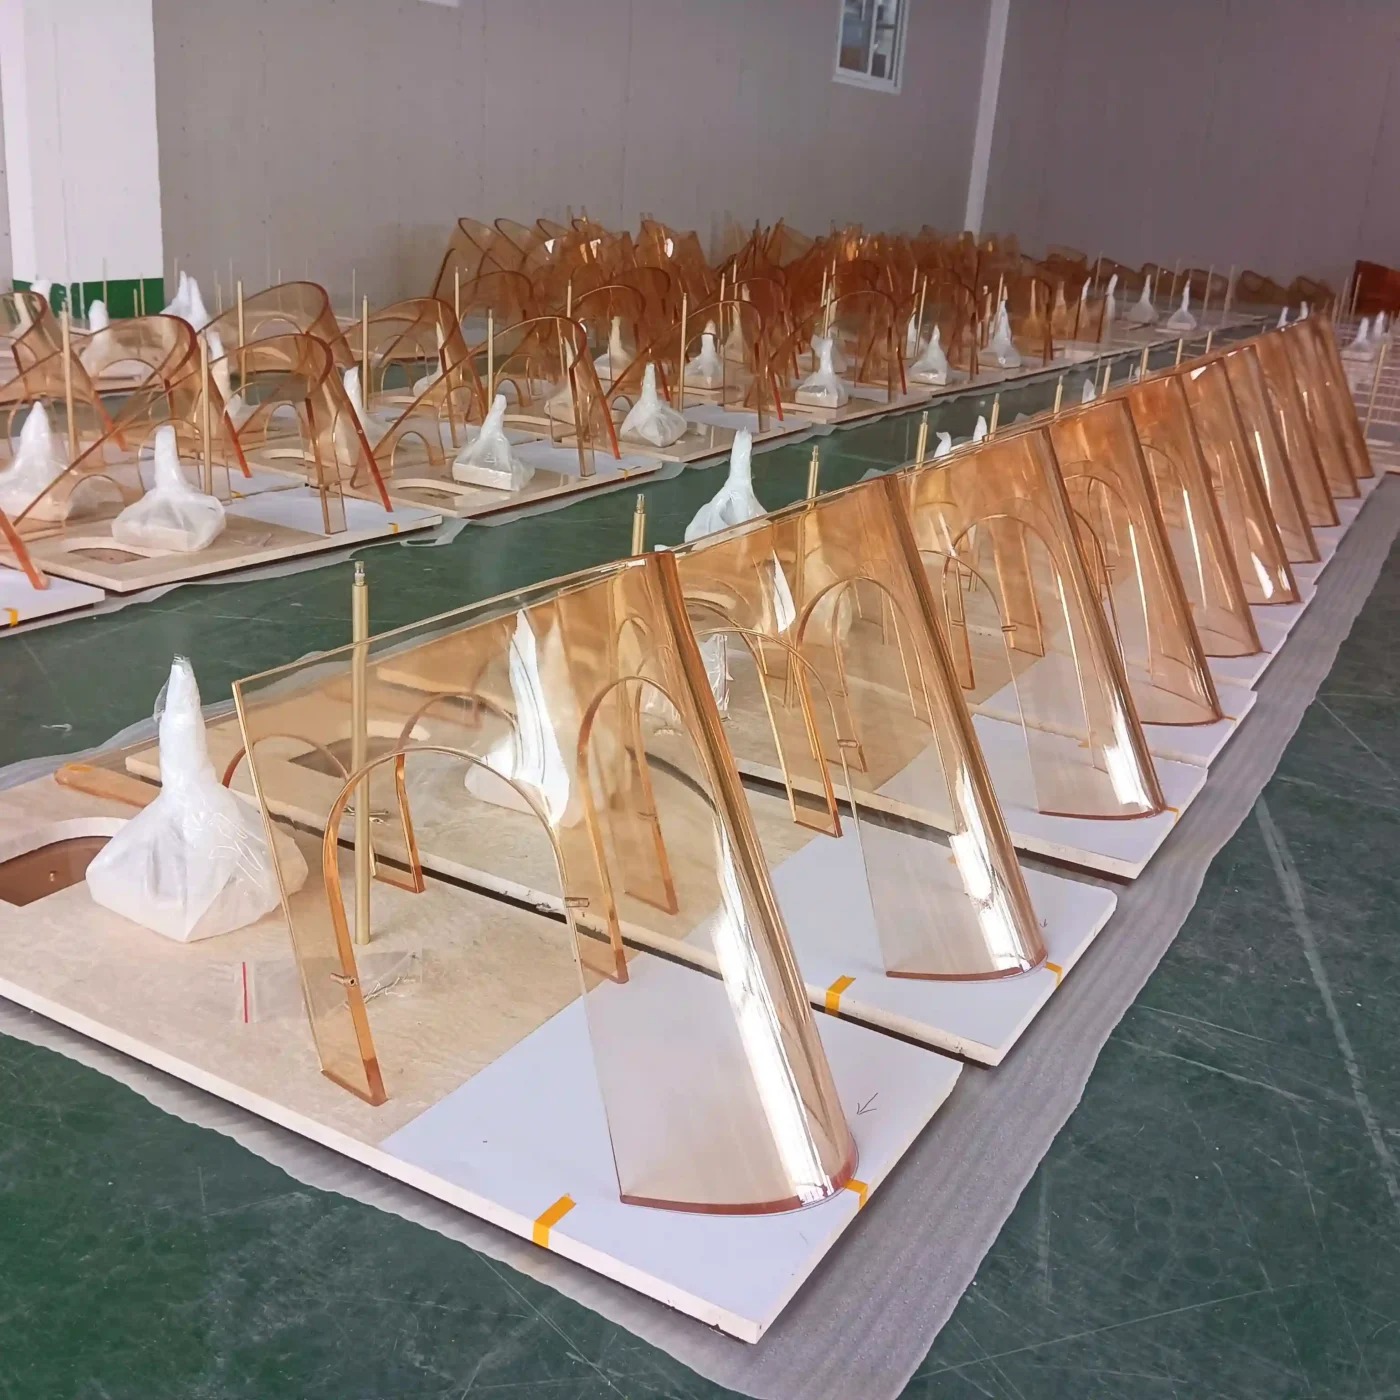
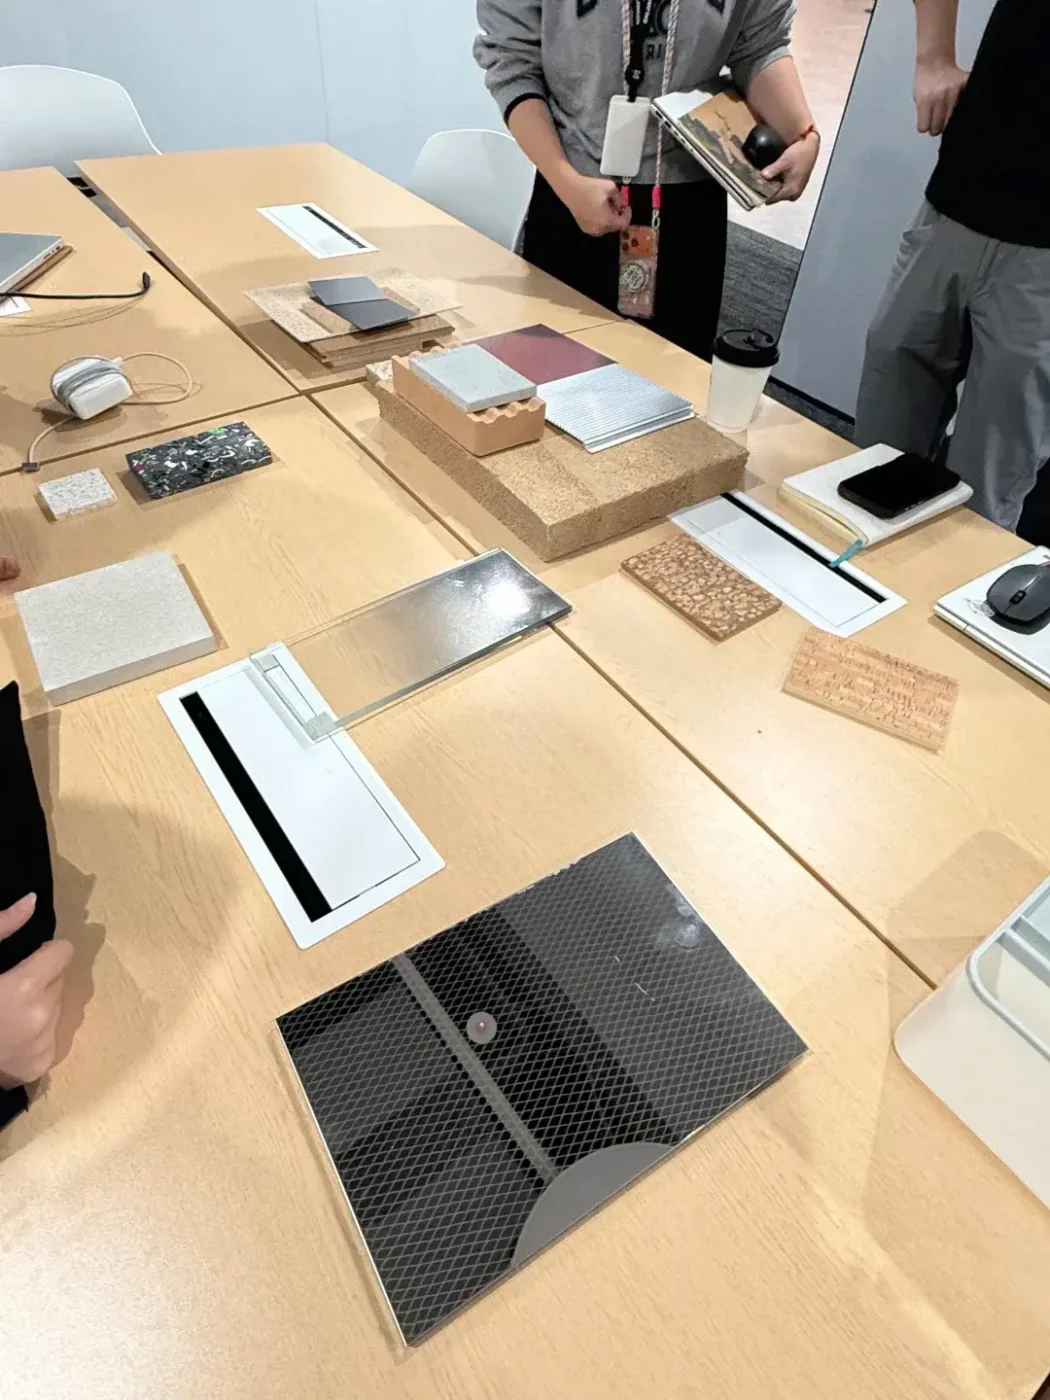
The same gold appearance can come from metallic spray paint, polished brass, PVD-coated stainless steel, vacuum-metallized fiberglass, gold leaf or colored mirror acrylic. Each has a different weight, cost, durability, lead time and reflection.
Compare two drawing notes for the flower’s petals:
Weak note: Gold finish
Production specification: FRP outer shell, fully filled and sanded; mirror-gold vacuum-metallized finish; approved physical color and reflectivity sample required before production.
The second note does more than name a color. It states what the part is made of, how the surface is created and what must be signed off before production begins.
The finish also fixes the order of work. A fiberglass shell has to be filled and sanded before UV vacuum metalizing. A welded metal structure has to be ground and polished before PVD coating. These steps belong in the drawing package so they are planned, not discovered. For the broader trade-offs between substrates, see this guide to choosing window display prop materials.
What the drawing should show: a finish schedule by component, physical sample requirements, which faces are visible, and how finished surfaces are protected.
Where the Light and Wires Go
In a render, lighting is a glow. On a drawing, it is a set of physical decisions that have to be made before anything is fabricated.
If the flower’s center glows, the drawing needs to define the LED type and color temperature, where the driver sits, how cables run through the stem, where they exit, which voltage the destination market uses, and how someone will replace a failed driver without dismantling the piece.
Translucent and edge-lit parts add their own constraints. The distance between LEDs and a diffuser controls whether the light looks even or spotty. Panel thickness and LED placement decide whether edge-lit acrylic glows cleanly. The guide to specifying custom light box displays goes further into these choices.
What the drawing should show: a wiring diagram, LED and driver positions, cable exit, connector detail and a removable service panel.
Which Drawing Controls Production
Production should never begin from a folder holding three render versions, two conflicting dimension sheets, a revised logo sent in a chat message and a finish reference attached to an old email.
Once drafting is complete, one approved package should control the build. It records:
- project name, drawing numbers and revision
- the approved 3D model
- material and finish schedules
- assembly drawing and hardware list
- packing requirements
- the client’s approval and date
Any later change should state what changed and which components it affects. This matters most when a brand team, a creative agency and a manufacturer all contribute. Several teams can shape the design, but only one file should drive production.
Installation and packing are part of this package too. Drawings should reflect who will install the piece, with which tools and in how much time, and how each section sits in its crate. The guide to store window displays from concept to installation covers that stage of the project.
What a Production Drawing Package Usually Includes
The exact set depends on the prop. A simple decorative form may need only a few of these. An illuminated, multi-part piece for several stores may need all of them.
| Drawing | What it shows |
|---|---|
| General arrangement | The complete display, overall dimensions and how components relate |
| Component drawings | Each part’s material, dimensions and finish |
| Section drawings | Internal structure, layers and hidden connections |
| Exploded assembly | How parts fit together, with part numbers |
| Finish schedule | Each component’s approved color, gloss, coating or graphic |
| Electrical drawing | LEDs, drivers, wiring routes and access points |
| Installation drawing | Assembly sequence, fixing method and site requirements |
| Packing drawing | Disassembly, protection, crate layout and labels |
Before You Approve Production Drawings: Questions to Ask
Approval is where a brand has the most influence over the final result. These questions surface problems while they are still cheap to fix:
- Which dimensions are confirmed, and which are still assumptions?
- What material is each visible component made from?
- What supports the visible surface, and how is the piece stabilized in store?
- Where does the prop separate, and will any joint be visible from the main viewing angle?
- How is each finish produced, and which physical samples need sign-off?
- How are cables hidden, and how is the lighting serviced?
- Can the intended store team install it with the tools and time available?
- Which drawing revision controls production?
After the drawings are approved, the next step is usually a physical check. A display prop sample confirms finish, form and assembly before batch production is released. Leaving this stage too late is one of the common reasons projects lose time, as the guide to the visual merchandising production timeline explains.
FAQ
What is the difference between a 3D render and a production drawing?
A 3D render shows how a display should look, including its color, lighting and atmosphere. A production drawing shows how it will be built: dimensions, materials, internal structure, joints, finishes and tolerances for each component. A factory can quote and plan from a production drawing, but a render alone leaves the main manufacturing decisions open.
Can a manufacturer produce a display prop from a render alone?
A manufacturer can start from a render, but it cannot produce from one reliably. The render first has to be developed into an engineered 3D model and production drawings that define structure, split lines, finishes and lighting. Many display manufacturers handle this drafting stage in-house after the creative concept is approved.
What is design for manufacturing (DFM) in display props?
Design for manufacturing is the review that checks whether a proposed design can be produced reliably with the chosen materials and processes. For display props, it covers structure, stability, joint positions, surface finishes, lighting, installation and packing. In practice it happens during 3D drafting, before production drawings are approved.
What should I send a manufacturer for 3D drafting?
Send the latest approved render, any confirmed dimensions, the quantity, the installation location, the target delivery date and any brand finish references. Information about store access, such as door and lift sizes, also helps the manufacturer decide where the prop needs to separate.
Do I still need a sample after production drawings are approved?
For most custom props, yes. Approved drawings confirm the engineering intent, while a physical sample confirms how the finish, color, assembly and lighting actually look in real materials. Signing off a sample before batch production protects consistency across every unit.
From Approved Render to a Prop That Can Be Built
A production drawing is not a more technical version of the render. It is a record of decisions: what each part is made from, how it is supported, where it connects, how it is finished, how it is installed and what the client approved.
Good drafting does not reduce creative ambition. It removes the uncertainty that stops a creative idea from surviving production.
If you have an approved render, share it with the latest dimensions, quantity, installation location and delivery date. We can identify what is still undecided and propose a route from creative approval to how the prop will be made.