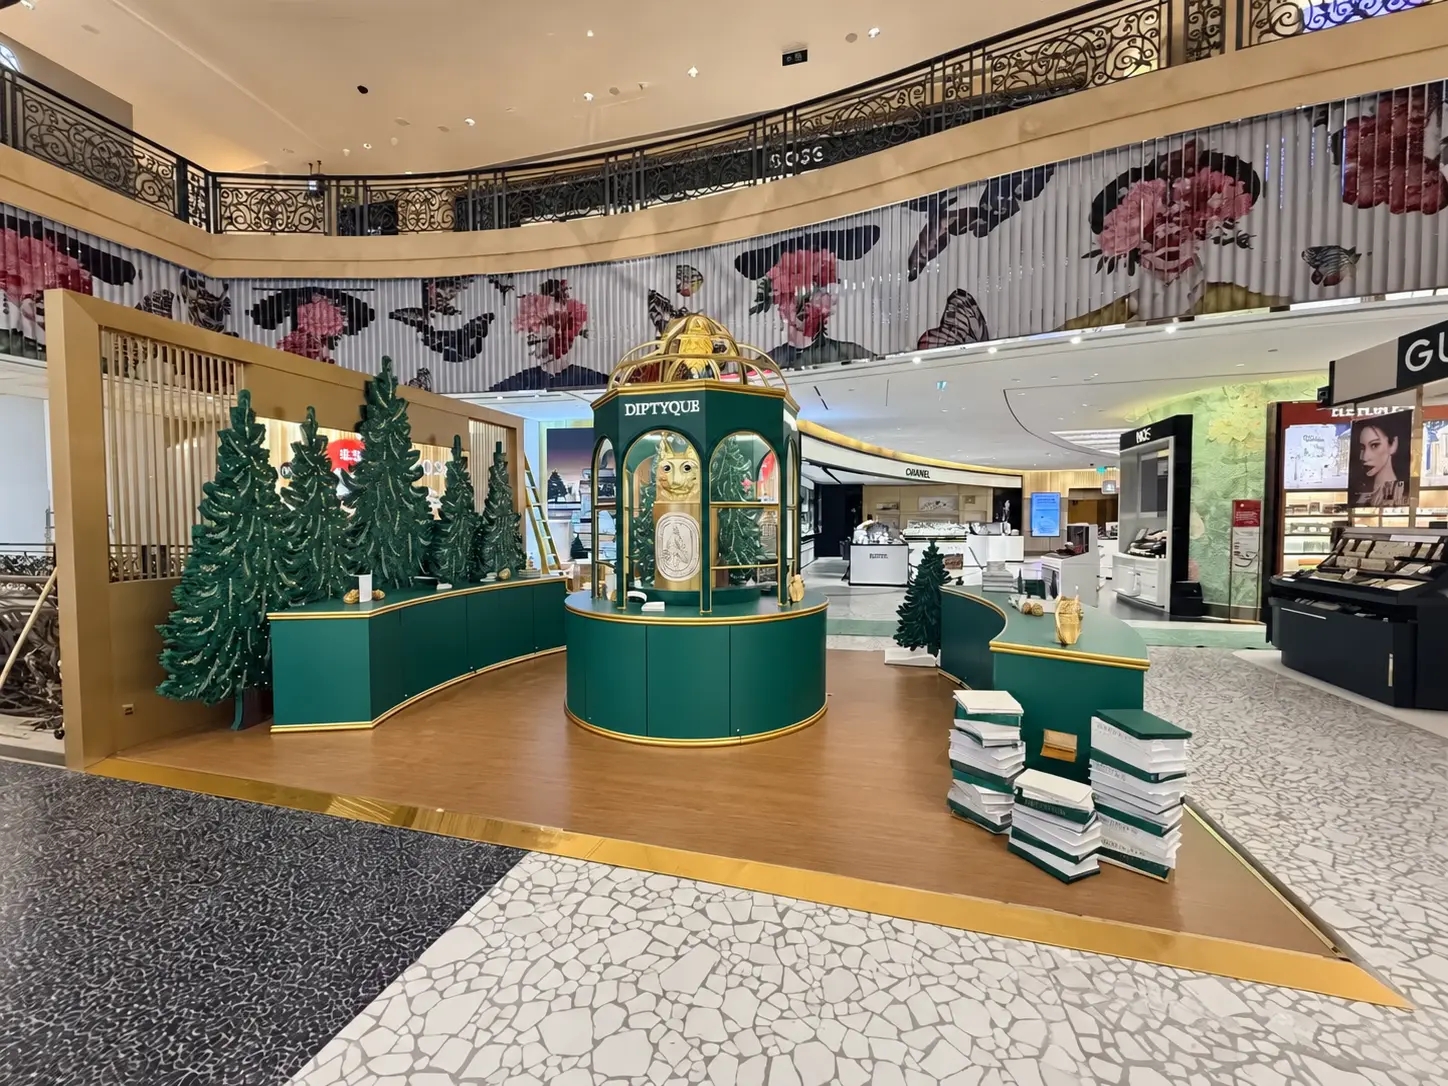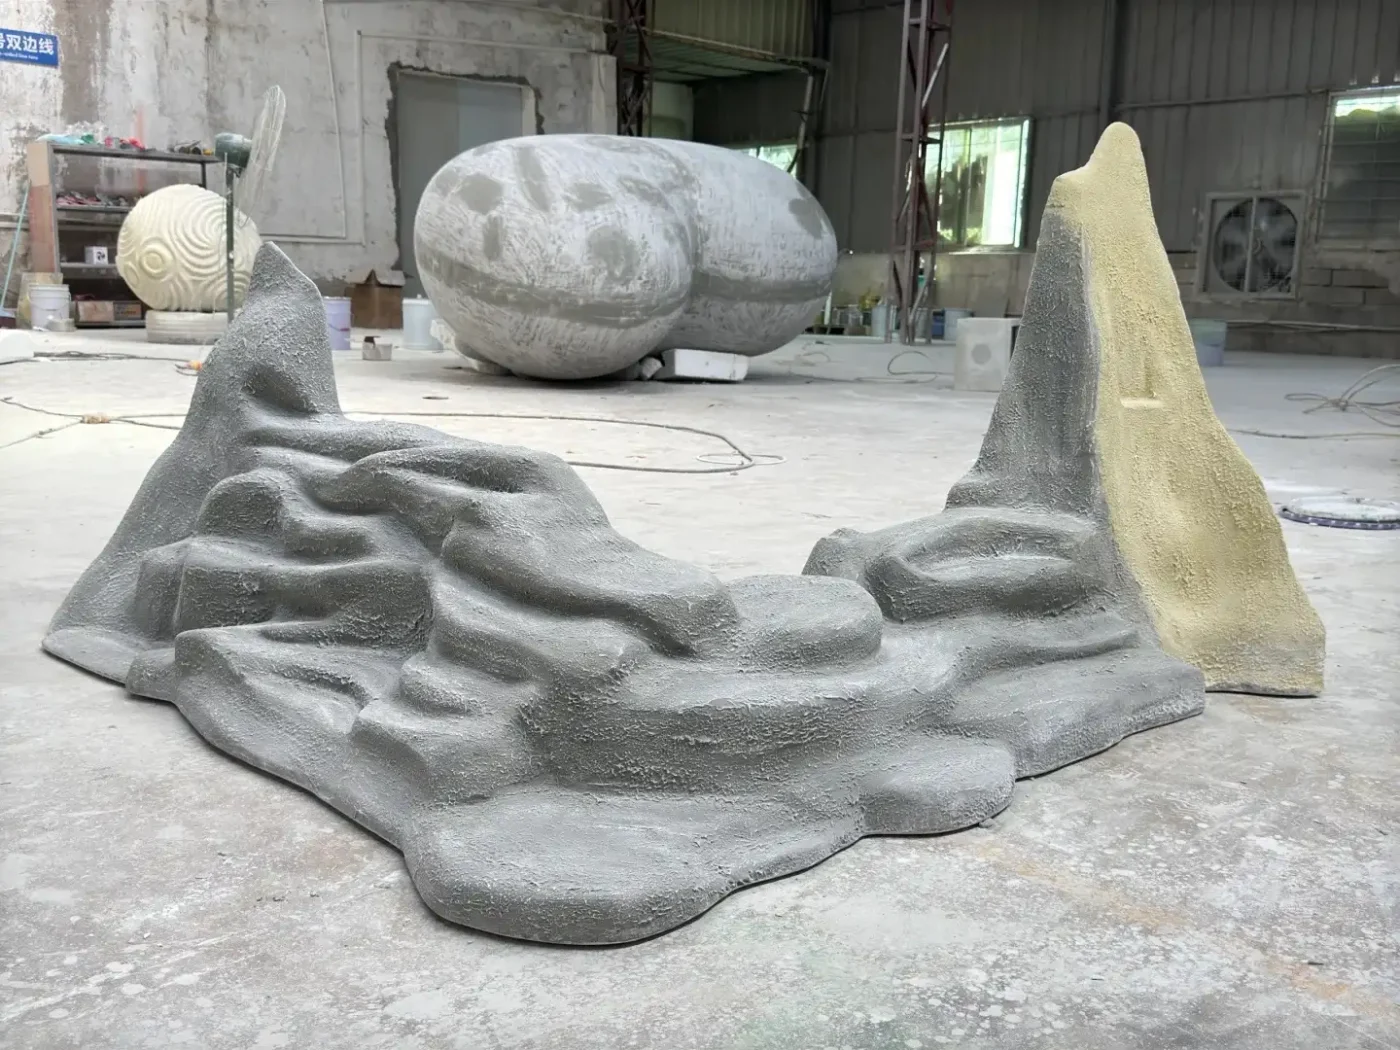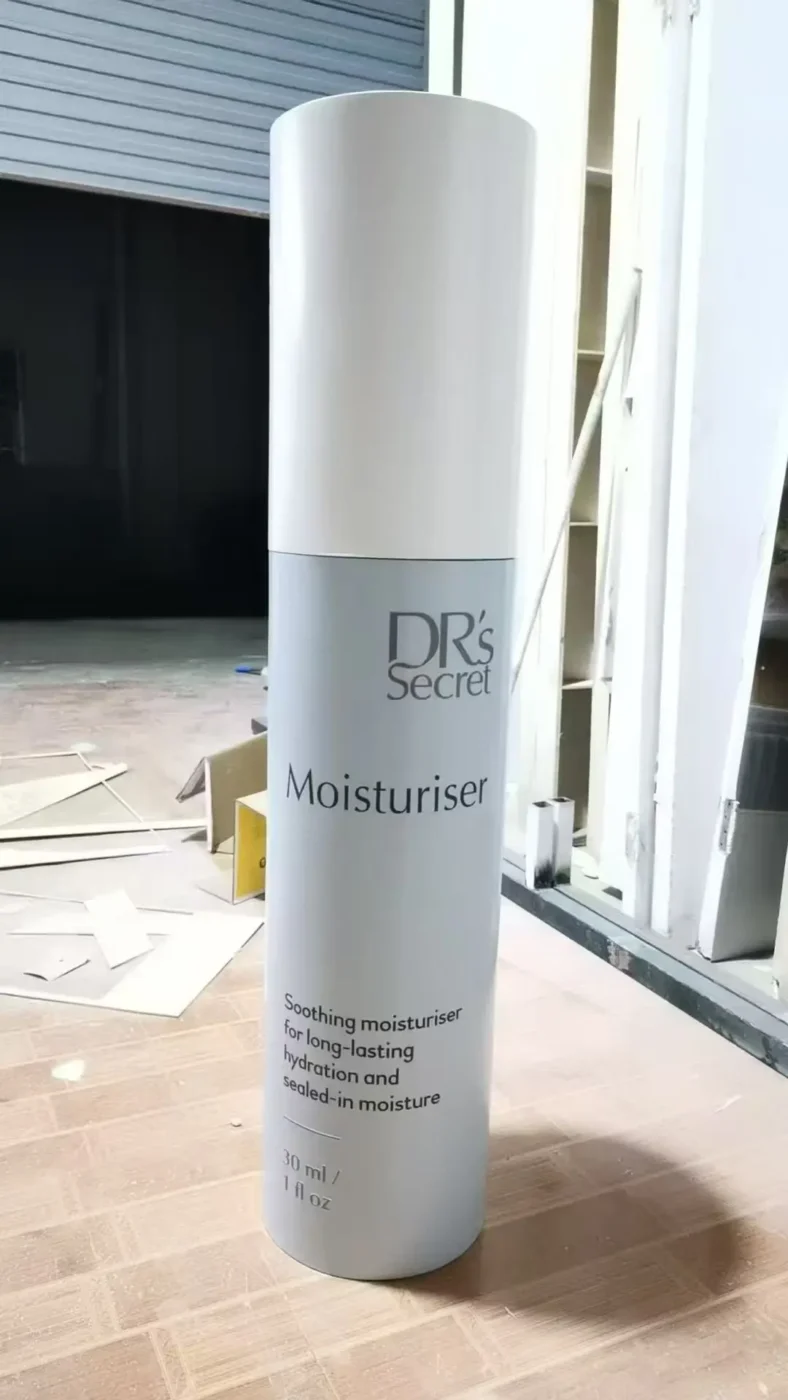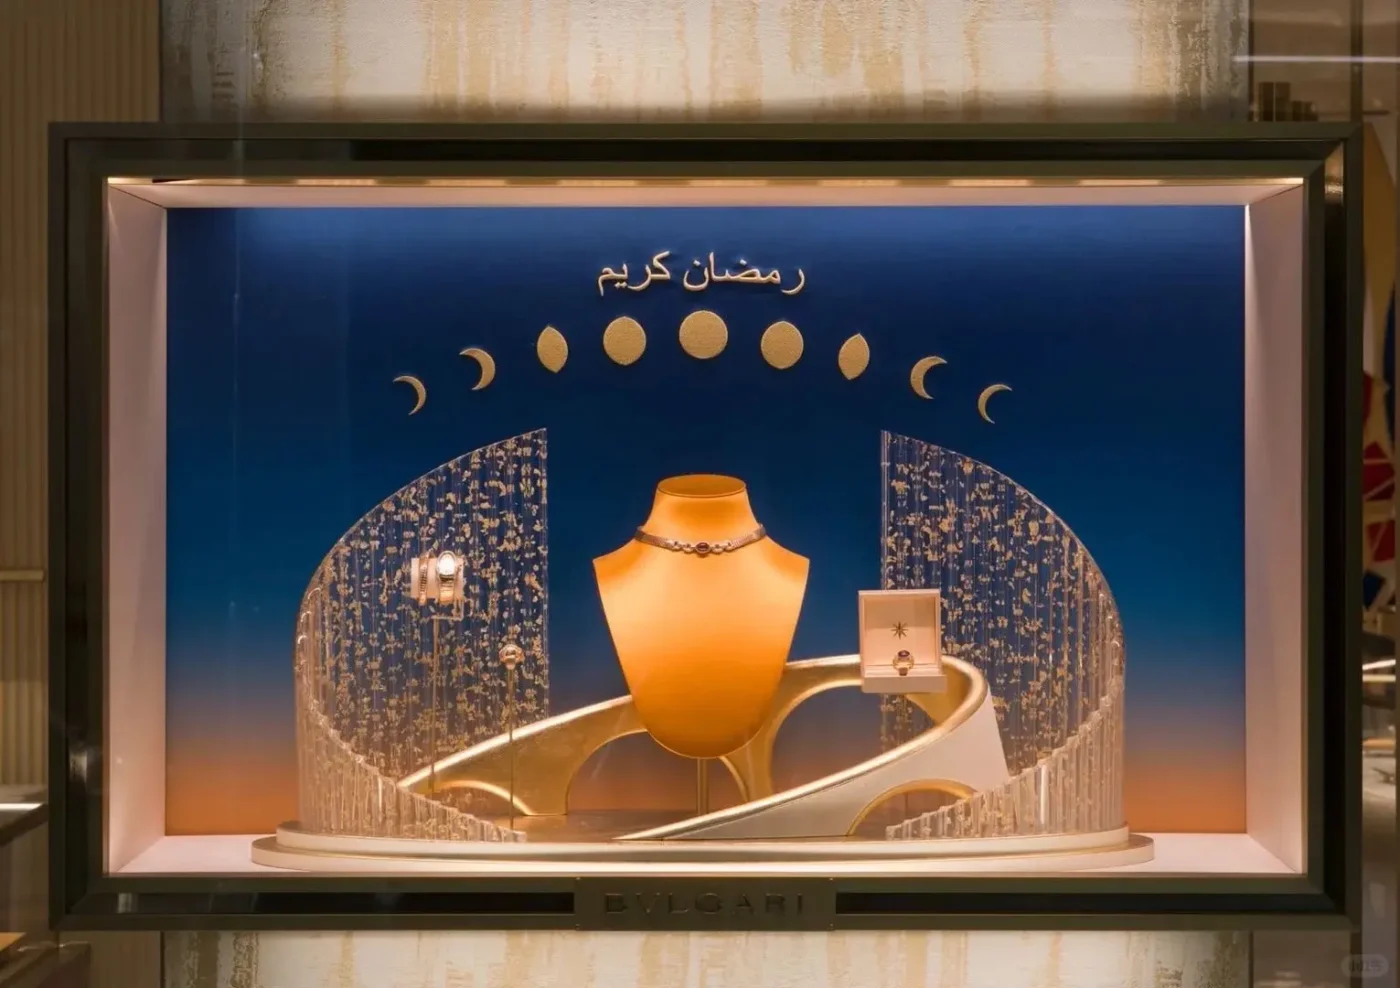
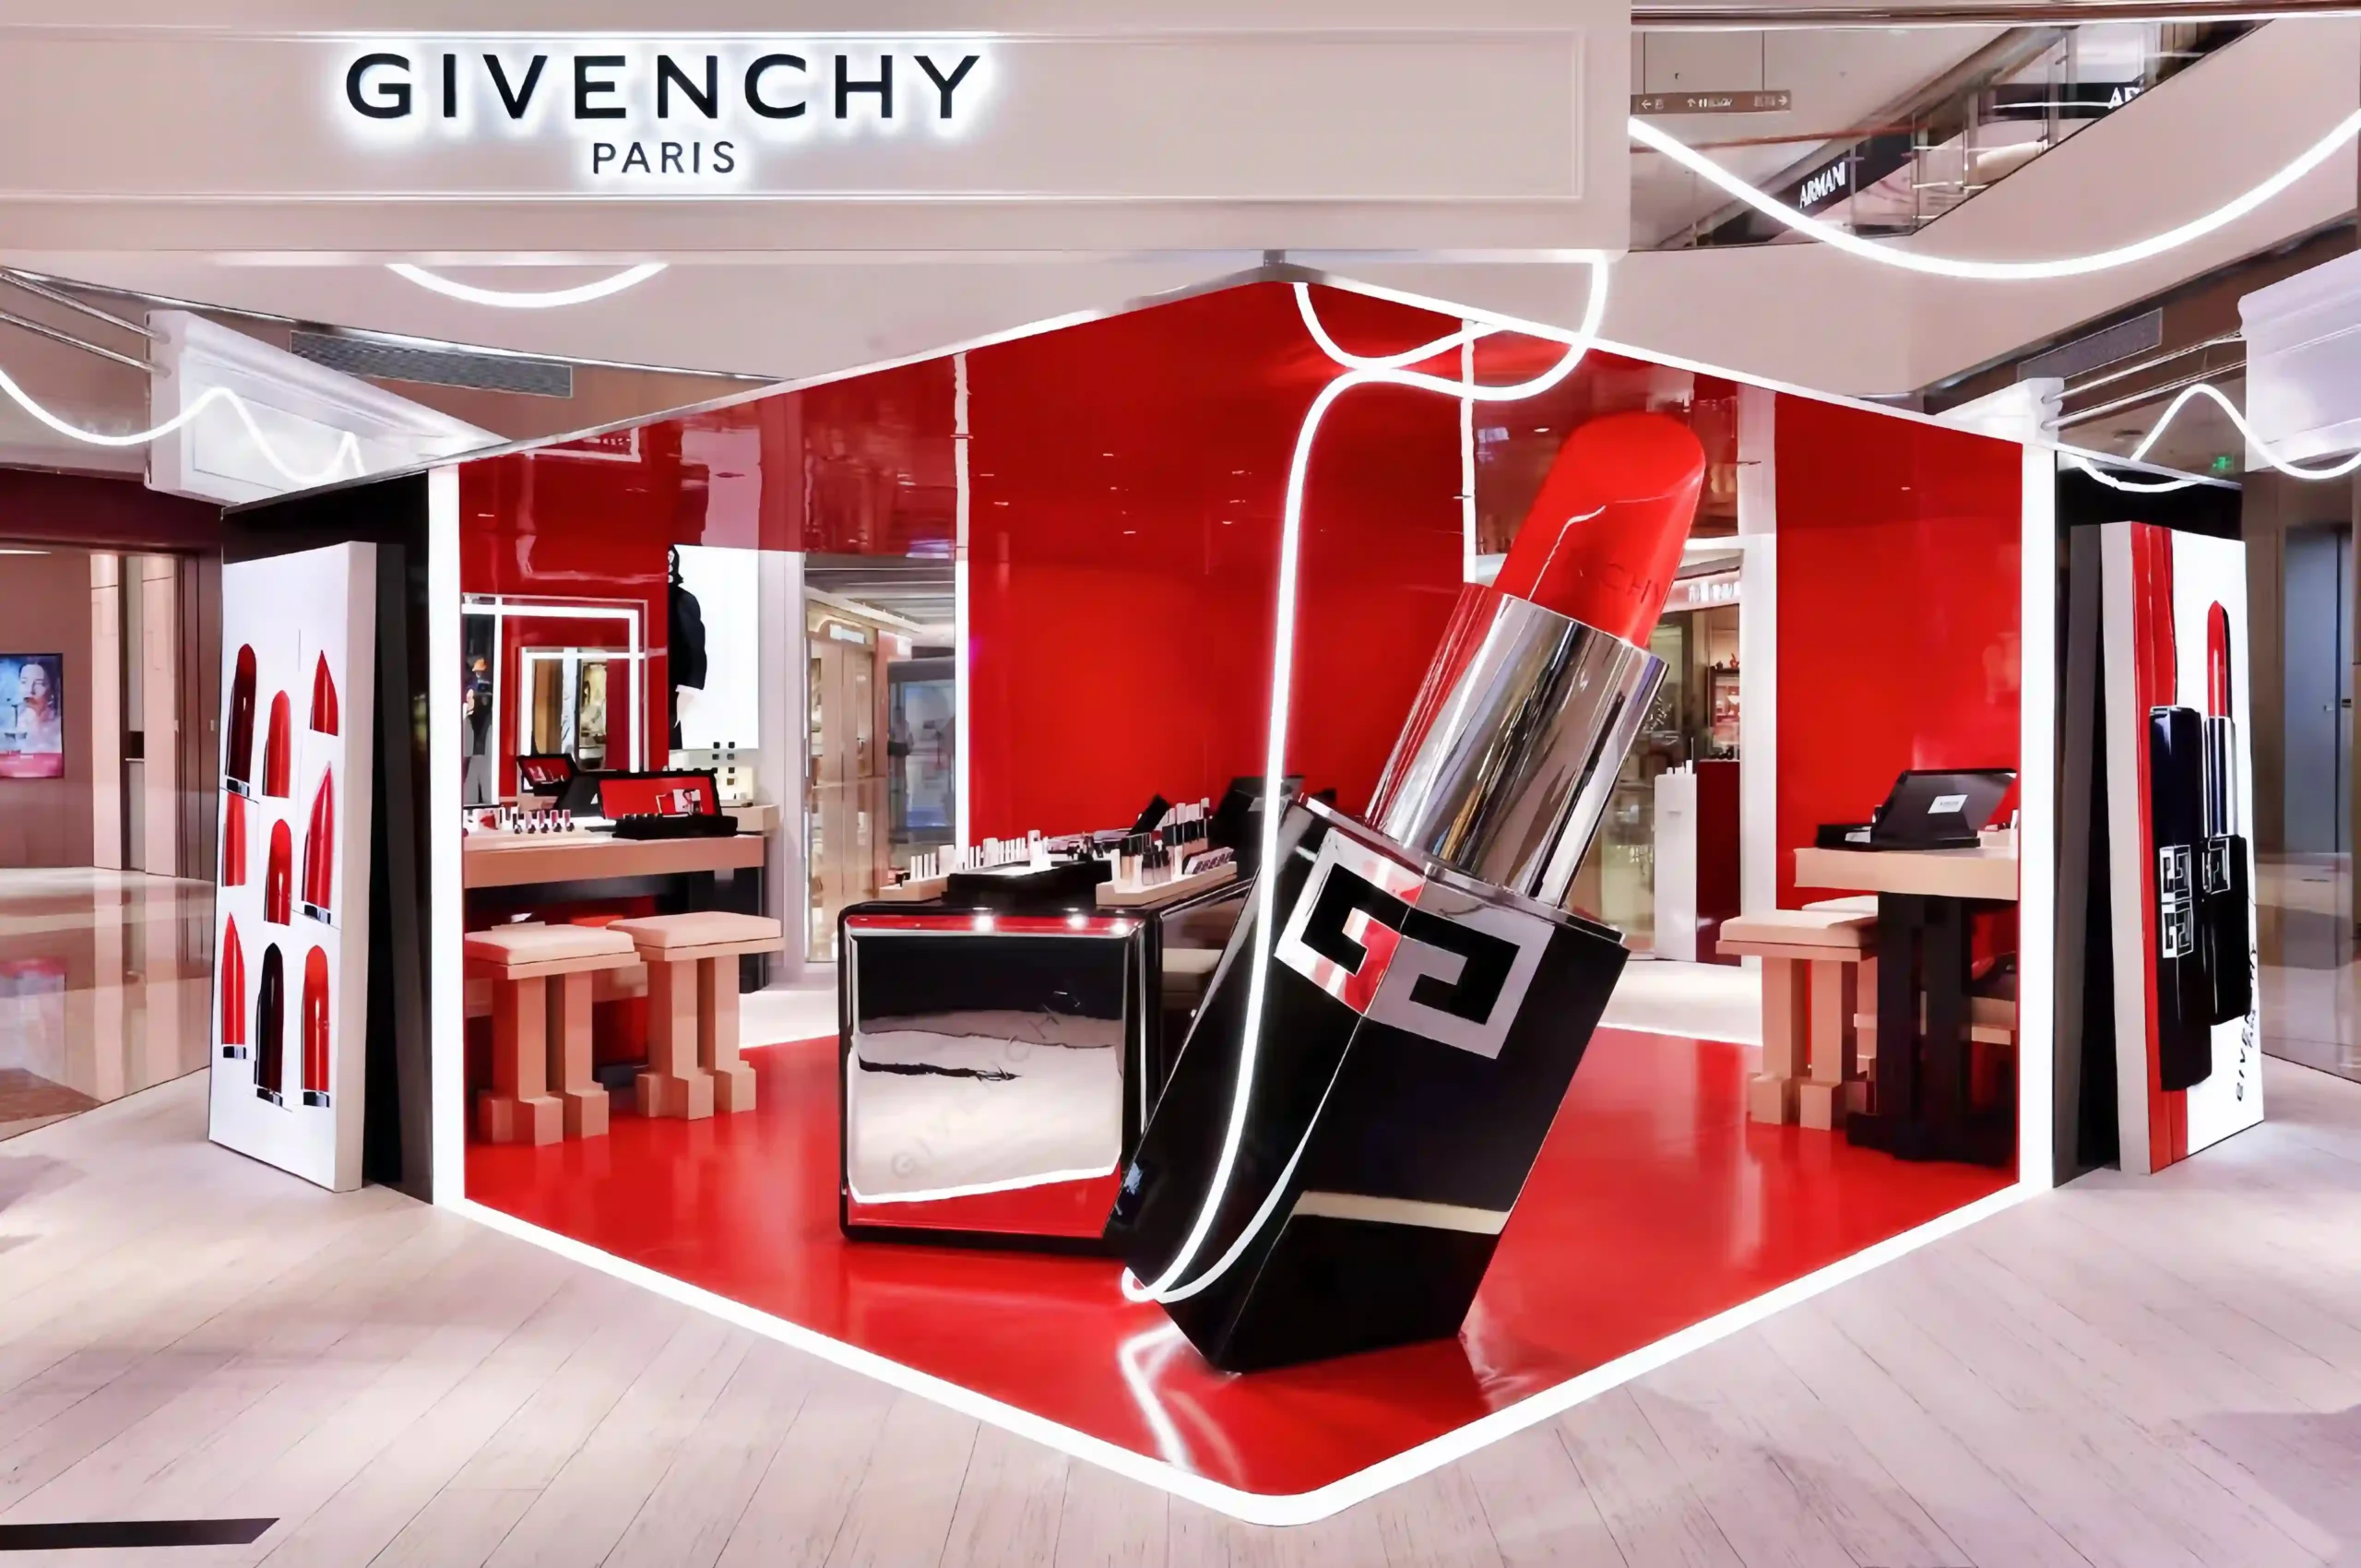
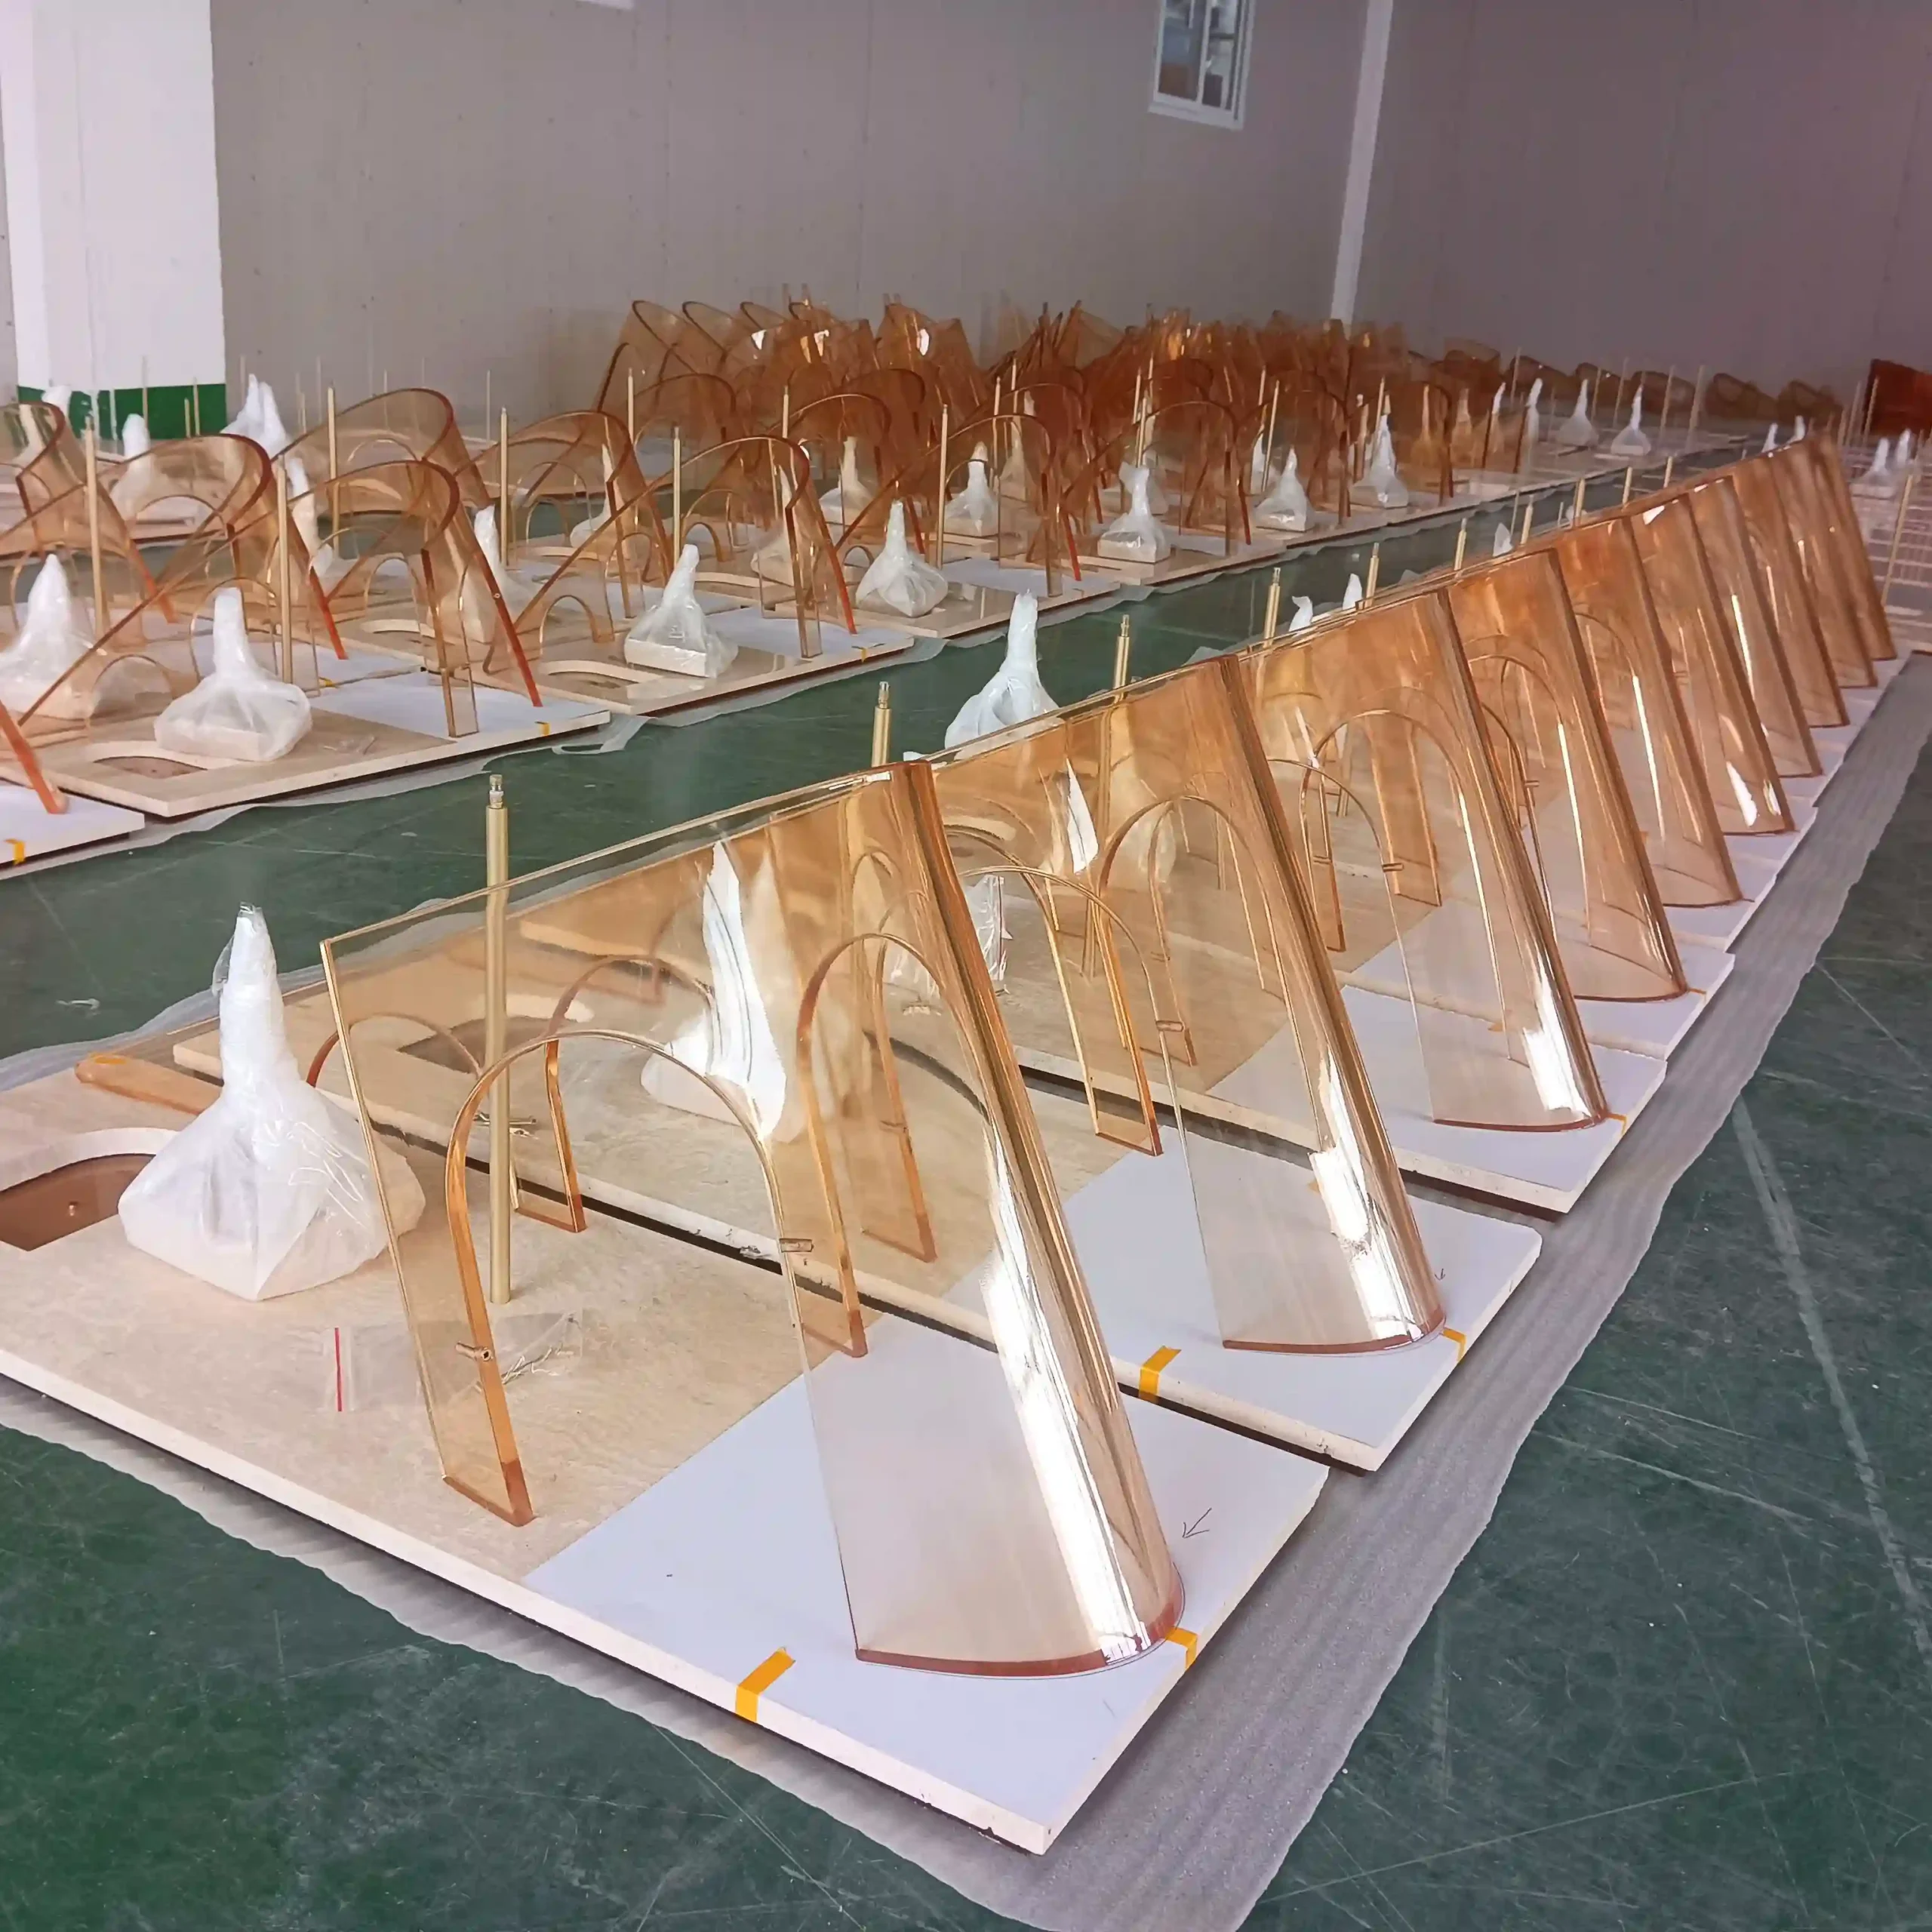
A store window display is a commercial tool. It either earns the three seconds a shopper gives it, or it does not.
Most guides on store window displays focus on design principles — focal points, color theory, seasonal storytelling. That advice matters. But for brands planning a real campaign with real production timelines, budget constraints and multi-store logistics, the harder questions sit downstream: Can this concept actually be built? Will the finish hold up under store lighting? Can the props ship flat and assemble on-site without specialist help? What happens when twelve stores have slightly different window dimensions?
These are the questions that determine whether a beautiful render becomes a clean installation or a stressful last-minute fix.
This guide covers store window displays from the production side — the decisions brands, VM teams and retail designers need to resolve before a concept reaches the factory floor.
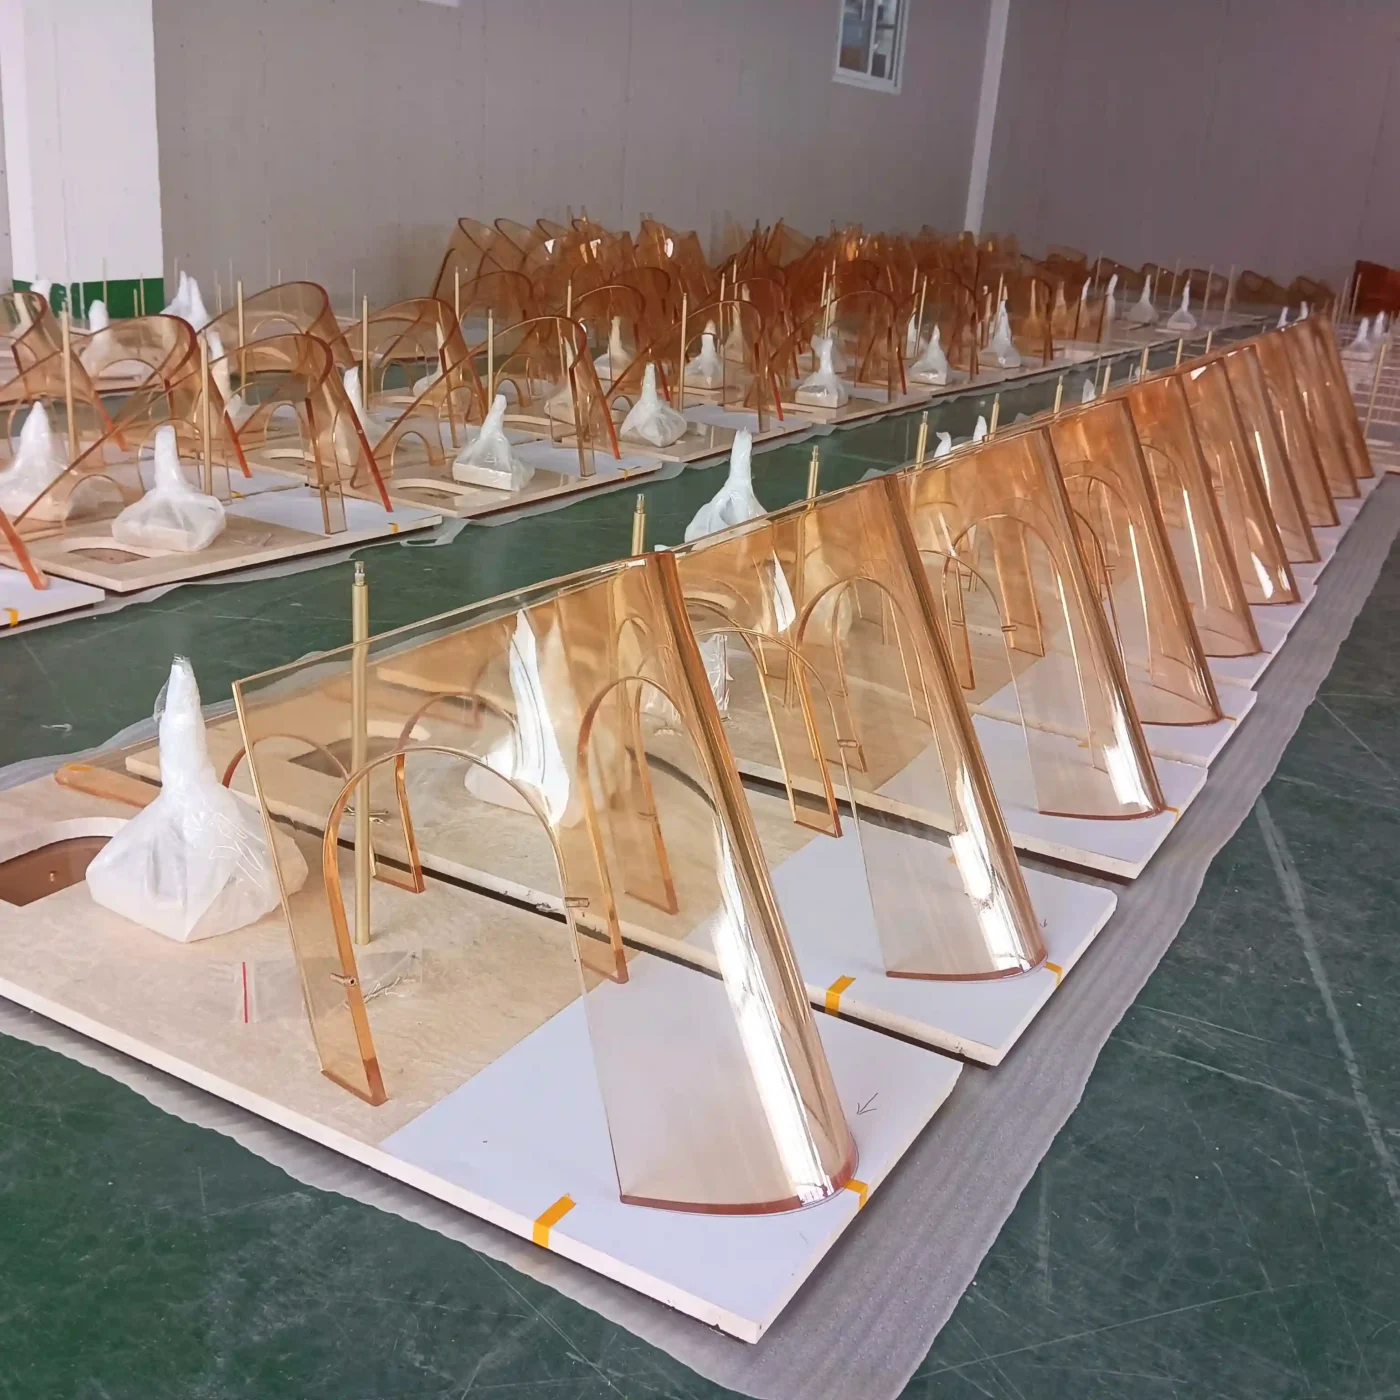
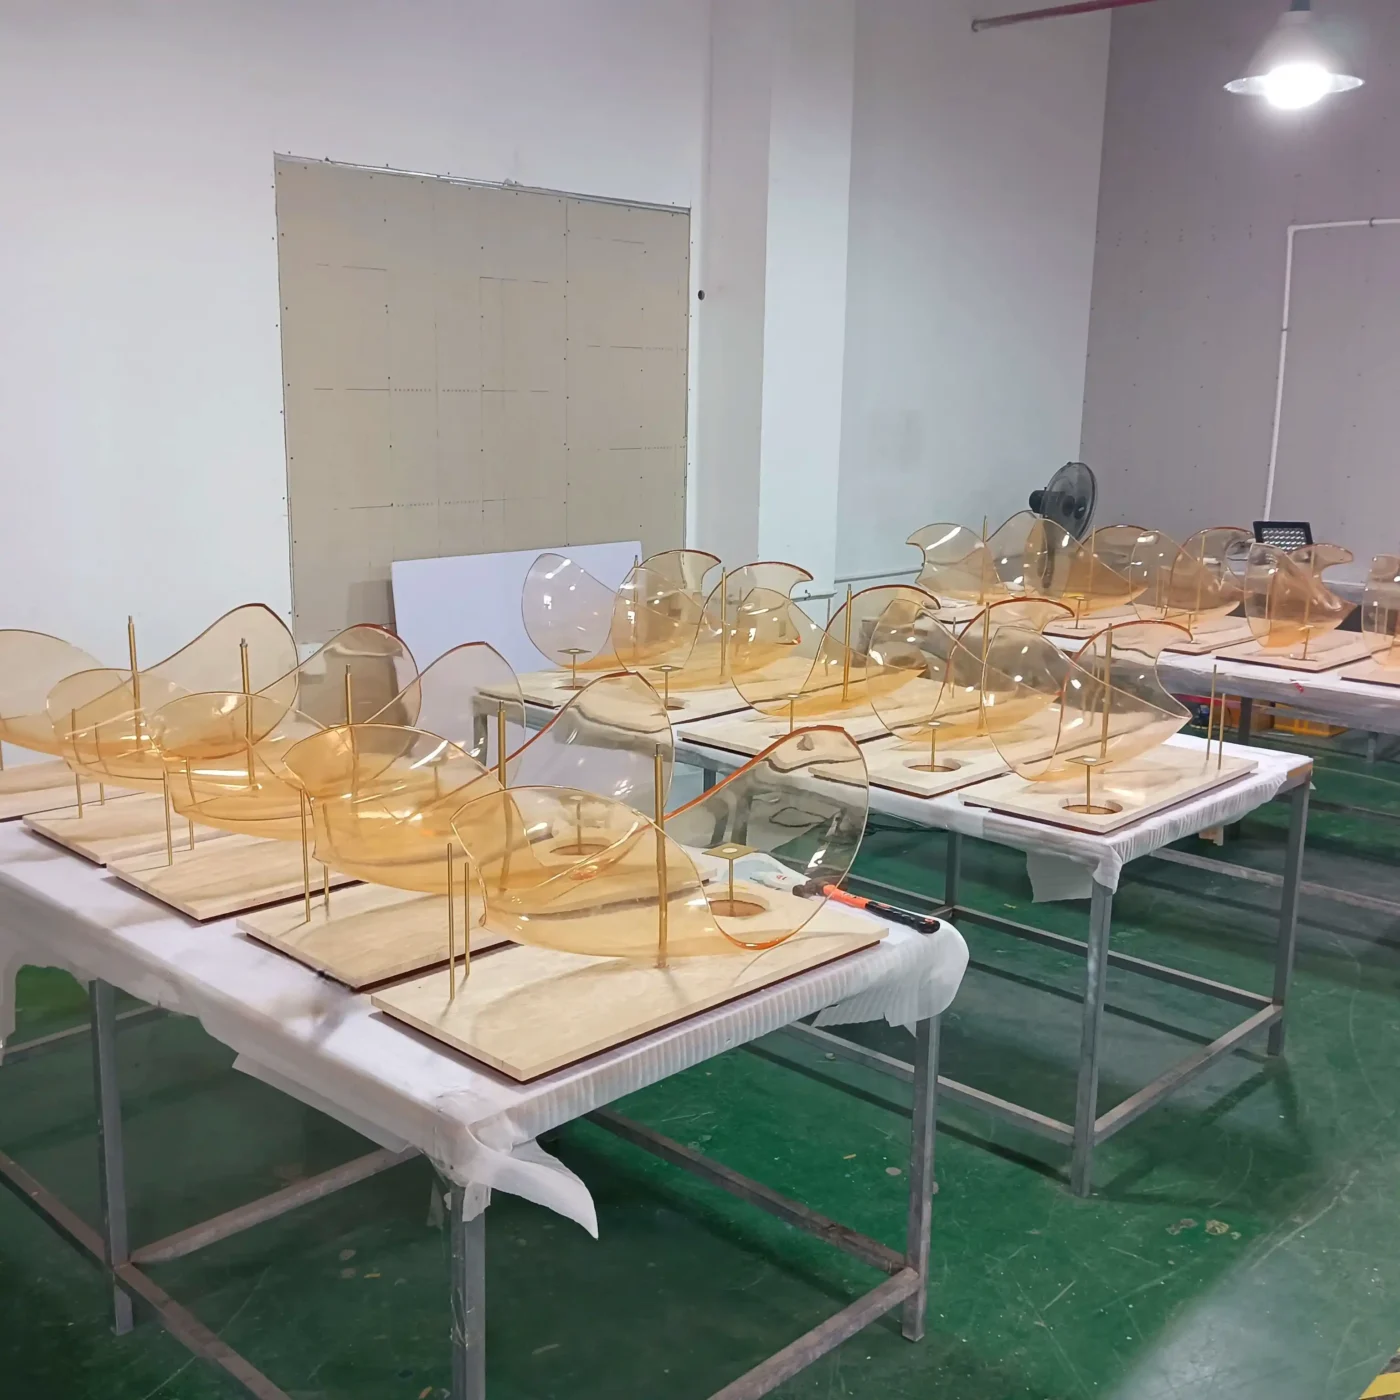
What Are Store Window Displays
Store window displays are visual presentations placed in storefront windows to showcase products, communicate a brand or campaign story and encourage shoppers to enter the store.
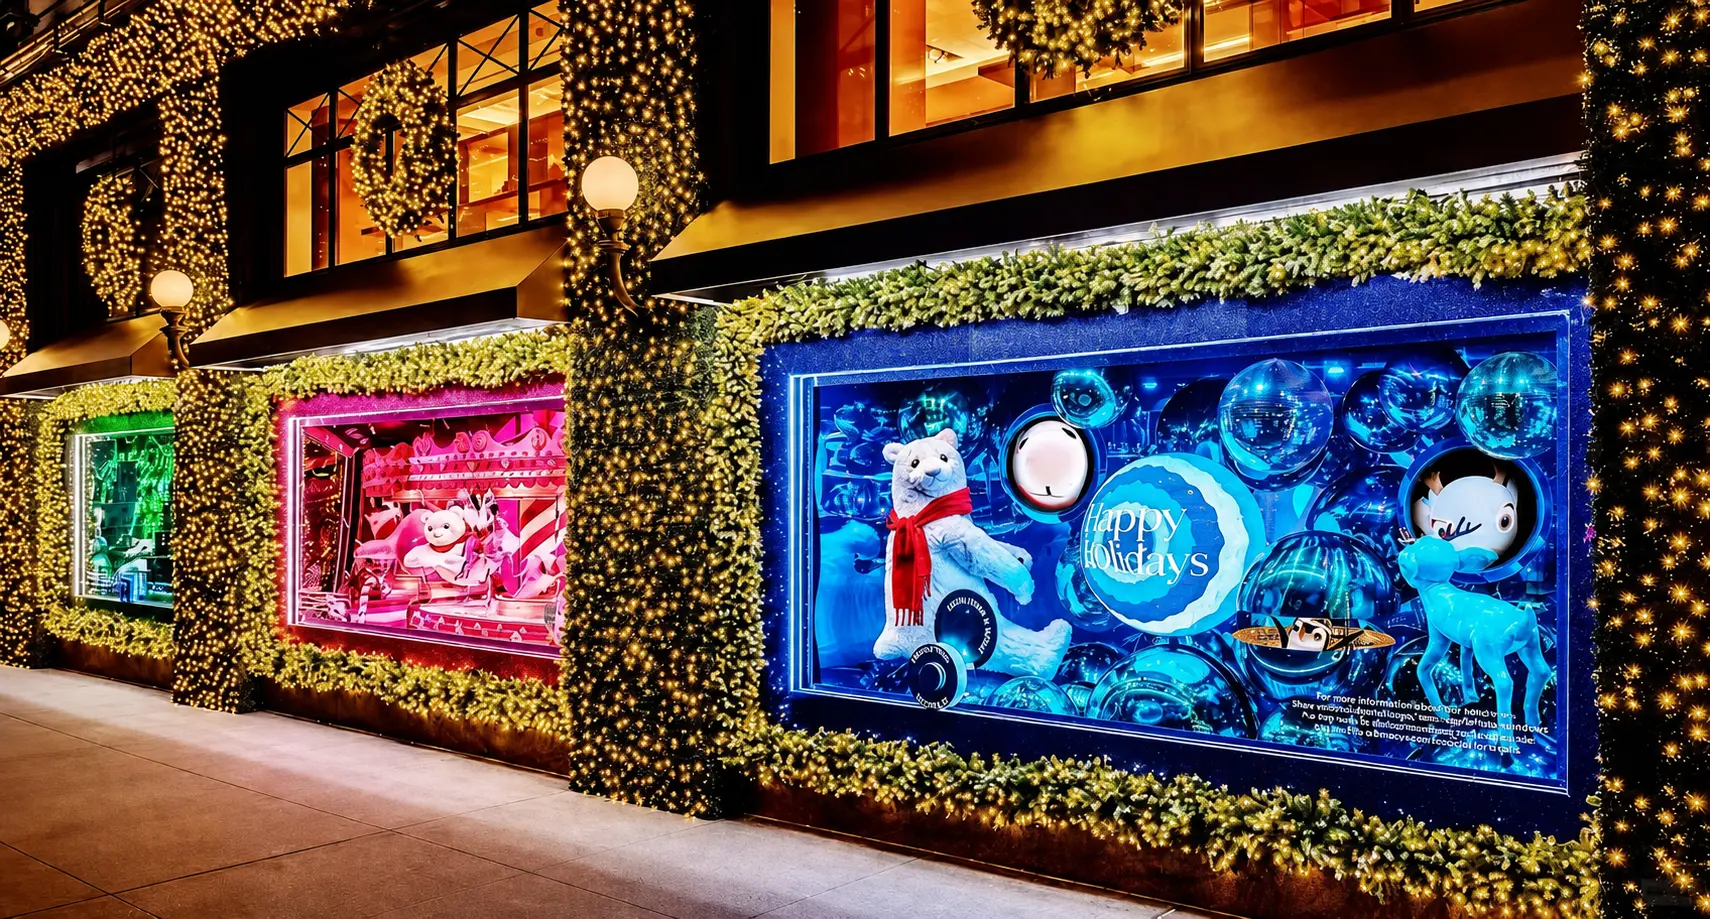
They can range from a single mannequin on a platform to a fully built environment with sculptural props, custom lighting, printed backdrops, acrylic structures, metal frames and digital screens.
Store window displays are one of the most visible forms of visual merchandising. They sit at the point where brand identity, product marketing and physical retail experience meet.
For a detailed breakdown of how different window formats work, see our guide to types of retail window displays. For foundational definitions, start with what are window displays.
Why the Production Side Matters More Than Most Brands Expect
The design stage of a store window display gets the most attention. The production stage gets the most problems.
A concept can look sharp in a 3D render but become difficult once real constraints enter the picture — material weight, surface finish limitations, wiring logistics, transport volume, assembly complexity.
The brands that get the smoothest installations are usually the ones that brought production thinking into the conversation early. Not after the design was approved. Not after the deadline was set. Early — while the concept was still flexible enough to adjust without losing the creative intent.
This does not mean production should limit design. It means production knowledge can protect the design by making sure the structure, materials, finish and packing method all support what the concept is trying to achieve.
The First Question: One Store or Many
This is the production decision that shapes everything else.
A one-off flagship window can tolerate complex hand-finished details, heavy structures and bespoke assembly. The props only need to work in one space. Tolerances can be managed on-site. A skilled installer can solve small problems in real time.
A multi-store rollout is a different project entirely. Every prop needs to be repeatable. Every finish needs to be consistent across batches. Every structure needs to pack into a standard shipping volume. Every store may have slightly different window dimensions, ceiling heights or power access. And the installation may be done by a local team that has never seen the props before.
That distinction — one-off versus rollout — affects material selection, construction method, packing design, documentation, timeline and cost. Resolving it early saves significant rework later.
Materials: What the Choice Actually Involves
Material selection for store window displays is often treated as an aesthetic decision. In practice, it is an engineering trade-off.
Every material has strengths and limitations that affect the finished result, the production timeline, the shipping logistics and the installation experience.
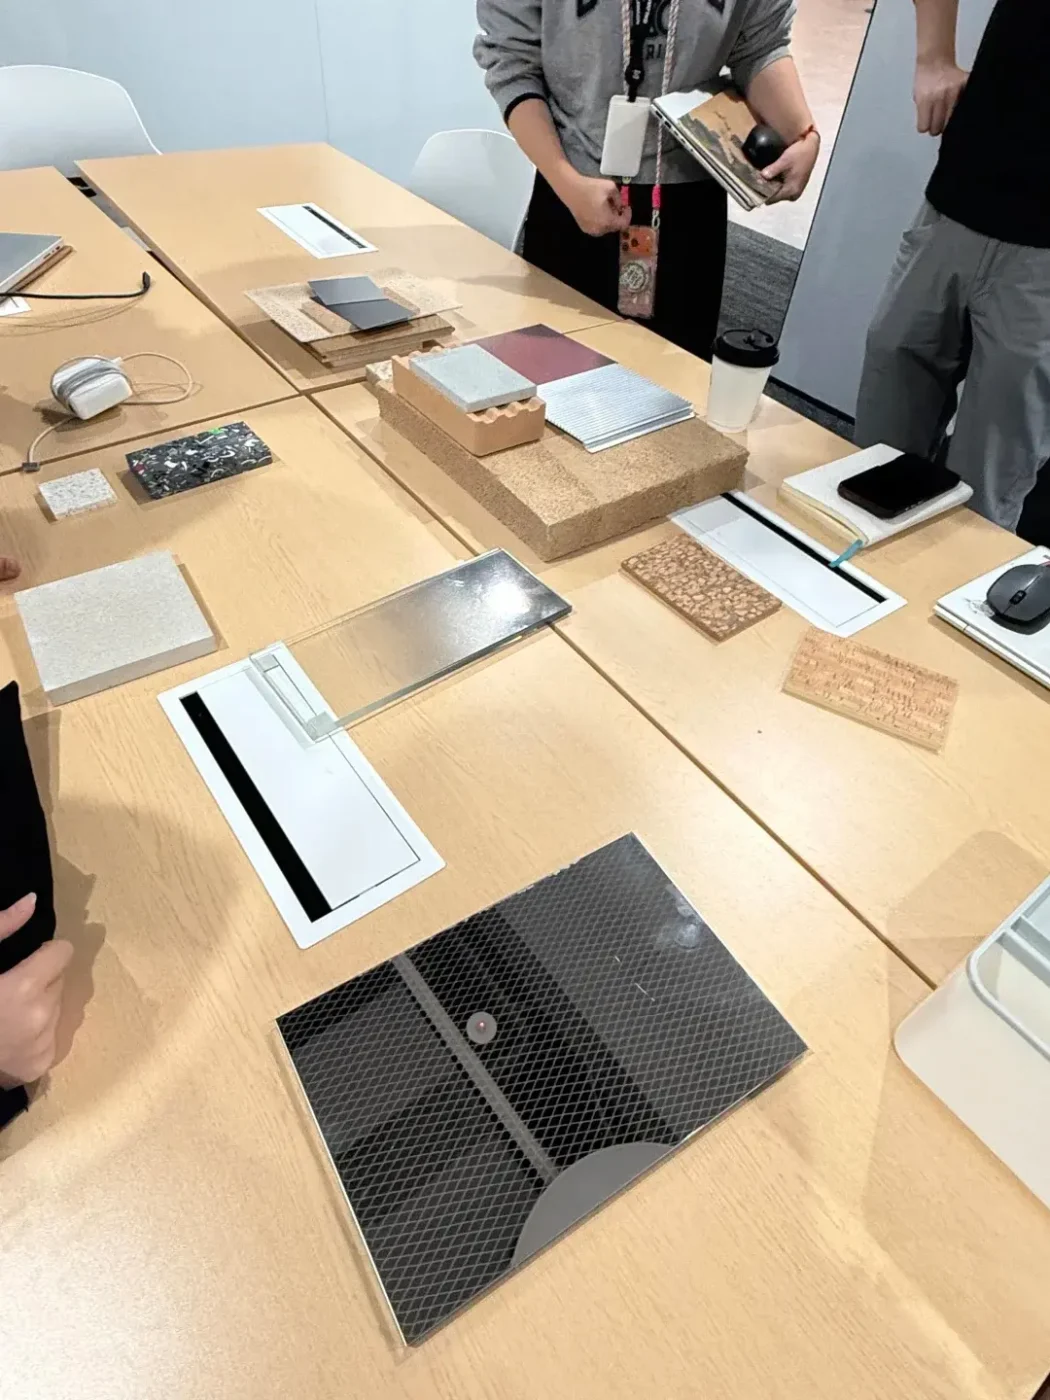
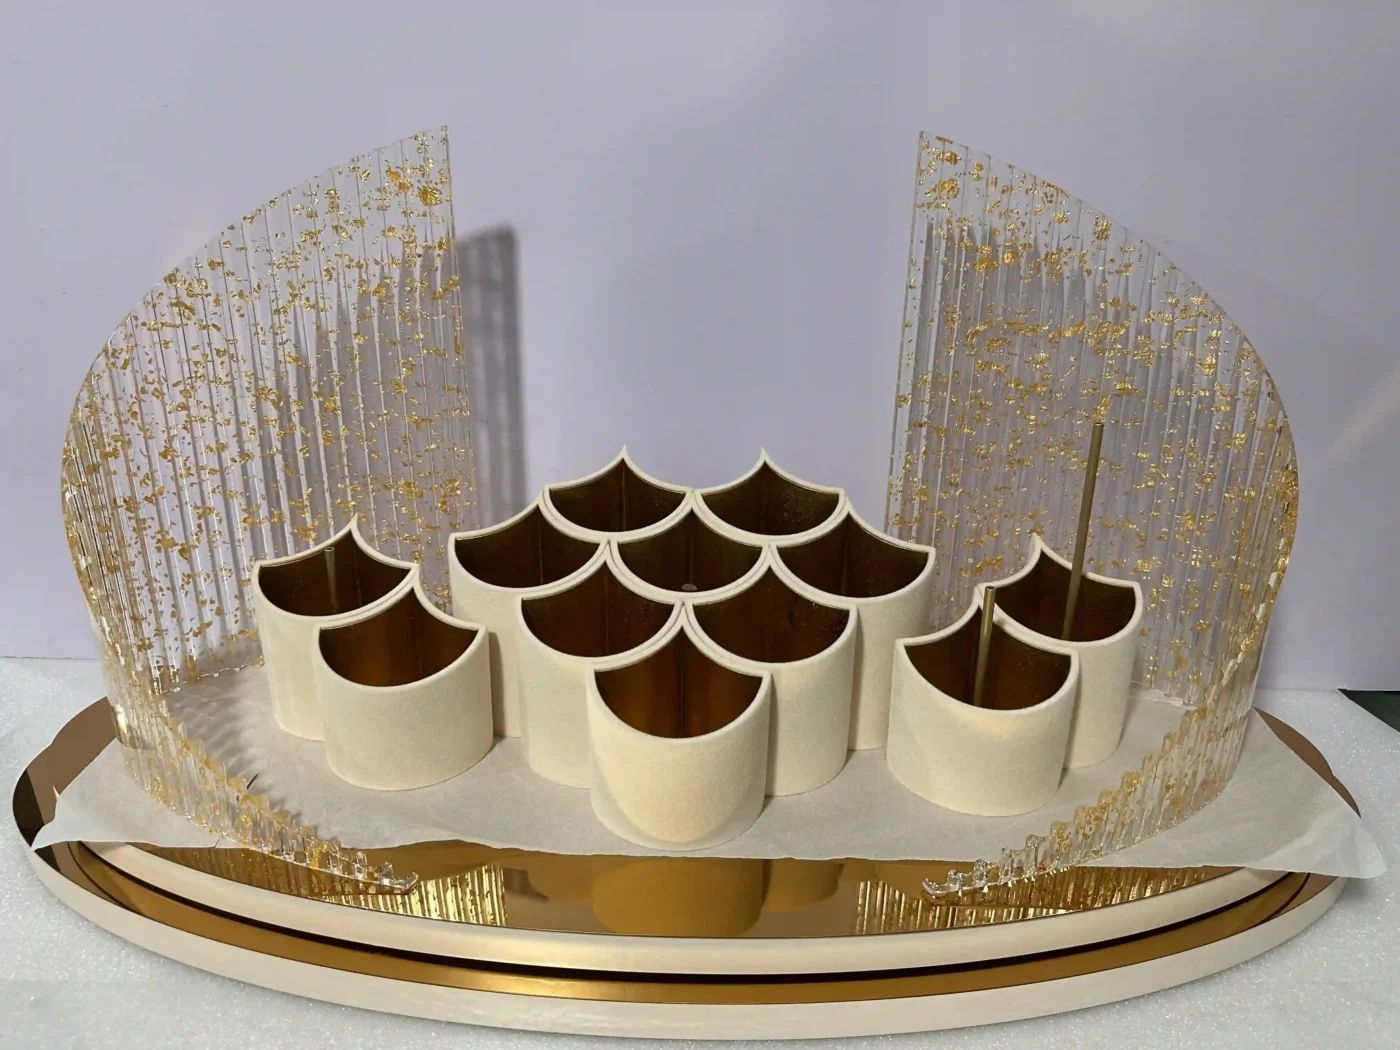
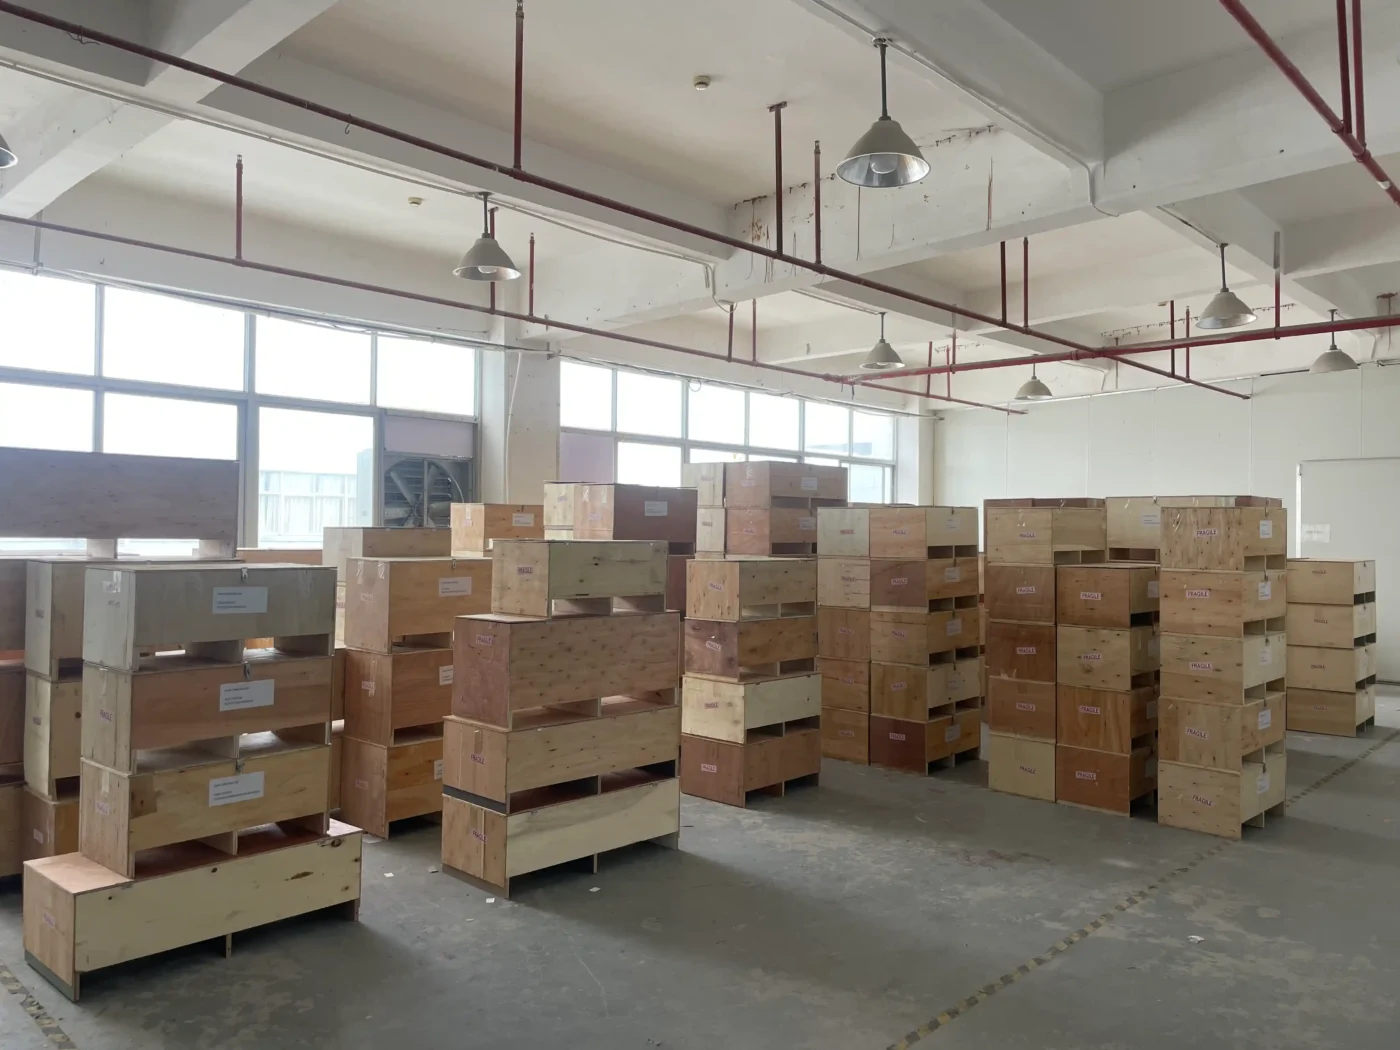
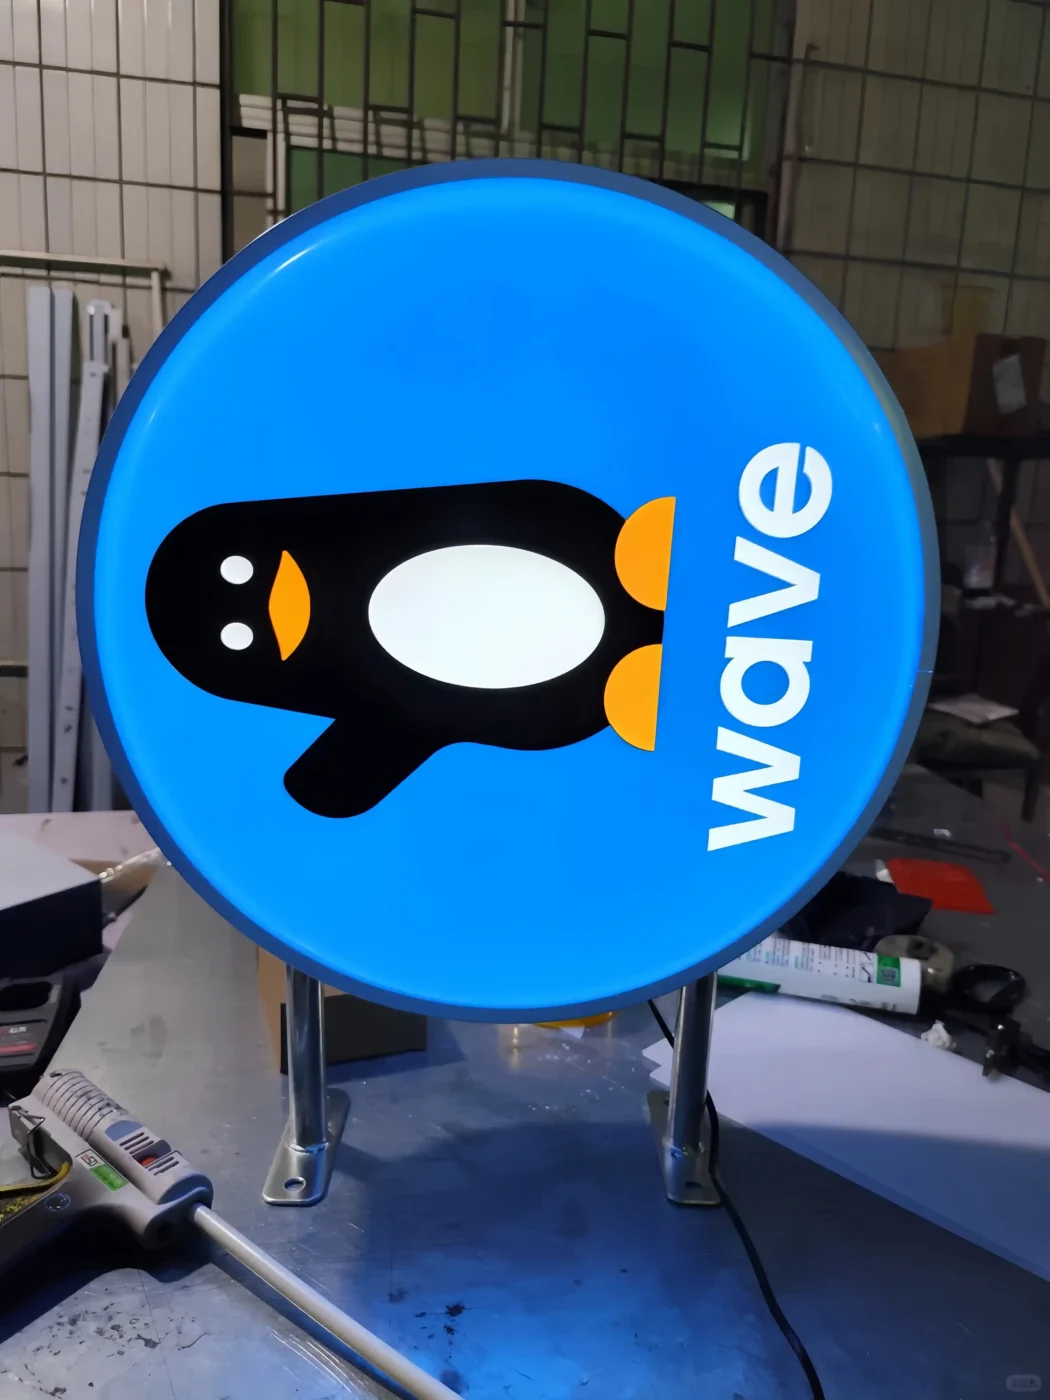
Acrylic (PMMA) offers clean, modern surfaces with excellent light transmission. It suits light boxes, product plinths, color-block panels and transparent structural elements. It is relatively lightweight, which helps with shipping and handling. But acrylic scratches during transport if not properly protected, so packing design matters. Production cycles for acrylic components typically run shorter than for sculptural materials.
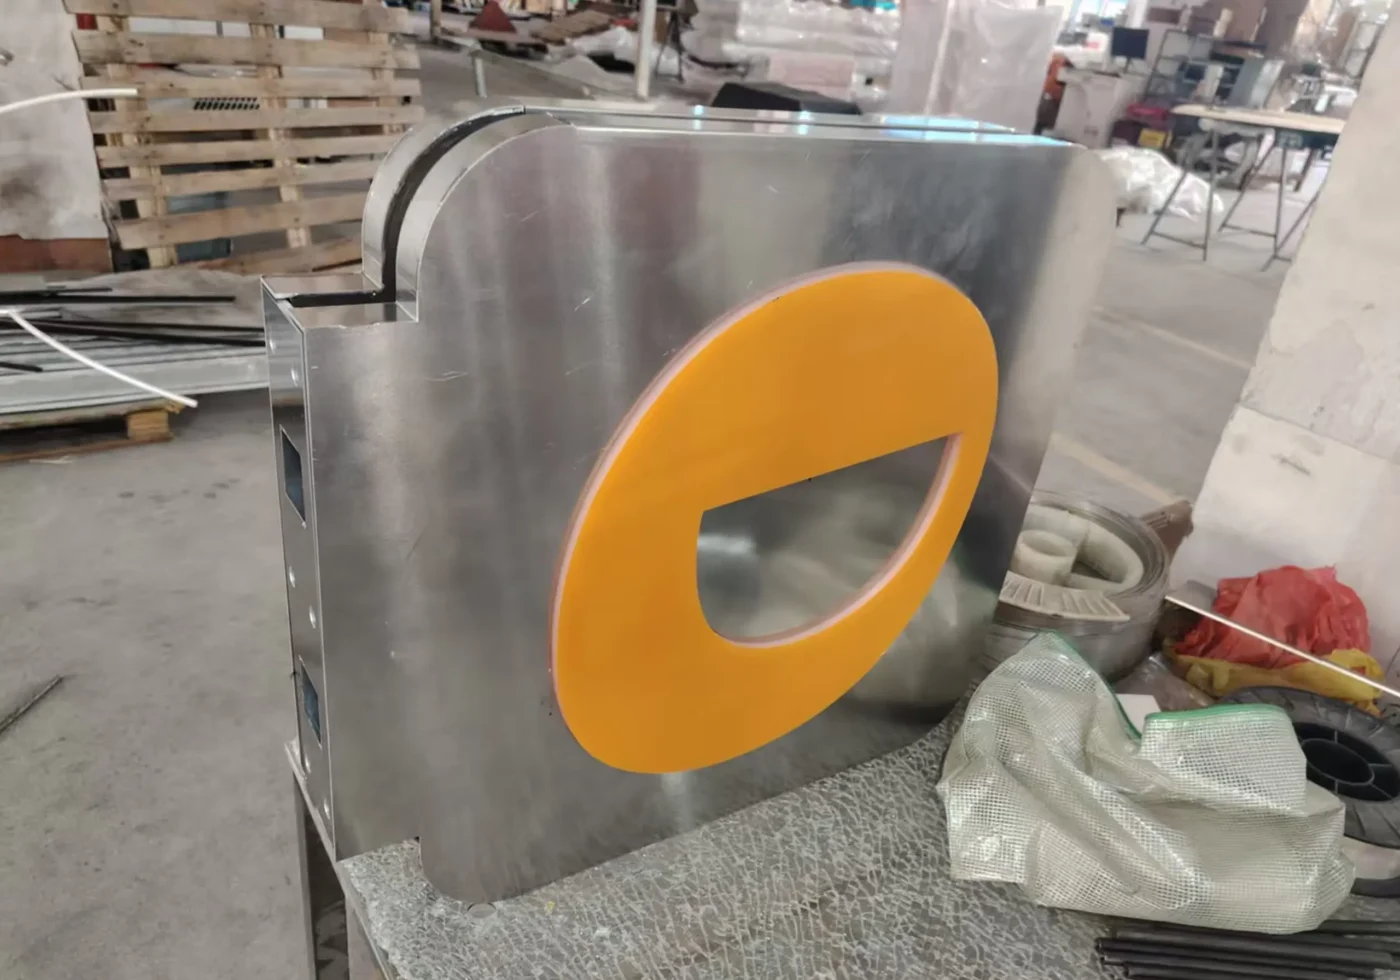
Metal (stainless steel, aluminum, brass) provides structural stability and a premium architectural feel. Laser-cut, welded and surface-finished metal frames work well for product shelving, structural supports, hanging elements and branded fixtures. Metal is heavier, which affects shipping costs and installation handling. Surface finishes — brushed, mirror-polished, PVD-coated, powder-coated — each have different durability and visual characteristics that should be matched to the campaign duration and store environment.
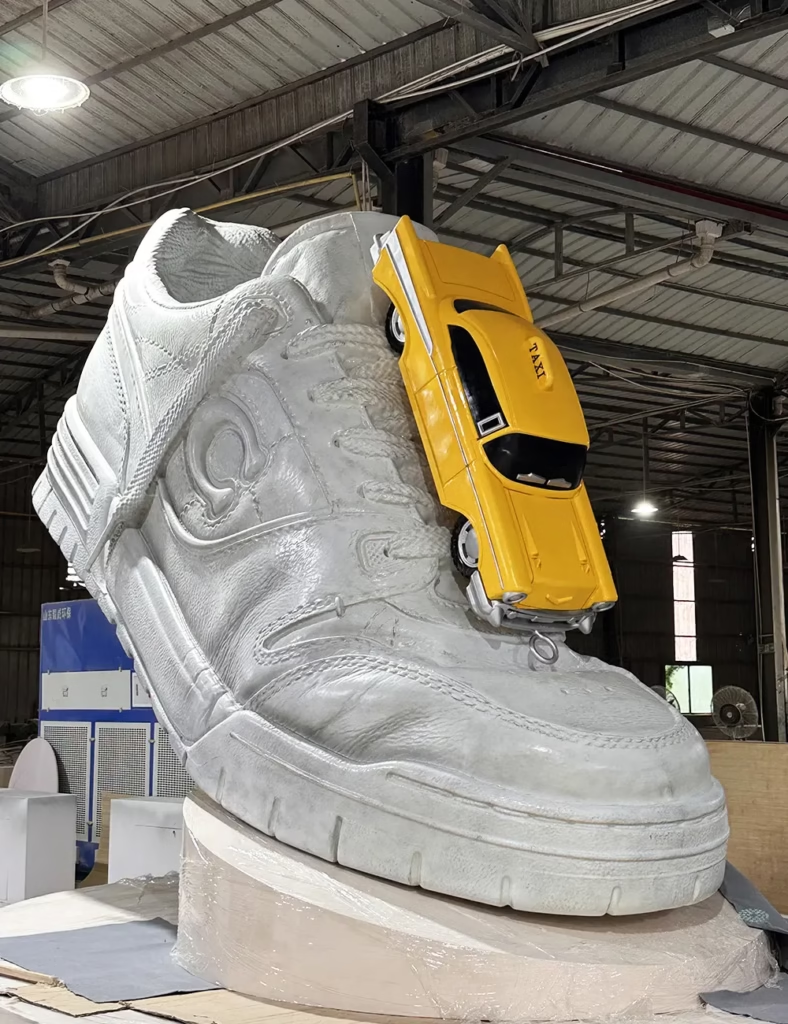
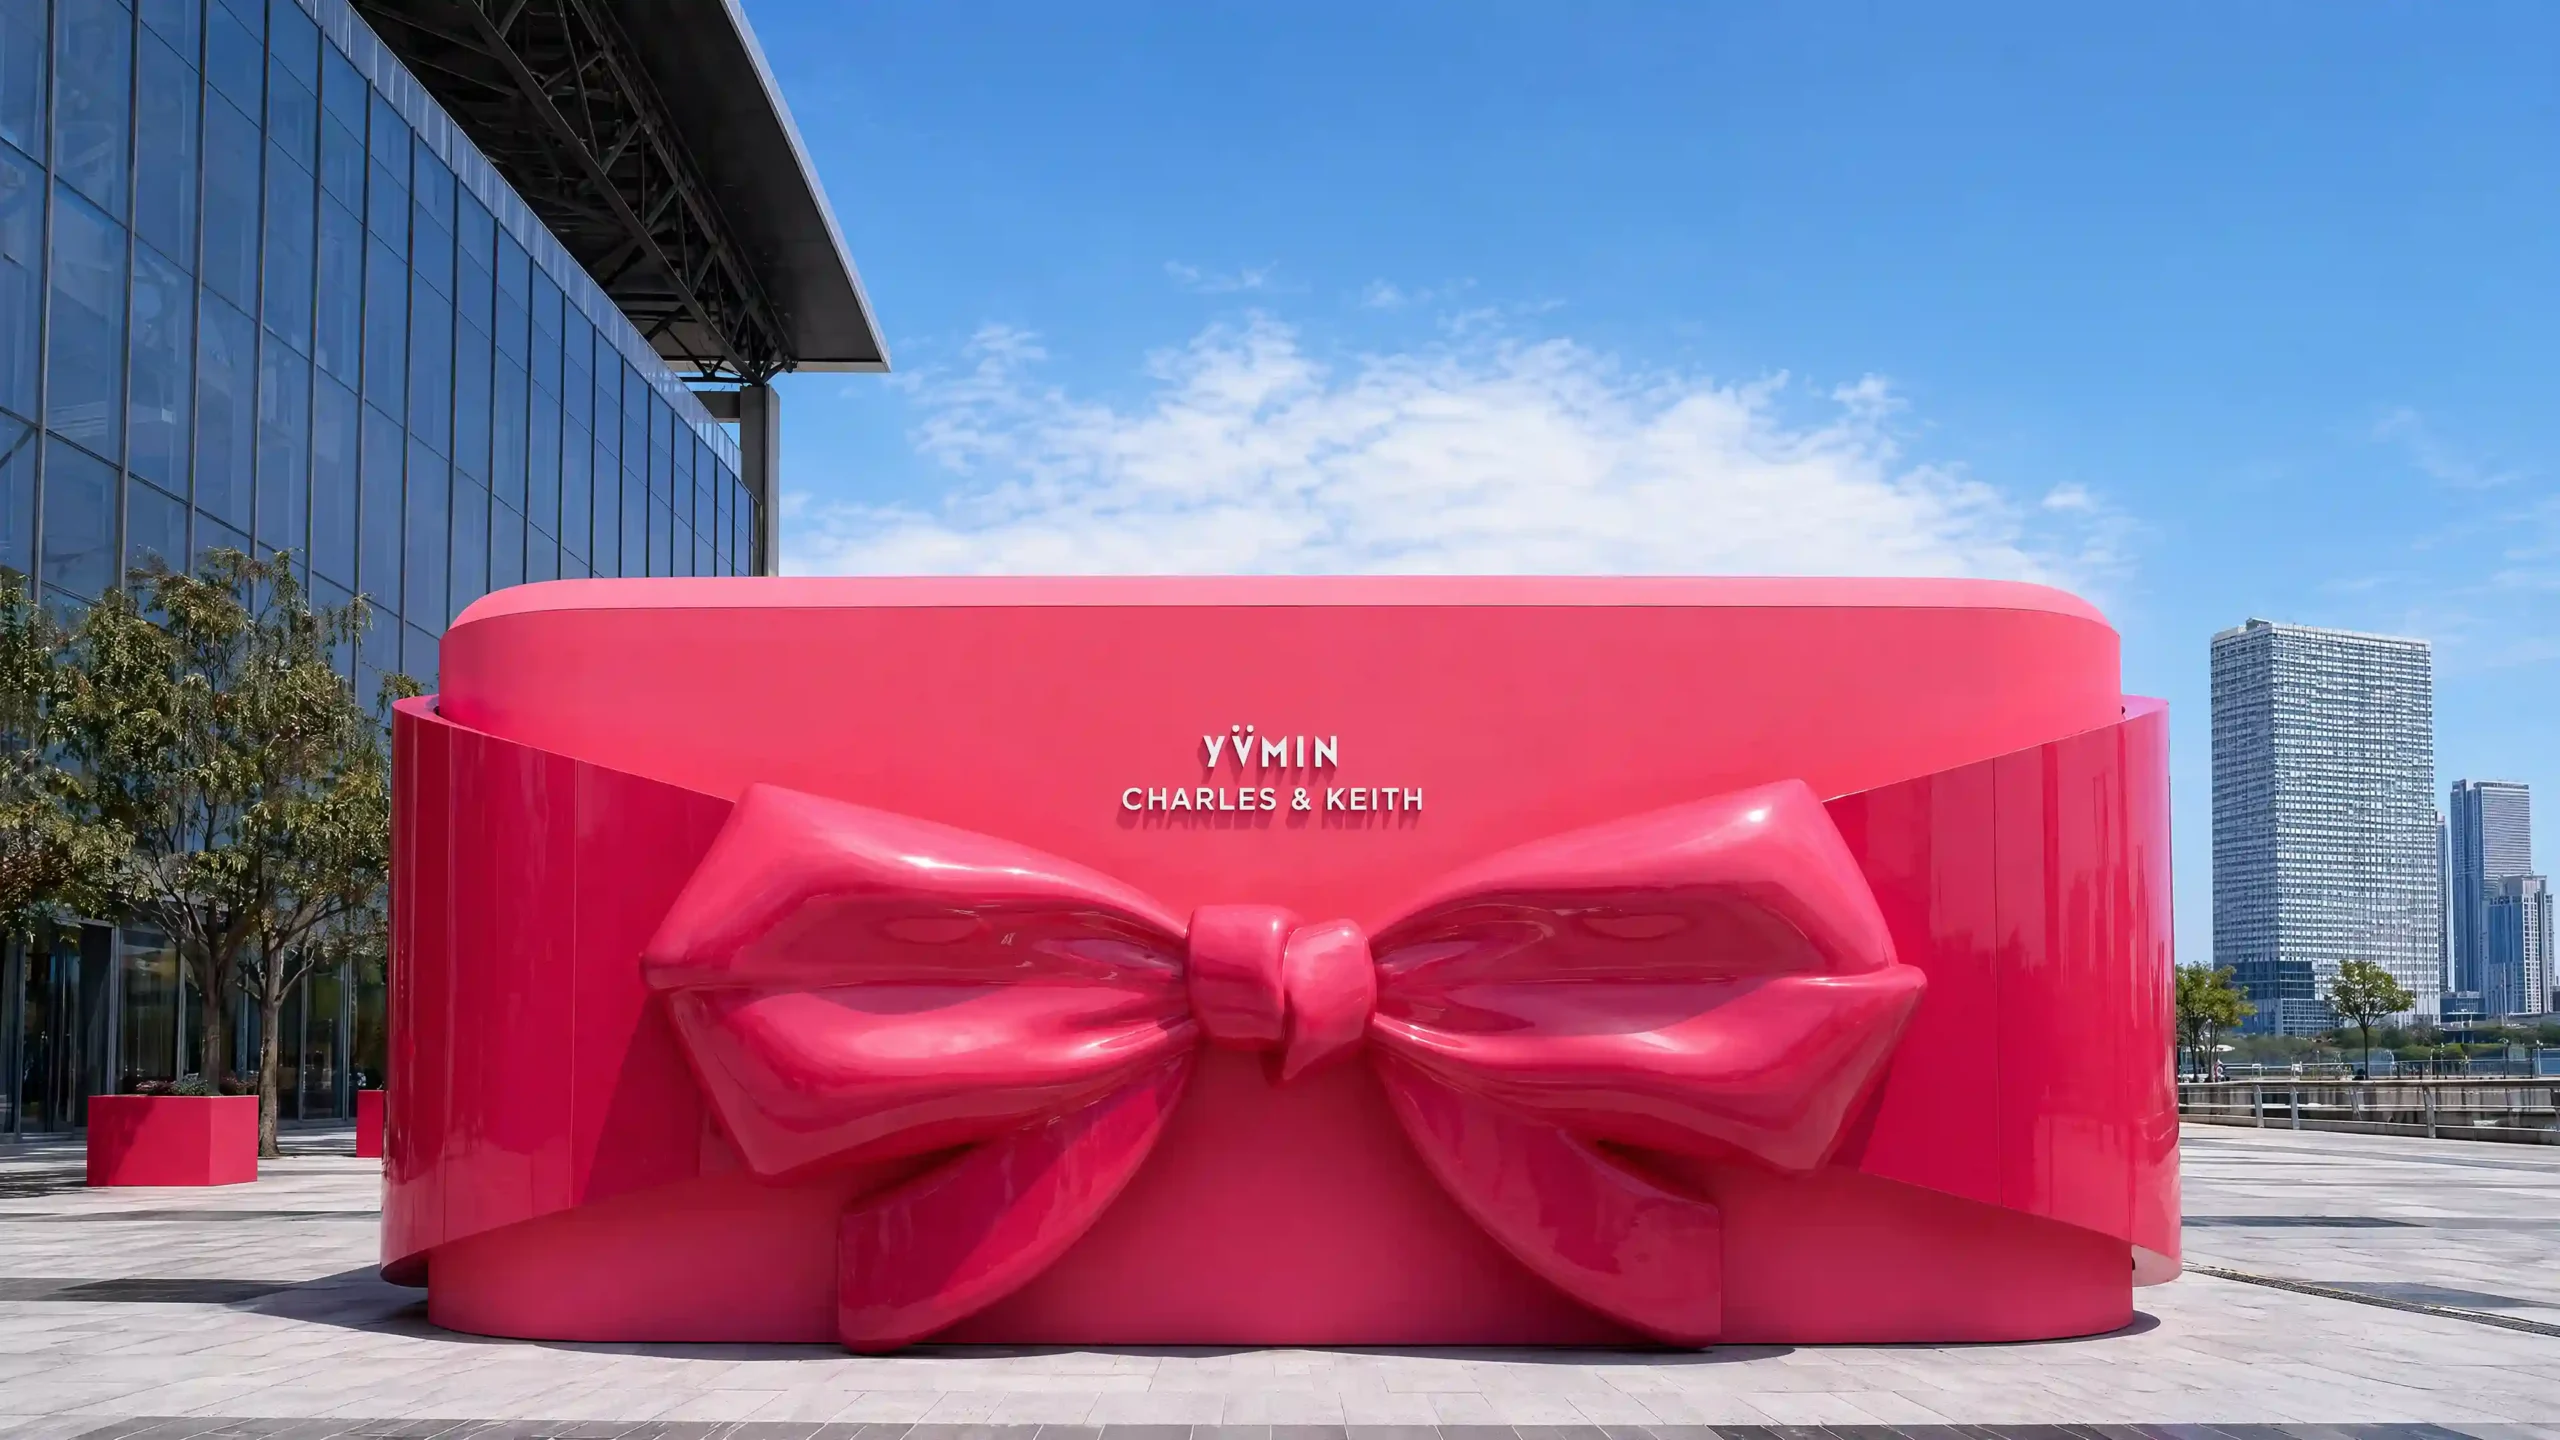
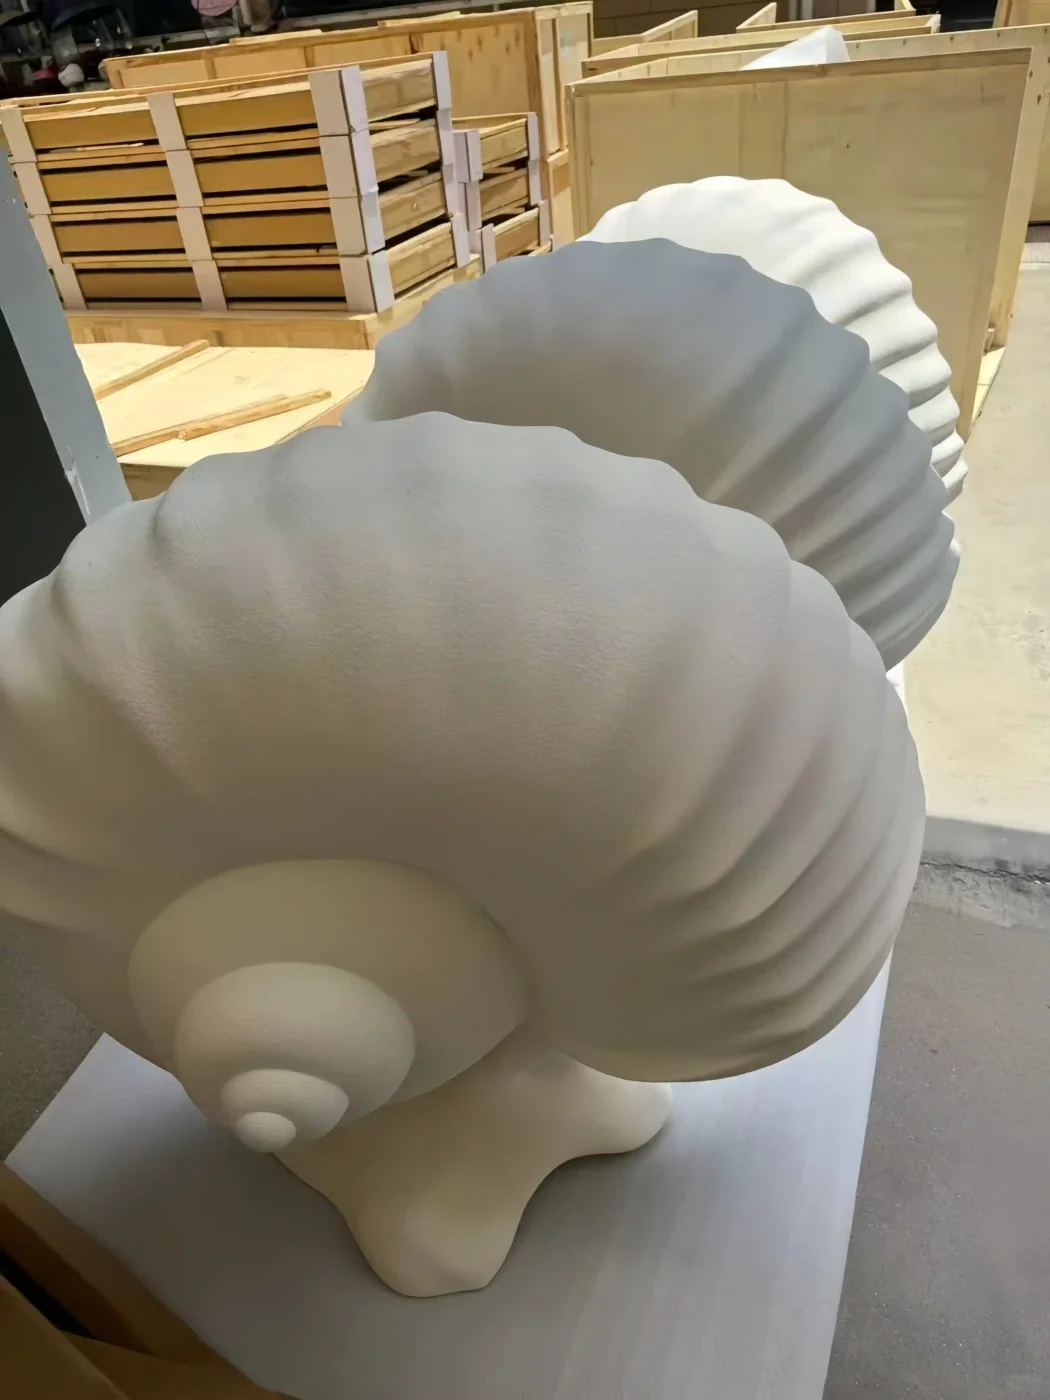
Fiberglass (FRP) is the material of choice for large sculptural forms — oversized product replicas, organic shapes, character figures, decorative objects. It can be moulded, painted, electroplated, flocked or finished in almost any surface treatment. It handles scale well. But FRP pieces tend to be bulky, which affects packing and freight volume. Surface quality depends heavily on the mould, the finishing steps and the skill of the production team.
MDF and woodwork are used for plinths, backdrops, platforms and painted structural elements. They are cost-effective for flat or geometric shapes. MDF takes paint well and can achieve clean, uniform surfaces. It is heavier than it looks, and humidity sensitivity can be a concern for certain shipping routes or store environments.
Fabric, printed panels and graphic elements add softness, campaign imagery and large-format visuals. They are lightweight and ship flat, which makes them efficient for multi-store distribution. Print quality and color accuracy need to be verified against brand standards before production.
For a deeper discussion of material trade-offs in display props, see our window display props guide.
Lighting Is a Production Decision, Not an Afterthought
Lighting is one of the fastest ways to make a store window display feel more finished and more premium. But it is also one of the most common sources of installation problems when it is not planned early.
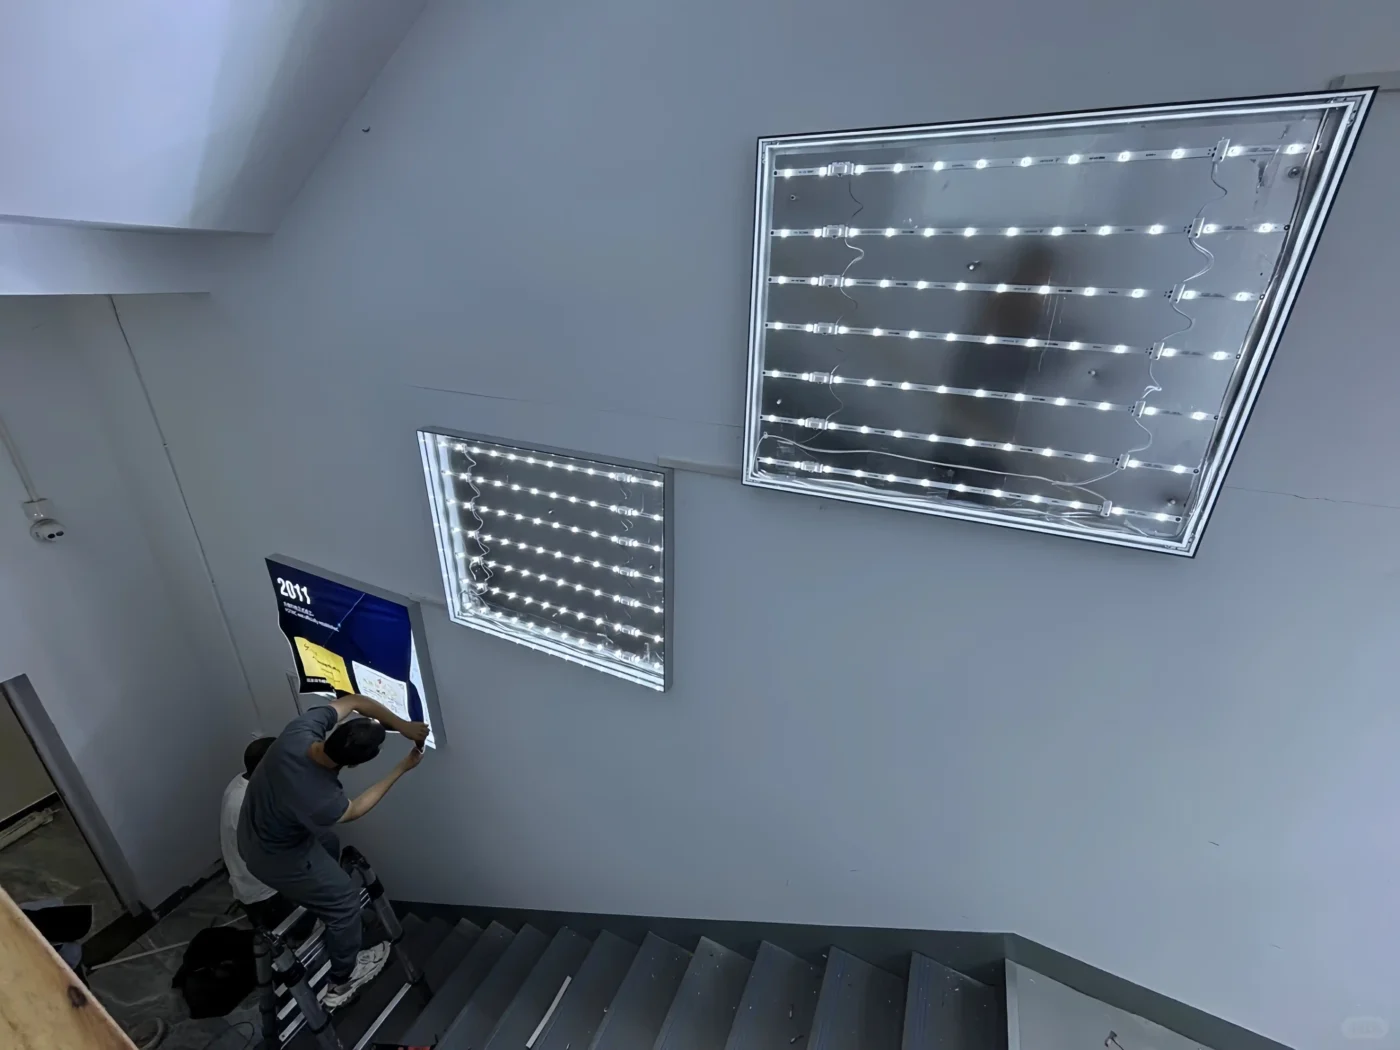
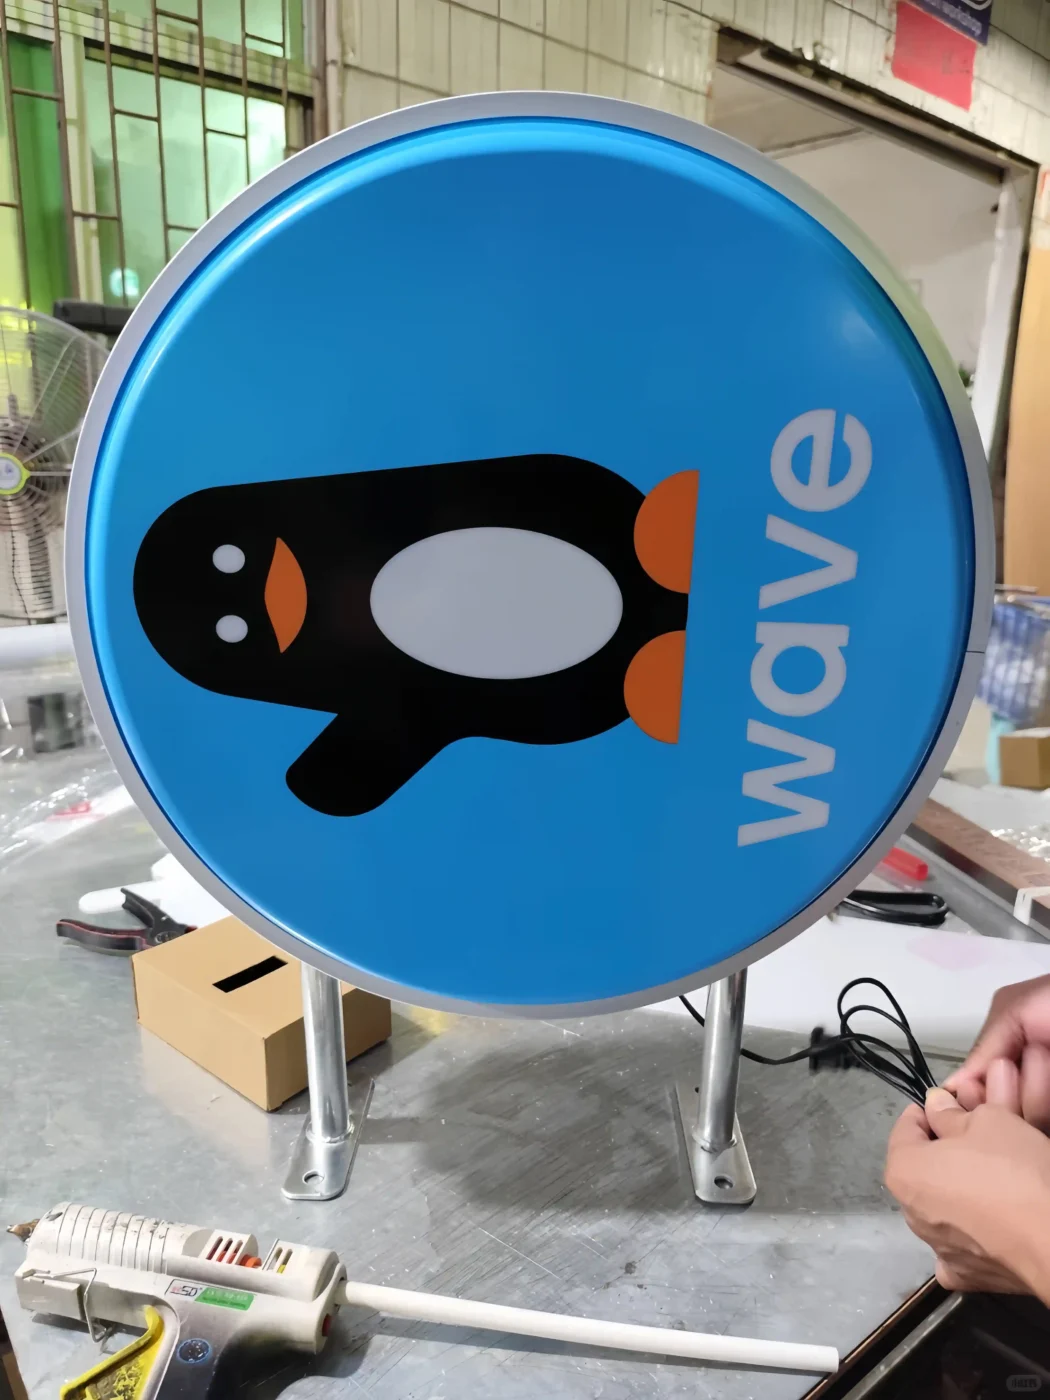
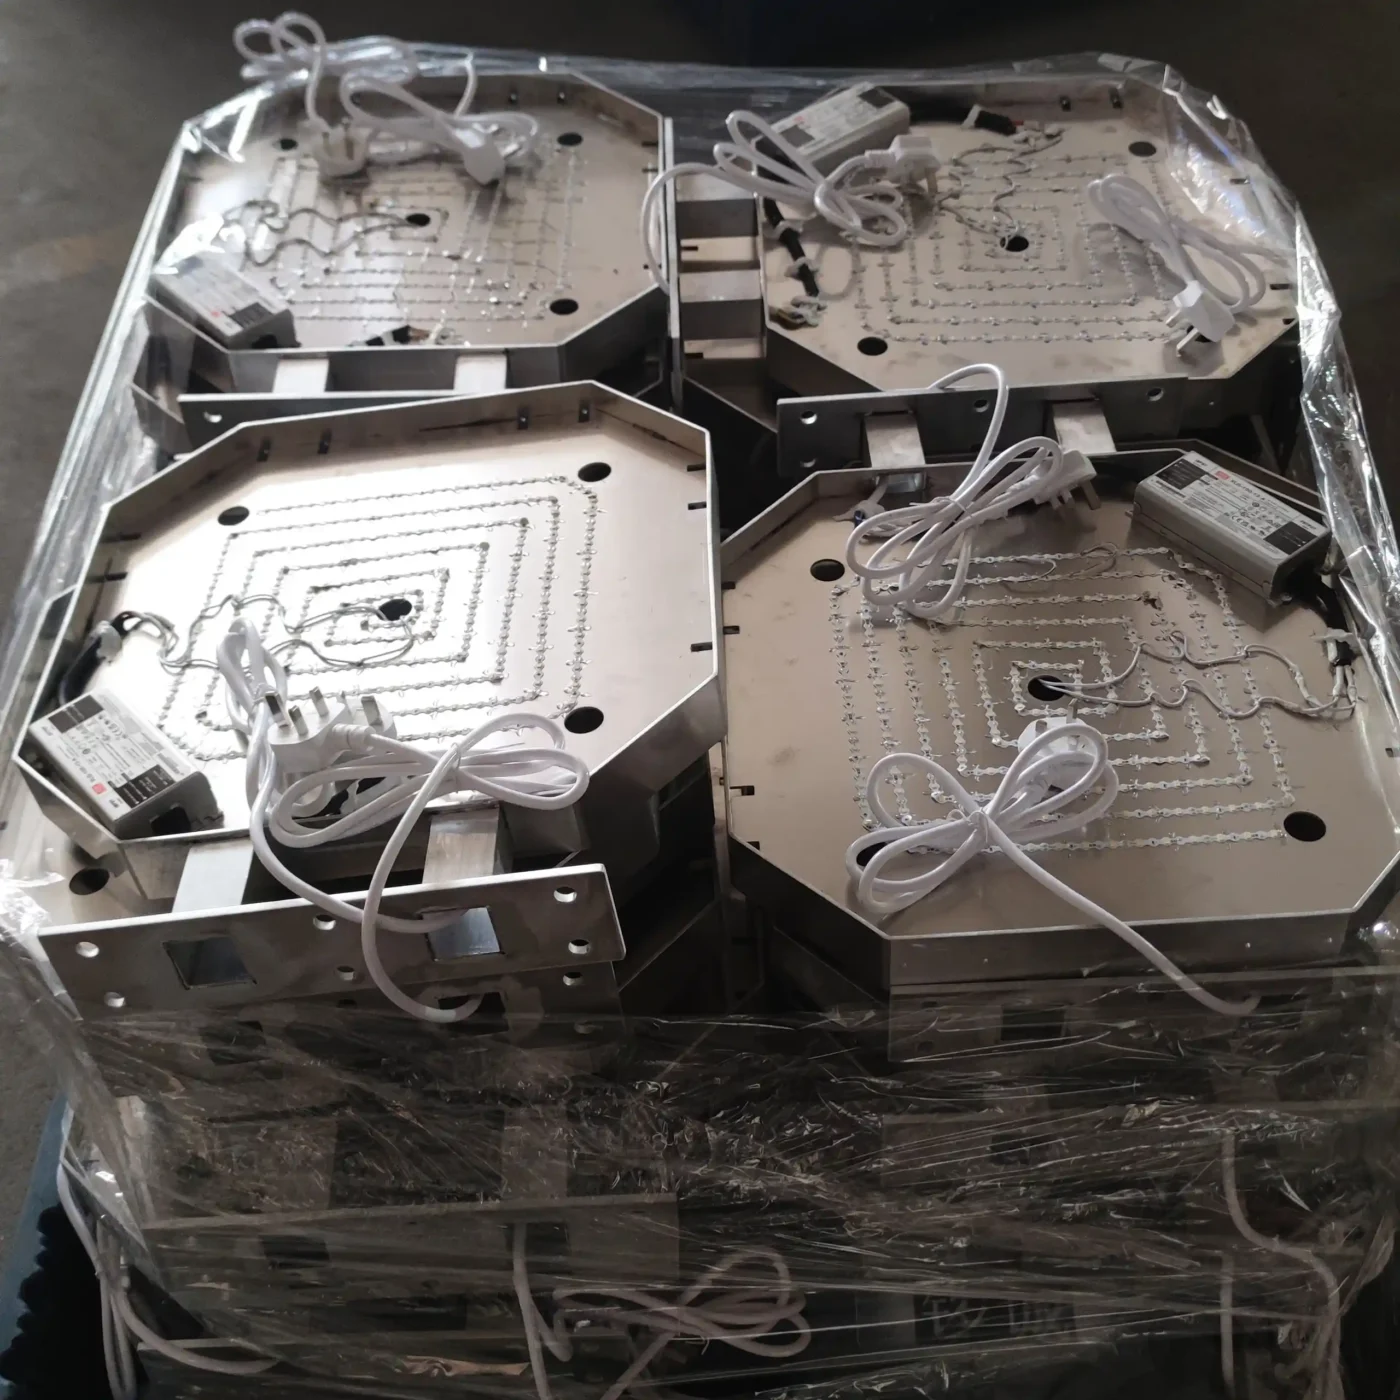
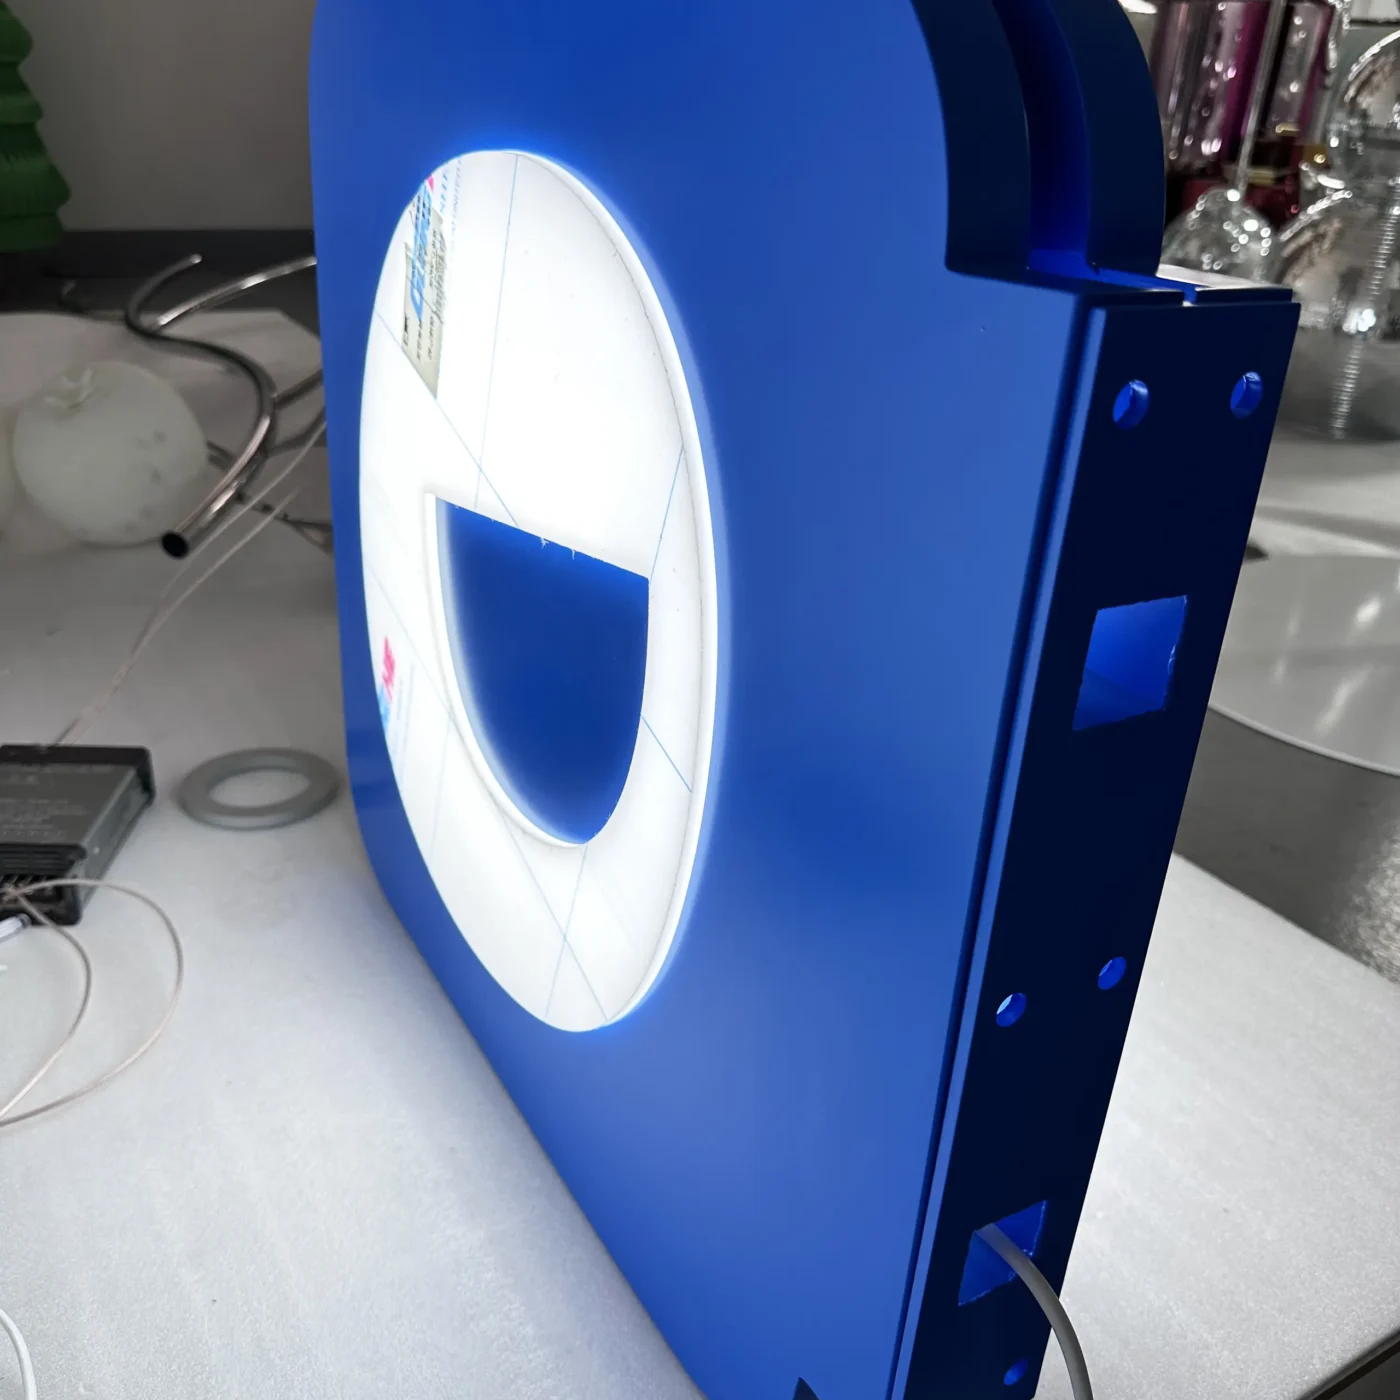
If a concept includes LED strips inside a prop, backlit acrylic panels, illuminated signage or custom light box displays, the wiring, power connections and heat management need to be part of the production engineering — not added during final assembly.
Questions that should be resolved before manufacturing starts:
Where will the power source be located in each store? How will the wires be routed and hidden inside the prop structure? Is the LED driver accessible for maintenance or replacement? Will the display run continuously, and does the heat output affect the surrounding materials? If the window uses both ambient and accent lighting, how are they controlled?
When lighting is integrated into the prop design from the beginning, the result is cleaner — no visible cables, no awkward cable channels, no on-site improvisation. When it is treated as an add-on, the installation often looks unfinished at close range, even if the overall effect reads well from a distance.
Viewing Distance Changes Everything
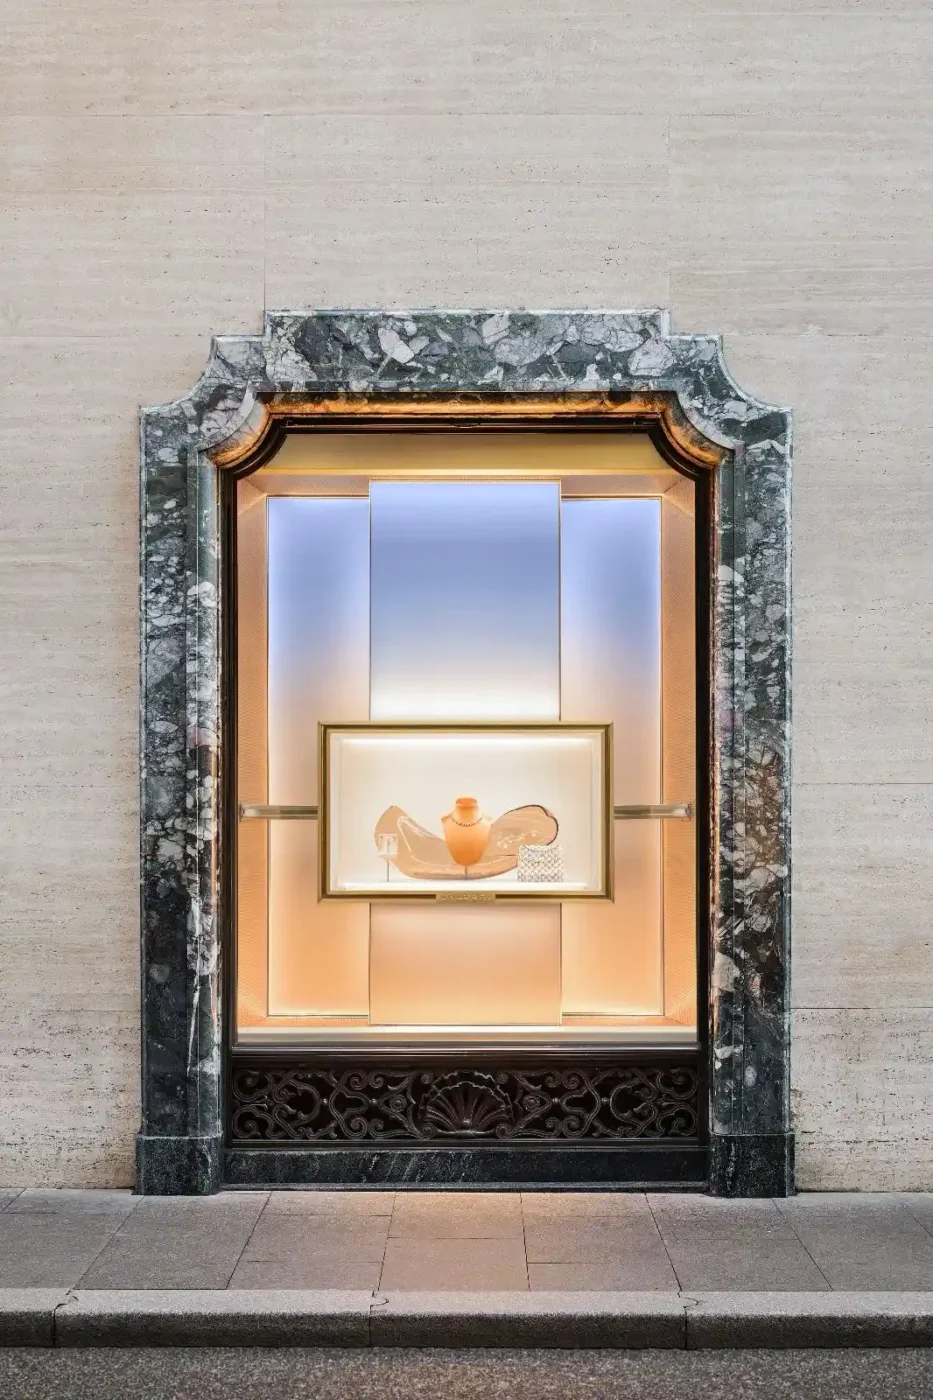
Many store window displays are approved from renderings viewed on a screen. But the display will be seen from a pavement, through glass, often at an angle, in variable daylight conditions.
That gap between the approval view and the real-world view is where many concepts lose impact.
A strong store window display should work at three distances:
From across the street or down a corridor. At this range, only the largest shapes, strongest colors and boldest lighting register. Fine details are invisible. The display needs a clear overall silhouette that signals “something worth looking at.”
From a few meters away. At this range, the shopper understands the product category, the campaign mood and the brand level. Props should be large enough to read. Text, if any, should be legible. The relationship between props and products should be clear.
From directly outside the glass. At this range, material quality, surface finish, construction details and product presentation are all visible. This is where craftsmanship either builds trust or raises questions.
If a display only works at one of these distances, it is likely underperforming at the other two. The most effective store window displays are designed and manufactured with all three ranges in mind.
Designing for Production: Where Concepts Often Need Adjustment
Some design choices that look effortless in a render become expensive, fragile or impractical in production. Recognizing these early is not a creative compromise — it is how the concept survives the transition from screen to storefront.
Unsupported overhangs and cantilevered elements. A render does not show weight. A large prop extending outward without visible support may need a hidden steel armature, which adds cost, weight and complexity. The earlier the structural engineer is involved, the more elegantly the support can be integrated.
High-gloss or mirror finishes on large flat surfaces. Large-area mirror finishes reveal every imperfection — surface irregularities, dust particles, handling marks. They are achievable but require controlled production environments and careful packing. If the concept includes large reflective surfaces, the timeline and budget should reflect the additional quality control involved.
Tight color matching across different materials. A Pantone reference applied to acrylic, metal and painted MDF will not produce identical results across all three. Each material absorbs and reflects light differently. The manufacturer can get close, but exact uniformity across materials is a common source of revision cycles during sampling. Addressing this expectation early avoids frustration later.
Complex geometry that must be repeated exactly. For multi-store rollouts, every unit needs to look the same. Organic or irregular shapes that were hand-sculpted for the sample can be difficult to replicate consistently at volume. Mould-based production (FRP, for example) handles repeatability well. Freeform hand-finishing does not.
The Sampling Stage: What It Confirms and What It Cannot
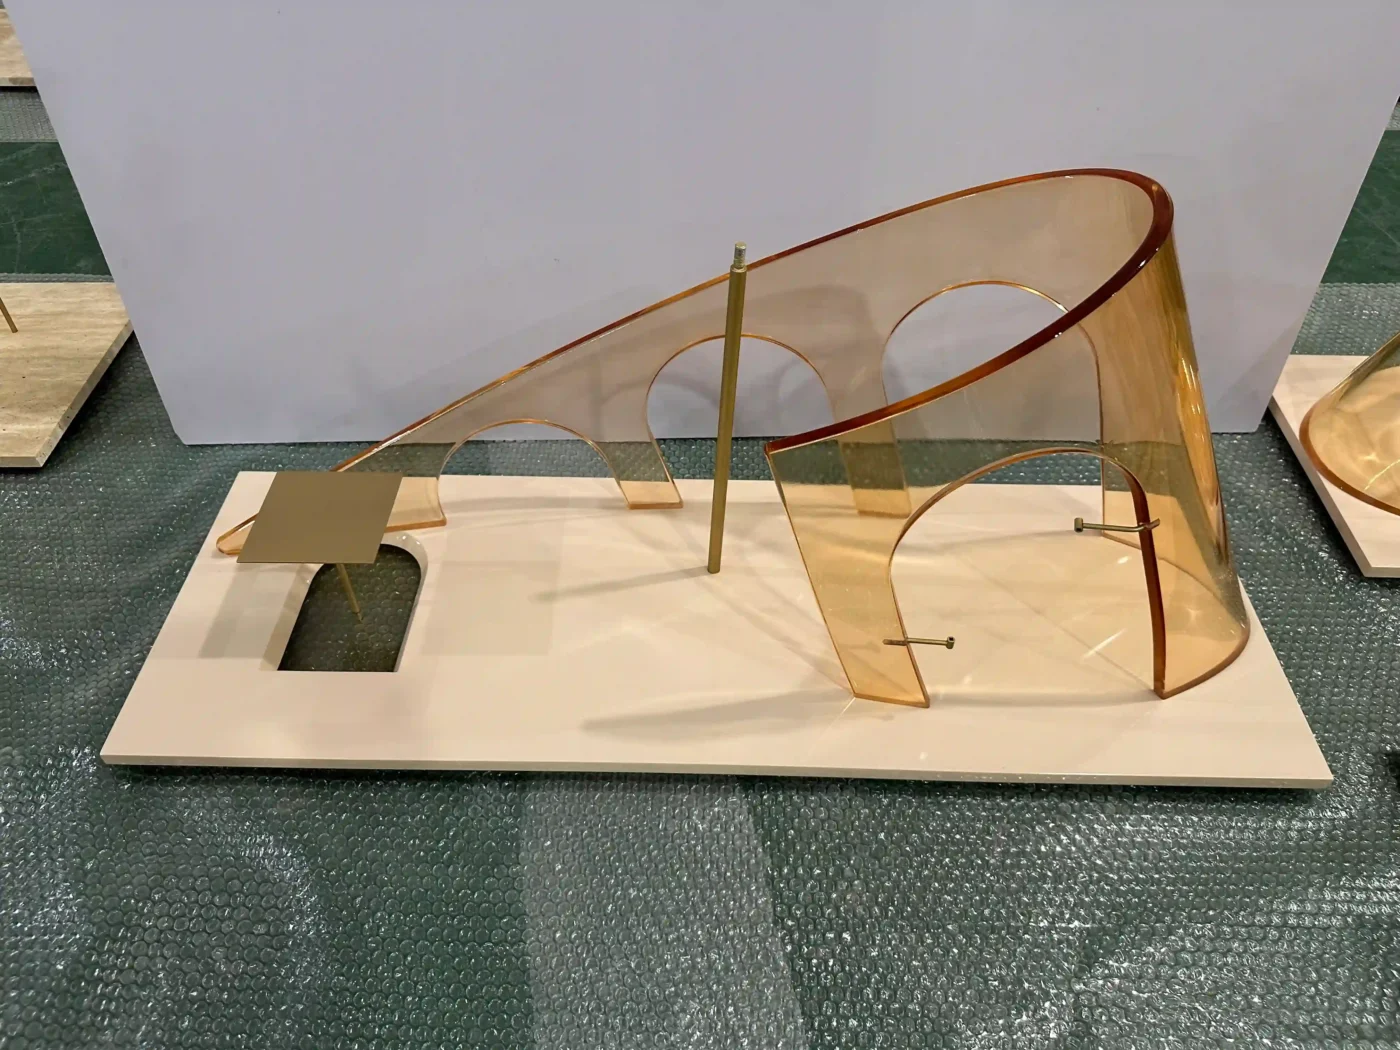
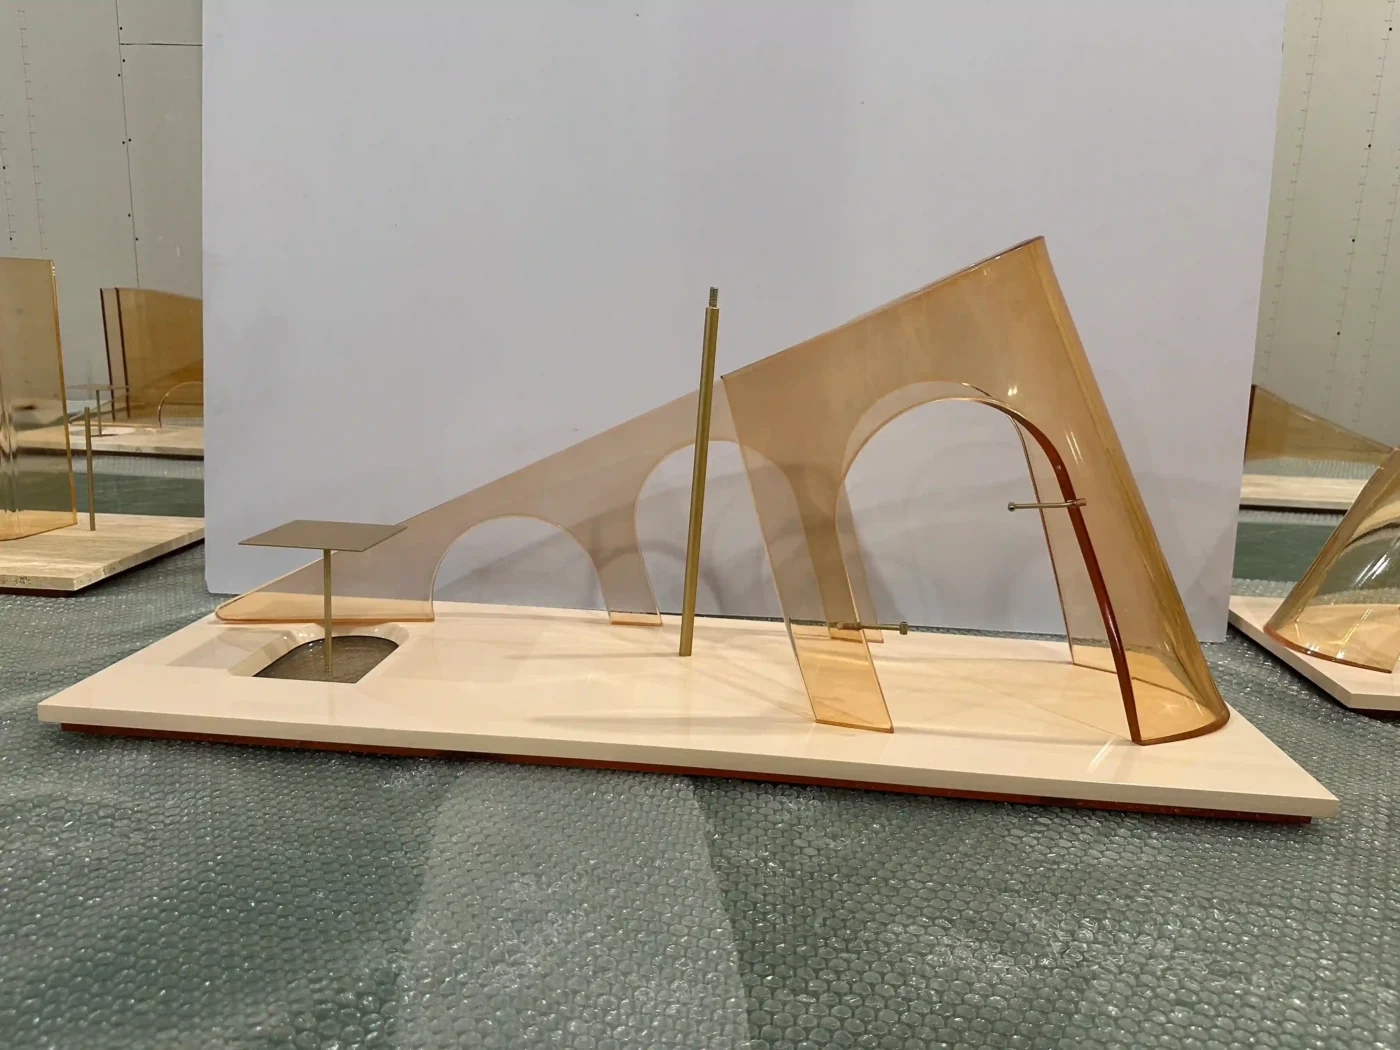
Before a store window display goes into full production, a physical sample is typically produced. This step confirms material, color, surface finish, structural integrity, dimensions and overall visual quality.
The sample is essential. But it is worth understanding what it does and does not prove.
A sample confirms how the prop looks and feels as a finished object. It shows the surface texture, the color accuracy under real lighting, the structural stability and the general visual impact.
What a sample does not fully test is the repeatability at volume, the packing survivability during transit, and the on-site assembly experience when the installer has not seen the prop before. These are the factors that typically surface during the first production run or the first few store installations.
This is why sampling should not be treated as the final checkpoint. It is the beginning of the production conversation, not the end.
Timeline: How to Think About It Realistically
Store window display timelines are frequently underestimated. The production itself may not be the bottleneck — the approval cycles, revision rounds and shipping logistics often consume more time than expected.
A general sequence for a custom store window display project:
Brief and concept review. The manufacturer reviews the design, asks technical questions and proposes material approaches. This can take a few days to a couple of weeks, depending on concept complexity and communication speed.
Sampling. Depending on the materials and finishes involved, sampling typically takes two to four weeks. If the sample requires revision, add another cycle.
Production. Once the sample is approved, batch production generally takes three to five weeks, depending on complexity, quantity and material. Simpler acrylic or MDF-based displays may be faster. Complex FRP sculptures or multi-material assemblies take longer.
Packing and shipping. Sea freight to Europe or North America takes roughly six to eight weeks door to door. Air freight can reduce that significantly but at higher cost, and is more realistic for urgent, lower-volume shipments.
Installation. Time needed on-site depends on display complexity, store access hours and whether a specialist installer is required.
For brands planning seasonal campaigns — particularly Christmas or Chinese New Year — working backward from the installation date is important. Store window displays for a mid-November launch typically need to enter production by mid-summer at the latest, with sampling starting earlier.
For a detailed breakdown of seasonal timelines, see our guide to seasonal retail window displays.
Store Window Display Ideas by Retail Category
Different product categories create different production challenges. Understanding these helps brands brief manufacturers more effectively.
Fashion
Fashion store window displays typically combine mannequins, platforms, props and architectural framing. The production challenge is usually about scale and finish coordination — making sure the props, surfaces and structures feel like a unified environment rather than a collection of separate pieces. Mannequin positioning also affects prop layout, so fixture points and spatial planning should be part of the production brief.
Beauty and Cosmetics
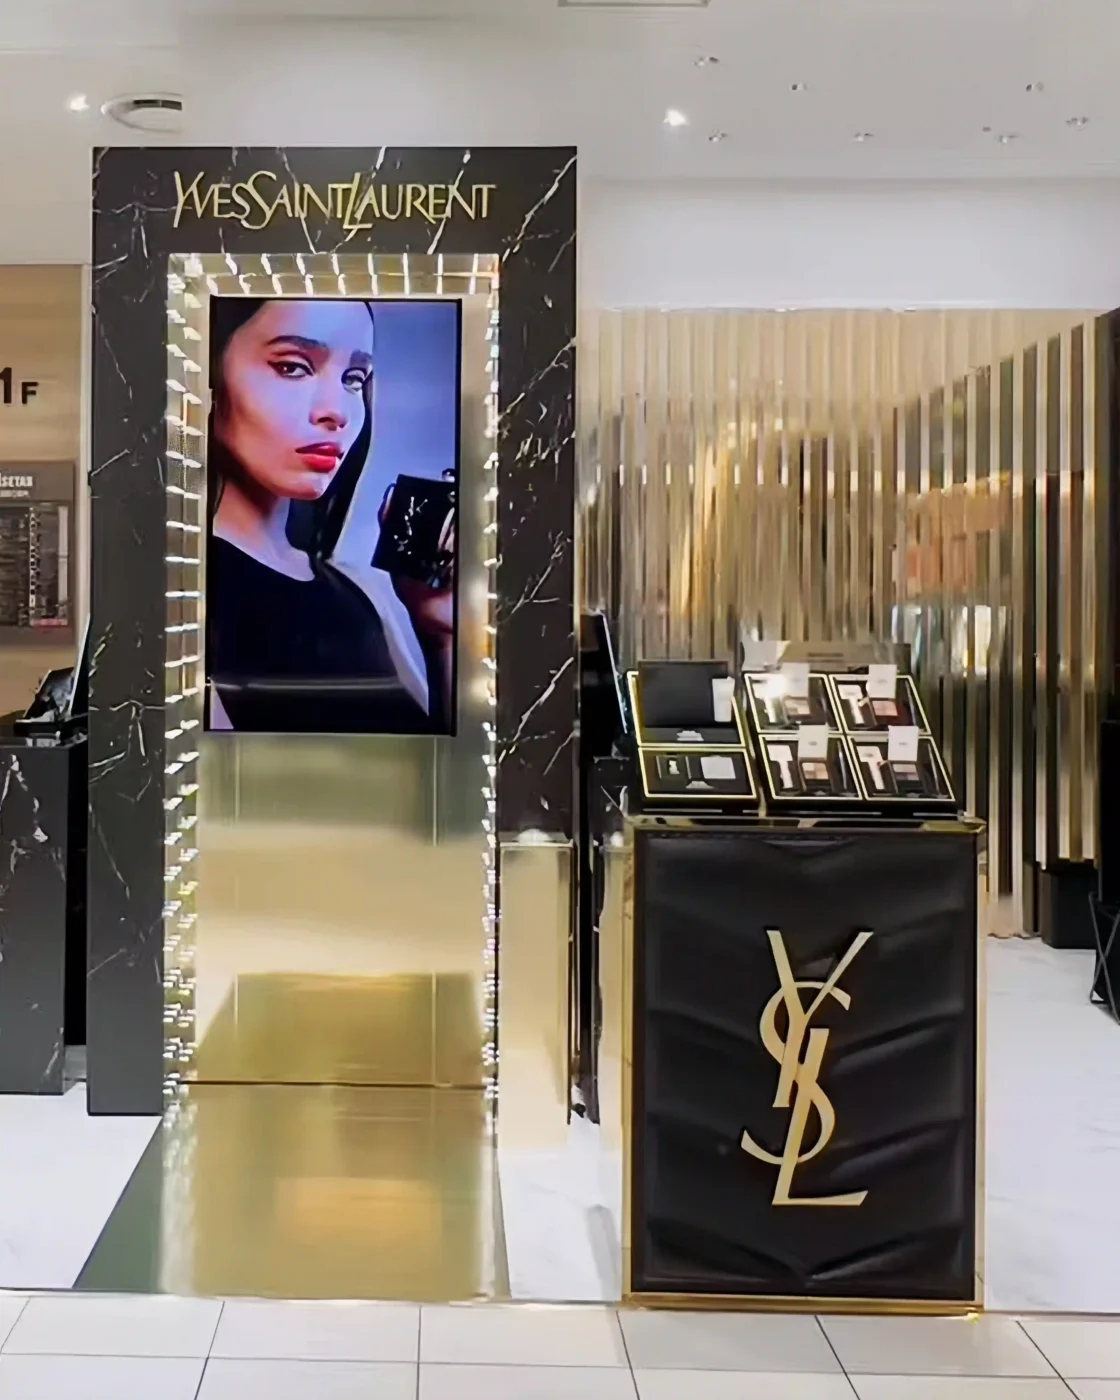
Beauty products are small. The store window display needs to create visual scale around them. Oversized product replicas, color-block acrylic panels, glowing plinths and backlit graphics are common solutions. The production challenge here is color accuracy — beauty brands have strict color standards, and a visible mismatch between the displayed product and the surrounding props can undermine the entire window.
Jewelry and Watches
Jewelry store window displays require restraint. The props should elevate the product, not compete with it. Metallic finishes, acrylic holders, controlled lighting and minimal visual noise define this category. The production challenge is reflection management — glossy surfaces and spotlights create reflections that can obscure the product if not carefully positioned during both manufacturing and installation.
Fragrance
Fragrance displays often use storytelling to communicate a scent world that the shopper cannot physically experience through glass. Oversized bottle replicas, textured surfaces, light boxes and atmospheric materials help bridge that gap. The production challenge is structural — large bottle replicas need internal support structures, and the surface finish must match the actual product closely enough that the display feels authentic.
Pop-Up Stores
Pop-up store window displays need speed, modularity and impact. The display must install quickly, look finished and often disassemble for transport to the next location. Lightweight materials, modular construction, printed panels and plug-and-play LED signage are practical choices. The production challenge is balancing visual quality with portability and rapid turnaround.
How to Brief a Manufacturer for Store Window Displays
A well-prepared brief leads to more useful feedback from the manufacturer and fewer rounds of revision.
The brief does not need to be a complete technical drawing. But it should include enough information for the manufacturer to assess feasibility, suggest materials and estimate timeline.
The most important items:
Window dimensions and storefront photos. Knowing the actual space — width, height, depth, floor type, ceiling condition, power access — prevents designs that do not physically fit.
Product images and sizes. The display exists to present the product. The manufacturer needs to know what is being displayed and how much space it occupies.
Campaign concept and references. A mood board, render, sketch or reference images help the manufacturer understand the visual intent — what the finished display should feel like, not just what shape it should be.
Number of stores. This determines whether the project is a one-off build or a production run, which changes the manufacturing approach entirely.
Installation date. The timeline drives every production decision. The earlier this is known, the more options the manufacturer has.
Display duration. A two-week campaign window and a permanent installation require different material durability, construction methods and cost structures.
Shipping destination. International shipping adds time and logistical complexity. The destination affects packing design, customs documentation and delivery method.
Budget range, if available. A realistic budget range helps the manufacturer propose appropriate materials and methods rather than guessing at the intended quality level.
The three things that shape almost every production decision: store size, product focus and launch date. If a brand provides nothing else, those three are enough to start a meaningful conversation.
Common Production Mistakes That Weaken Store Window Displays
Starting production conversations too late. The most common issue. By the time the manufacturer is involved, the design is locked, the deadline is tight and there is no room for material optimization or structural adjustment.
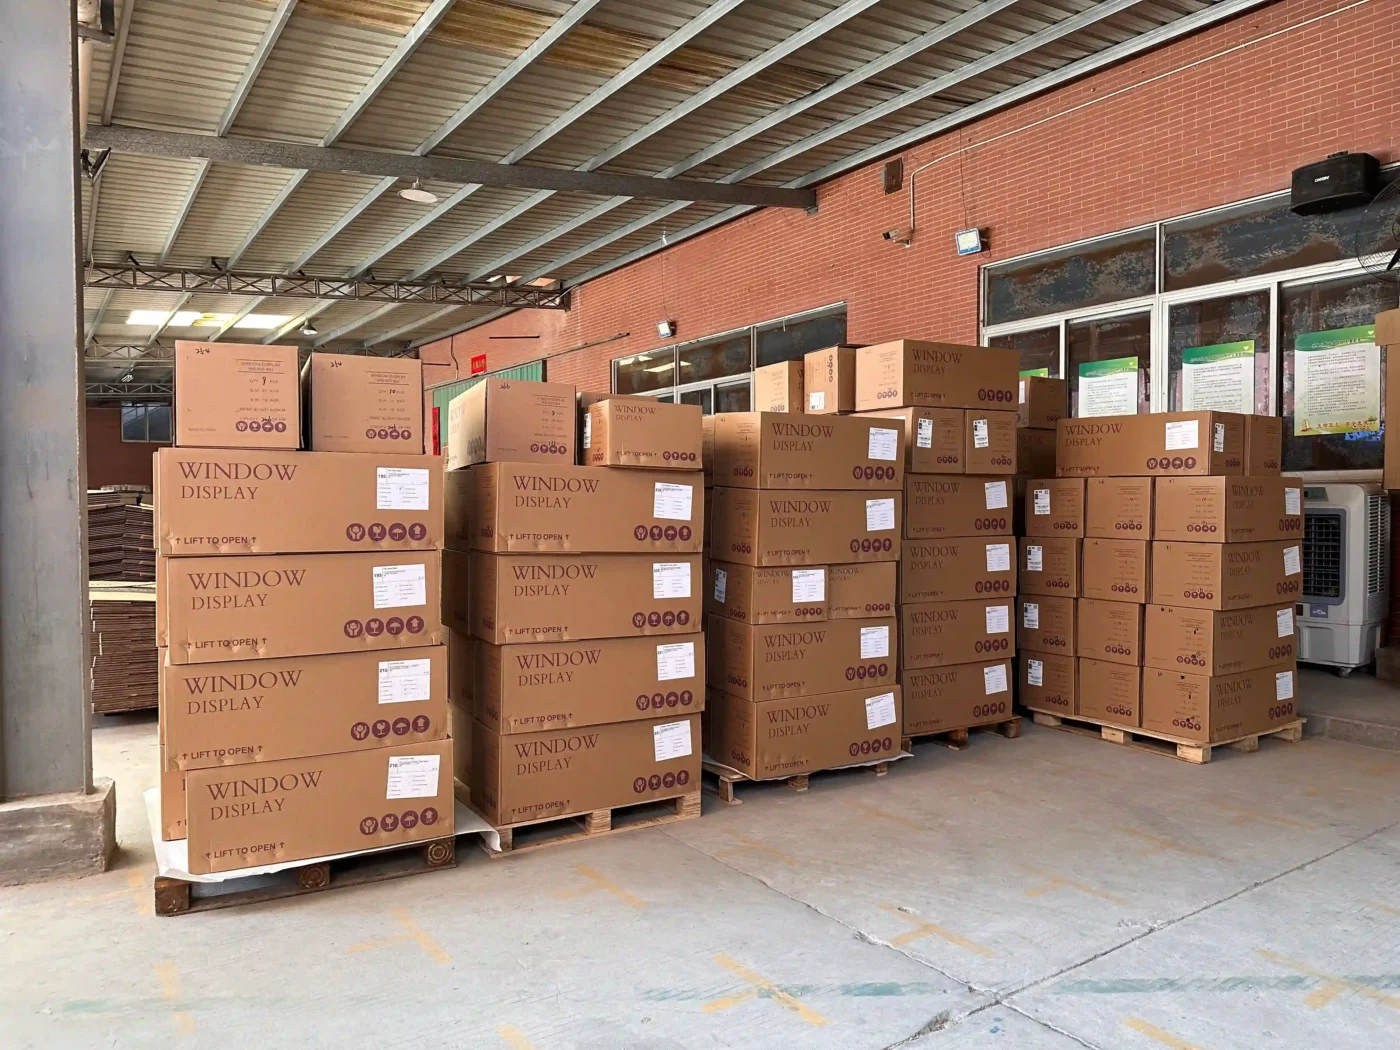
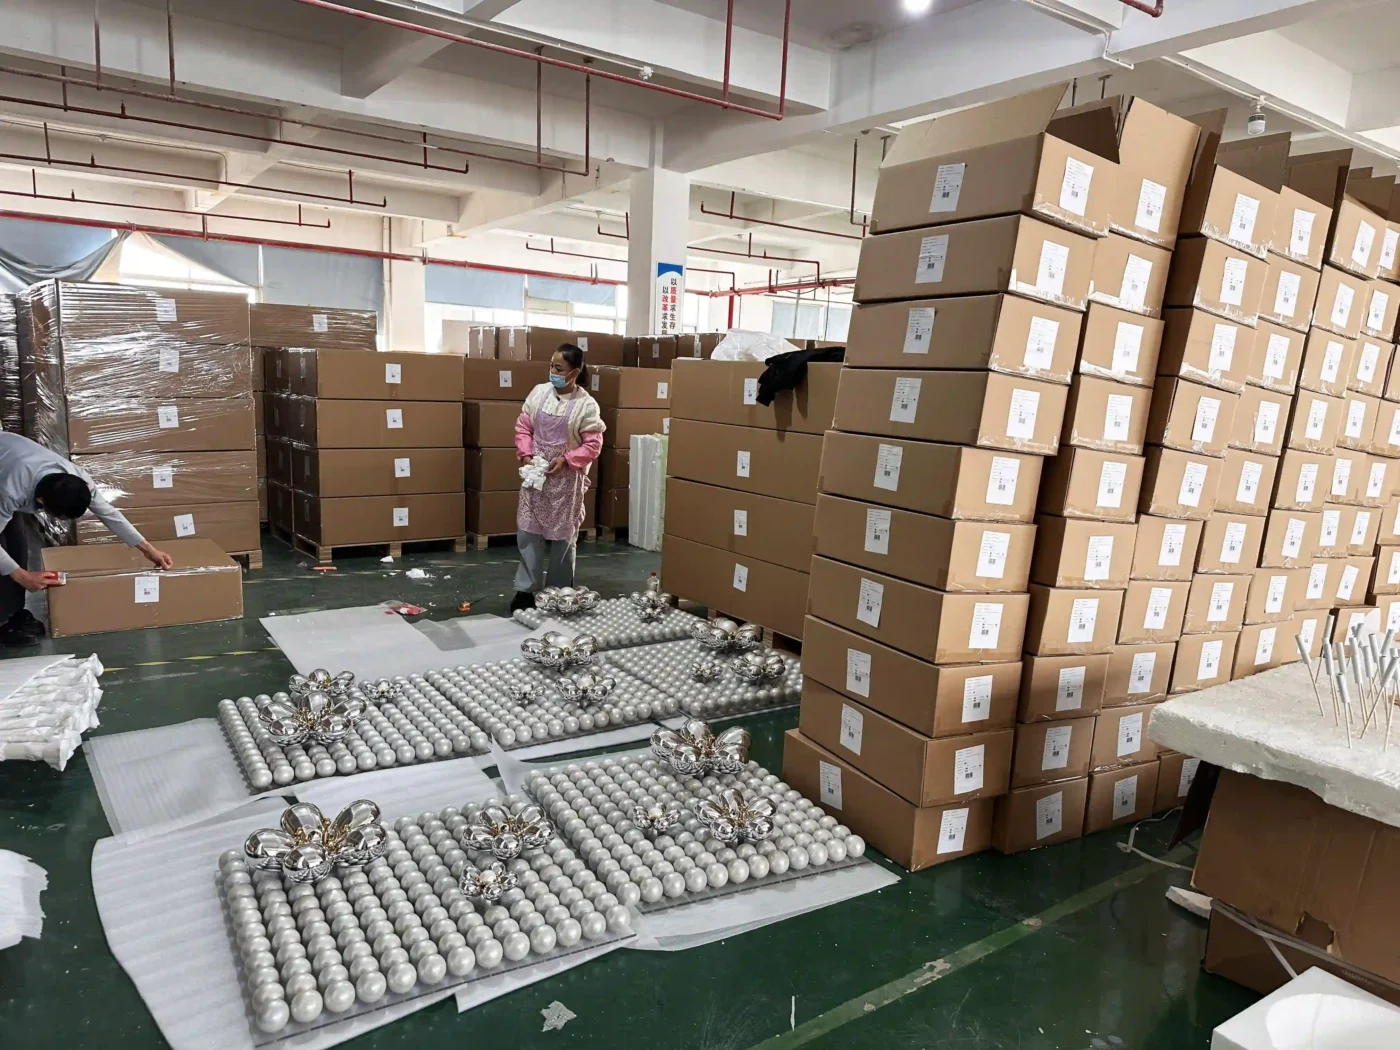
Approving a concept without checking shipping volume. A large sculptural prop may look proportional in the window but create significant freight costs if it cannot be disassembled for shipping. Packing design should be considered during the design stage, not after production.
Underestimating installation complexity. A display that requires specialist tools, precise alignment or on-site wiring adjustments will take longer to install — and in multi-store rollouts, that time multiplies. Props designed for straightforward assembly reduce installation risk.
Expecting the sample to represent the full production run perfectly. A handmade sample may be slightly more refined than a volume-produced unit. Understanding the difference between sample quality and production quality helps avoid unrealistic expectations.
Not accounting for store-to-store variation. In multi-store campaigns, window dimensions, lighting conditions and access points vary. The display system needs enough flexibility to accommodate these differences without requiring a custom version for each location.
Frequently Asked Questions
What are store window displays?
Store window displays are visual presentations placed in storefront windows to attract attention, promote products and communicate a brand or campaign message. They can include props, mannequins, platforms, lighting, signage, graphics and sculptural elements.
How long does it take to produce custom store window displays?
The full timeline from brief to installation varies by project complexity. A general estimate: two to four weeks for sampling, three to five weeks for production, and six to eight weeks for international sea freight. Simpler displays with standard materials can move faster. Complex multi-material projects or large rollouts should allow more time.
What materials are commonly used for store window displays?
Common materials include acrylic (PMMA), stainless steel, aluminum, fiberglass (FRP), MDF, printed panels, fabric, LED lighting components, mirror finishes and painted surfaces. The right material depends on the design concept, campaign duration, shipping requirements and budget.
How much do store window displays cost?
Cost depends on design complexity, material, size, quantity, surface finish, lighting, packing and delivery destination. A single-store custom build and a fifty-store rollout require very different budgets. Providing a brief with window size, concept, quantity and timeline helps manufacturers give realistic estimates.
Can store window displays be customized for different store sizes?
Yes. For multi-store campaigns, manufacturers can produce adaptable display systems that adjust to different window dimensions. This is typically handled through modular prop sizing, adjustable structural elements or store-specific configuration documents.
How early should brands plan store window displays for seasonal campaigns?
For custom production with international shipping, brands should begin the conversation several months before the installation date. Christmas displays, for example, typically need sampling to start in spring, with production running through summer for autumn delivery. Later starts may still be workable for simpler concepts or air-freight delivery, but the options narrow.