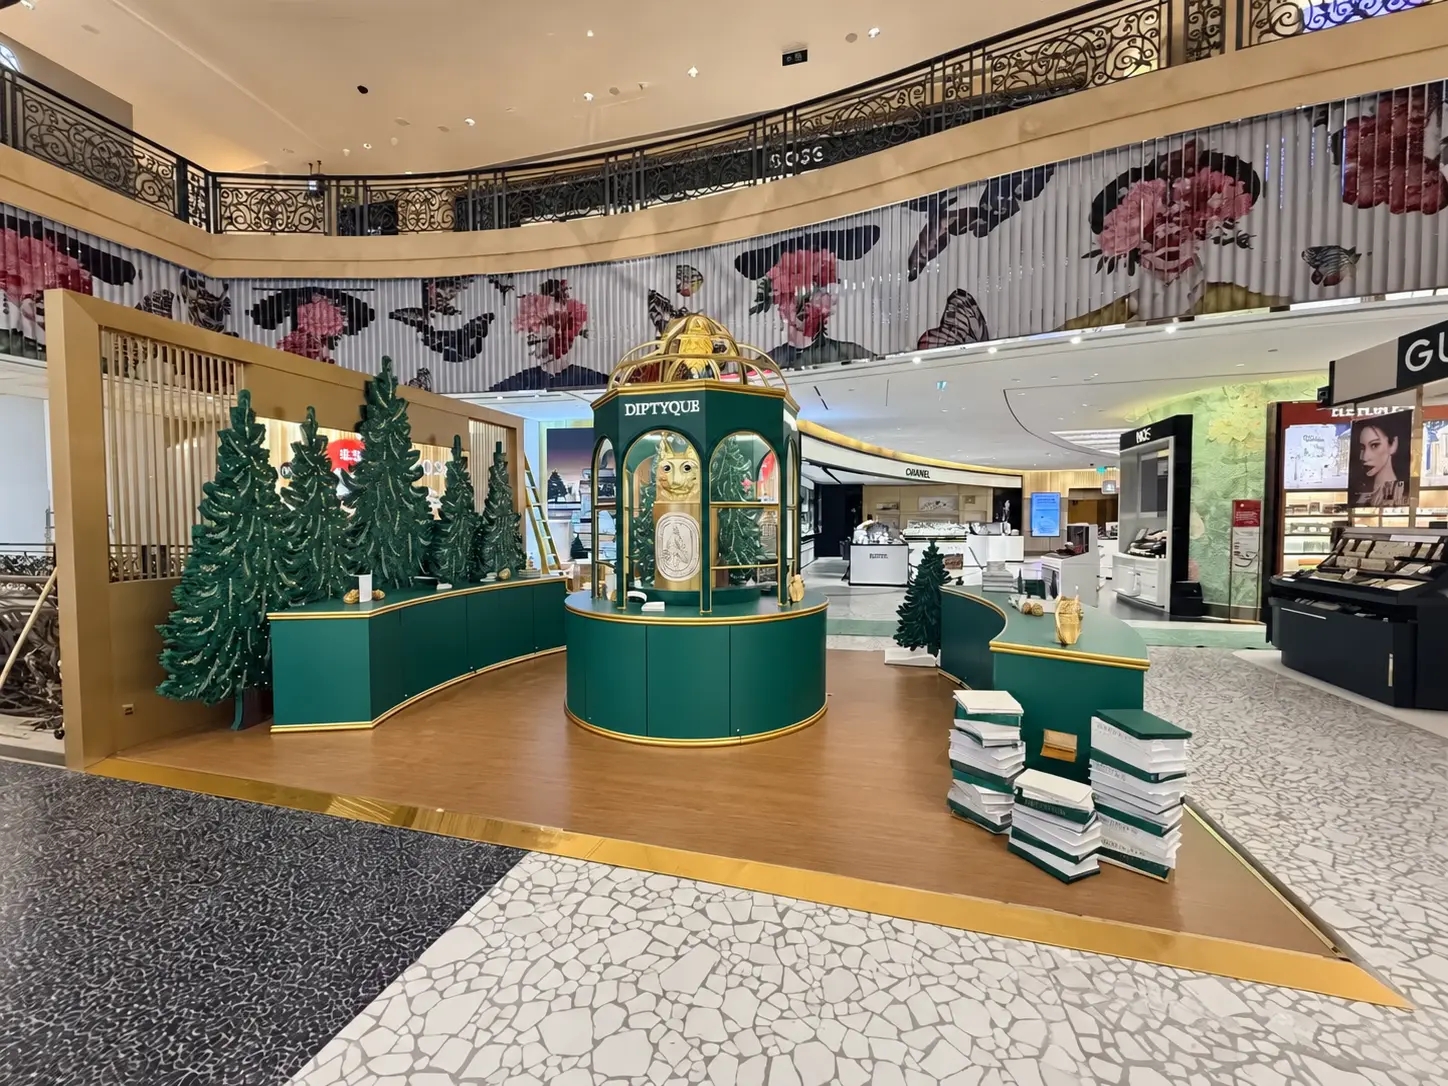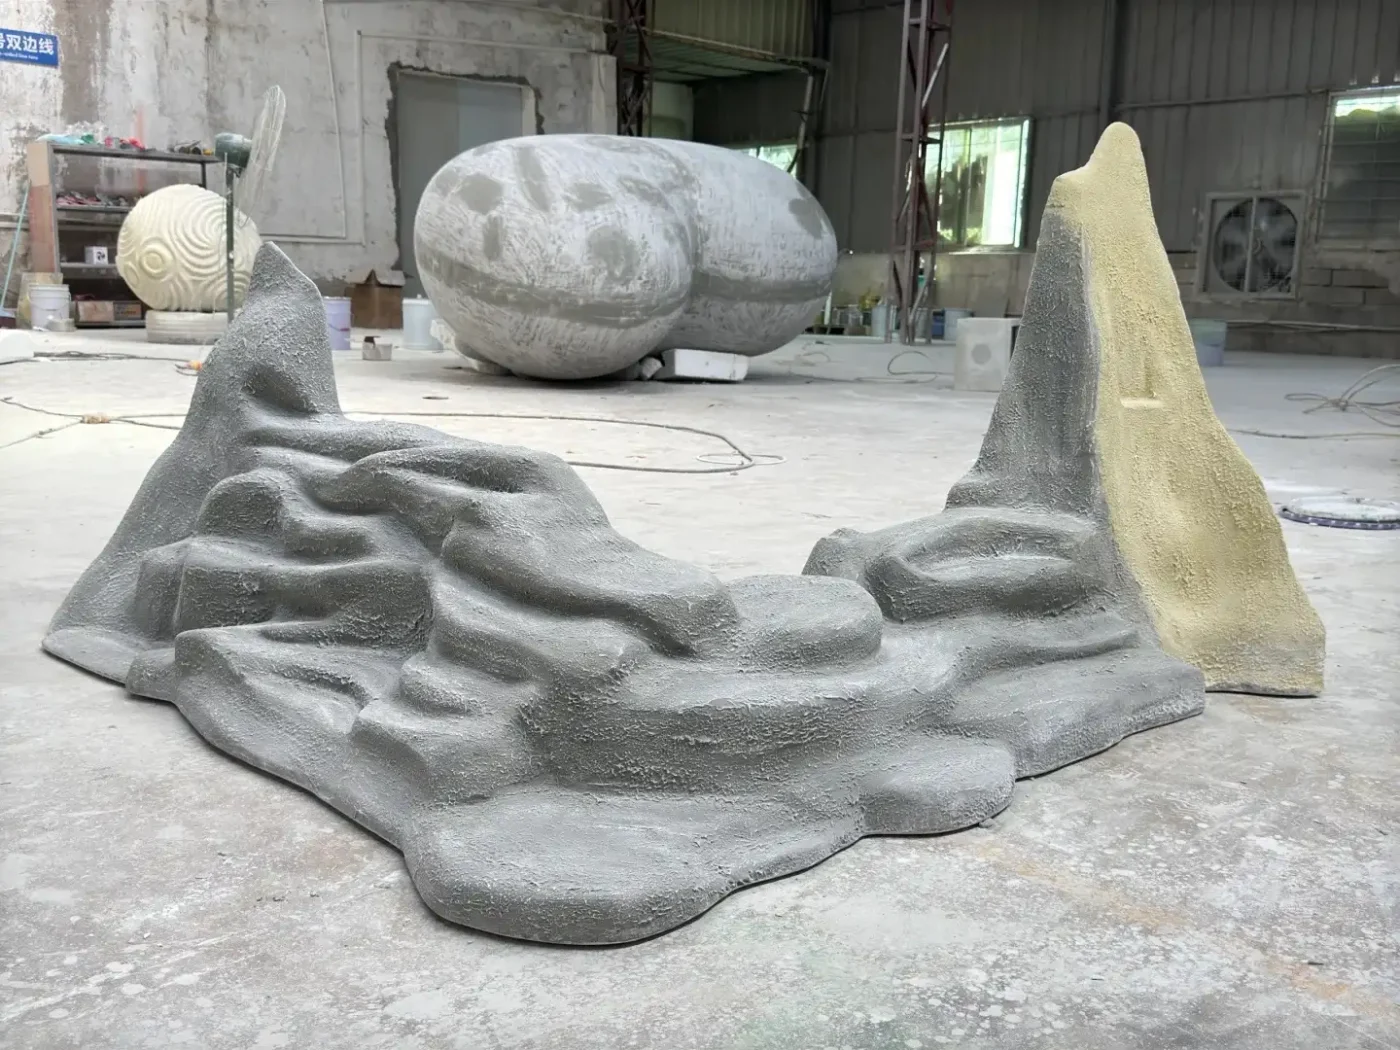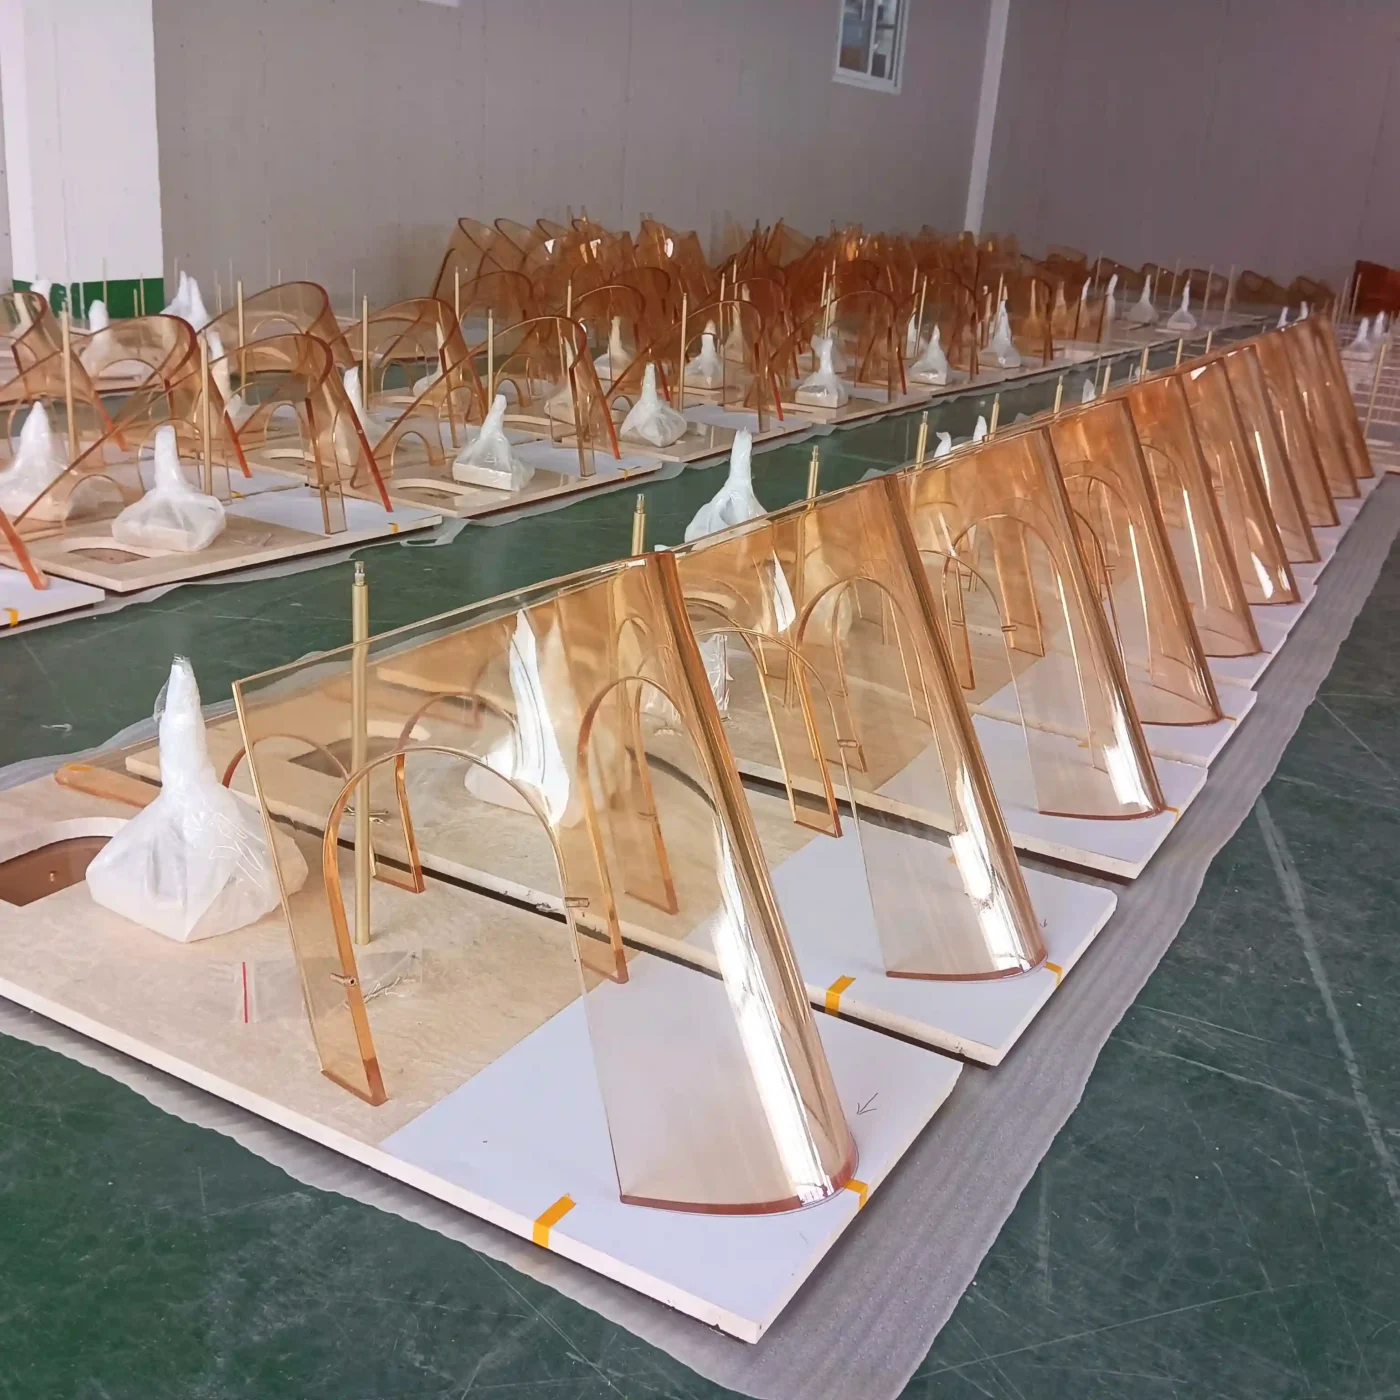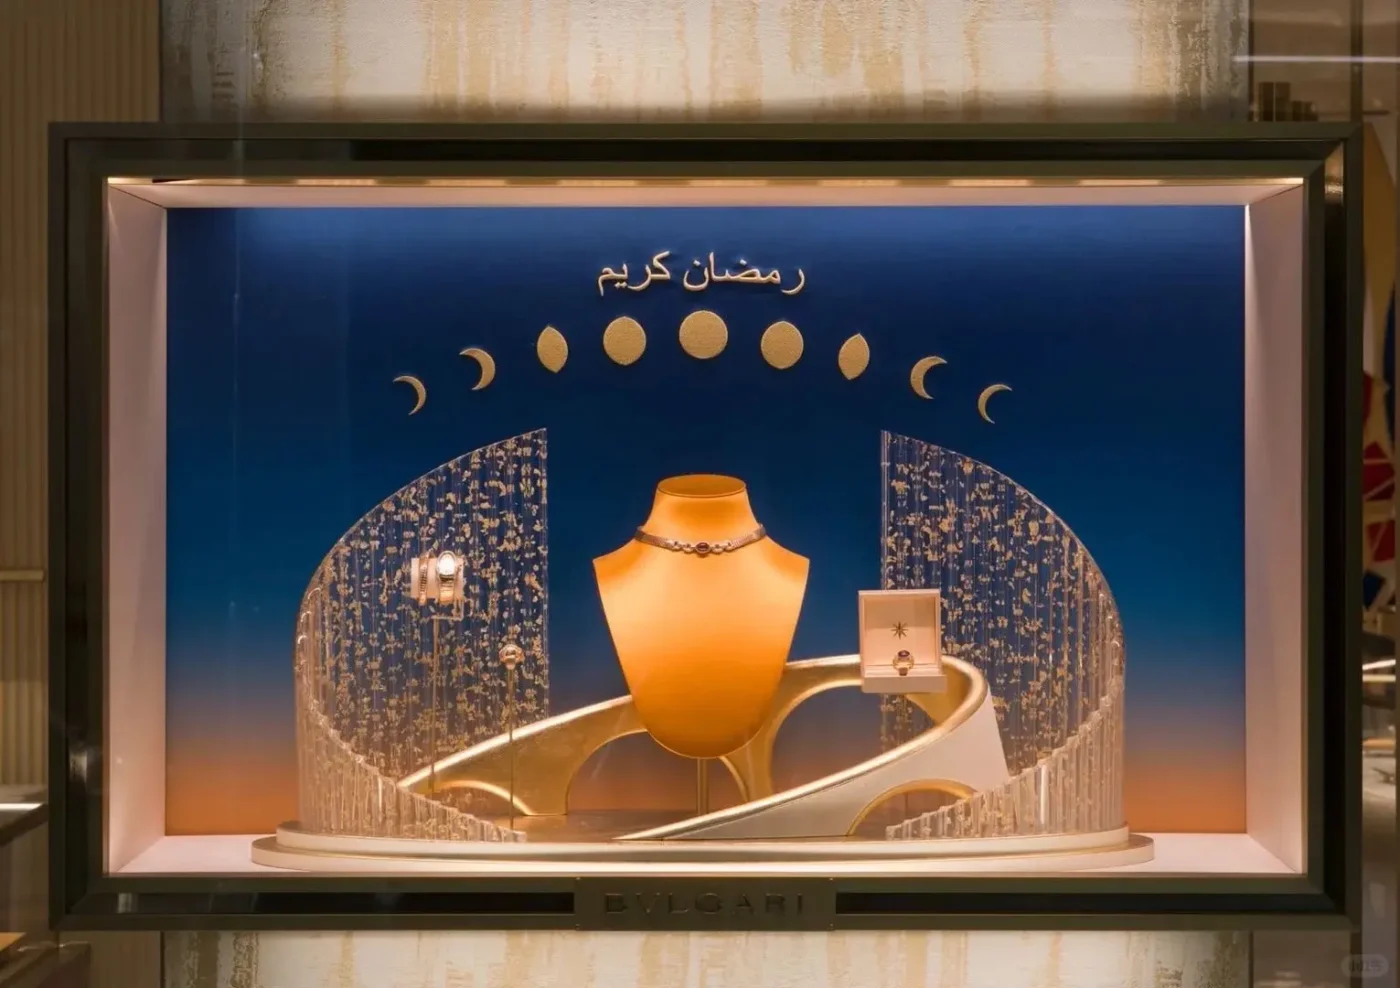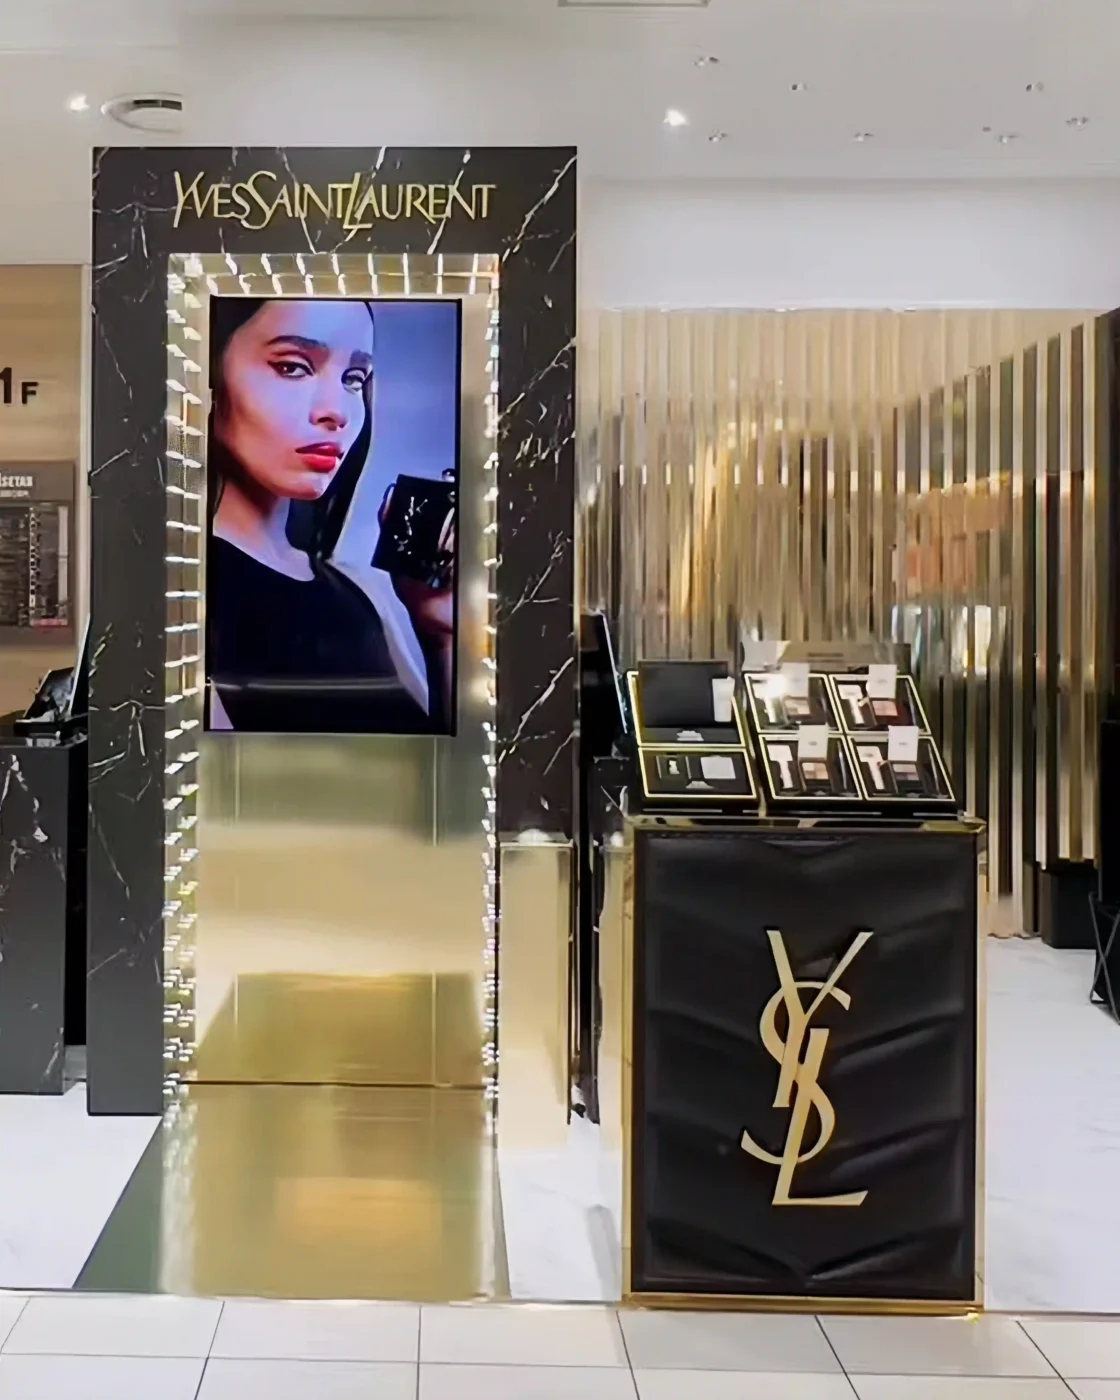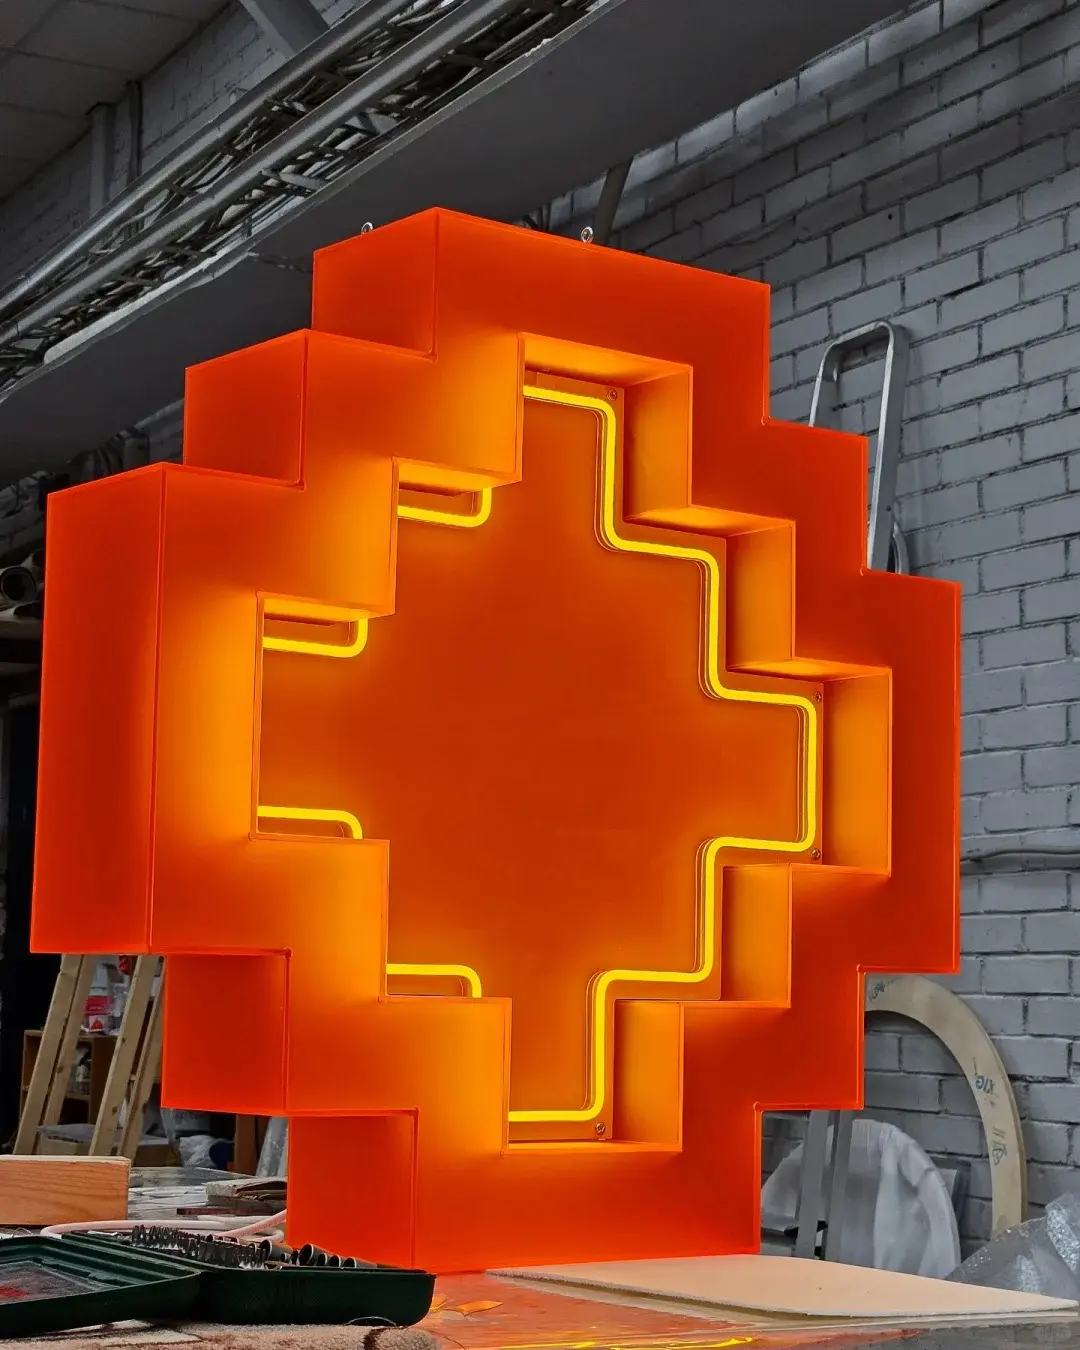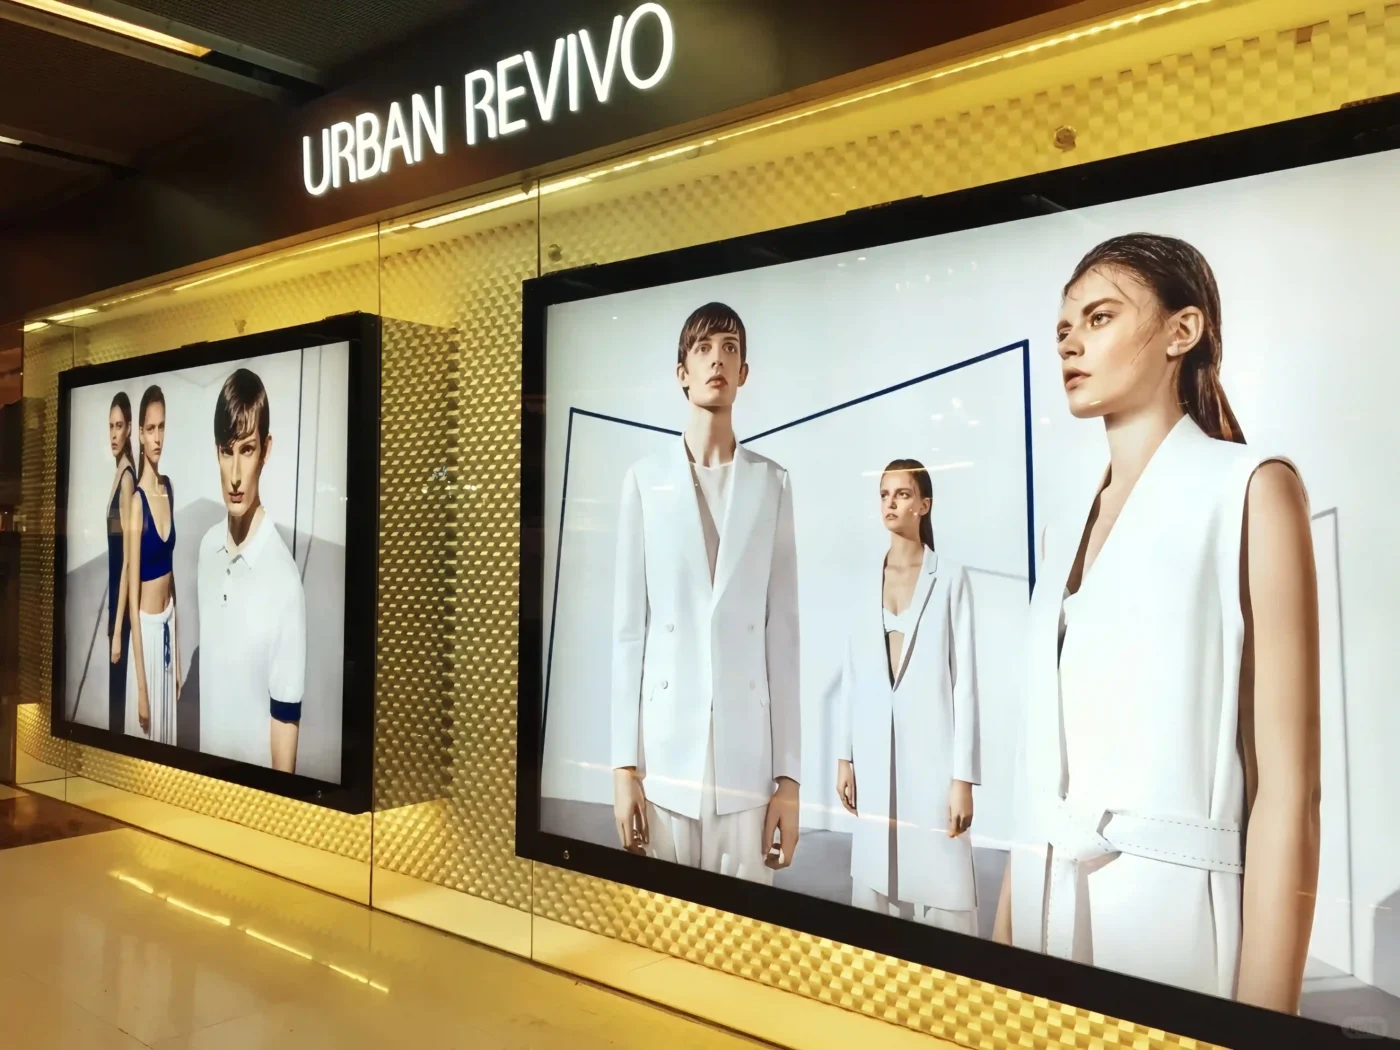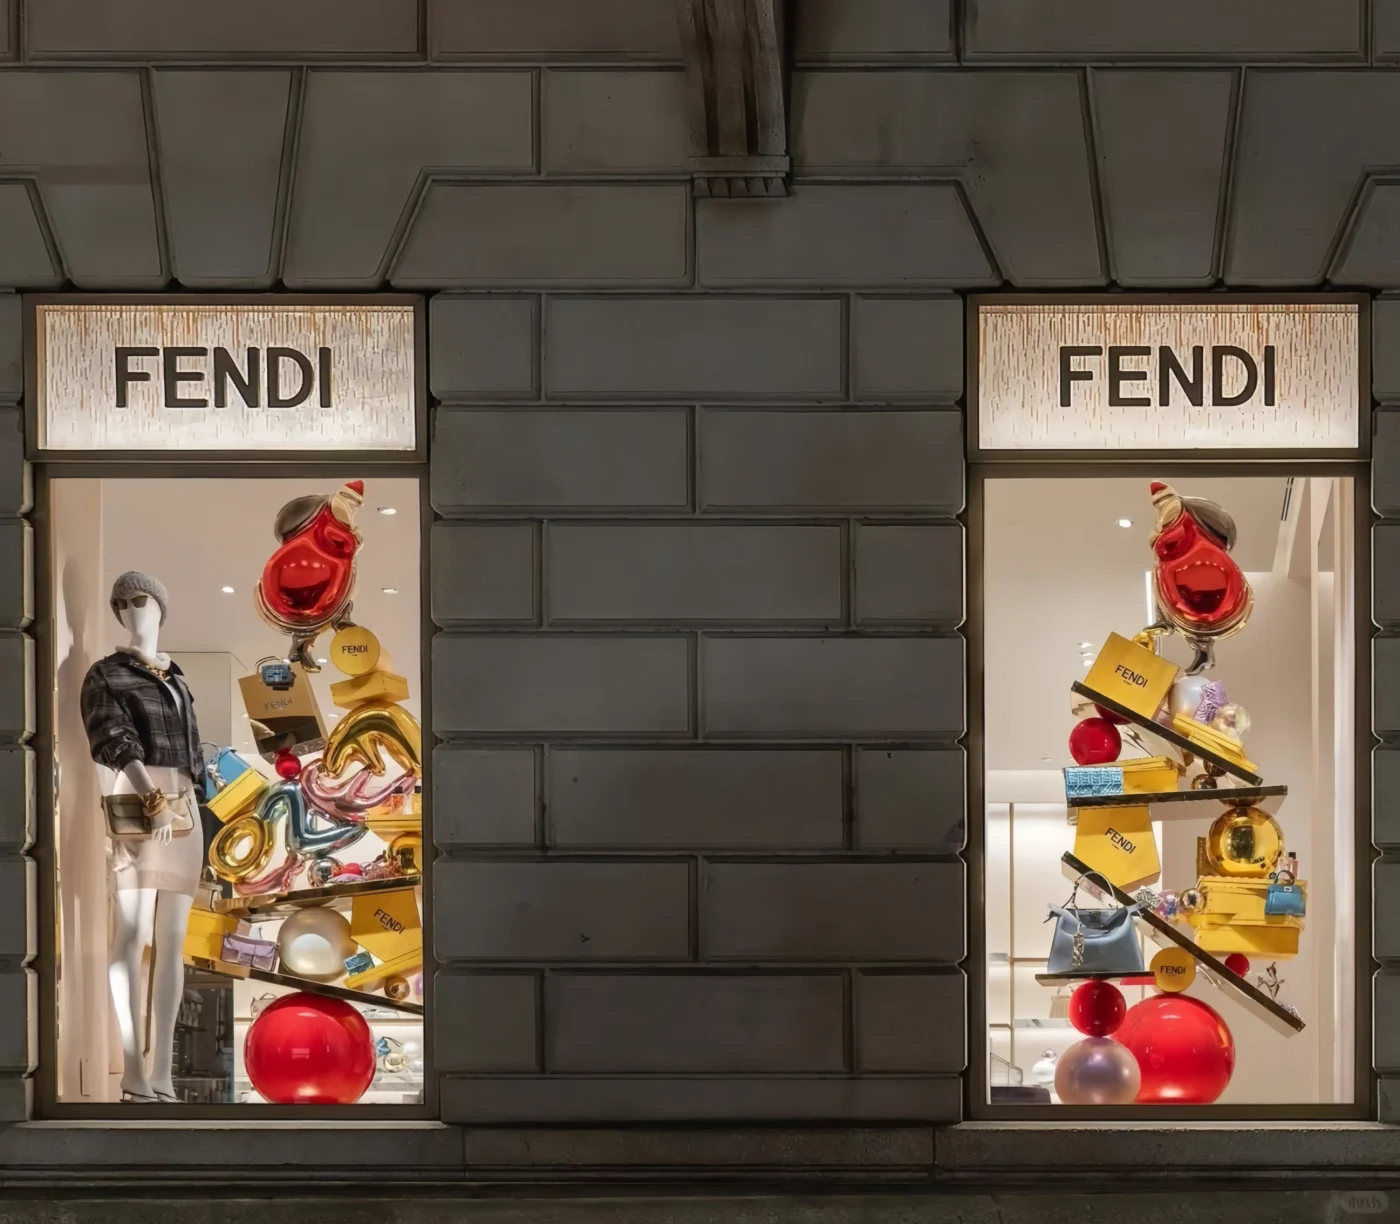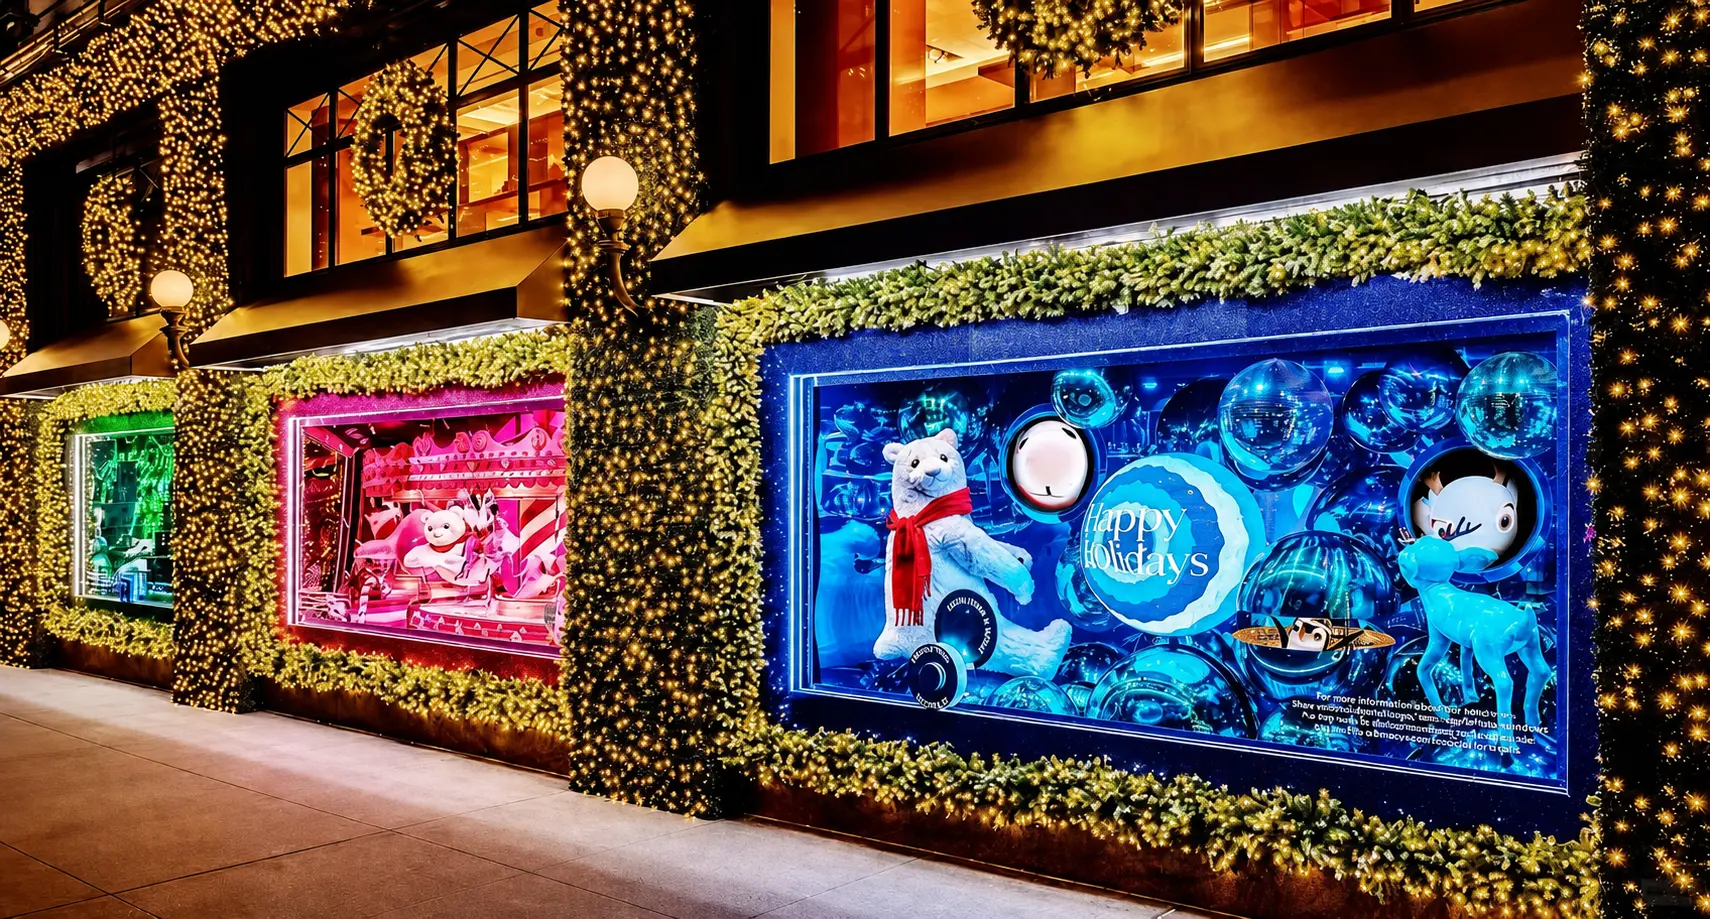
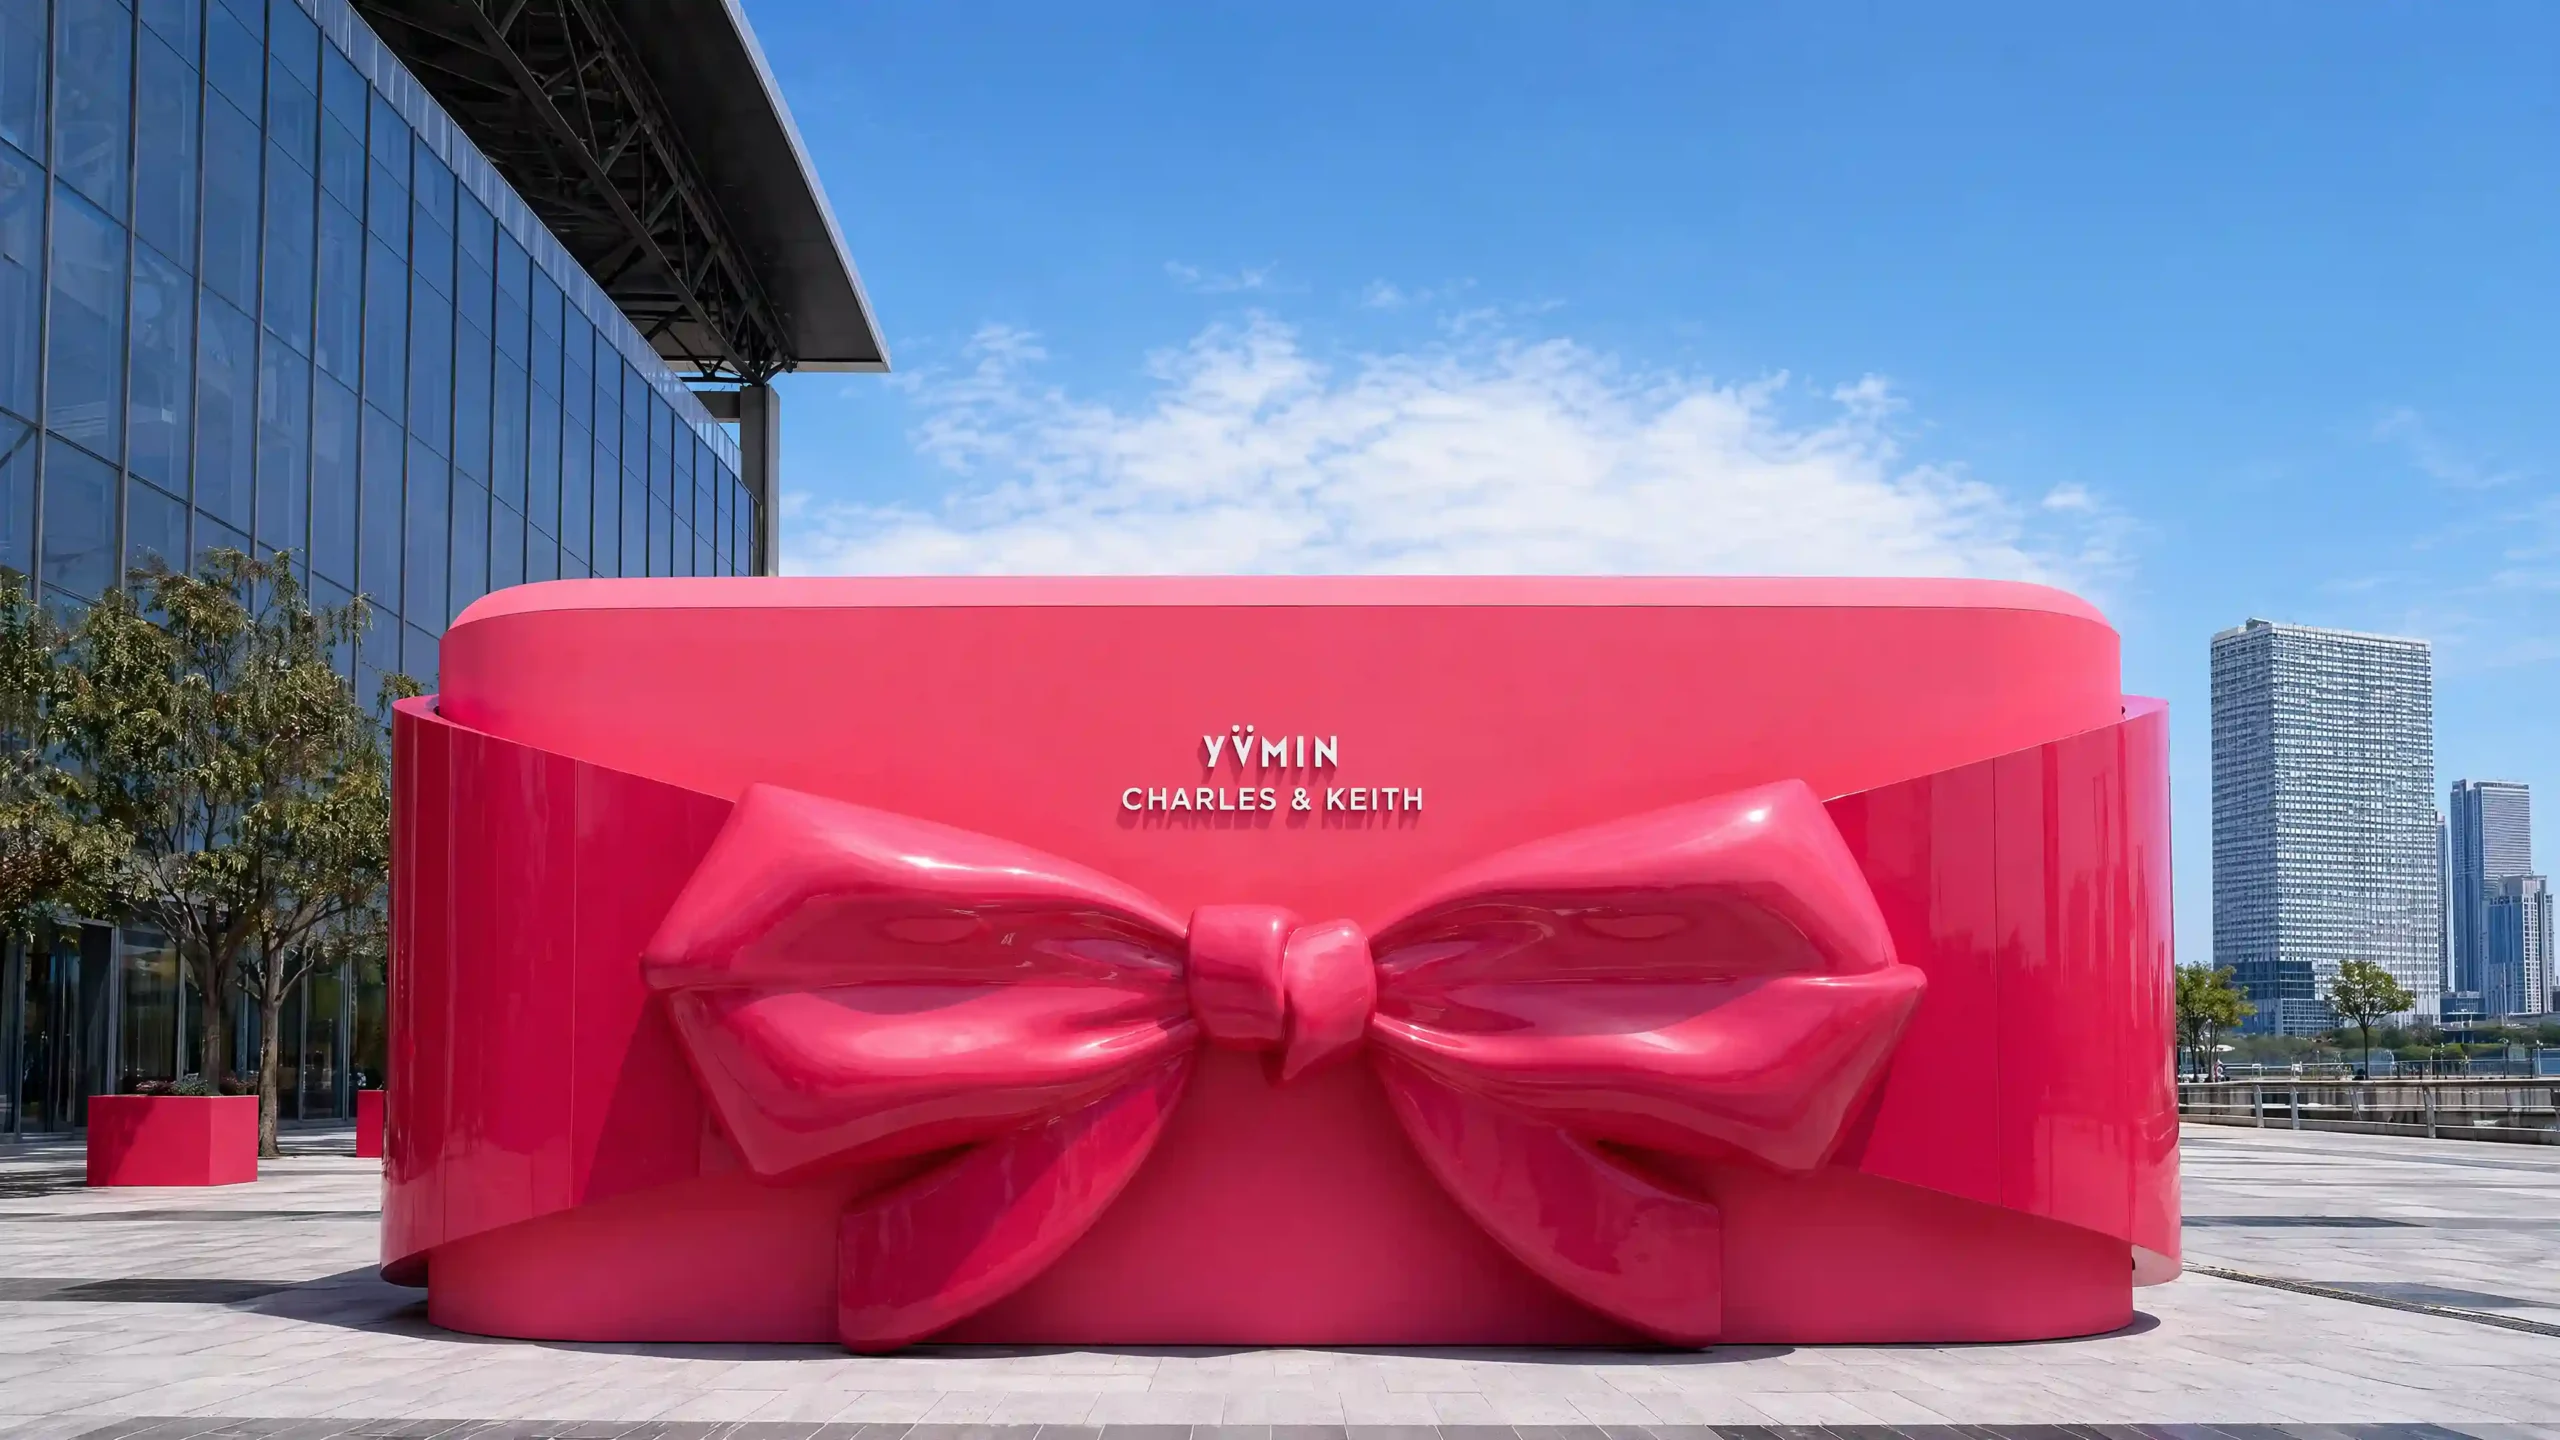
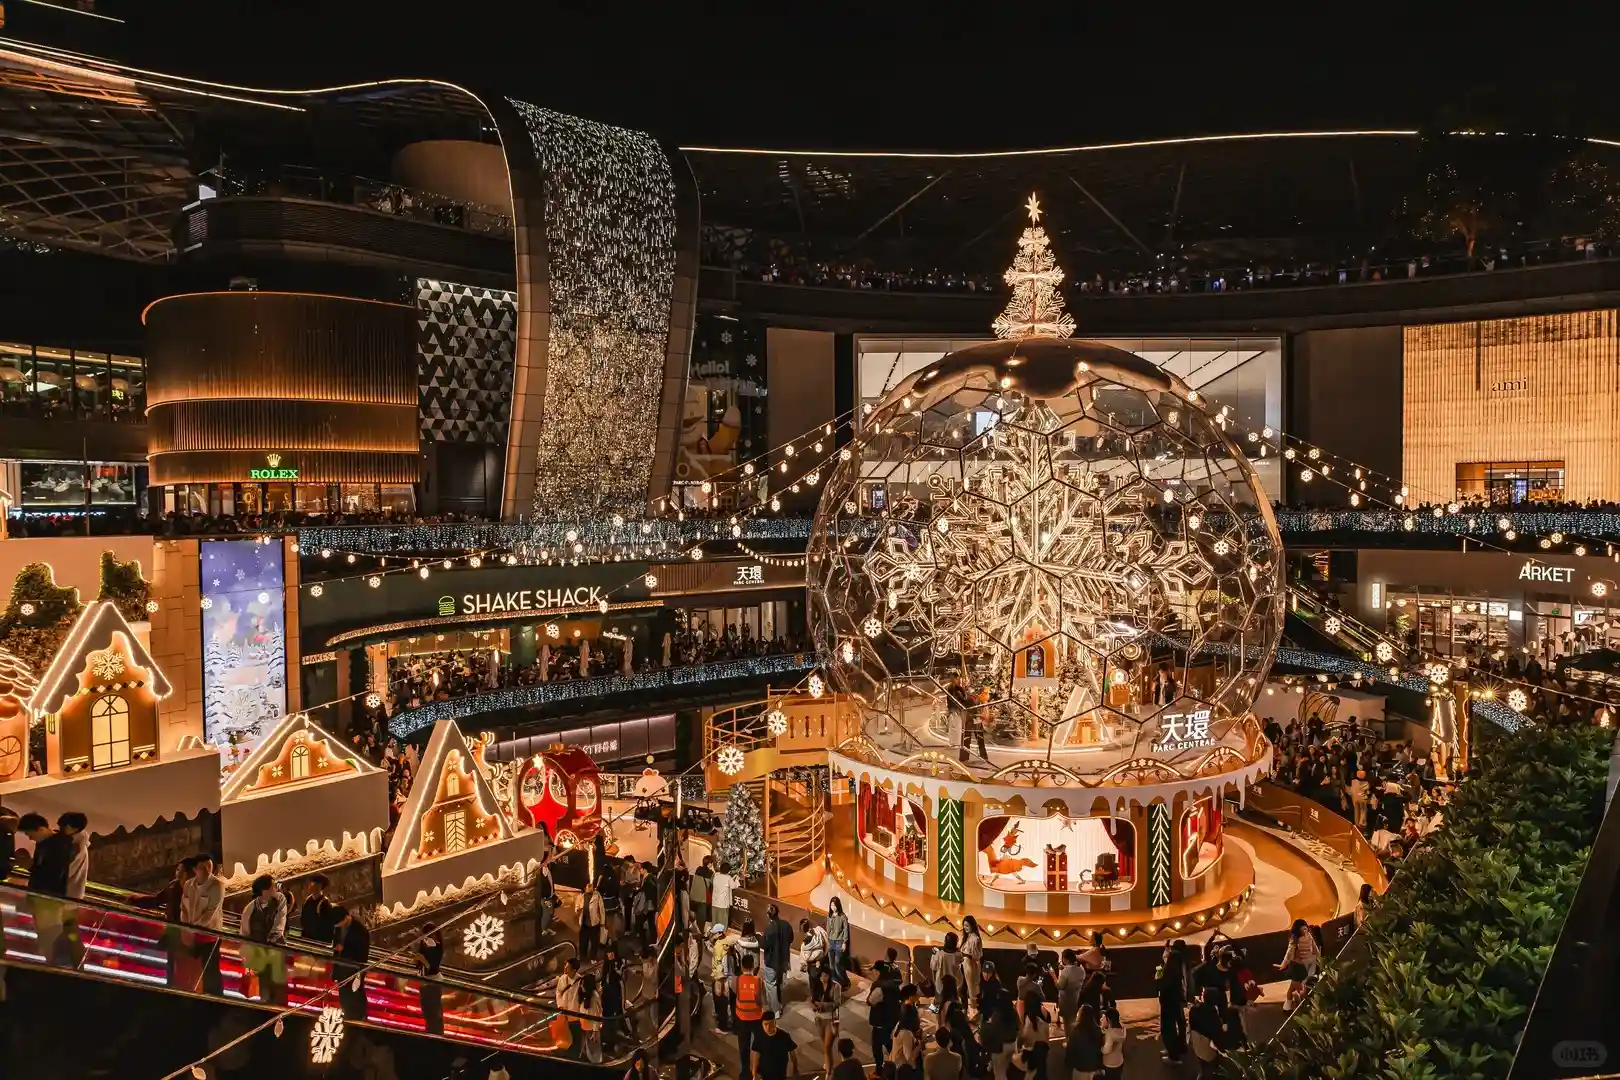
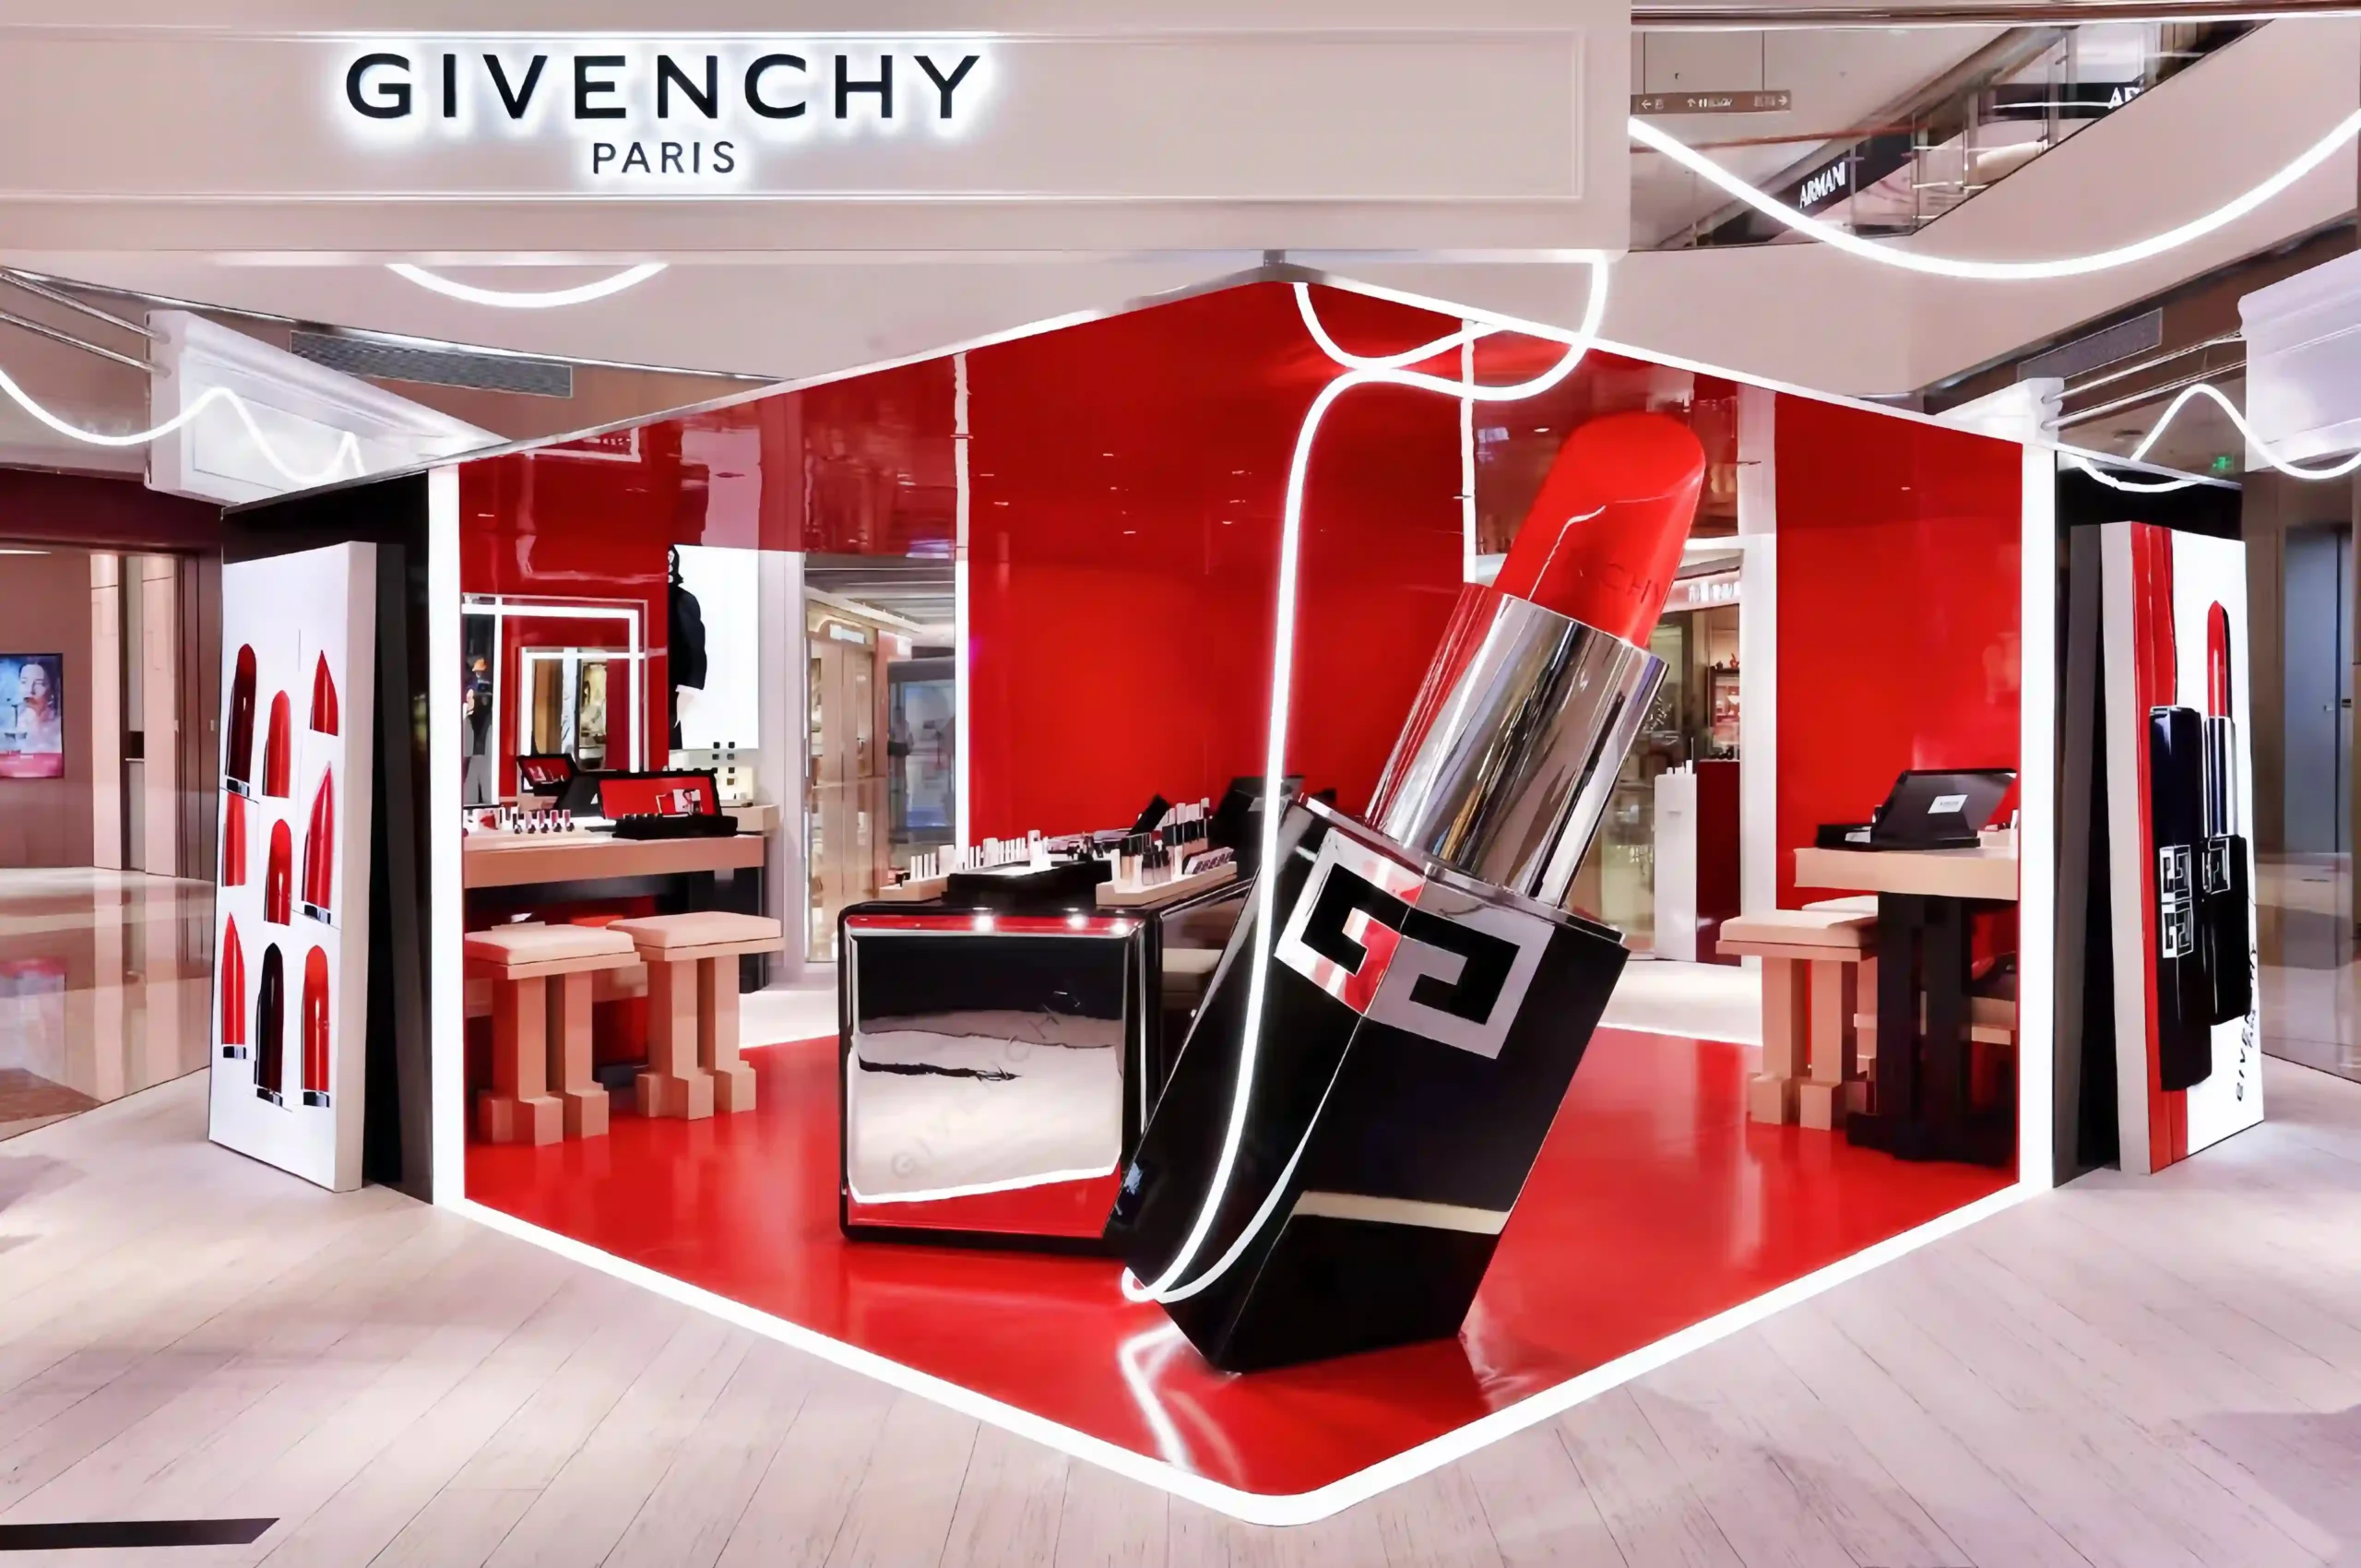
The most common first message a manufacturer receives about window display props is short: “Can you make this?” or “How much?” These are reasonable questions, but they skip the part that determines whether a project runs smoothly or not — understanding how a custom window display prop is actually produced, and what decisions a brand needs to make along the way.
Window display props are not catalogue items. Every piece is manufactured for a specific campaign, a specific storefront, and a specific visual purpose. A project that begins with the right production understanding leads to more accurate pricing, fewer revisions, better material choices, and on-time delivery.
This guide explains how custom window display props move from concept to finished piece — and what brands, agencies, and visual merchandising teams should know before production starts. If you are looking for a practical checklist of what information to prepare for a quotation, that companion guide covers the briefing process in detail.
Why Window Display Props Are Not Standard Products
A window display prop is different from a standard retail product because it is built for a single visual objective, a defined physical space, and often a fixed campaign date. Two props that look similar in a photograph may require completely different production methods once the material, size, finish, and installation environment are factored in.
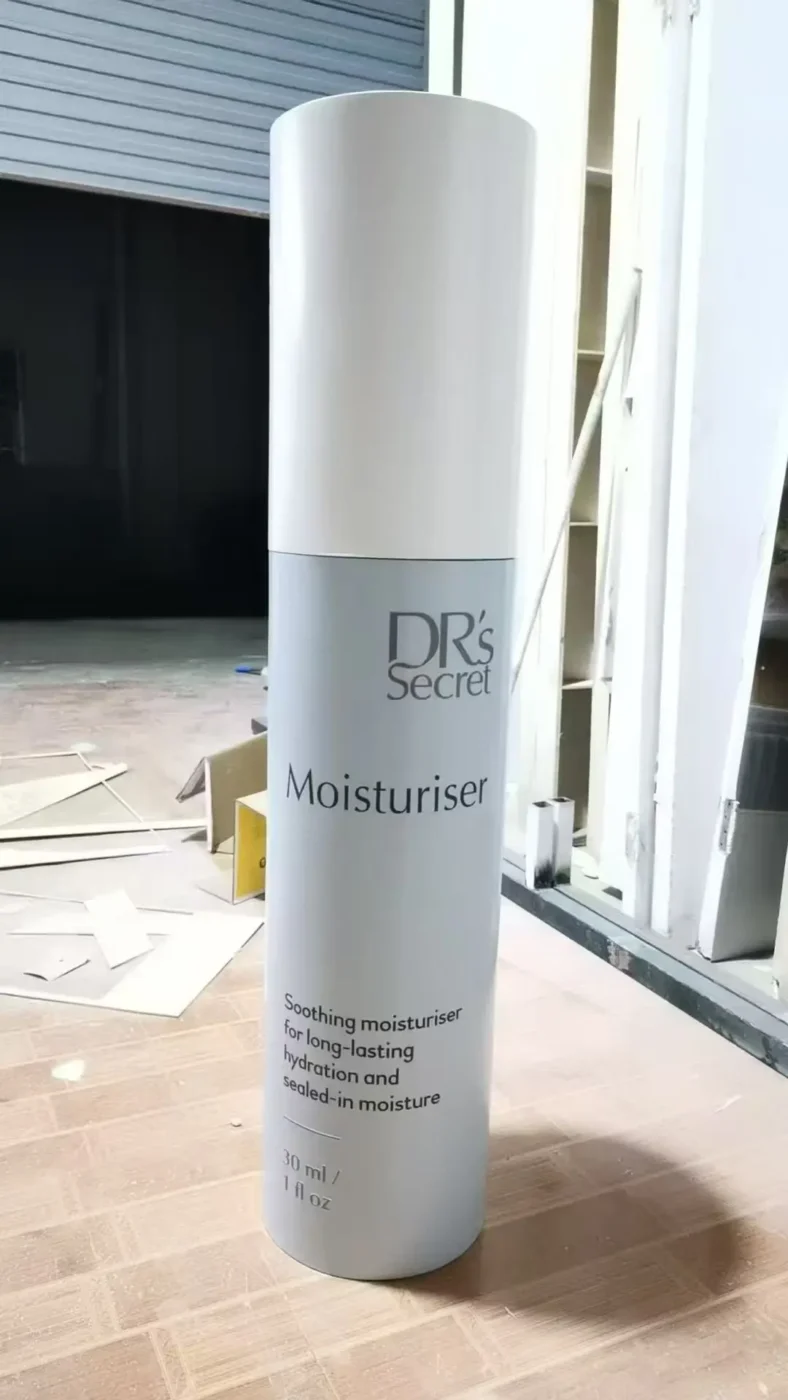
An acrylic logo sign, an oversized FRP flower, a metallic shell sculpture, a suspended Christmas ornament, and a fabric-wrapped display plinth are all called “window display props.” But from a manufacturing perspective, each one demands its own combination of tooling, surface treatment, structural engineering, and packing design.
Some props require CNC cutting. Others need fiberglass molds. Others need welding, hand painting, UV vacuum metalizing, PVD coating, flocking, LED wiring, or export-grade wooden crates. A seemingly small change in size, material, or finish can shift the entire production method — and therefore the cost, timeline, and logistics.
This is why a custom window display props manufacturer is not simply assembling parts. The work is translation: turning a visual concept into a physical object that can stand, ship, survive handling, and look right in a retail window.
For a broader overview of how props are categorized across retail contexts, what are display props covers the main types, materials, and use cases.
From Concept to Delivery — The Real Production Sequence
A window display props project typically moves through seven stages. Understanding these stages helps brands plan timelines realistically and make the right decisions at the right moments.
Brief and Reference Confirmation
Every project begins with a brief — a reference image, concept sketch, mood board, AI rendering, or campaign visual that communicates the intended shape, scale, mood, and finish. The reference does not need to be technically complete. Many complex props begin with nothing more than a product photo and a target height.
What matters at this stage is clarity of intent. Is this a clean geometric form or an organic sculpture? A matte single-color surface or a multi-finish metallic piece? These two answers alone can shift the production method and the cost bracket significantly.
3D Modeling and Technical Drawing
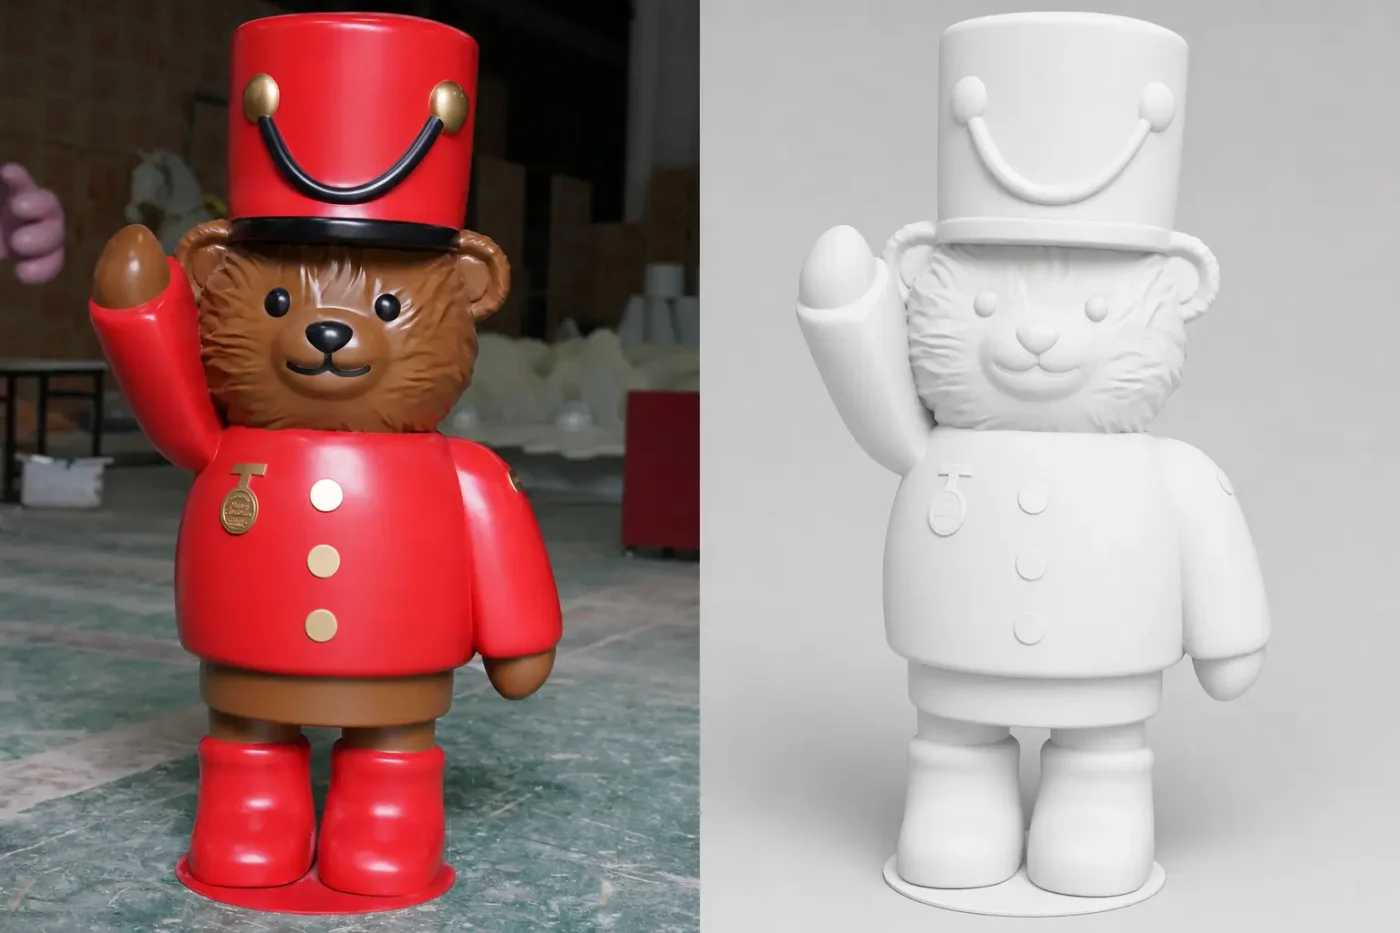
Once the concept direction is confirmed, the manufacturer develops a technical plan. For sculptural or irregular shapes, this usually means 3D modeling for display props — a digital file that defines exact geometry, structural reinforcement, panel splits, and mounting points. For simpler forms, dimensioned production drawings may be sufficient.
This is the stage where most cost and schedule risk is removed. A drawing that is approved carefully prevents expensive corrections during fabrication.
Material Selection and Sampling
Material is selected based on the design requirements: shape complexity, target weight, surface finish, durability, installation method, and budget. In many projects, the manufacturer proposes two or three material options with different cost and performance profiles so the brand can make an informed decision.
A physical sample is then produced — typically a partial section or a scaled model — to confirm color, texture, surface quality, and structural approach before full production begins.
Production
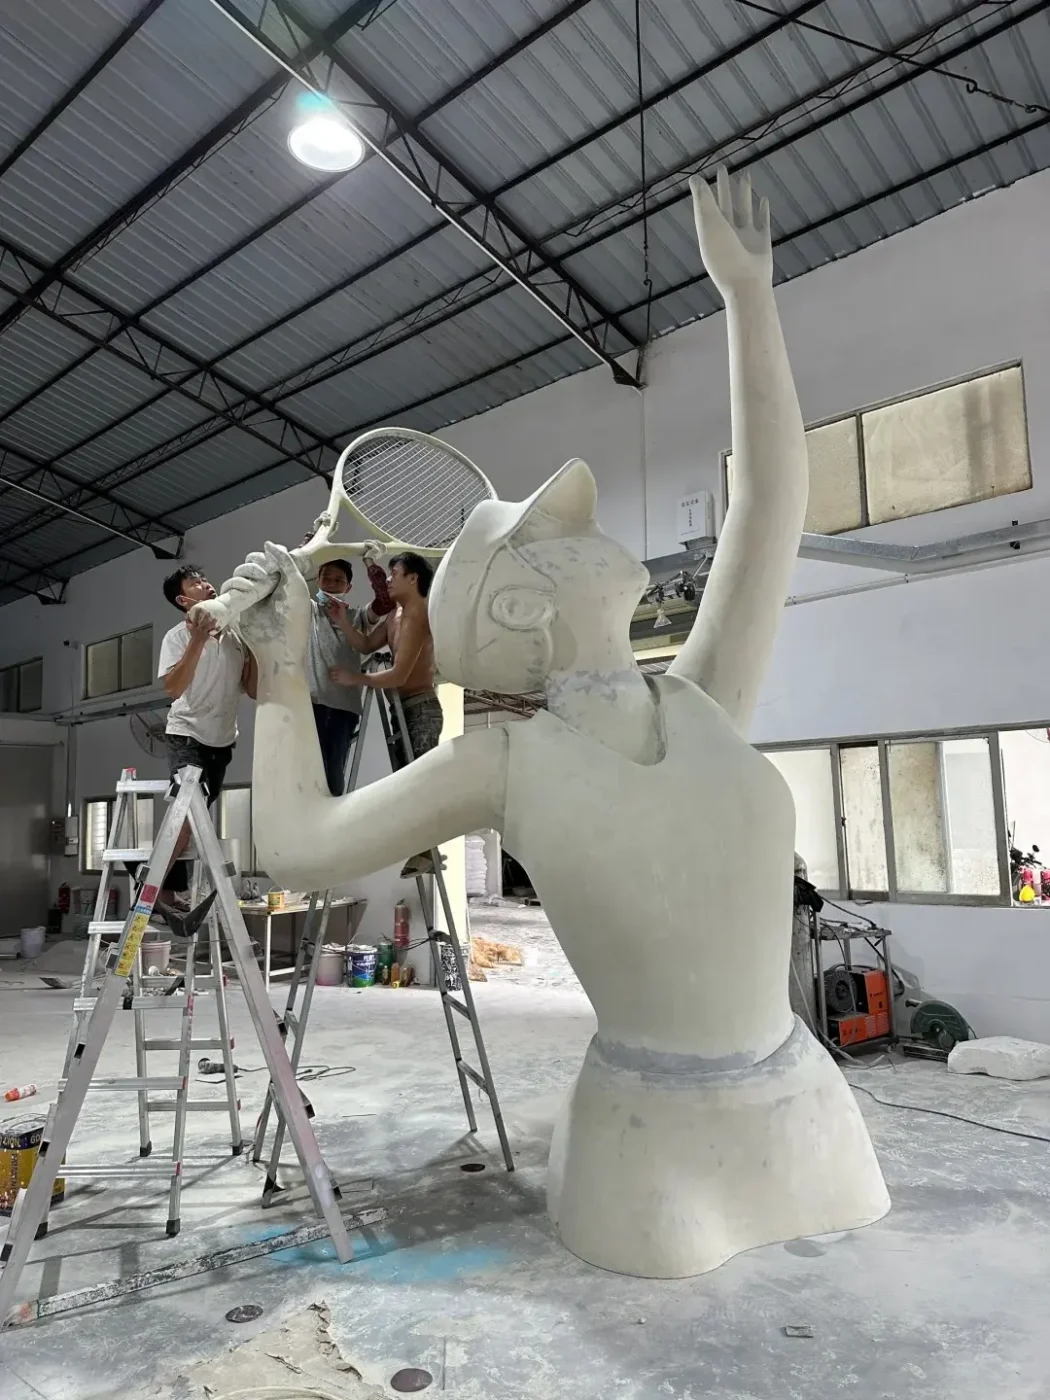
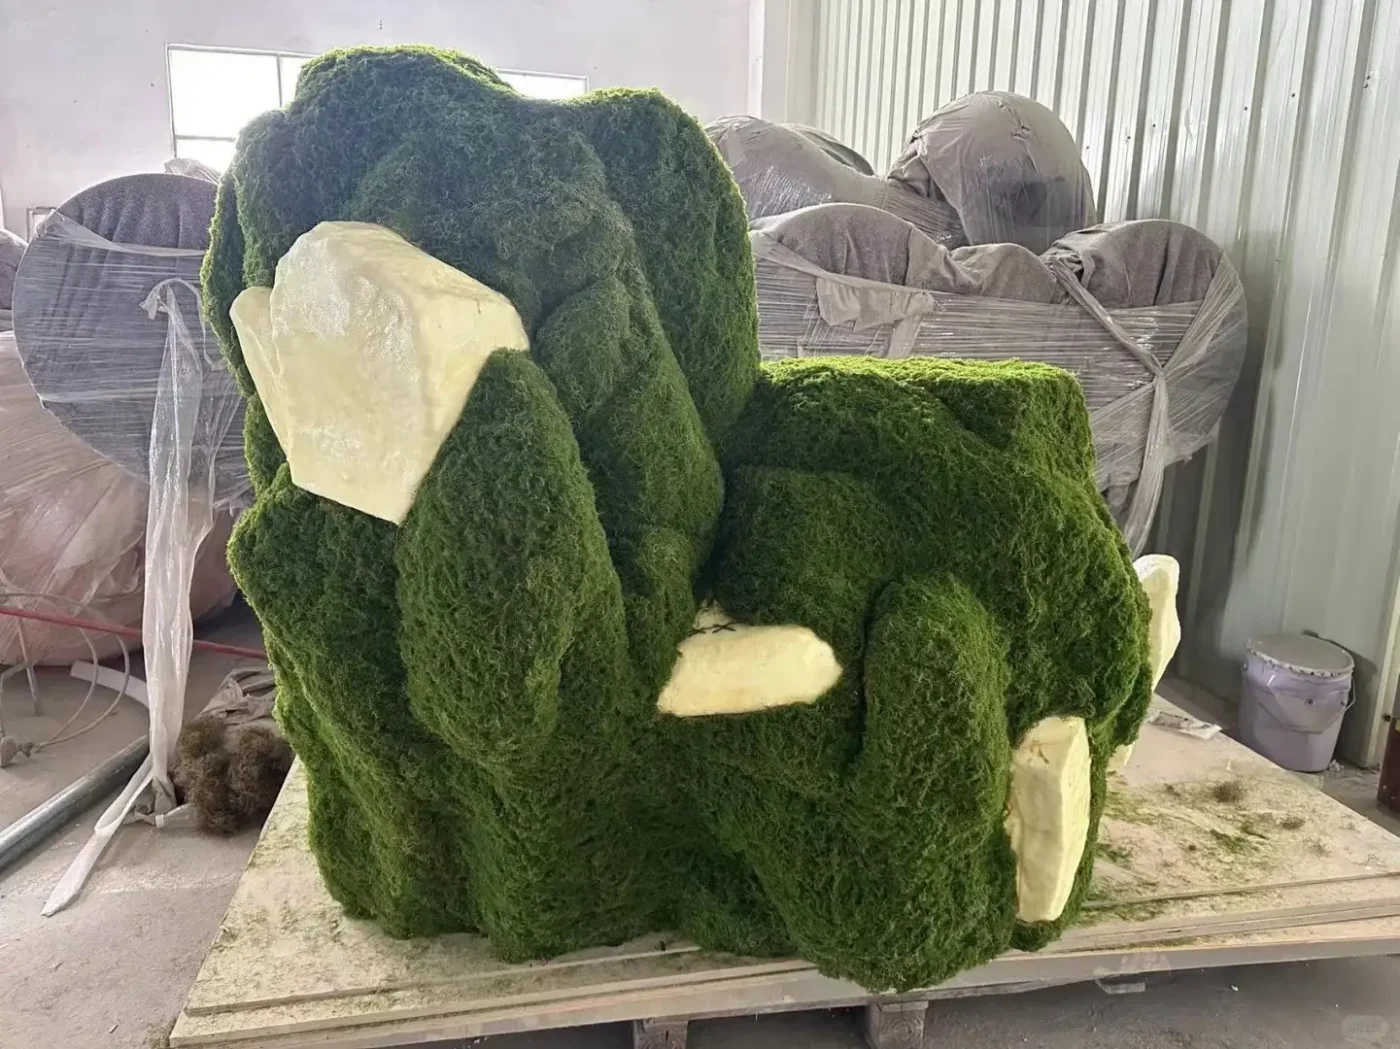
Production methods vary widely depending on the prop. FRP pieces go through mold making and fiberglass lay-up. Acrylic pieces are laser-cut, CNC-routed, or thermoformed. Metal props are welded, bent, or cast. Wooden and MDF pieces are machined and assembled. Many props combine two or more materials in a single structure.
For a deeper breakdown of each process, display props manufacturing explains how different production methods work.
Surface Finishing
Finishing is where a window display prop gains its visual identity. Spray painting, metallic coating, hand-applied gold leaf, UV vacuum metalizing, electroplating, PVD coating, flocking, leather wrapping, or high-gloss polishing — each technique produces a different visual result and carries its own cost, durability, and handling sensitivity.
Quality Inspection and Packing
Before shipping, each prop is inspected for structural integrity, surface finish quality, color consistency, and installation readiness. Packing is then engineered around the destination, shipping method, and surface fragility — not chosen as an afterthought.
Shipping and Delivery
Shipping method depends on timeline, destination, and prop dimensions. Sea freight is standard for projects with comfortable lead times. Air freight is used for compressed timelines, though it increases cost and limits parcel size. For multi-store rollouts, each store may require separately labeled cartons with installation instructions.
How Material and Finish Choices Shape the Entire Project
Material is not just a line item on a quotation. It affects weight, production time, surface quality, structural capability, packing method, shipping cost, and in-store durability. Choosing the wrong material early creates problems that ripple through every later stage.
Choosing Material by Design Intent
When a brand describes what they want, the manufacturer translates that description into a material recommendation. Here is how common requests map to production reality.
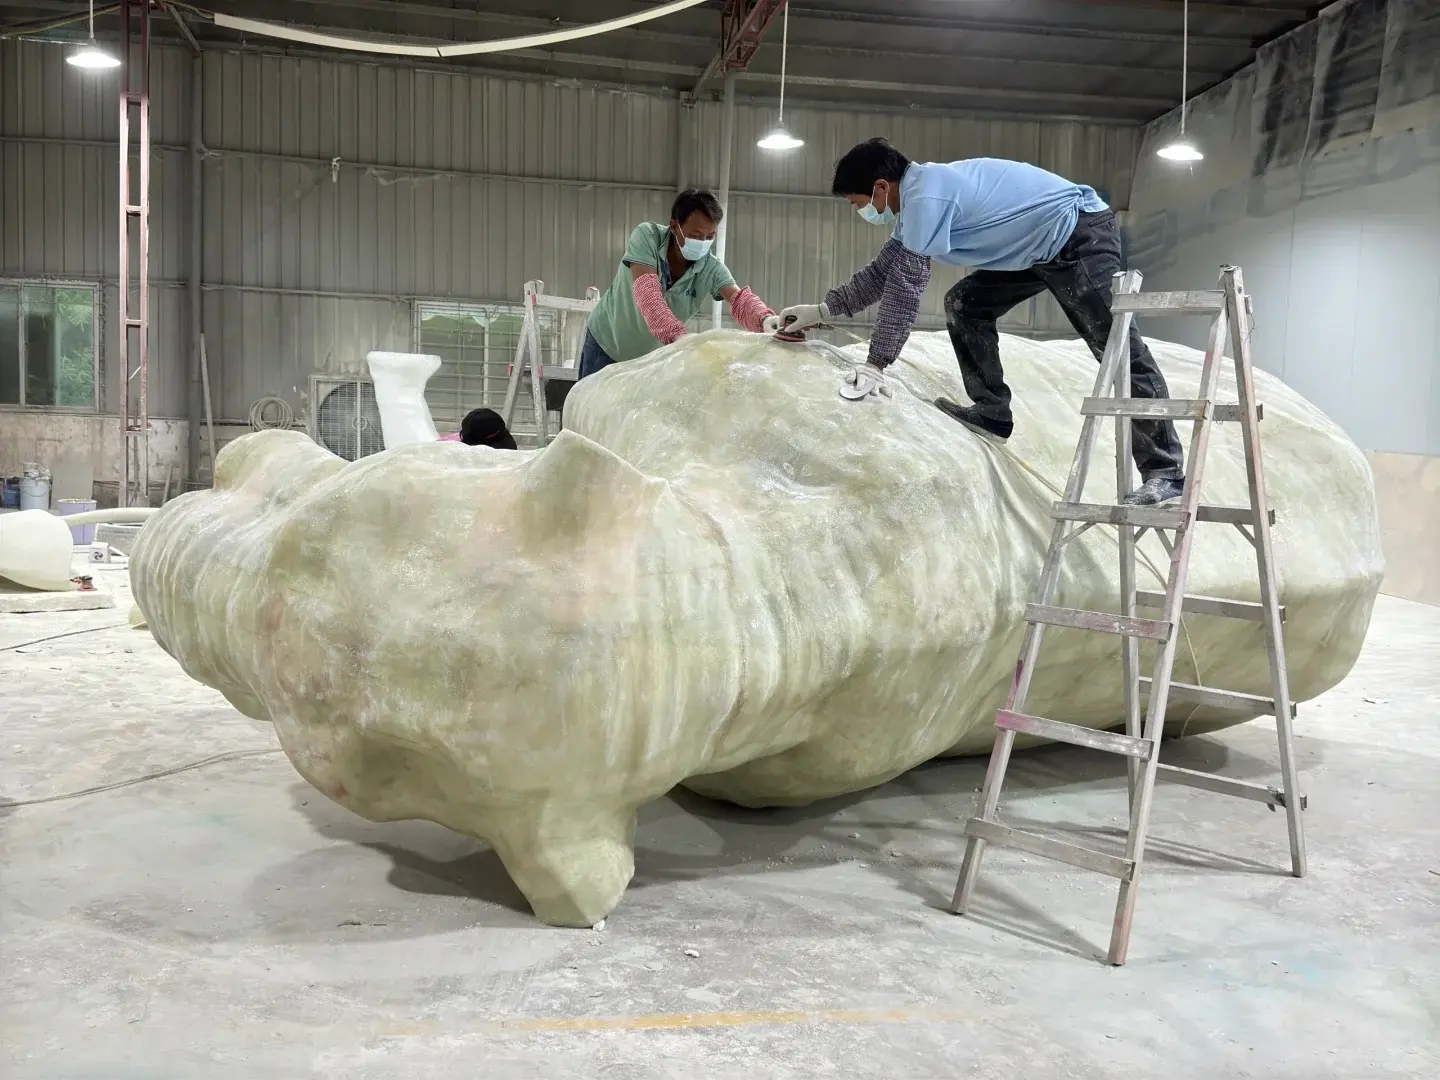
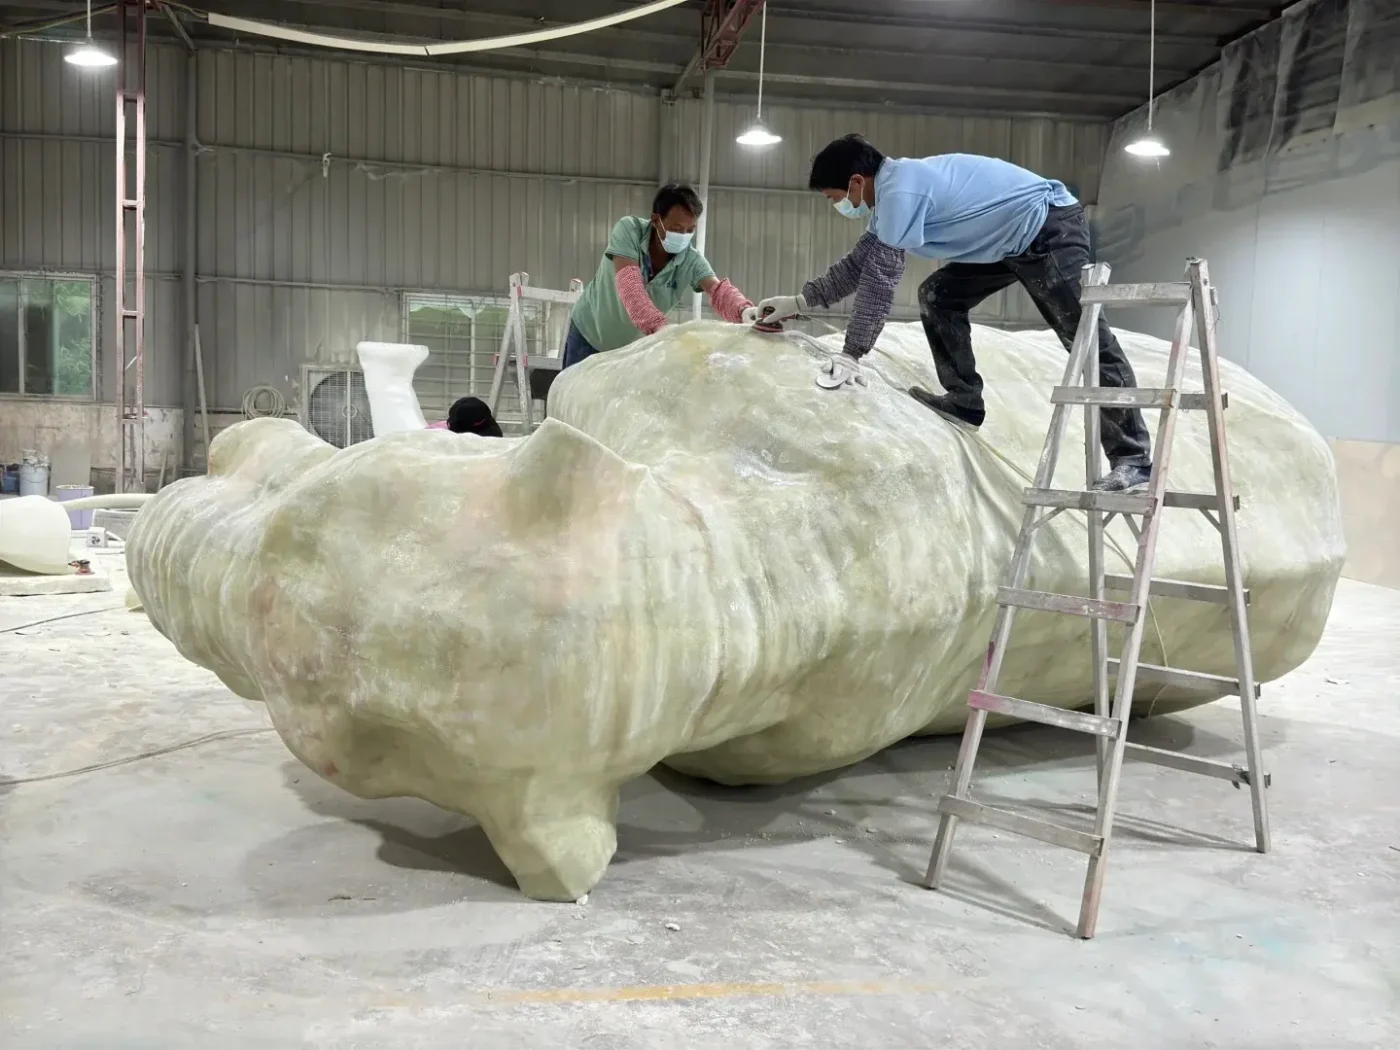
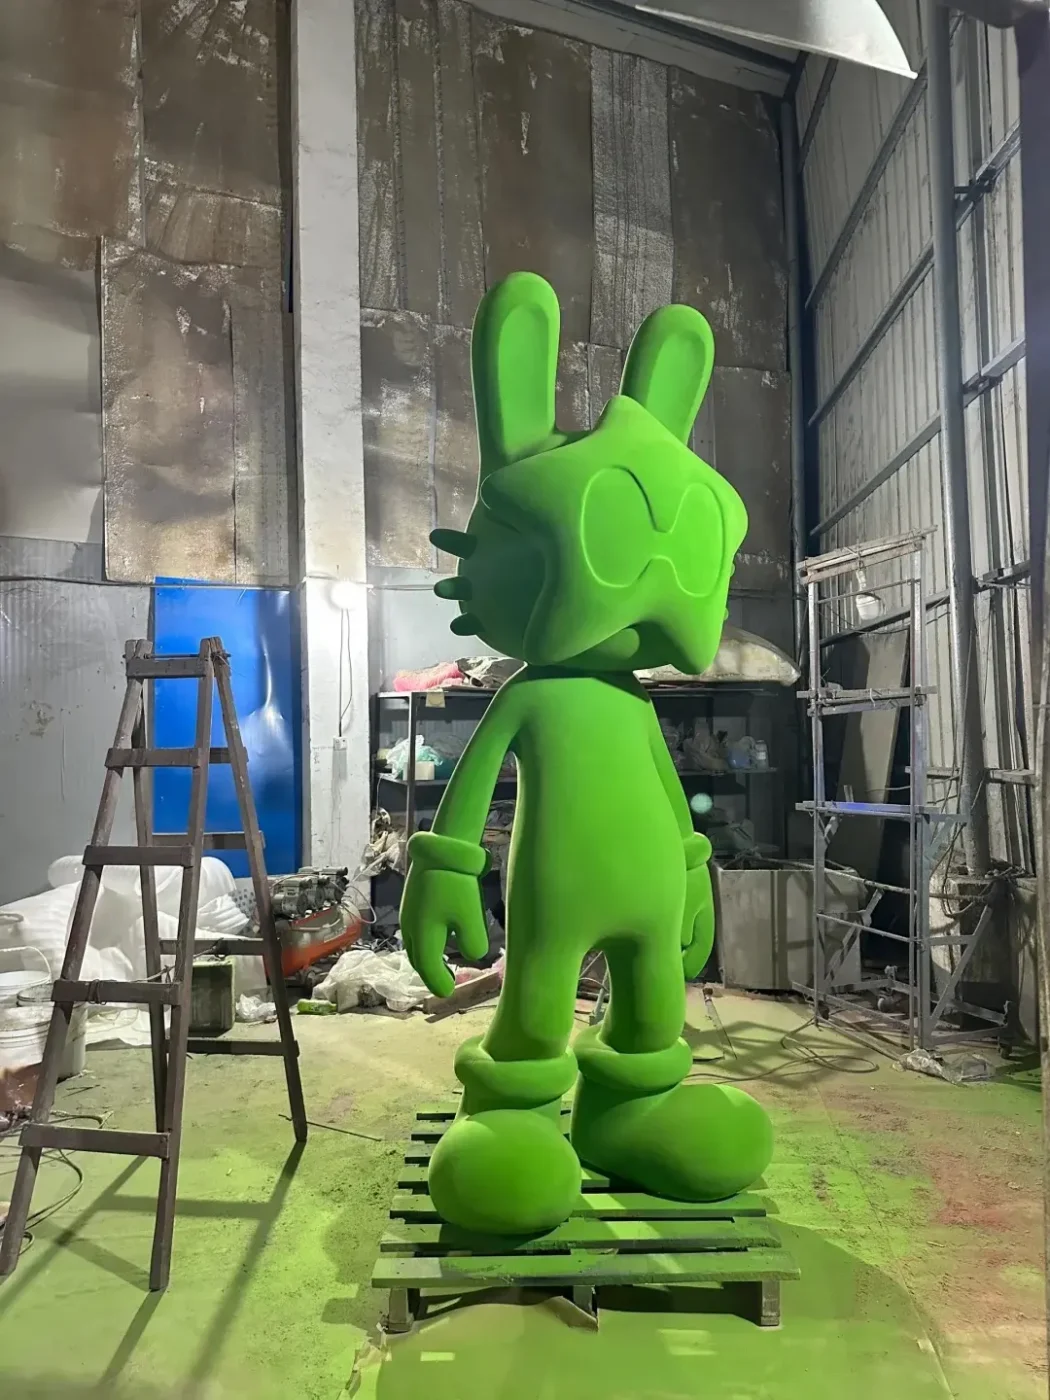
“I want it large but lightweight” almost always points to FRP or foam with a hard-coated shell. FRP can achieve complex organic forms at a fraction of the weight of solid materials, which is why it dominates oversized sculptural window display props.
“I want it transparent or glowing” points to acrylic. Acrylic offers optical clarity, clean laser-cut edges, and compatibility with internal LED lighting — making it the standard choice for illuminated logos, brand signs, and translucent decorative forms.
“I want a premium metallic look that customers can touch” points to stainless steel with PVD coating or electroplating. Metal provides the structural strength and surface durability needed for publicly accessible installations.
“I want a clean architectural platform” usually means MDF or wood, machined to precise dimensions and spray-painted to a smooth matte or semi-gloss finish.
For a detailed comparison of the three most common materials, FRP vs acrylic vs metal display props explains the trade-offs across cost, weight, finish, and durability.
The Finish Question Brands Underestimate
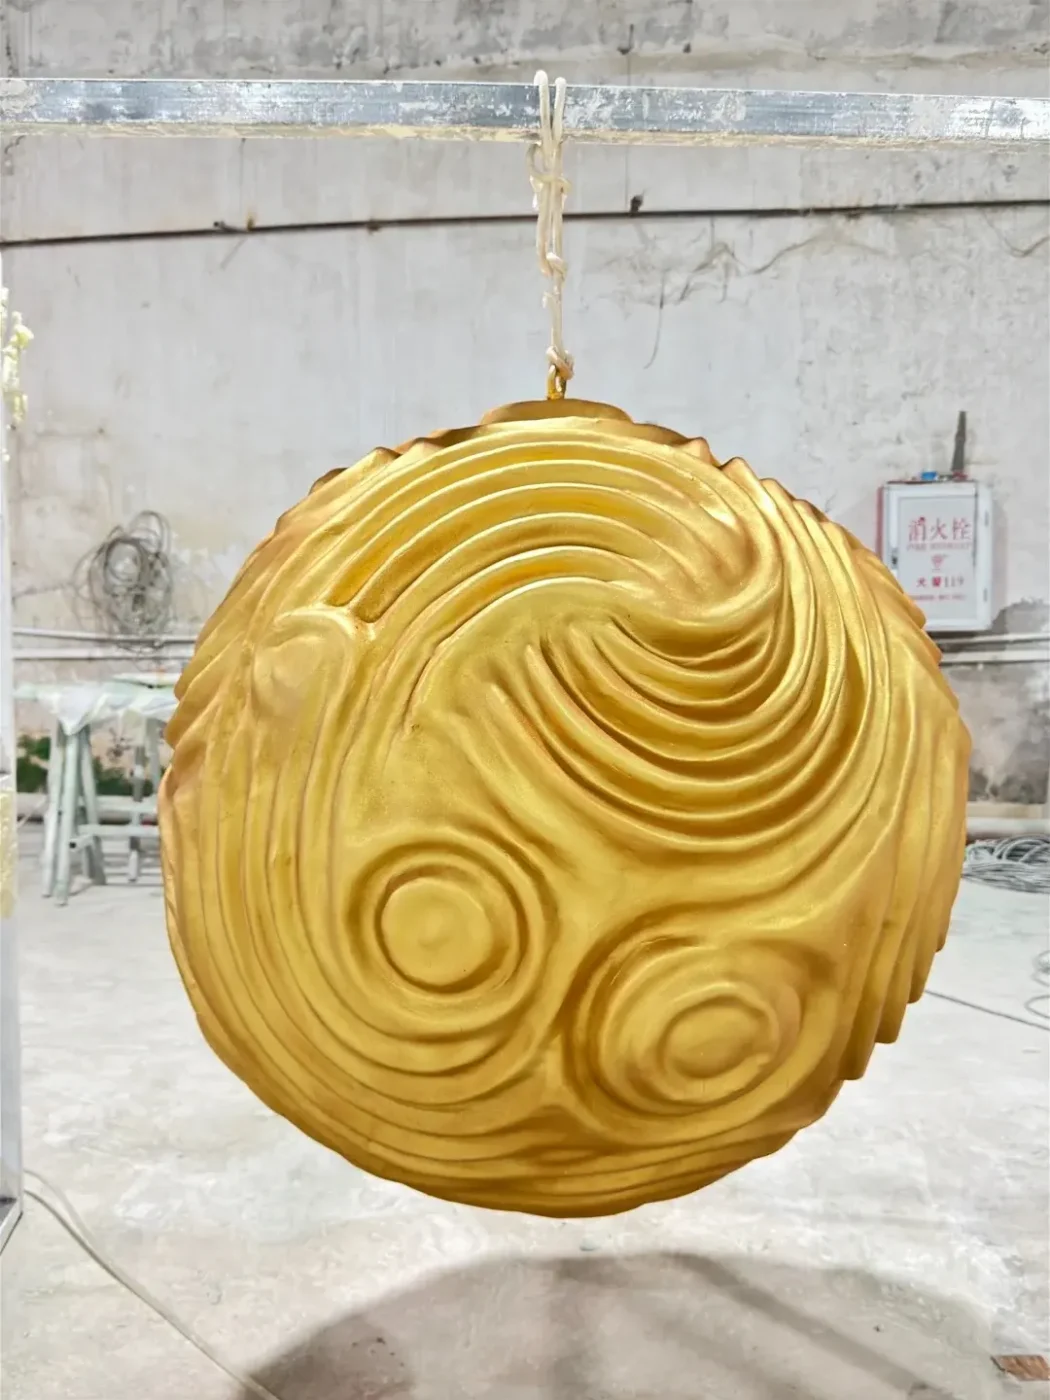
Surface finish is where many projects encounter unexpected cost and complexity. A request for “gold finish” could mean spray-painted metallic gold, hand-applied gold leaf, UV vacuum metalized gold, electroplated gold, or PVD-coated gold. Each looks different, costs differently, and behaves differently during transport.
Mirror gold requires a flawless substrate and controlled application conditions. Matte gold is more forgiving but produces a completely different visual effect. Champagne gold, brushed gold, rose gold — these are not just color names. They are distinct production processes with different tooling, labor, and lead time requirements.
Providing a physical swatch, a Pantone reference, or a photo of the exact finish you want saves rounds of back-and-forth and prevents sampling delays.

How Size Changes Everything
Size is the single factor that most dramatically changes a window display props project. It does not scale linearly. A prop that works beautifully at 50 cm may require a fundamentally different production approach at 150 cm, and a completely different one again at 300 cm.
Structure and Reinforcement
A 50 cm decorative object can often be produced as a solid or thin-walled piece with minimal internal support. At 150 cm, internal reinforcement — steel frames, ribs, or mounting plates — becomes necessary to prevent deformation, cracking, or collapse during transport and installation. At 300 cm, the prop may need to be engineered in sections with concealed joints and an internal steel skeleton.
Packing and Shipping Volume
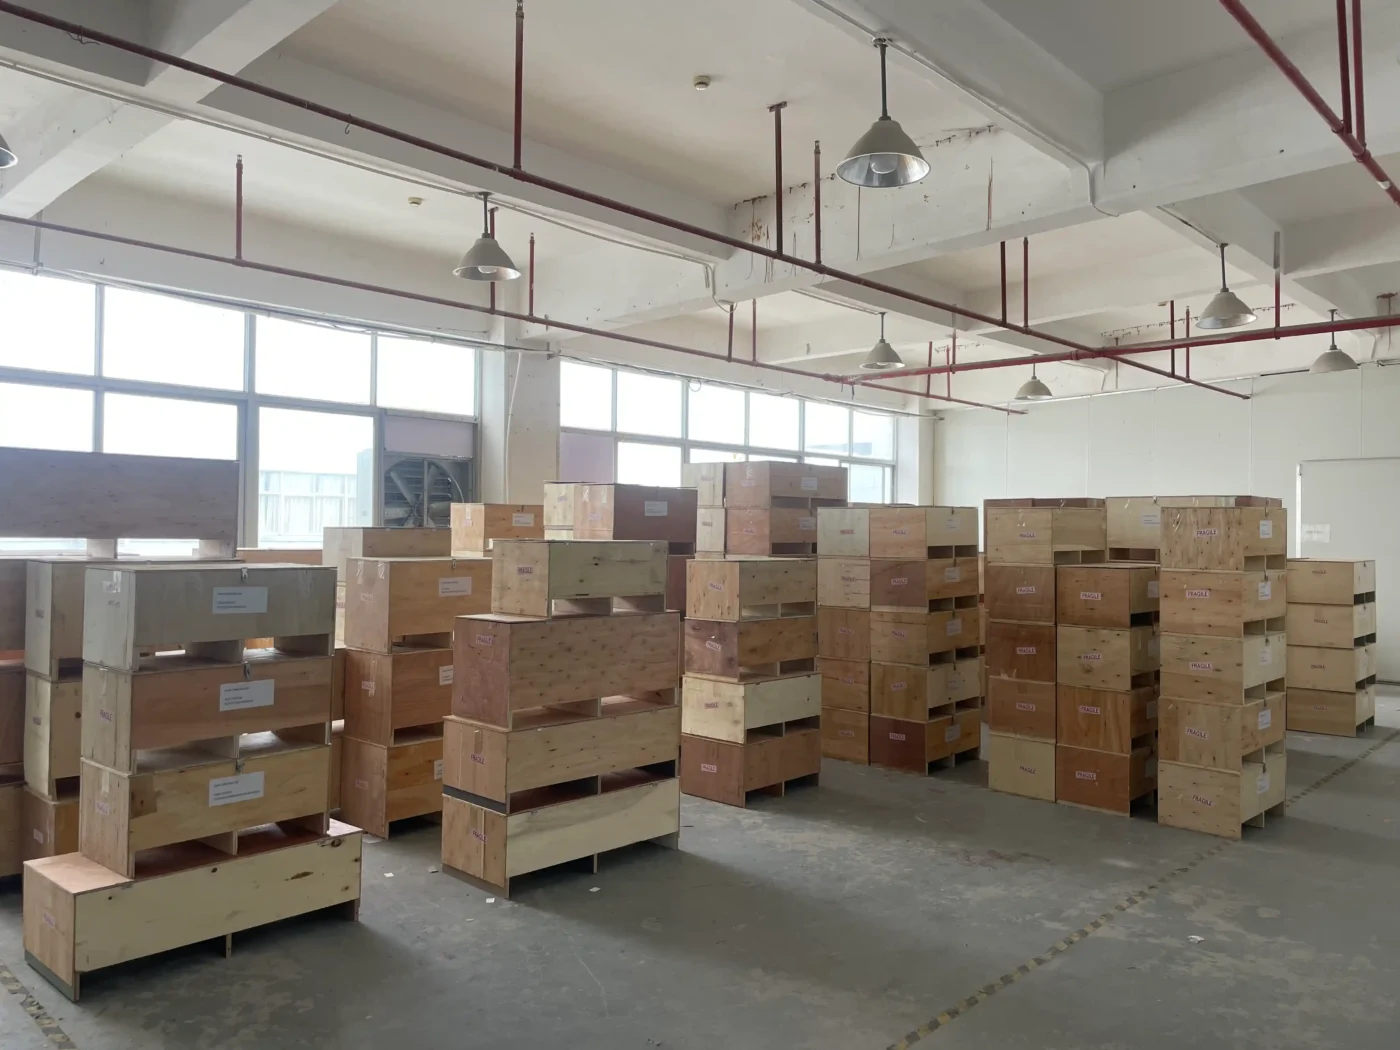
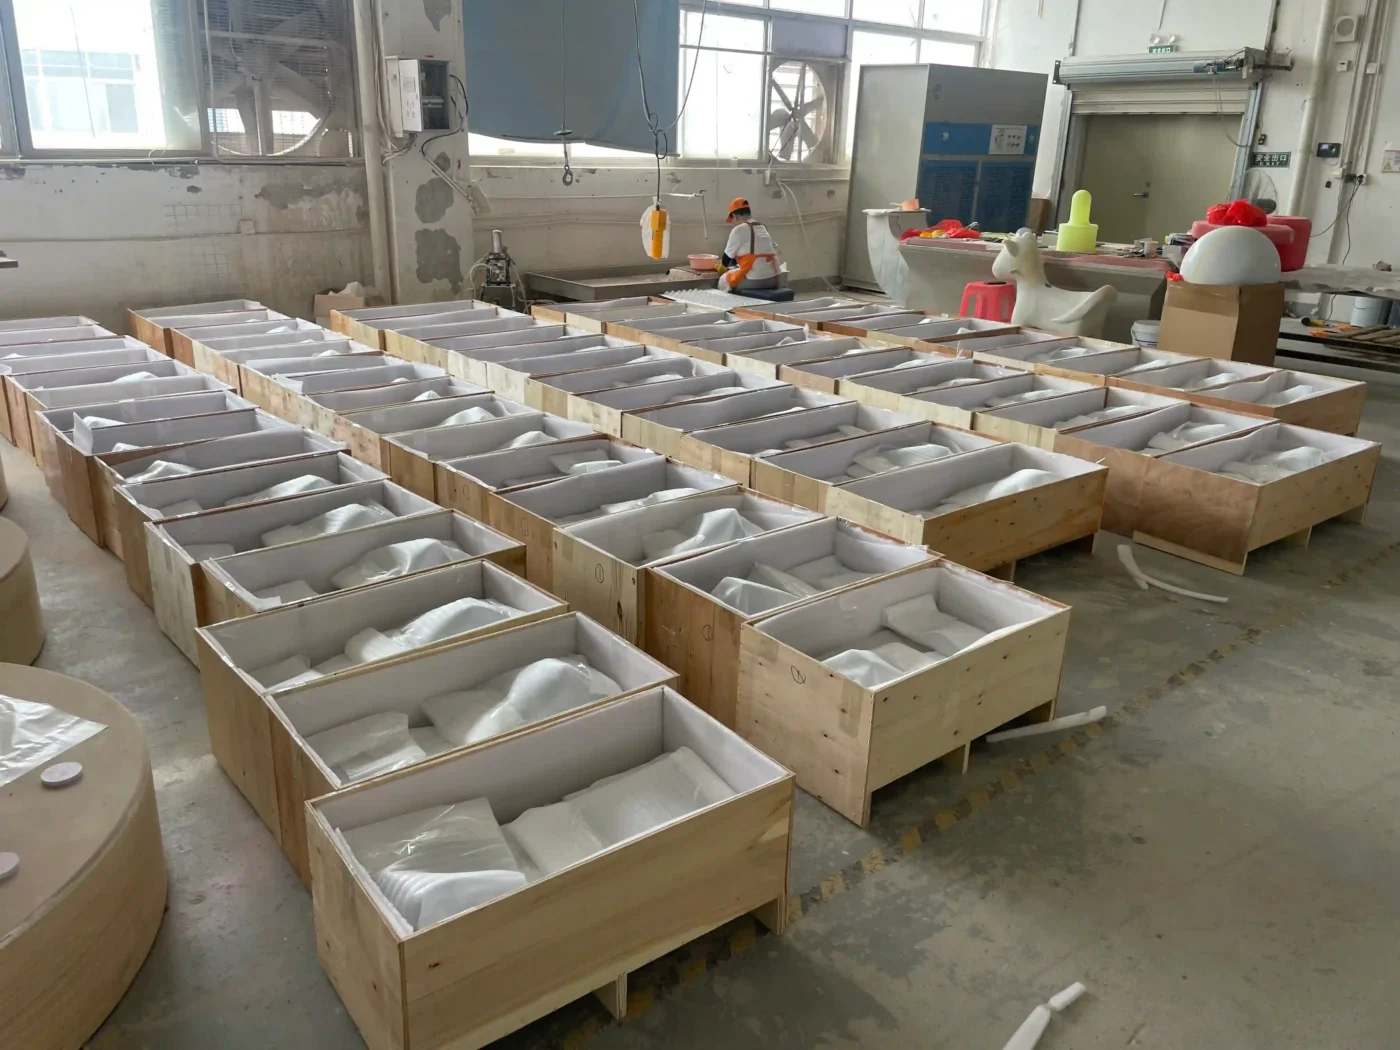
Larger props demand larger packaging, which increases shipping volume and cost disproportionately. A 150 cm prop may fit into a reinforced carton. A 300 cm prop may require a custom wooden crate with internal foam supports, adding weight, cost, and customs documentation for ISPM-15 compliant wood treatment.
For international projects involving fragile or oversized pieces, ISTA packaging test procedures provide a widely used framework for evaluating transport packaging performance.
Multi-Store Rollout Complexity
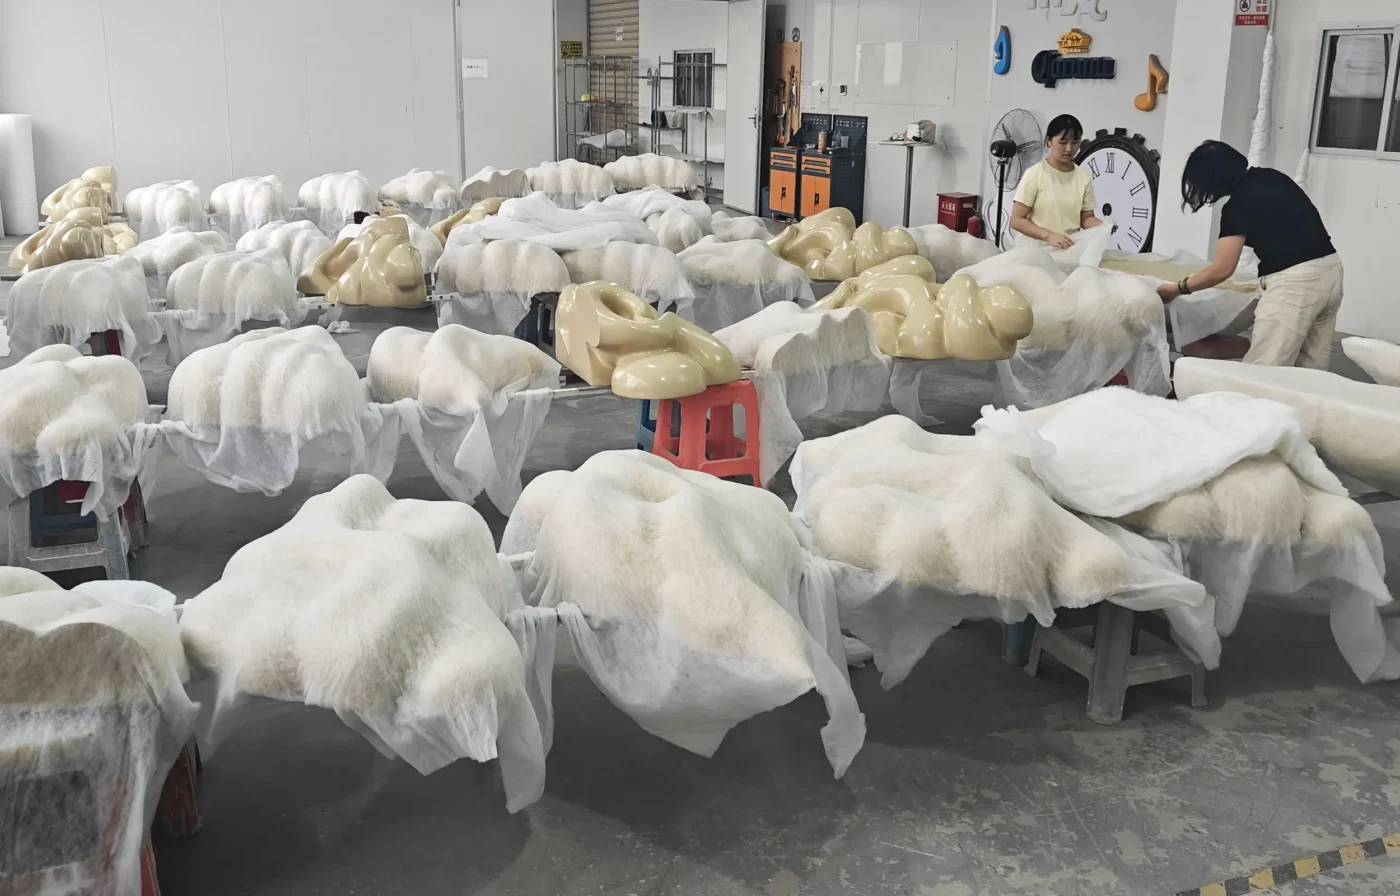
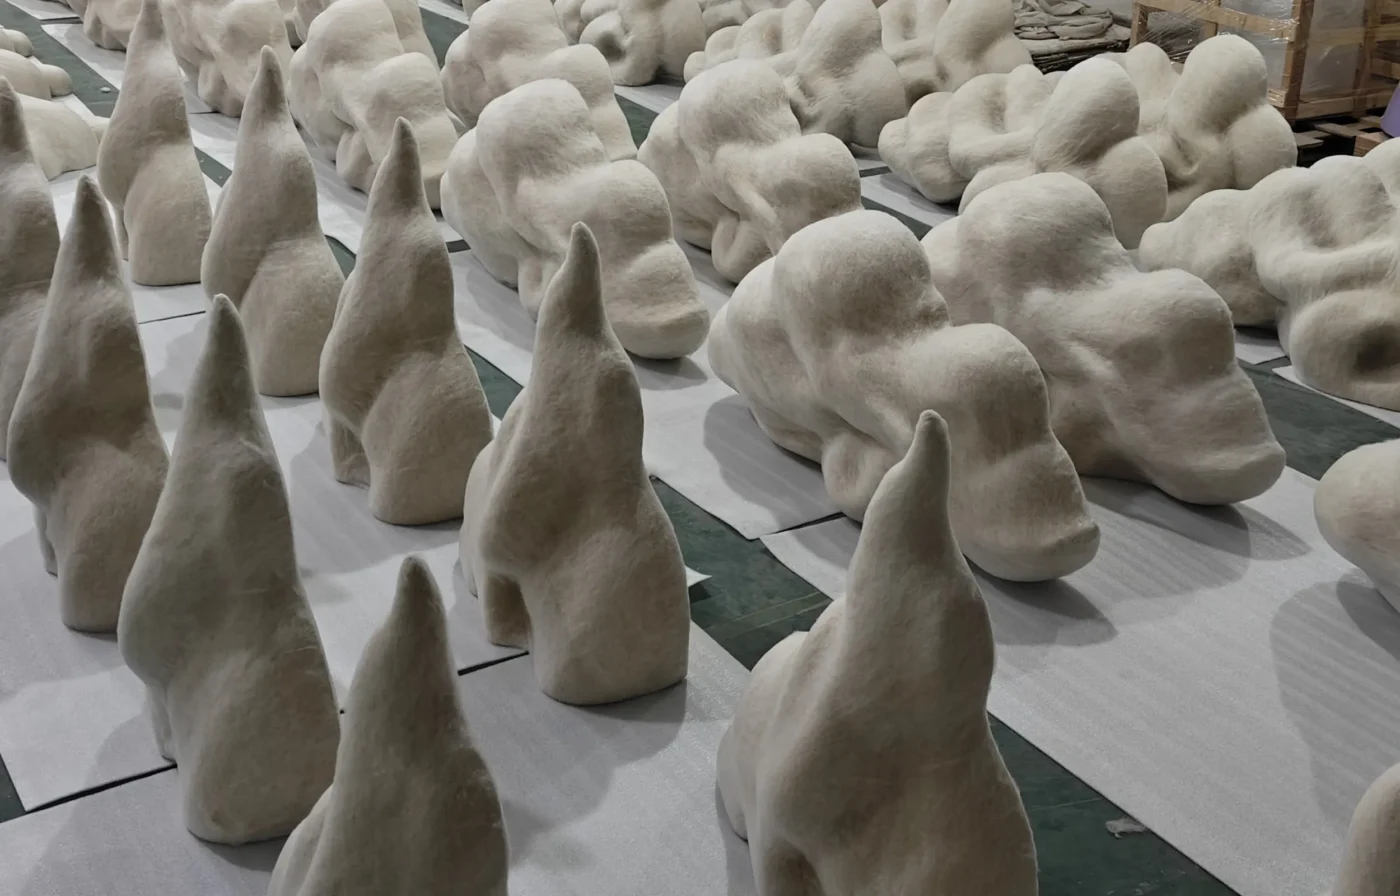
Quantity changes the production logic as much as size does. A single flagship window prop can be finished by hand with individual attention. Eighty identical props for a global store rollout require molds, templates, production scheduling, batch quality control, per-store labeling, and standardized packing.
If the project spans multiple stores, the manufacturer needs to know how many stores, how many pieces per store, whether every location uses the same design, whether there are regional size variations, and whether each store requires separately packed cartons with installation guides.
This is where custom visual merchandising services become essential — production is only part of the work. Making a rollout manageable across dozens of locations requires logistics planning that starts before the first piece is made.
Timeline Realities for Window Display Props Projects
Production timelines for window display props depend on complexity, material, quantity, and shipping method. The most common mistake brands make is underestimating how much time sits between “approved design” and “installed in store.”
Typical Timeline Ranges
A simple painted prop with a confirmed design — such as a geometric plinth or flat-panel backdrop — typically requires two to four weeks of production after sample approval, plus shipping time.
A complex sculptural prop — such as an oversized FRP figure with metallic finish — may need four to eight weeks, including mold development, fabrication, finishing, and quality inspection.
A multi-store rollout with sampling, batch production, per-store packing, and sea freight may need three to five months from initial brief to delivery, depending on quantity and destination.
Why Compressed Timelines Cost More
When the timeline is tight, production shifts from standard scheduling to expedited processes. Mold development that would normally run in parallel with other projects gets prioritized. Surface finishing that would air-dry may need accelerated curing. Sea freight that would take forty to fifty days gets replaced by air freight at several times the cost.
The most economical approach is to share the real in-store installation date with the manufacturer early, then work backwards to set a realistic production schedule. “As soon as possible” is not a timeline — it is a cost multiplier.
For seasonal projects, timelines are even tighter. Christmas window display props for European and North American retailers typically need to be installed by mid-November, which means production should ideally begin no later than mid-summer. For a detailed seasonal breakdown, Christmas window display production timeline explains the critical path for global holiday rollouts.
Five Common Mistakes That Delay Window Display Props Projects
Production delays rarely come from the factory floor. Most delays originate in the briefing and decision-making stage — the part that happens before any physical work begins.
Sending One Image and Expecting an Exact Price
A single photograph does not contain enough information for an accurate quotation. It does not show dimensions, material, quantity, surface finish specification, packing requirements, or delivery destination. A manufacturer can offer a rough estimate from a photo, but a reliable quotation requires a conversation about production specifics.
Hiding the Budget Entirely
Brands understandably prefer not to reveal their budget. But even a rough range — such as “under $200 per unit” or “this is a premium flagship piece with flexible budget” — helps the manufacturer recommend realistic material and construction options from the start. Without any budget direction, the first proposal may be technically excellent but commercially impractical.
Changing the Size After Pricing
If the prop size doubles after a quotation is issued, the cost does not simply double. Structure, mold dimensions, material consumption, labor hours, packing volume, and shipping cost all change — sometimes disproportionately. Confirming approximate dimensions before requesting a quote prevents this cascade.
Skipping the Sample Stage
For props with unusual shapes, complex finishes, or high-visibility placements, a production sample is not an optional delay. It is verification. A sample confirms that the color, texture, structural strength, and overall appearance meet expectations before dozens of units enter production. Skipping it to save two weeks can create problems that take longer to fix.
Ignoring Installation Requirements
A prop can be beautifully manufactured and still fail if it cannot be installed safely, quickly, or by the local team. Wall-mounted props need anchor specifications. Hanging props need rated hardware and weight calculations. Floor-standing props need stable bases sized for the actual floor surface. Props that ship in sections need clear assembly instructions. Thinking about installation after production is finished is too late.
A Project Brief Template for Window Display Props
A well-prepared brief helps both sides. The brand receives a more accurate quotation with fewer follow-up rounds. The manufacturer can respond faster and with fewer assumptions. Use this format as a starting point.
Project type: window display props Brand / campaign: Reference image or sketch: Main product to display: Approximate size (H × W × D): Quantity: Material preference or desired effect: Finish reference (photo, Pantone, swatch): Lighting requirement: Installation method: floor-standing / hanging / wall-mounted / product support Indoor or outdoor use: Store location(s): Packing requirement: Target in-store installation date: Shipping destination: Budget direction (optional but helpful): Safety or certification requirements:
When the brief is ready, request a custom display props quote to start the production conversation.
Frequently Asked Questions
How long does it take to produce custom window display props?
Simple painted props with confirmed designs typically need two to four weeks of production after sample approval. Complex sculptural pieces with metallic finishes may need four to eight weeks. Multi-store rollouts with sea freight can require three to five months from brief to delivery.
What materials are used for window display props?
The most common materials are FRP for oversized sculptural forms, acrylic for transparent or illuminated pieces, stainless steel for structural and premium metallic finishes, and MDF or wood for plinths and architectural platforms. Most large props combine two or more materials in one structure.
Can a manufacturer suggest the right material if I do not know what to use?
Yes. If you describe the visual effect, size, installation environment, durability requirement, and budget direction, a manufacturer can recommend suitable materials and provide costed alternatives. Not knowing the material is a normal starting point — the selection is part of the production development process.
Why does the price change so much when the size increases?
Larger window display props require stronger internal structure, thicker material walls, larger molds or tooling, more labor, heavier packaging, and greater shipping volume. These factors increase at different rates, which is why cost does not scale linearly with size. A prop that doubles in height may cost significantly more than twice the price of the smaller version.
Do I need a technical drawing before starting a project?
Not at the beginning. A concept image, sketch, mood board, or reference photo is enough to start the conversation. The manufacturer typically develops technical drawings and 3D models after the concept direction, material, and approximate size are agreed — the drawing is an output of the development process, not a prerequisite for it.