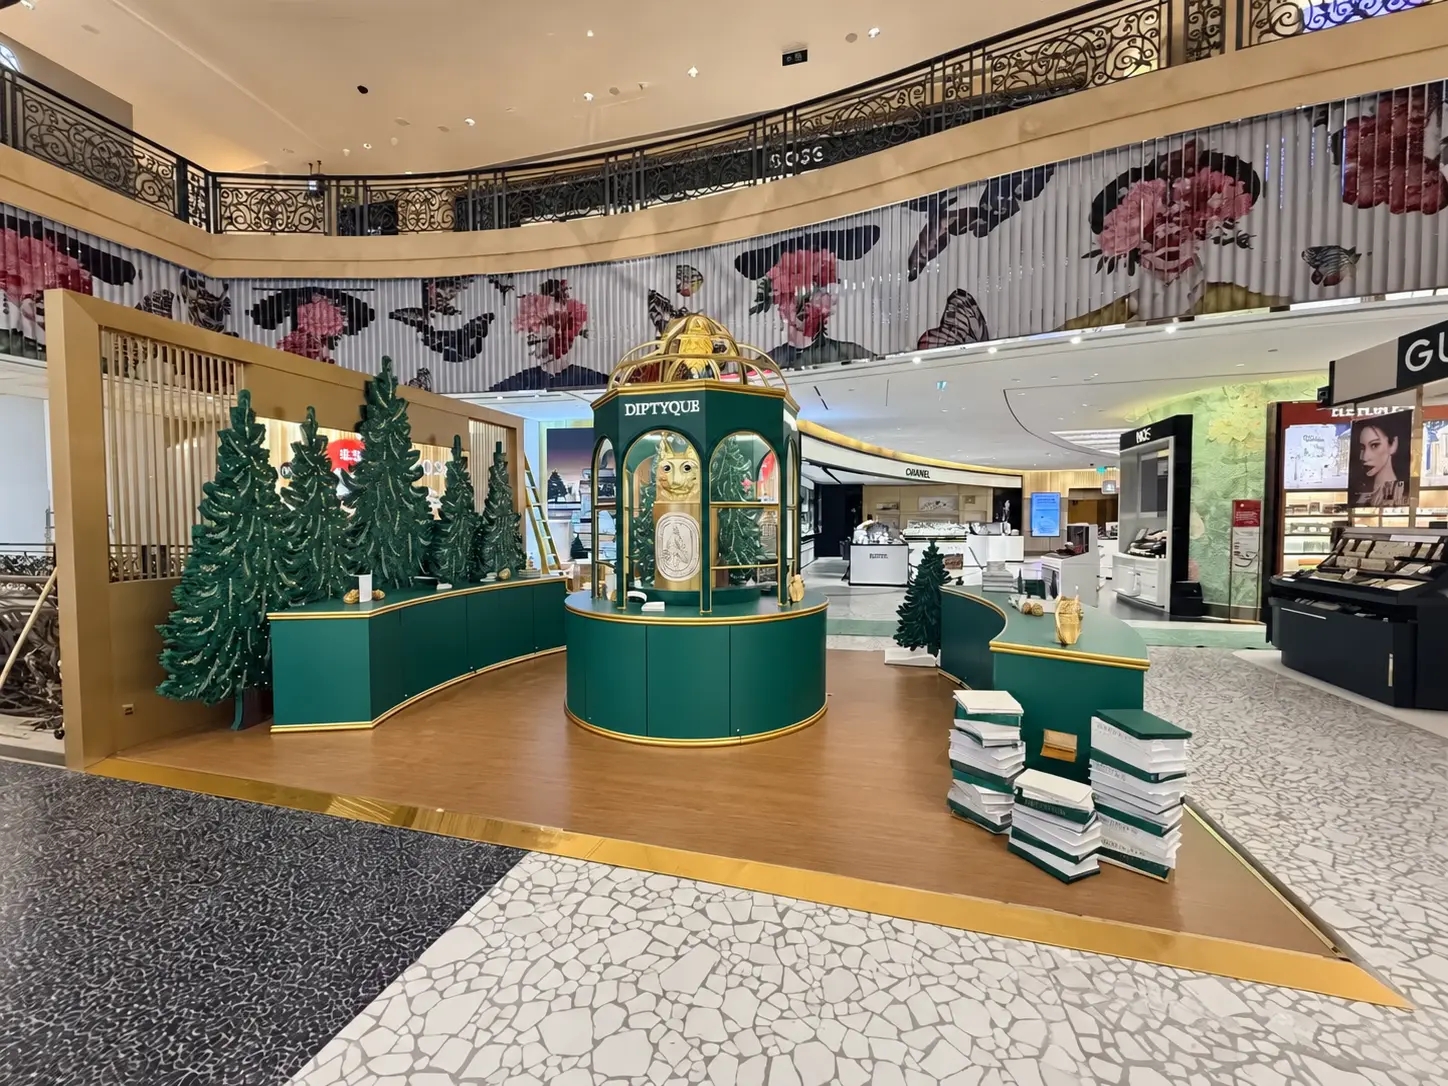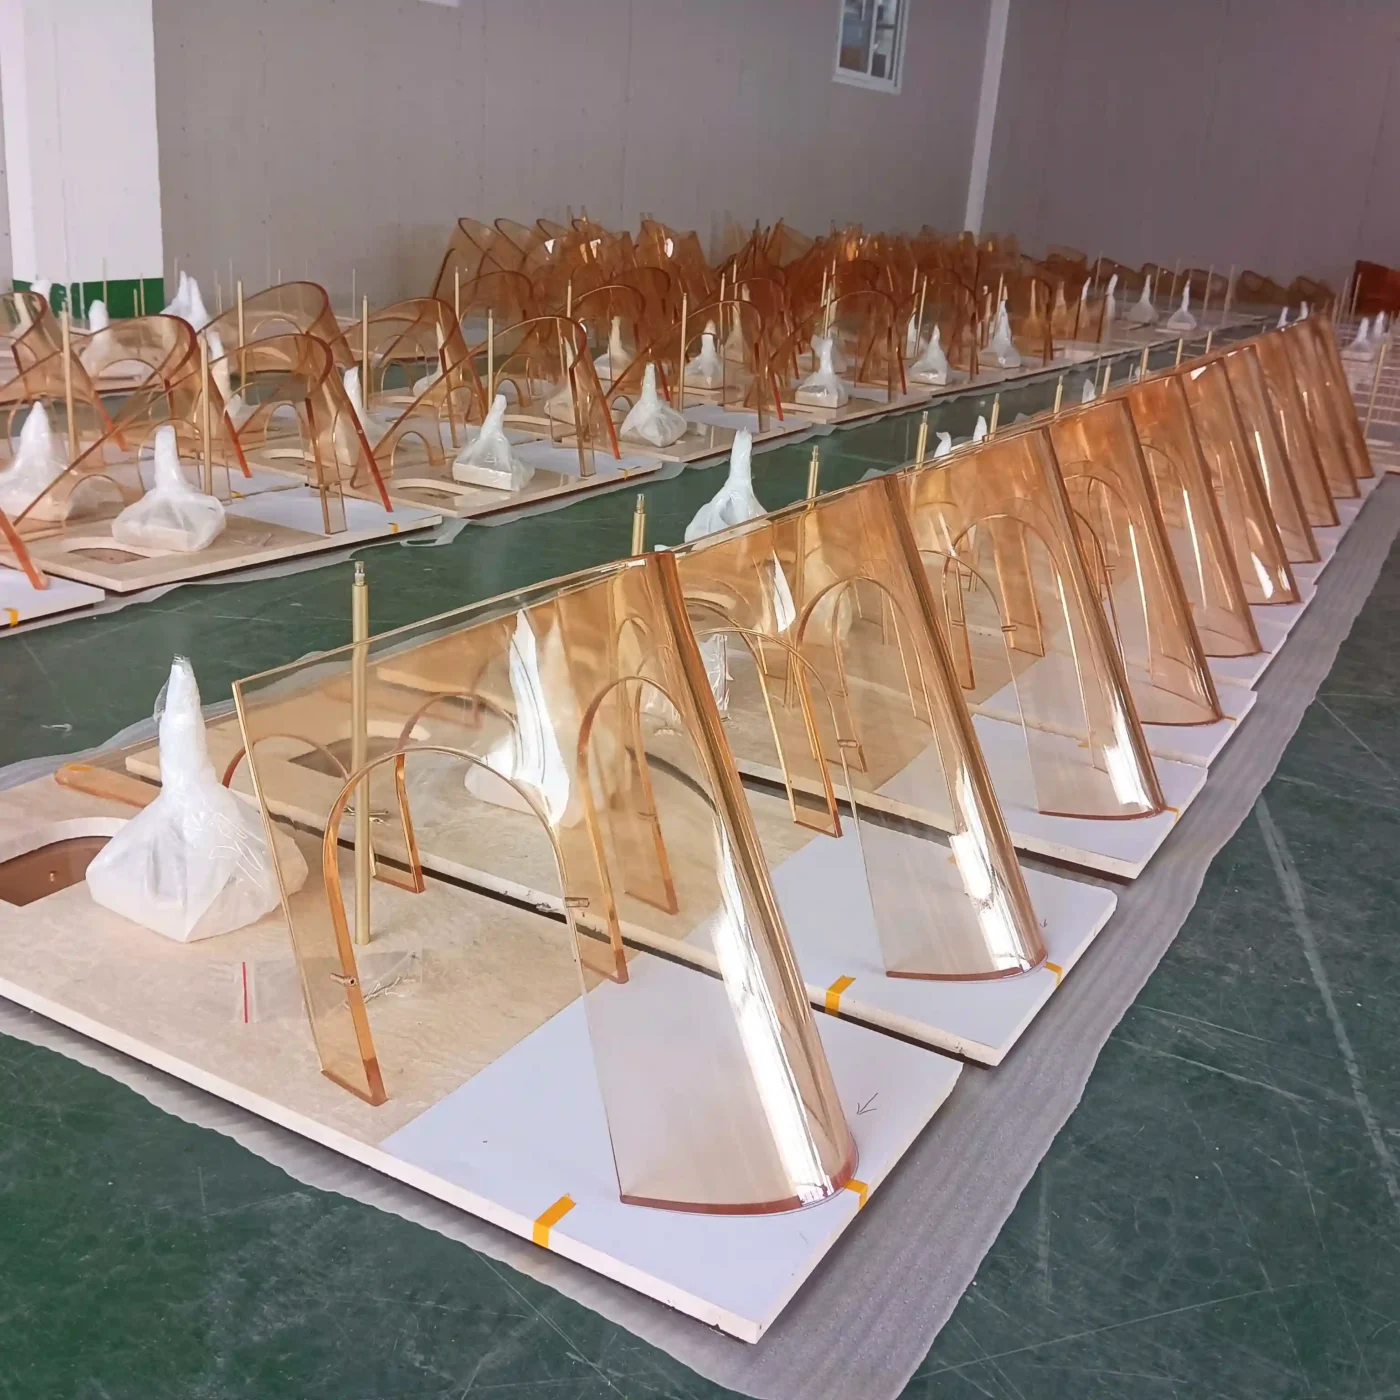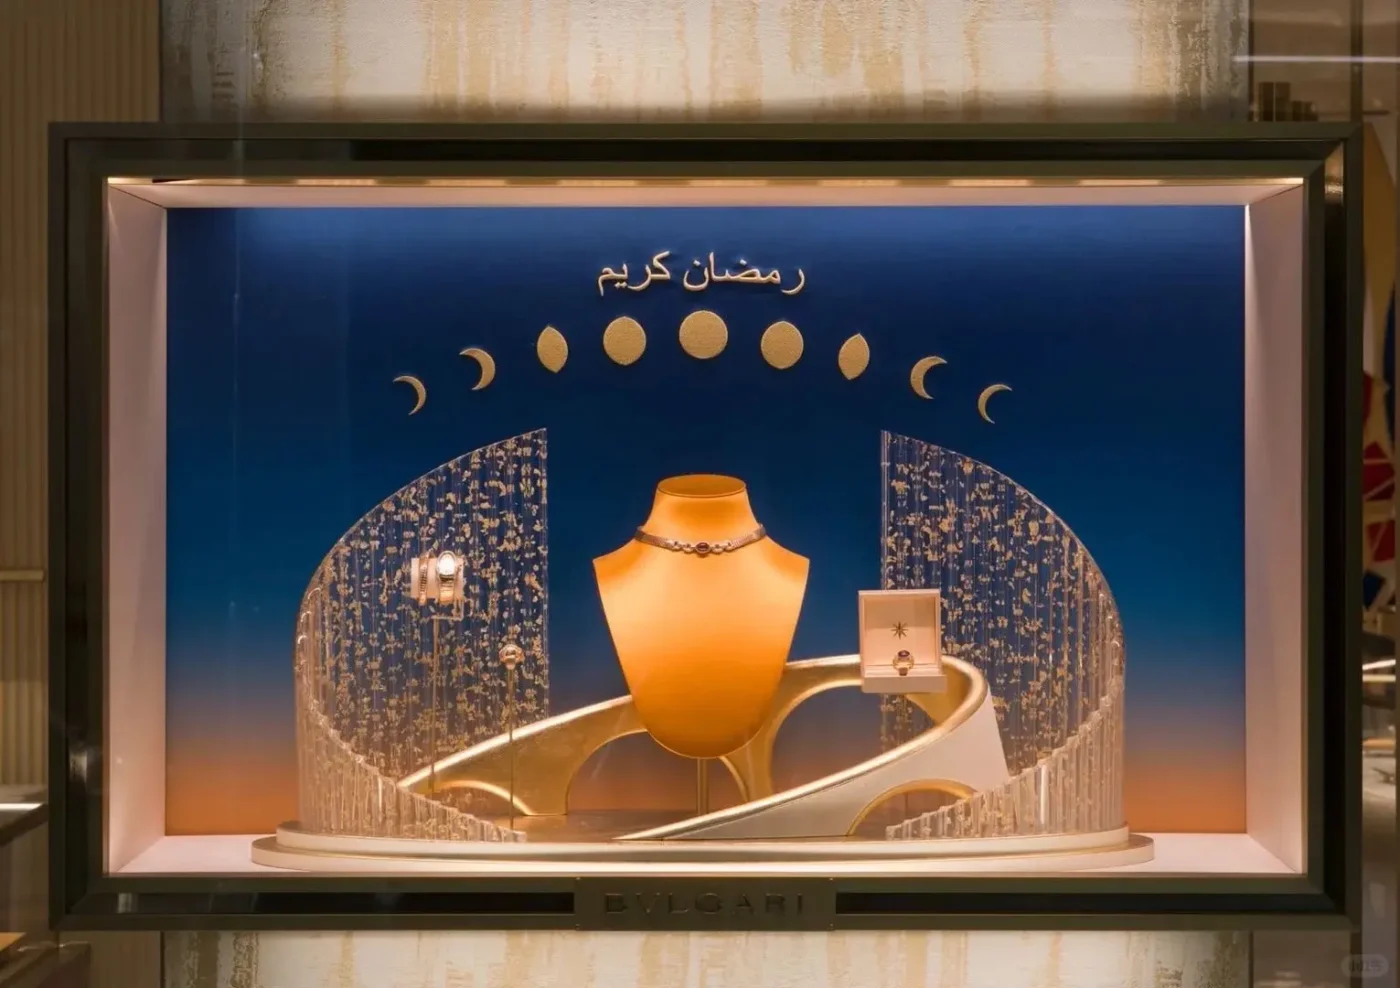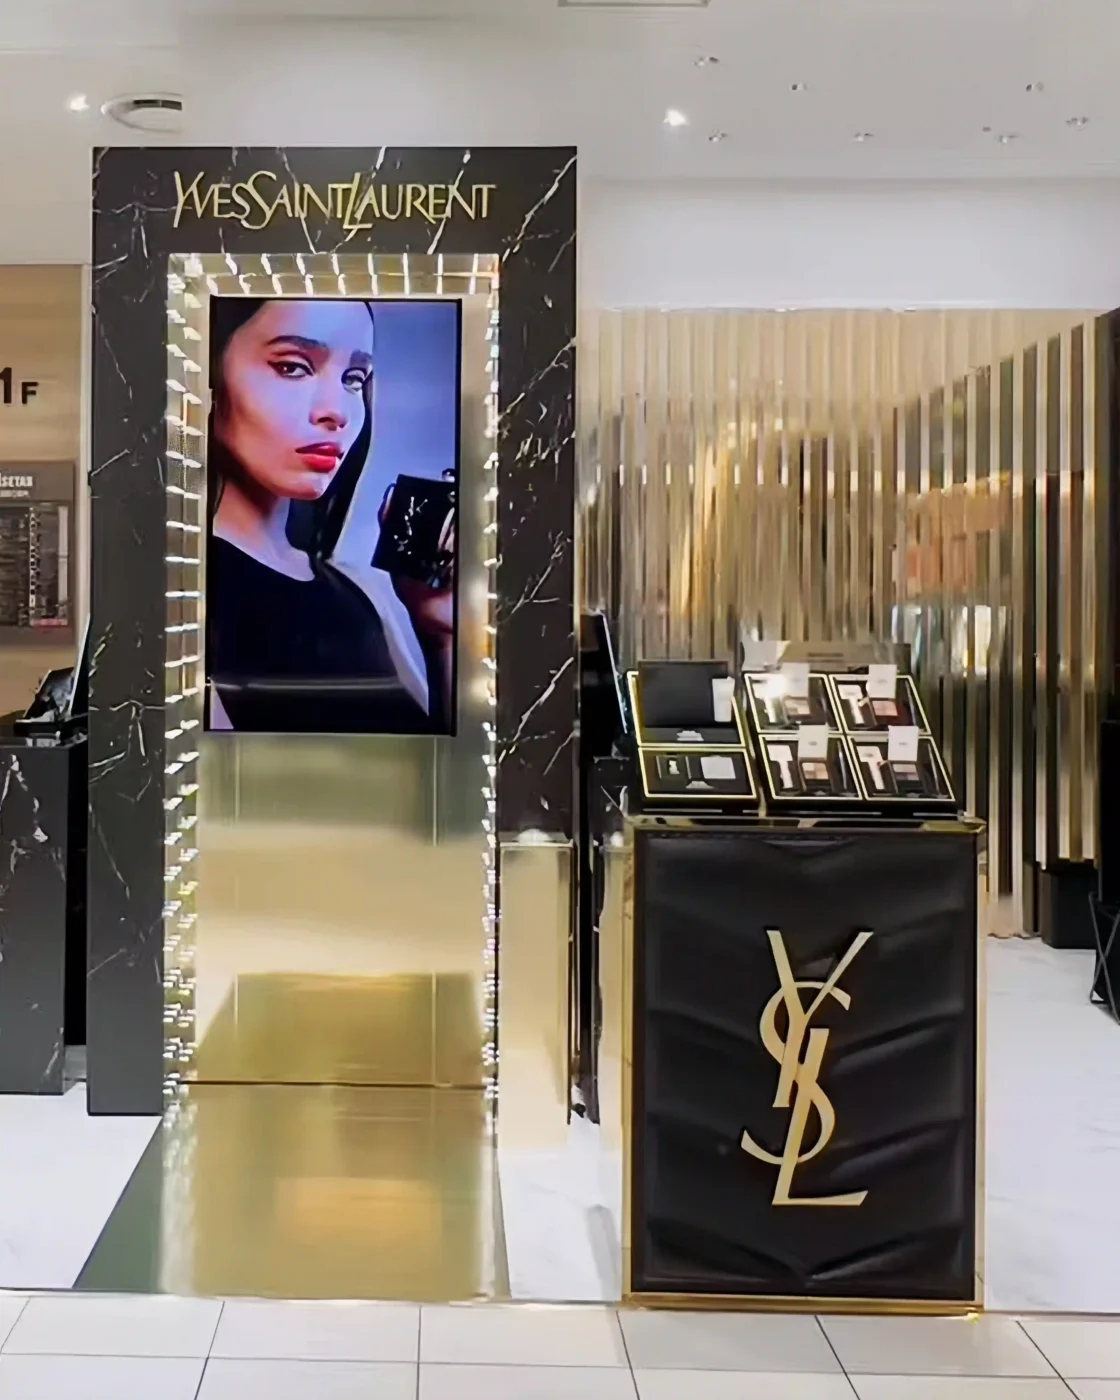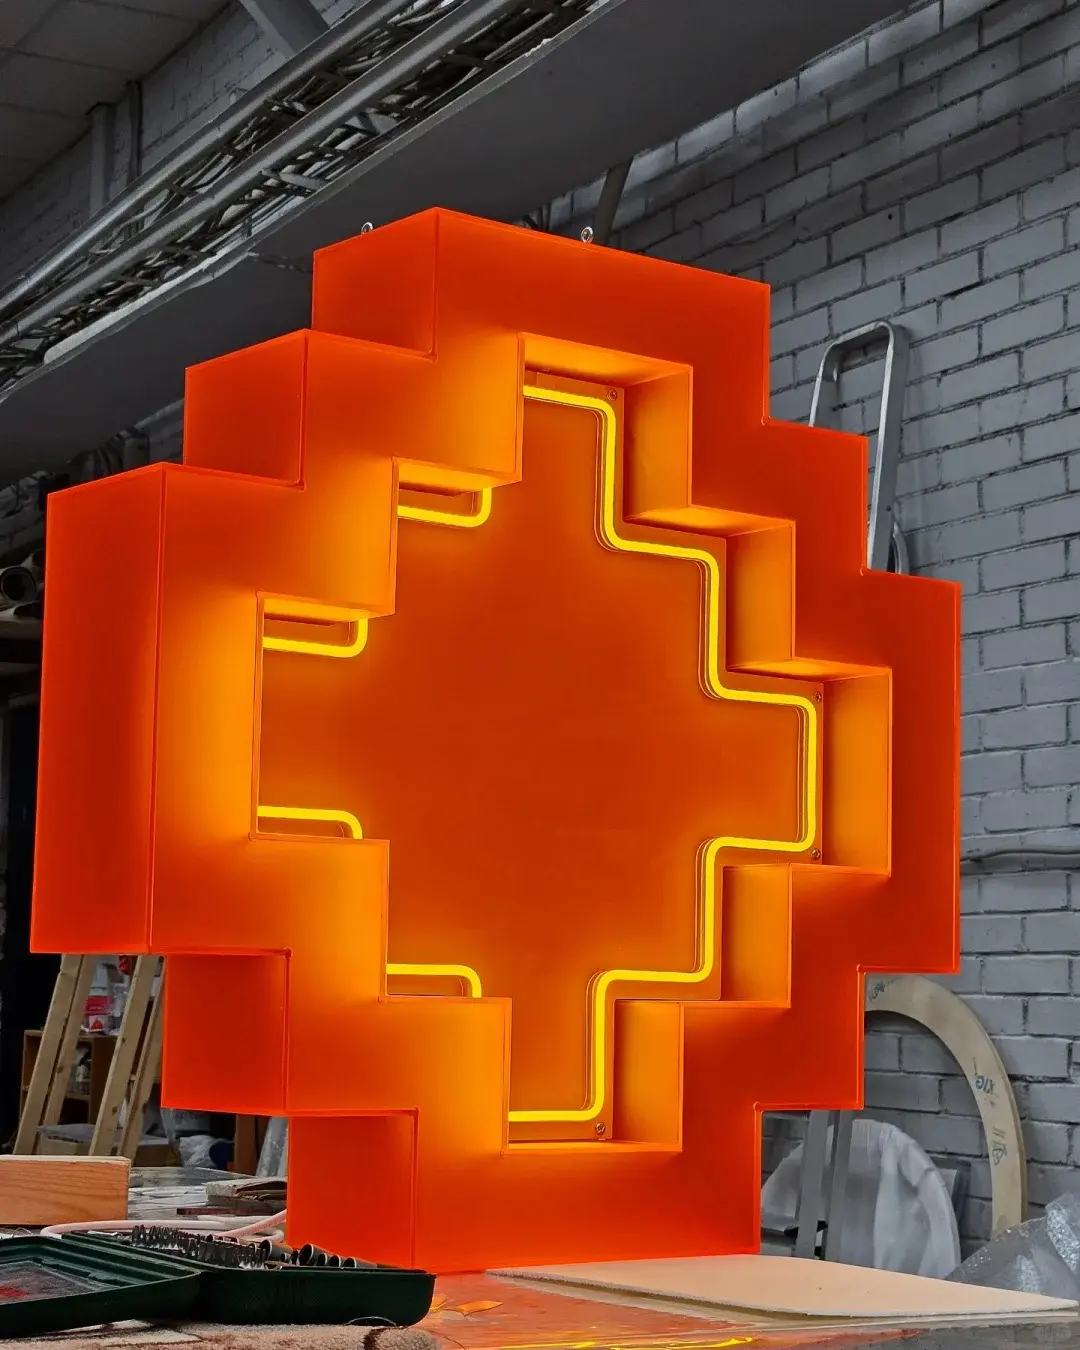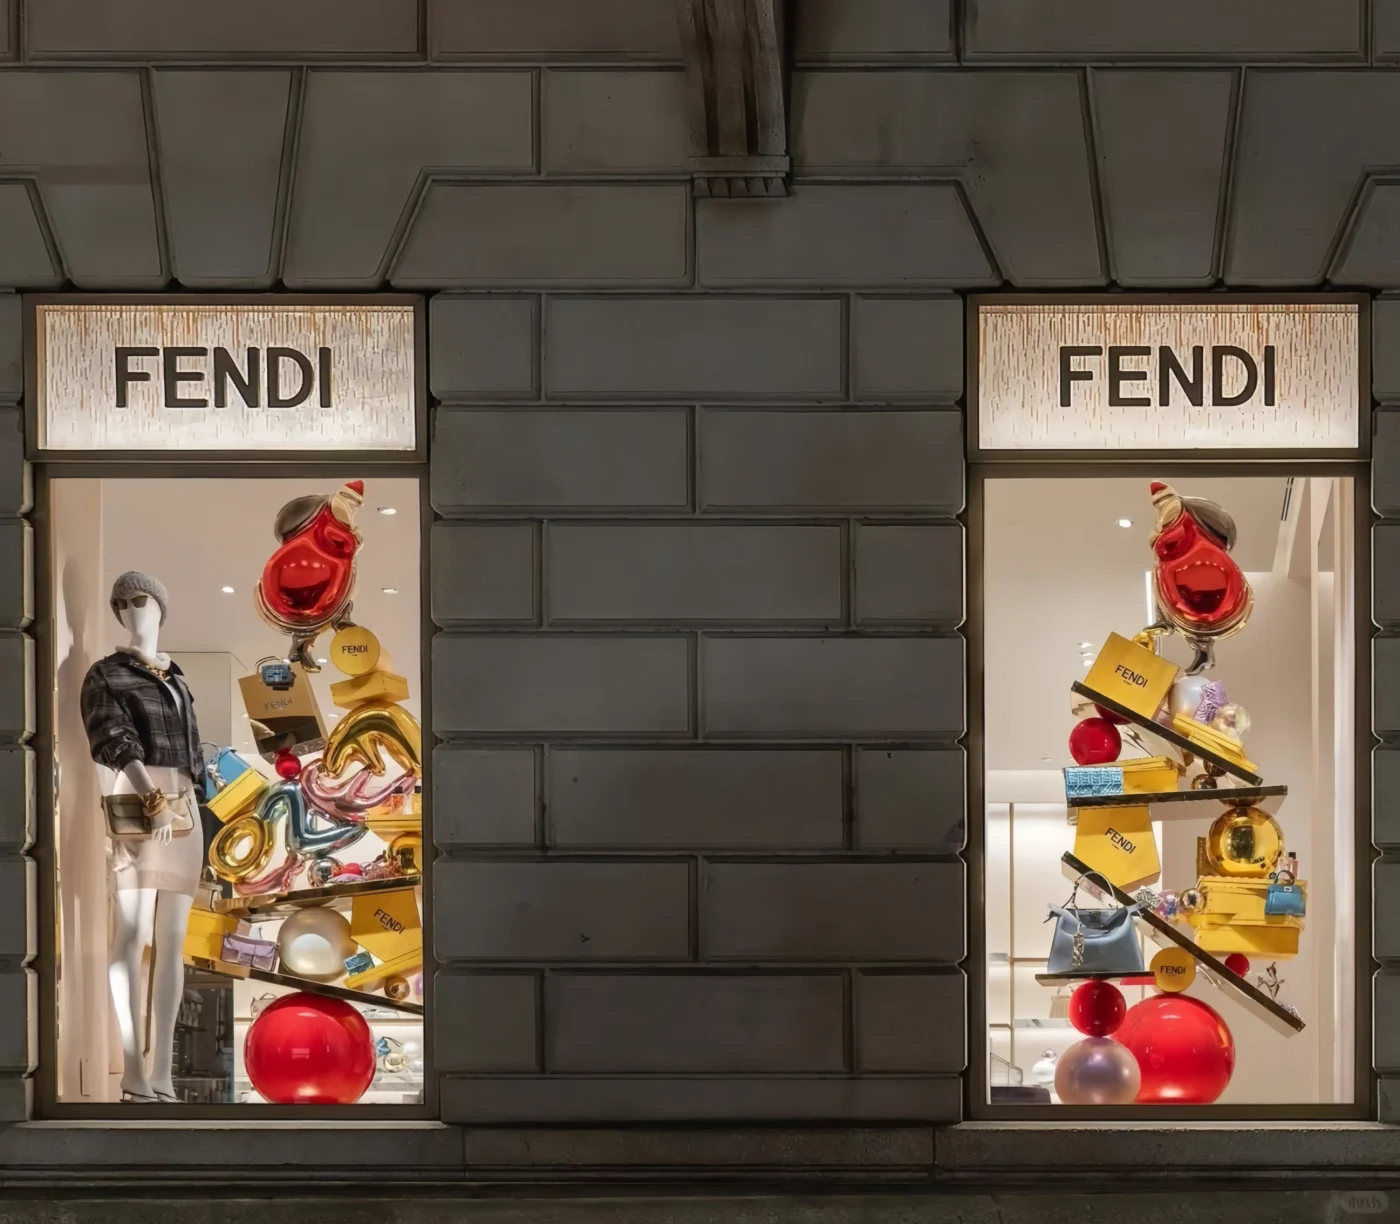
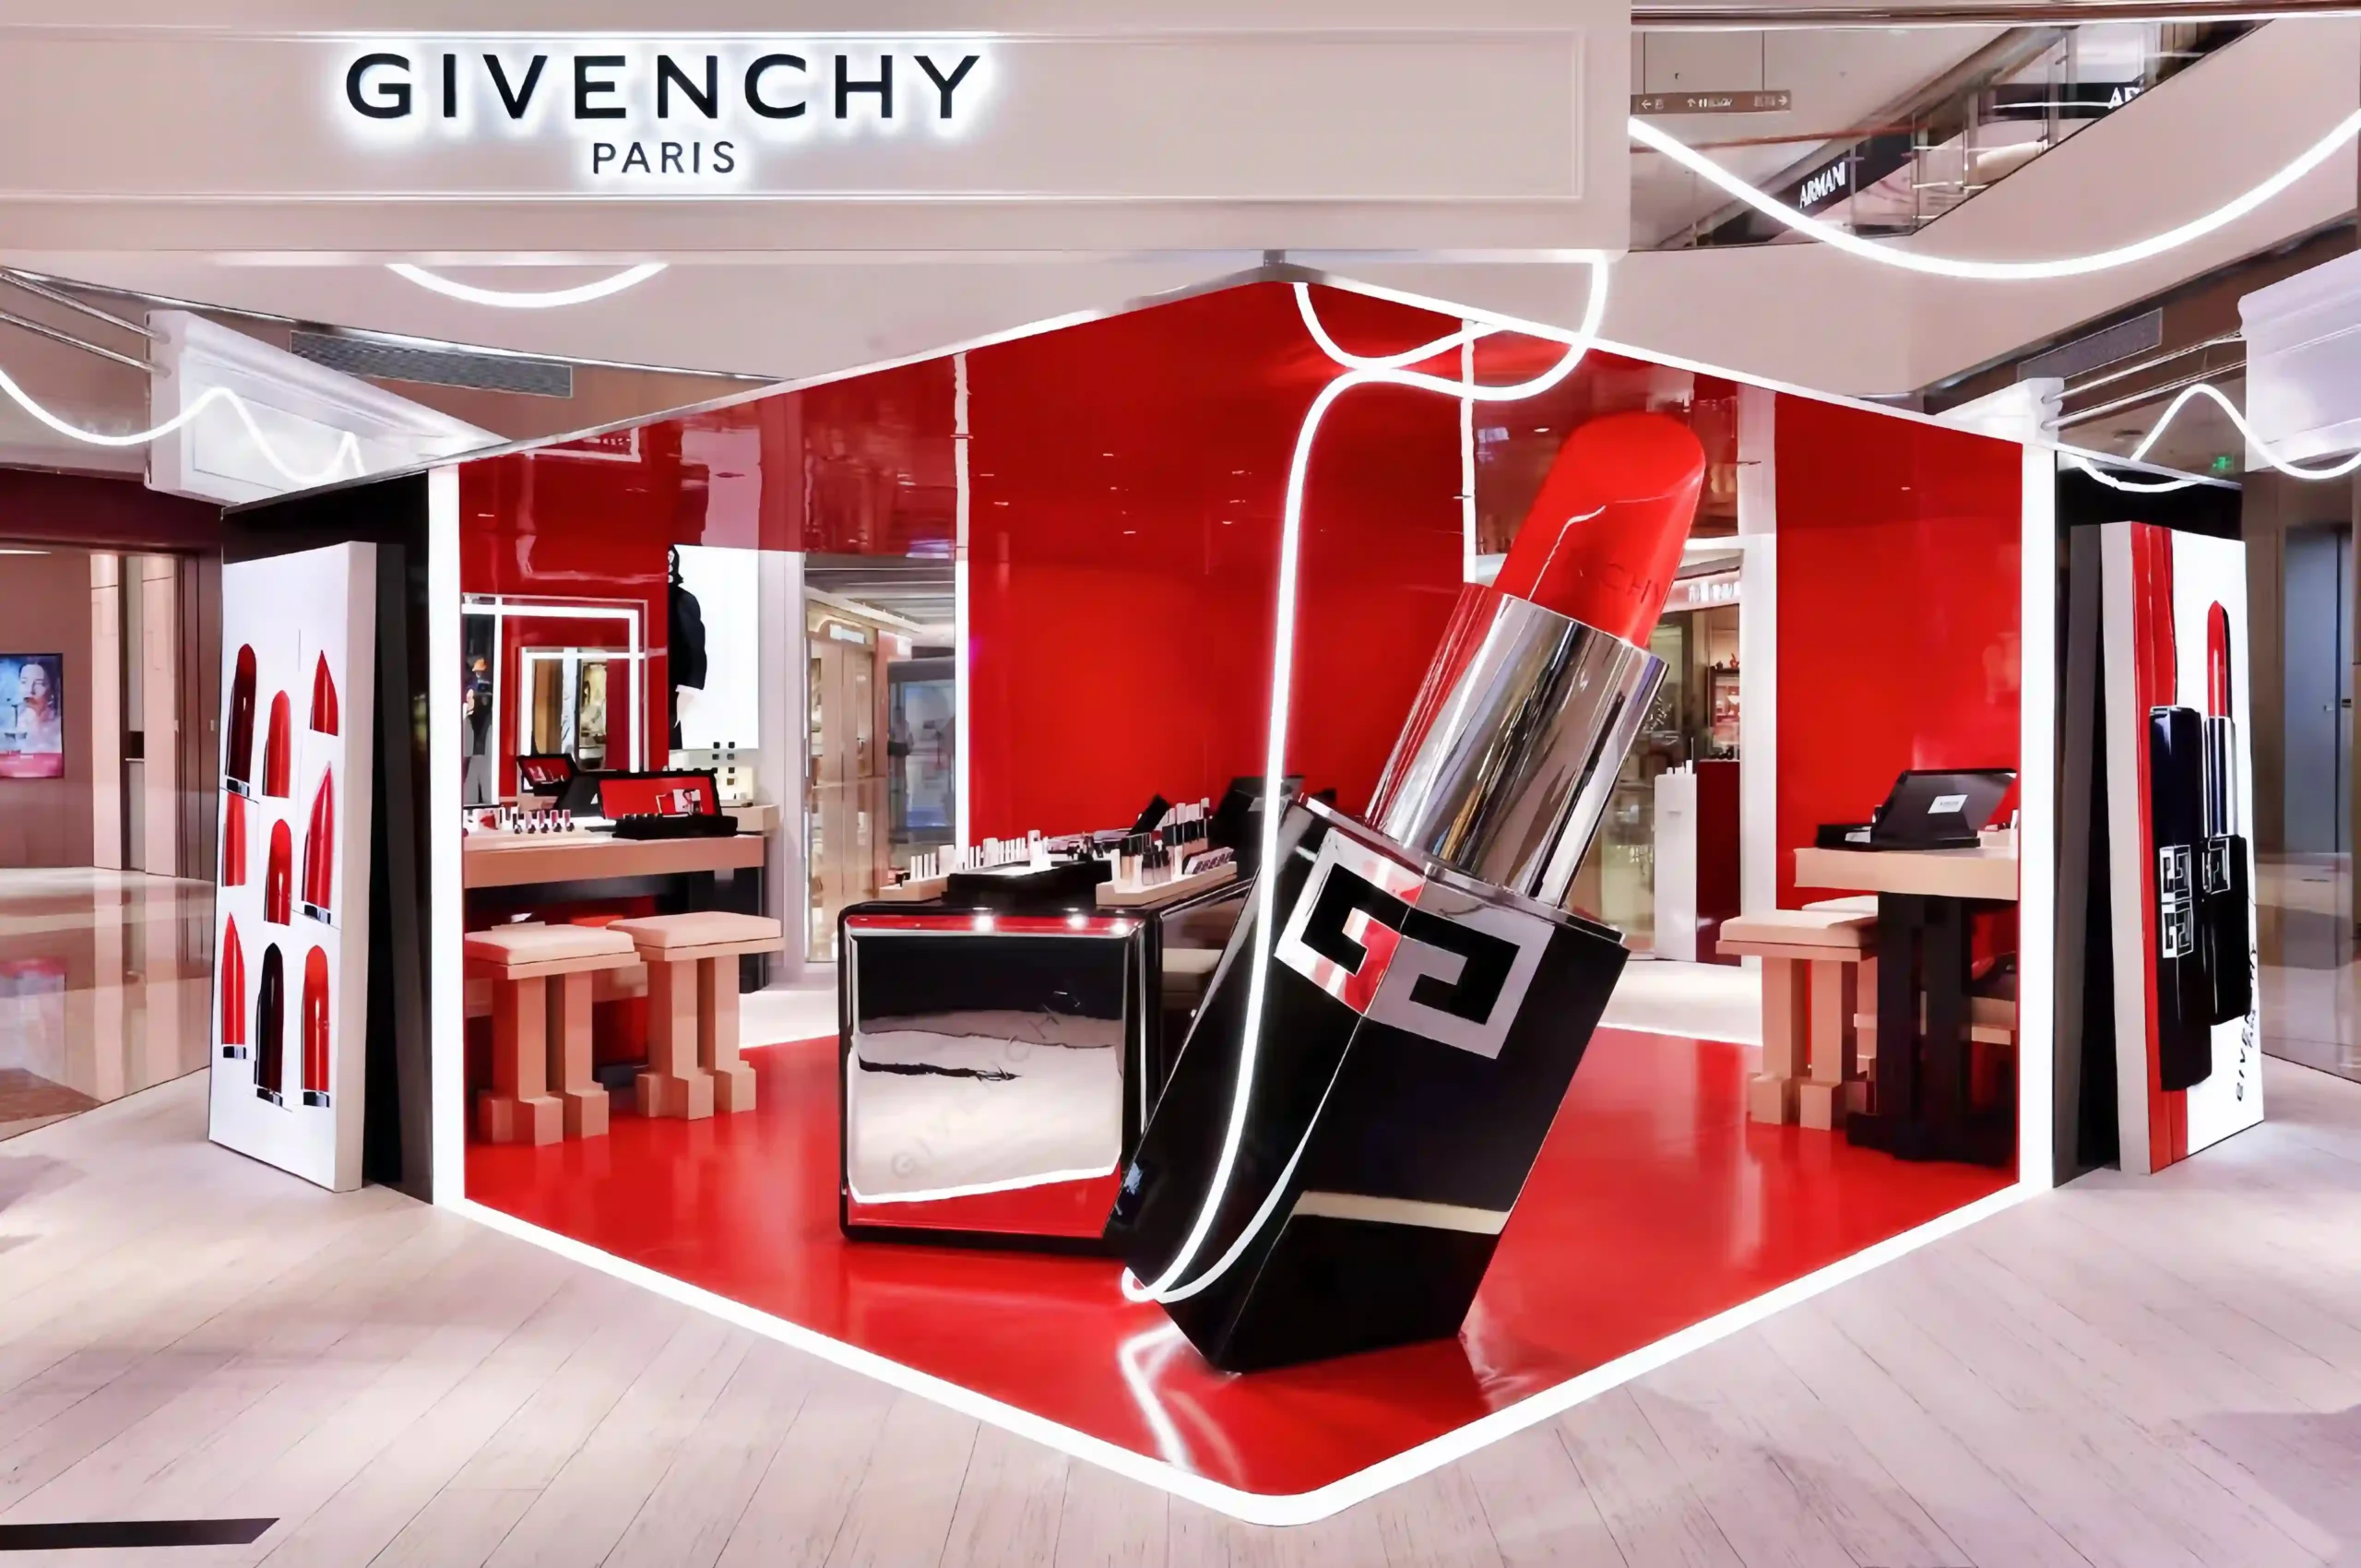
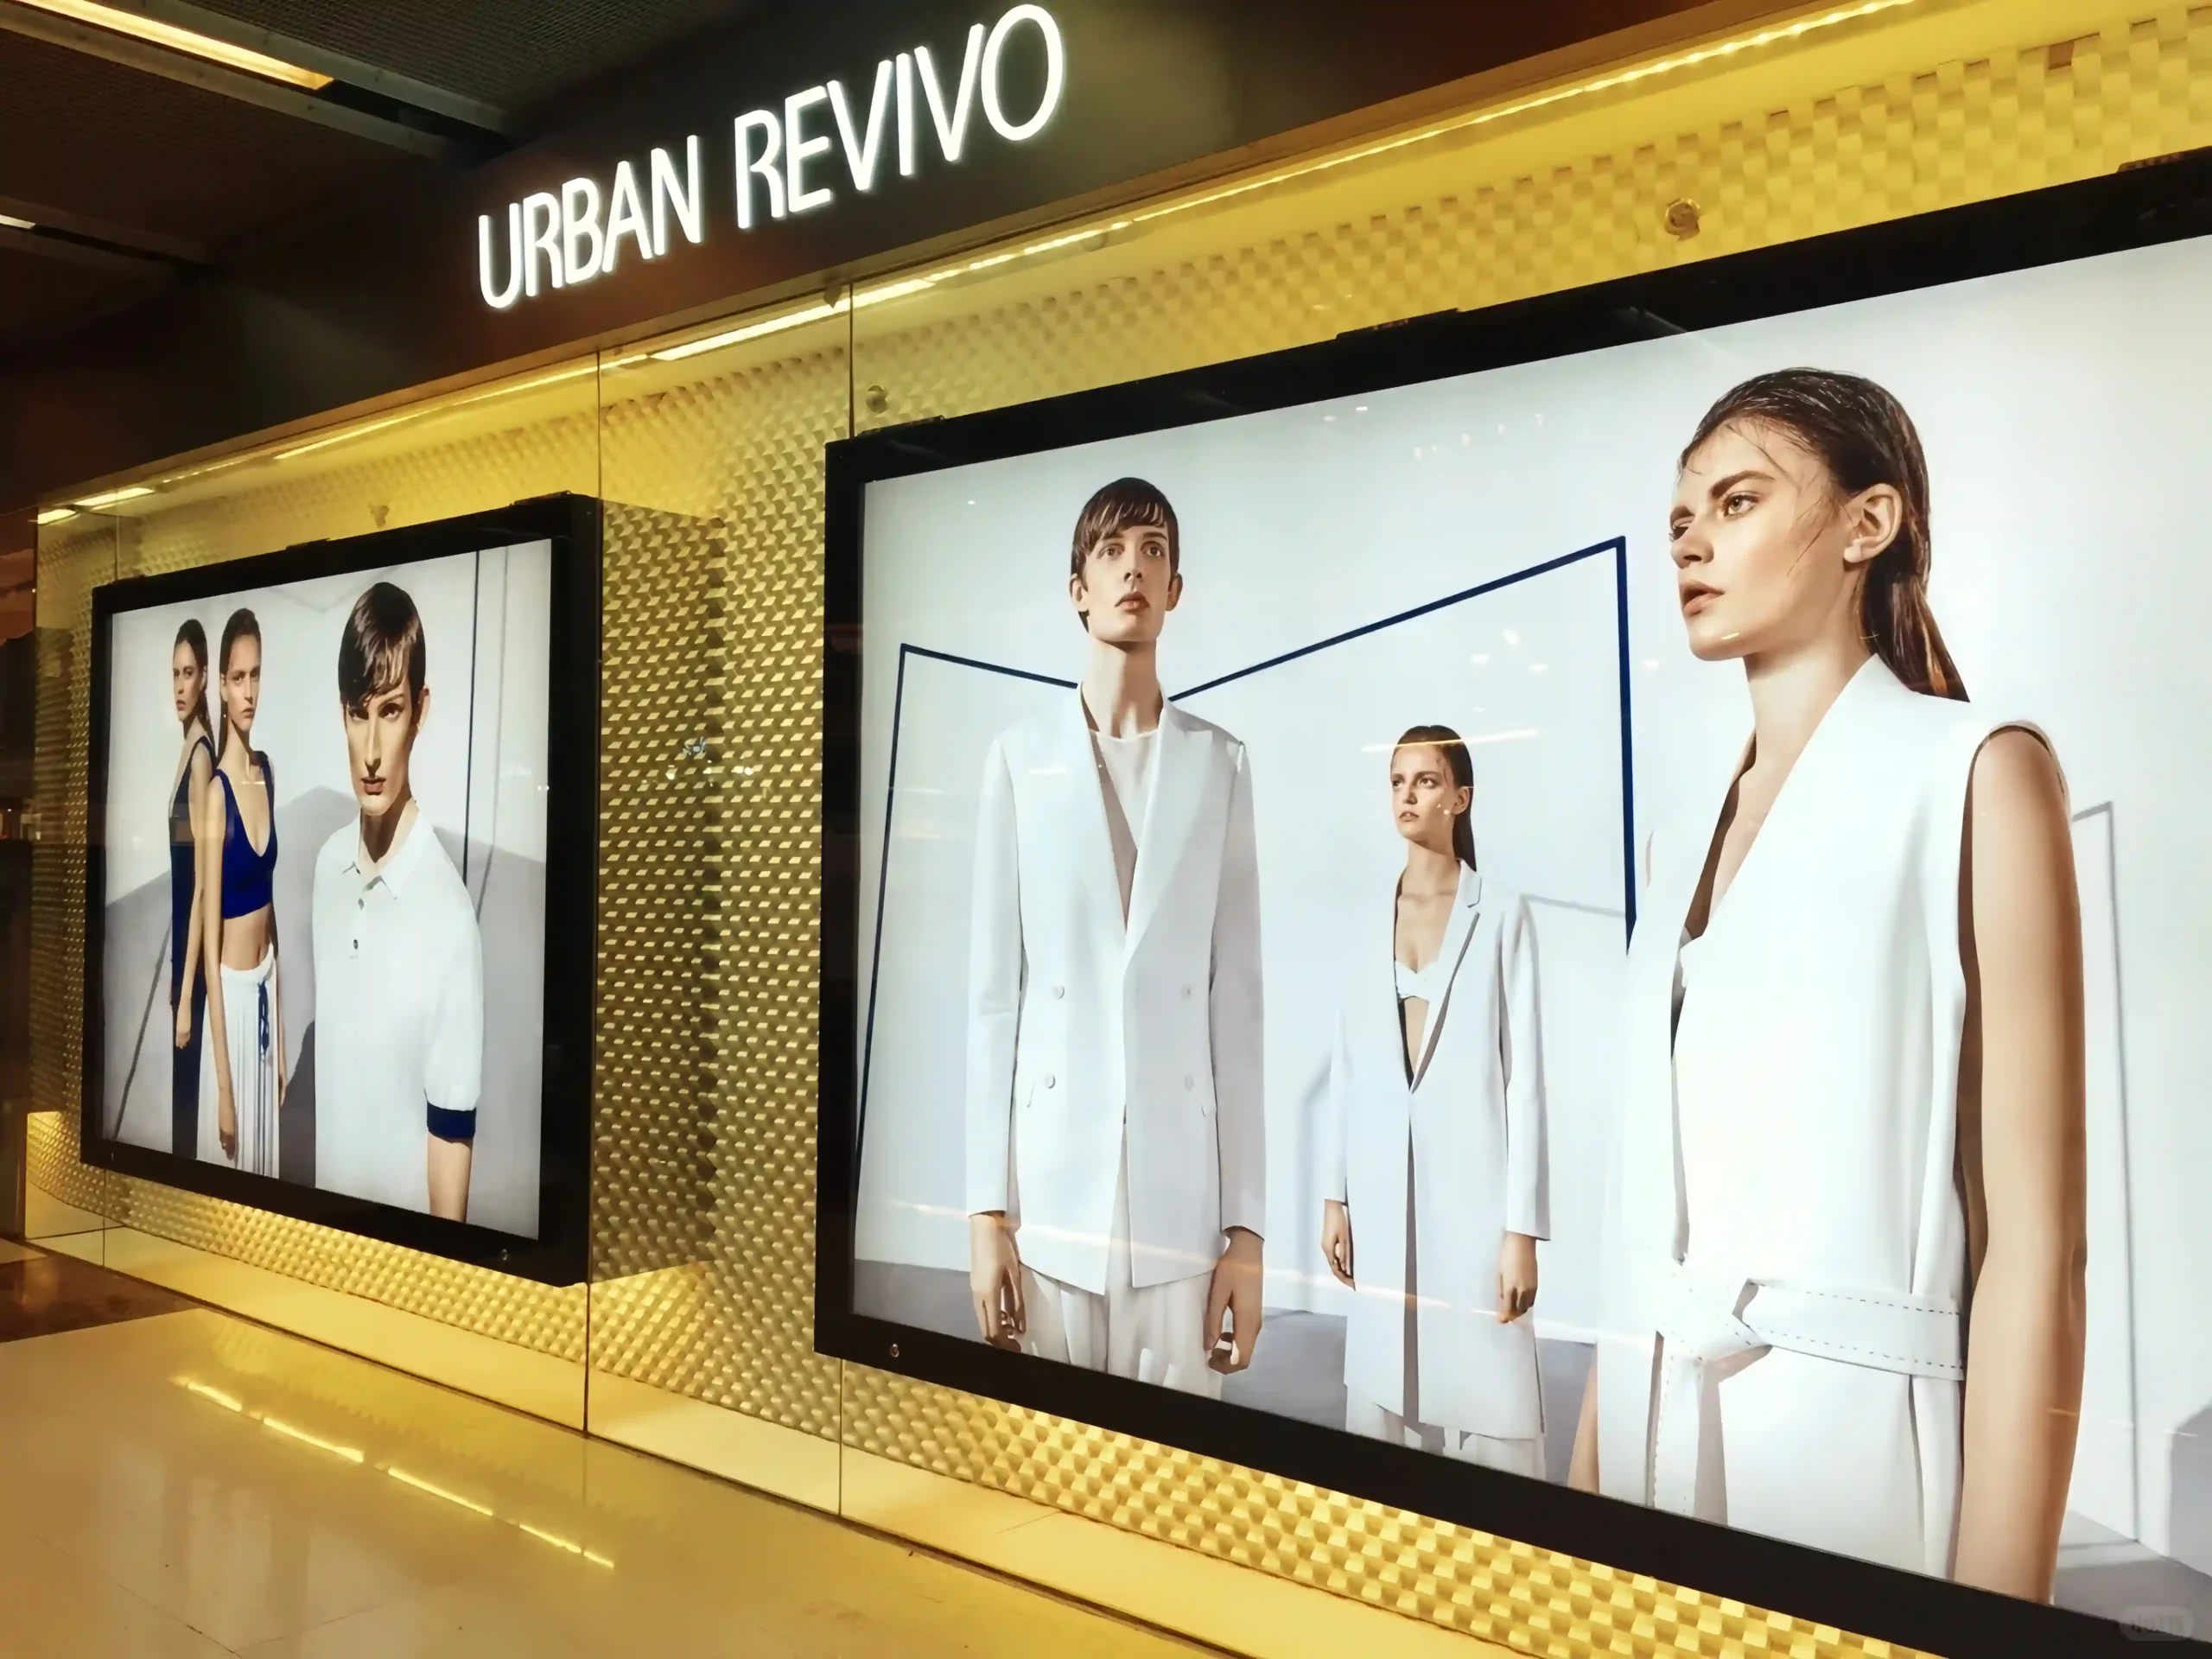
A custom light box display is not an off-the-shelf sign. It is a built-to-project illuminated unit where every element — frame profile, acrylic panel, LED system, graphic surface, wiring path, mounting method and packing — is configured to a specific retail environment.
For brands planning custom light box displays across multiple stores, getting the specification right before production starts is what separates a display that looks clean and brand-ready from one that arrives with visible LED dots, uneven lighting or panels that do not fit the installation space.
This guide covers the key specification decisions involved in planning custom retail lightboxes, from frame depth and acrylic selection to LED configuration, graphic method, installation and export packing.
Frame Depth and LED Visibility
Frame depth is the first specification decision because it determines what kind of LED system the light box can use, how the acrylic diffuser performs and how the finished display reads visually.
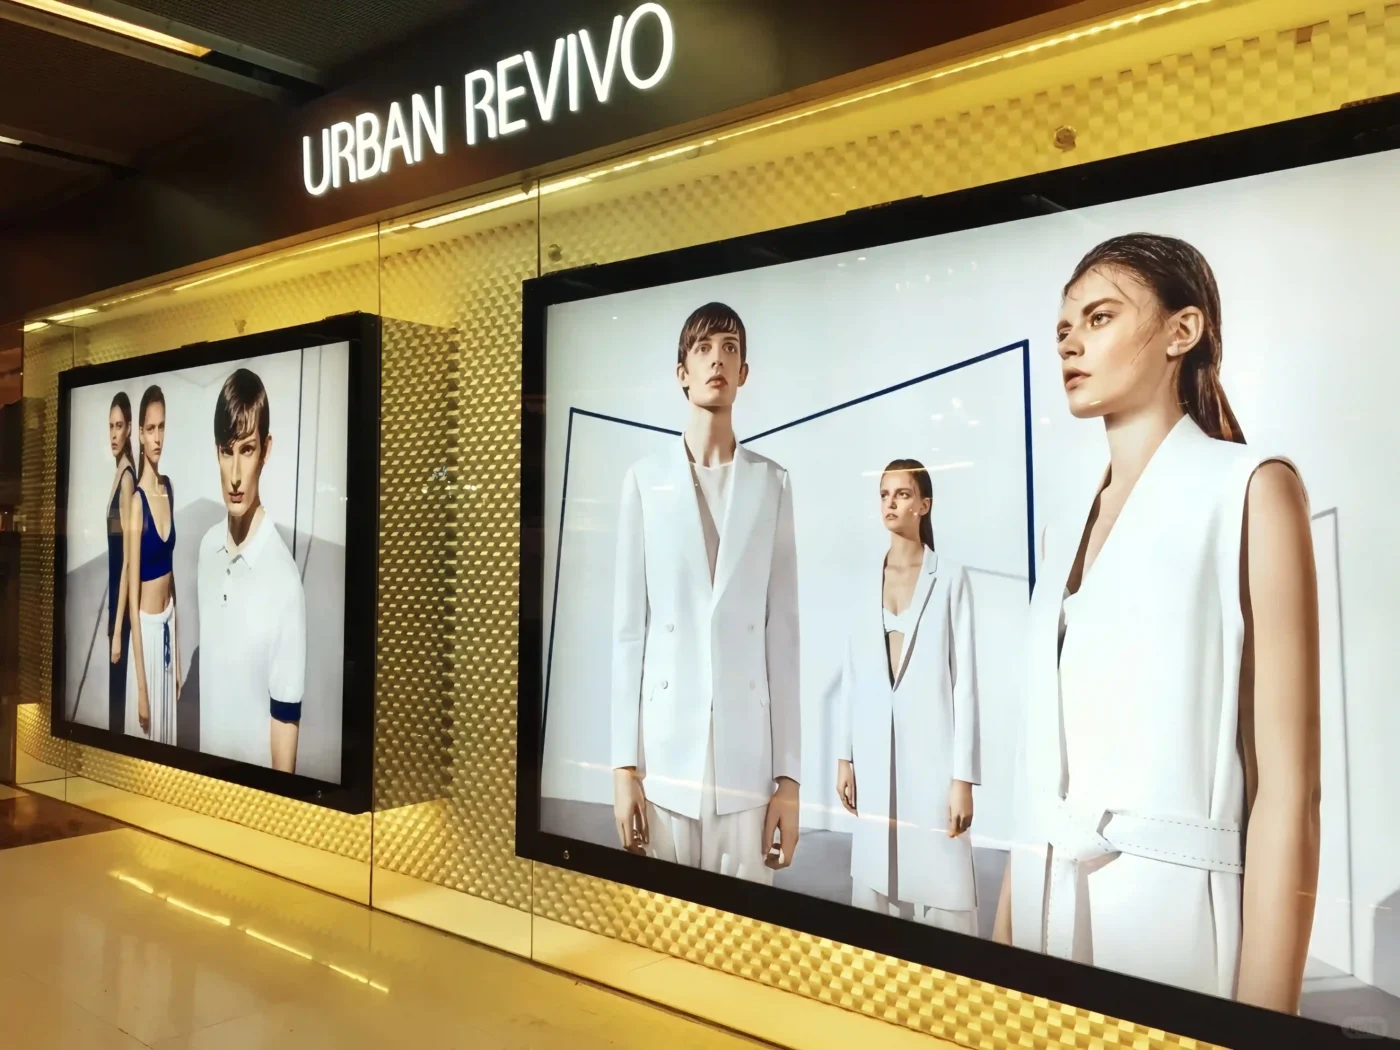
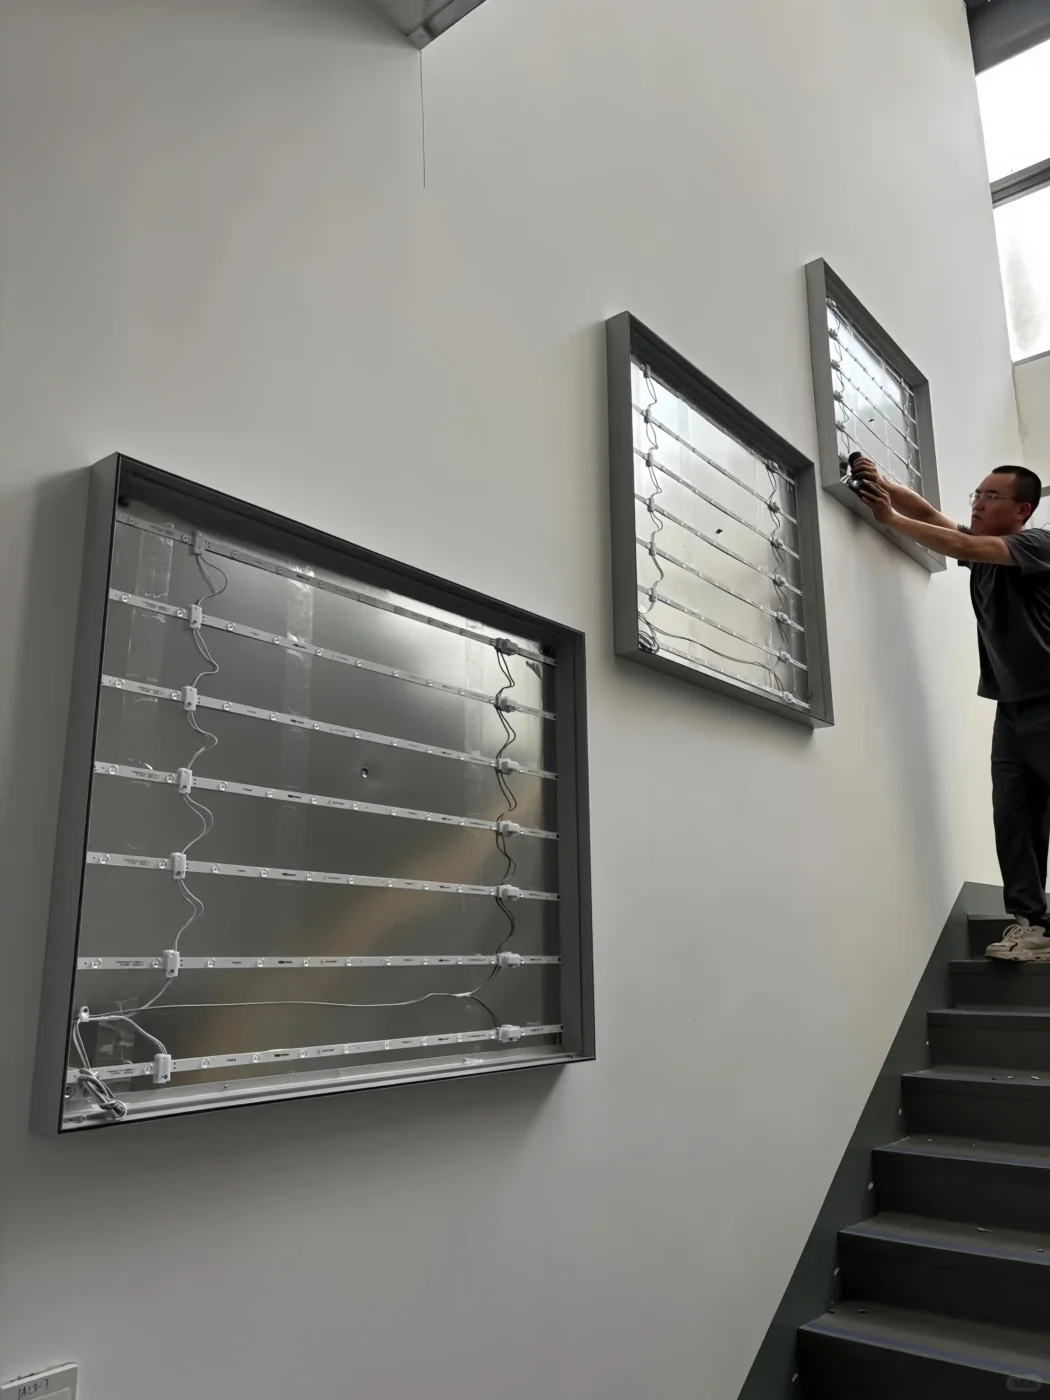
When the frame is too shallow for a backlit LED layout, the individual LED modules sit too close to the acrylic surface. The result is visible bright spots — sometimes called hot spots or LED dots — that show through the diffuser and make the panel look unfinished. When the frame is too deep for the intended installation, the light box becomes bulky, harder to mount and visually heavy against the store wall or window.
The right frame depth depends on the display size, the LED module pitch, the acrylic diffuser opacity and the viewing distance. As a general planning reference:
- Slim wall signs and poster-format displays: 25–40 mm, typically edge-lit
- Standard wall-mounted retail panels: 60–100 mm, typically backlit
- Large-format window display backgrounds: 100–150 mm, backlit with wider LED spacing
- Counter and POS display features: 40–80 mm, depending on the design integration
These ranges are starting points. The final depth is confirmed during production planning after the LED module and diffuser panel are matched.
The frame itself is usually aluminum. Aluminum profiles provide clean edges, structural rigidity, internal channels for cable routing and enough thermal mass to help manage LED heat. For branded retail light boxes that need to look precise at close range, aluminum frames give a consistently better finish than thin metal sheet or plastic enclosures.
For more on frame structure, see the guide on aluminum frame light boxes.
Acrylic Diffuser Selection
The acrylic panel is the surface the viewer sees. Its material, opacity and finish determine whether the light box reads as a clean uniform glow, a soft premium surface, a branded graphic panel or a transparent layered effect.
Rather than choosing acrylic by material name, it helps to start from the intended visual result:
Even backlit glow. Milky white acrylic is the most common diffuser for retail light boxes. It softens the LED output into a uniform surface without visible light source patterns. This is the standard choice for promotional wall panels, category signage and window display backgrounds where the goal is consistent illumination behind a graphic or logo.
Soft matte finish. Frosted acrylic creates a subtler, textured surface that diffuses light while adding a sense of material depth. It is widely used in luxury retail environments — cosmetic counters, jewelry displays, premium store interiors — where the display should feel refined rather than bright.
Branded graphic surface. UV printing allows logos, product visuals, patterns and brand colors to be applied directly onto an acrylic panel. Combined with backlighting, this turns the light box into a campaign-specific display. The printed layer sits on either the front or the rear surface depending on whether the brand wants a glossy printed face or a backlit translucent graphic.
3D illuminated logo. Laser-cut acrylic logos can be combined with edge lighting or rear-mounted LEDs to create dimensional, illuminated brand signage. The cut edges are polished to allow light to transmit cleanly.
Transparent layered effect. Clear acrylic is used when the design calls for visible internal structure, depth layers or a protective cover over a printed graphic behind it.
One material note that affects quality across all these options: cast acrylic gives better optical clarity, cleaner edge polishing and more consistent light transmission than extruded acrylic. For branded retail projects, cast sheet is the standard specification.
For a deeper look at acrylic grades and fabrication, see the guide on acrylic (PMMA) for retail displays.
Backlit, Edge-Lit or Side-Lit — Choosing the LED Configuration
The LED layout inside a light box affects brightness, light uniformity, frame depth and long-term maintenance. Three configurations are commonly used in retail light box displays:
Backlit. LED modules are mounted on the back panel of the frame, facing forward through the diffuser. This configuration delivers the strongest and most even illumination, especially on larger panels. It requires more frame depth — typically 60 mm or more — to give the light enough space to spread before reaching the acrylic surface. Backlit layouts are the standard for wall-mounted retail panels, large window display backgrounds and any light box where consistent brightness across the full surface is the priority.
Edge-lit. LEDs are mounted along the inside edges of the frame. Light enters an acrylic light guide panel from the sides and is distributed across the surface through internal reflection and an etched or printed dot pattern. Edge-lit configurations allow much slimmer profiles — typically 25–40 mm — making them useful for poster frames, slim wall signs and counter display features. The trade-off is that edge-lit brightness drops as panel size increases, so this configuration works best for displays under approximately 600 × 900 mm.
Side-lit strip. A simpler configuration where LED strip lights are mounted on one or two sides of the frame only, without a dedicated light guide panel. This works for small signs and basic illuminated displays but often produces uneven brightness on panels wider than 500–600 mm. It is a lower-cost option and may be suitable for temporary or promotional displays where uniform lighting is less critical.
Beyond the layout, two LED specifications are important for retail environments:
Color temperature. Neutral white (4000–5000 K) is common for cosmetics counters, product display zones and retail signage where accurate color rendering matters. Warm white (2700–3500 K) is used in fashion retail, hospitality spaces and environments where the lighting should feel inviting rather than clinical. Some projects specify adjustable CCT (correlated color temperature) so the same light box can shift between warm and neutral tones for different seasonal campaigns.
Maintenance access. LEDs have long operational lifespans, but power supplies and drivers may need replacement. The specification should account for how service access works — whether the frame opens from the front, rear or side — especially for recessed or high-mounted installations.
Graphic Method — Fixed Print or Replaceable Panel
How the visual graphic is applied to a light box affects the frame design, panel access and long-term flexibility.
Fixed UV-printed acrylic. The graphic — a logo, pattern, product visual or brand element — is printed directly onto the acrylic panel surface using UV ink. The result is a clean, durable display with no separate graphic layer to manage. This method is best for permanent brand signage: store name signs, product category markers and logo displays that will not change between campaigns.
Replaceable graphic panel. The graphic is a separate printed film (such as Duratrans backlit film) or tension fabric that can be swapped without disassembling the light box. This requires a frame profile with a snap-open channel, slide-in slot or hinged front panel. Replaceable graphics are the standard choice for seasonal campaign displays, promotional windows and any light box where the visual needs to be updated regularly — often quarterly or more frequently.
Hybrid configuration. Some retail light boxes combine a fixed element with a changeable zone. A permanent brand logo occupies one section of the display while a separate panel area holds a replaceable campaign graphic. This approach is common in stores that maintain consistent brand signage year-round but rotate promotional visuals for new collections or seasonal events.
The graphic method should be decided early in the specification process. It directly affects the frame profile choice, the front panel access design and whether the light box needs gaskets, magnetic closures or hinged hardware.
Installation and Mounting
Different retail environments require different installation methods, and each method creates specific structural requirements for the light box frame.
Wall-mounted. The most common installation for retail light boxes. Typically uses a hidden bracket, French cleat or Z-bar fixed to the wall, with the light box hanging on top. The cable exit is usually from the rear or the bottom edge. Wall material (drywall, concrete, glass partition) determines the bracket type and weight limit.
Suspended. Light boxes hung from the ceiling using aircraft cables, threaded rods or a track system. Often used for double-sided displays visible from both directions. The frame must accommodate hanging hardware and balanced weight distribution, and the cable routing needs to reach the ceiling junction box.
Freestanding. Requires a weighted base, floor stand or integration into a display fixture. Common for pop-up stores, in-store promotional zones and trade environments where wall mounting is not available. Stability and base footprint are key structural considerations.
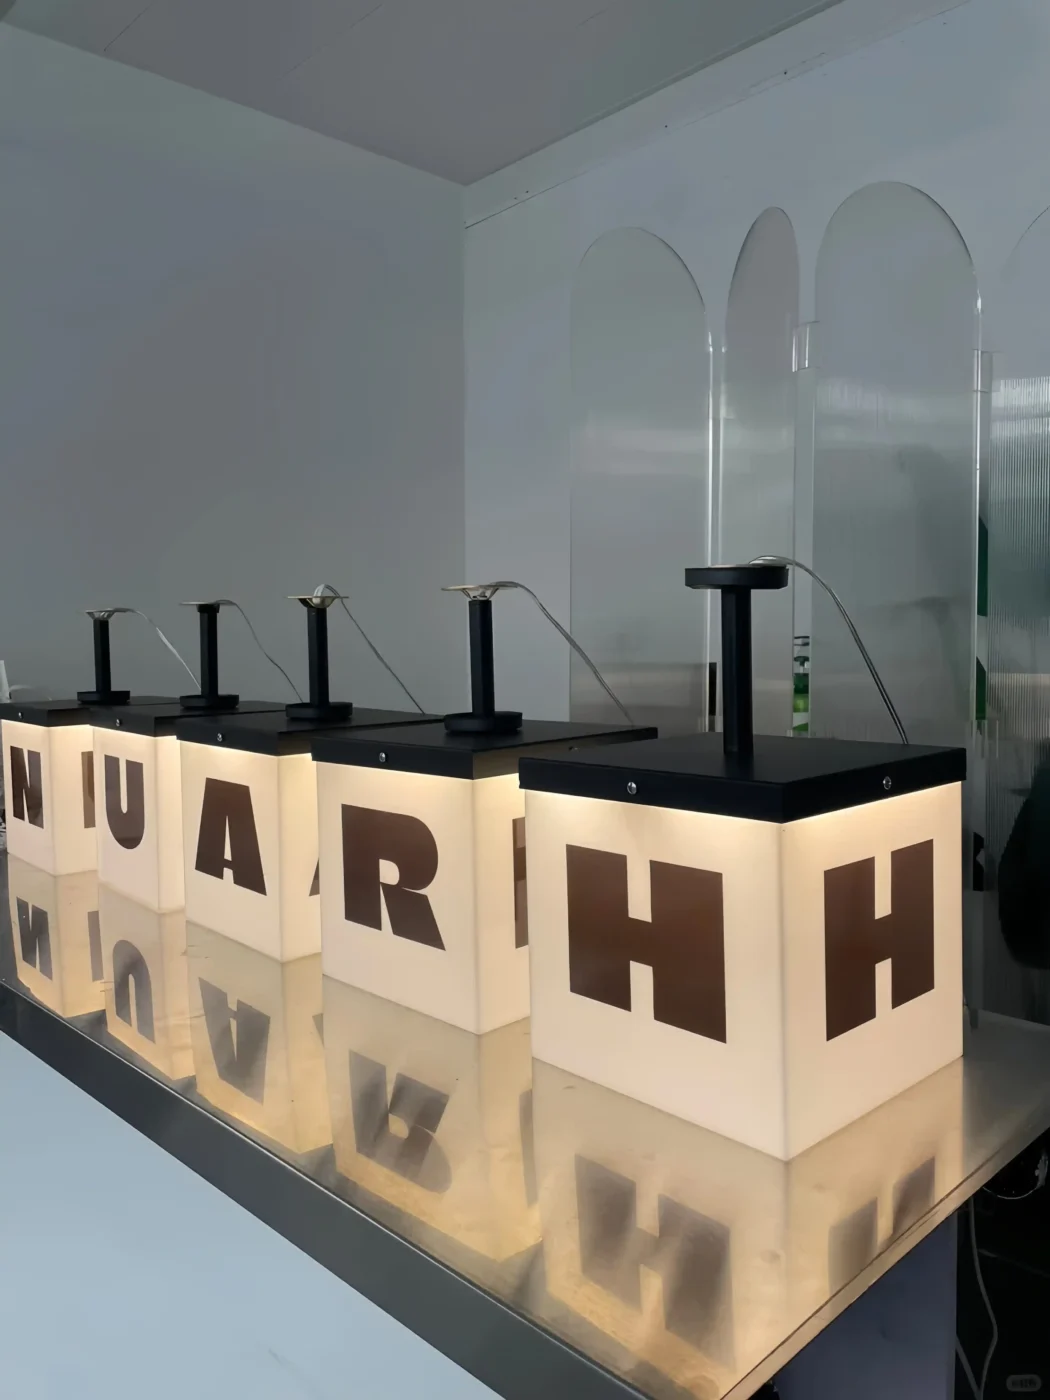
Counter or POS integrated. Compact light boxes built into a counter fixture, cosmetic plinth, jewelry display or point-of-sale unit. Cable management is particularly important at this scale — visible wires or bulky transformer boxes undermine the display quality.
Recessed or flush-mounted. Built into a wall recess, bulkhead or architectural feature so the light box surface sits flush with the surrounding surface. This gives the cleanest result but requires coordination with the store fit-out team and limits post-installation maintenance access.
Each installation method influences the frame structure, internal wiring path, cable exit position and weight distribution. Including the intended installation method in the specification is essential — a light box designed for wall mounting cannot simply be converted to a ceiling suspension without structural changes.
For broader project planning, see retail display solutions.
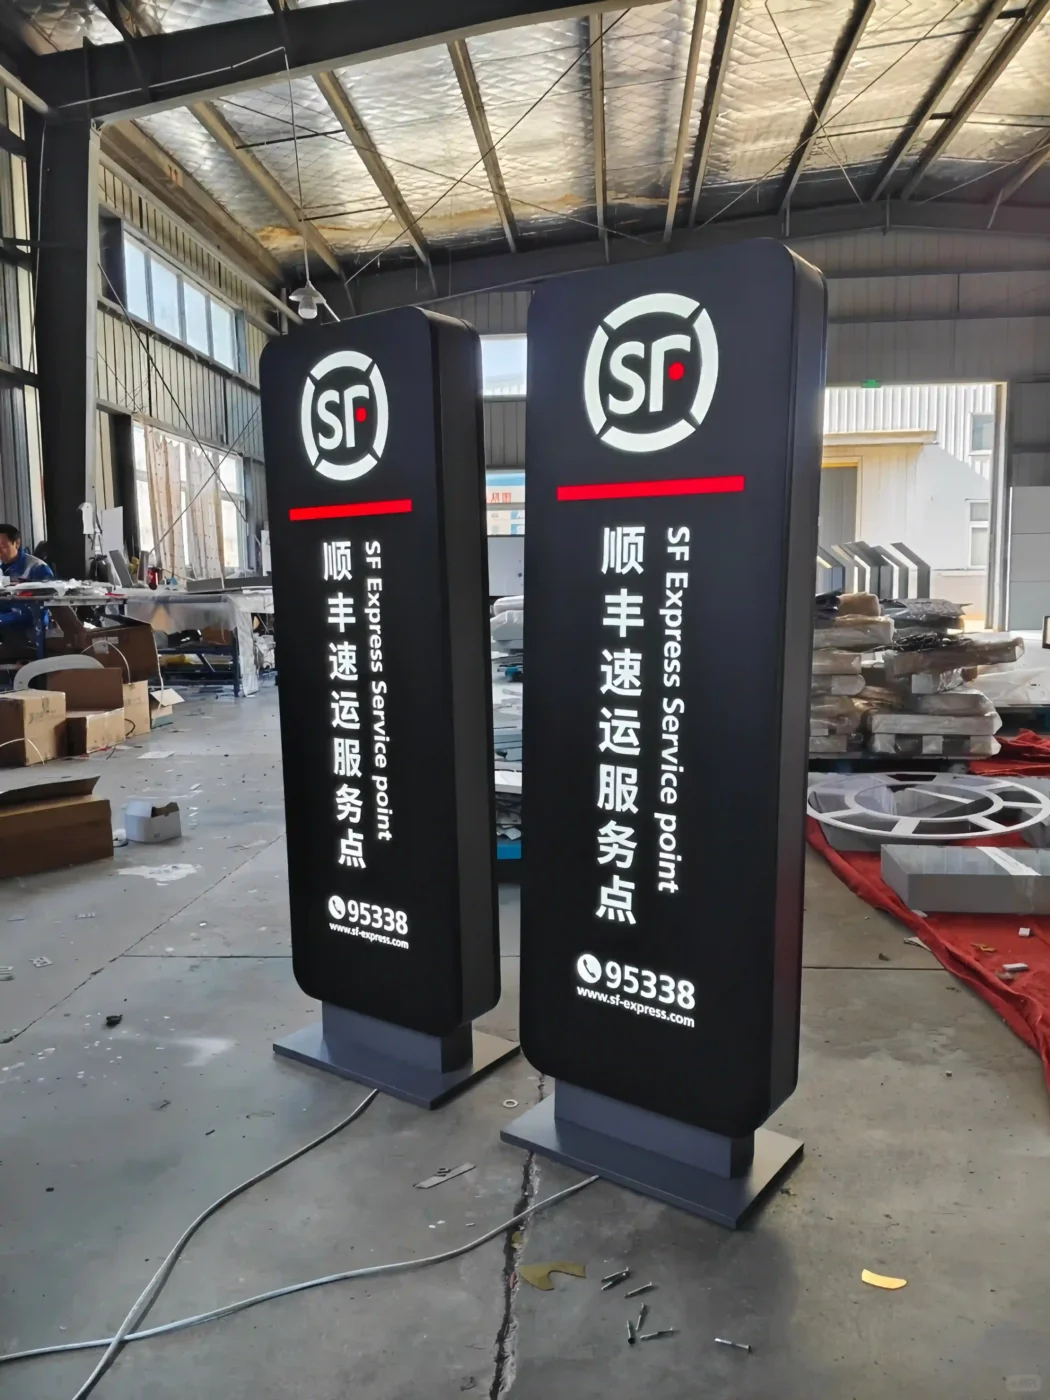
Packing and Shipping for Export Projects
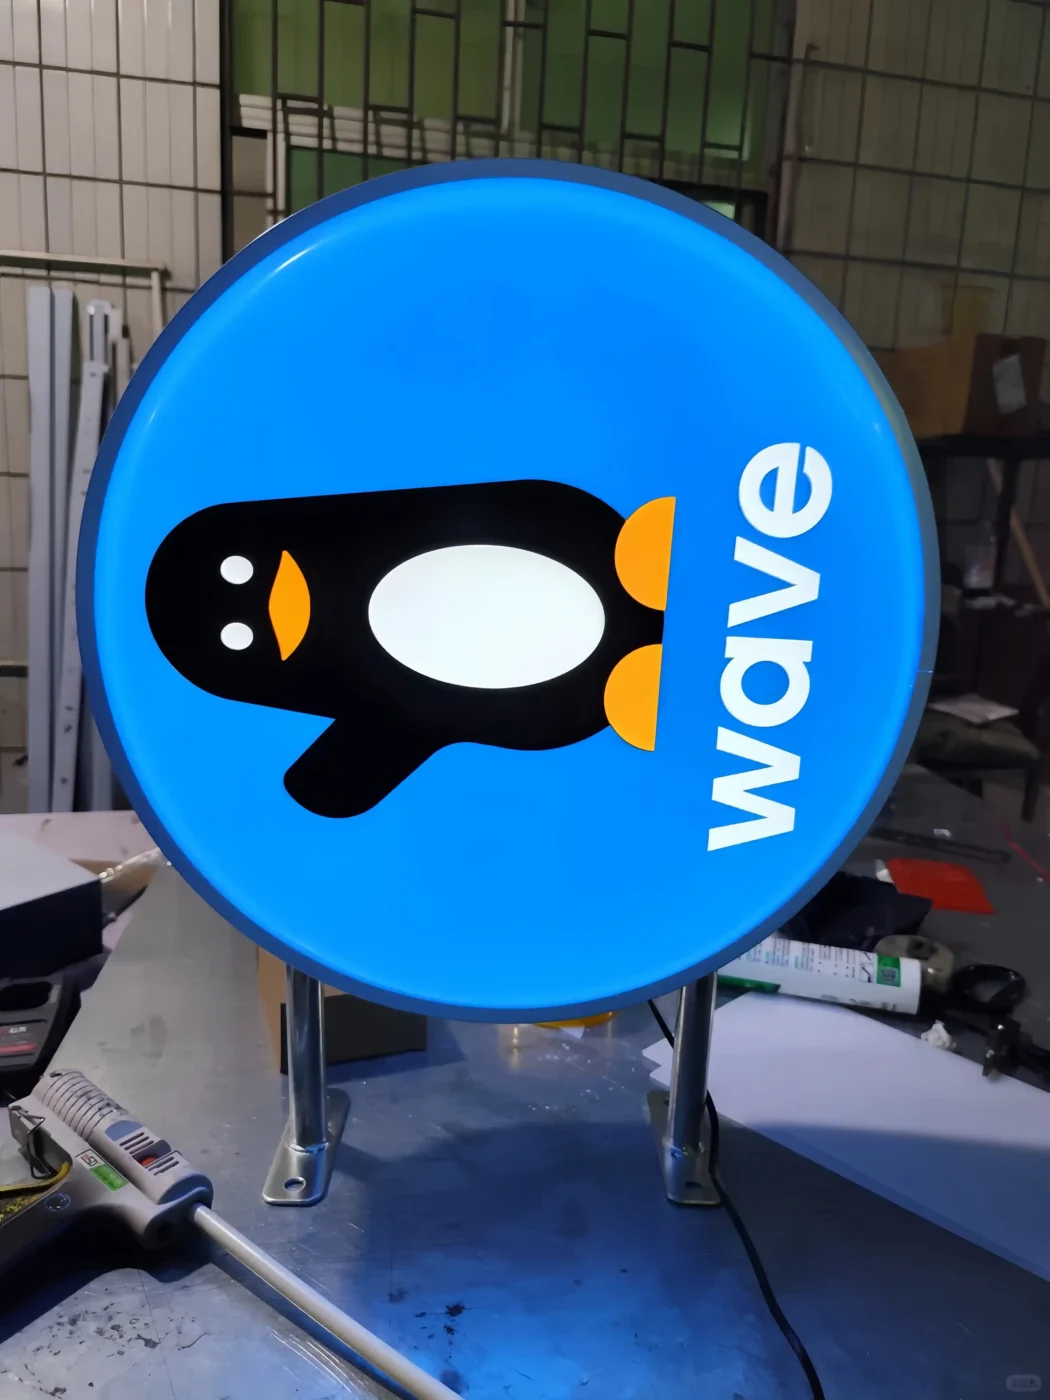
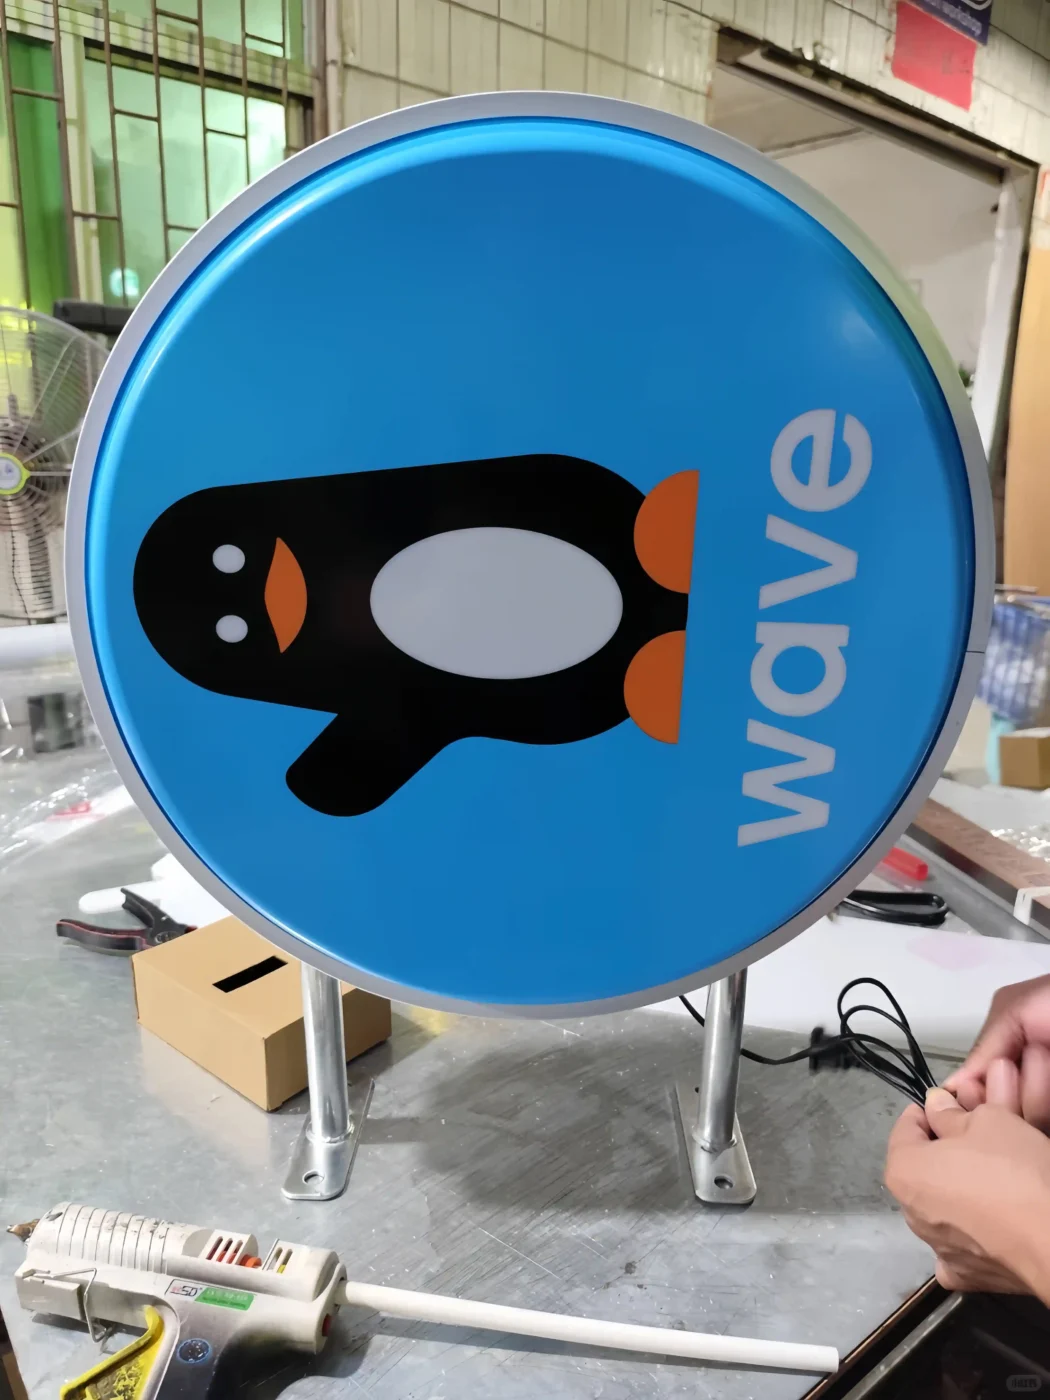
Acrylic light boxes are fragile products. The acrylic panel scratches easily, large panels can crack under vibration or pressure, and aluminum frame corners can dent if not properly protected. For international retail projects — where light boxes are shipped from the factory to stores across multiple countries — the packing specification is as important as the display specification itself.
Standard export packing for custom retail light boxes includes protective film on all acrylic surfaces, foam corner guards on the frame, EPE or EVA foam lining inside the carton and a rigid outer container. For larger or heavier units, wooden crate packing with internal bracing is used.
For multi-store rollout projects, each light box should be individually wrapped, labeled and packed in a way that allows store-level installation staff to identify, unpack and install without the manufacturer being present. Clear labeling — store name, unit position, orientation marks, assembly sequence — reduces installation errors significantly.
Knockdown (KD) packing is an option for projects where shipping cost is a concern. The frame, acrylic panel, LED module and mounting hardware are packed separately and assembled on-site. KD packing reduces carton volume and shipping weight but requires clear assembly instructions and pre-labeled components.
For export shipments, the crating material must comply with ISPM 15 (International Standards for Phytosanitary Measures) — meaning fumigation-treated or heat-treated wood. The packing list should include per-case dimensions, weight, contents and any handling instructions.
The packing method should be specified during the production planning stage. Designing it as an afterthought often results in oversized cartons, inadequate protection or packing that does not fit the shipping container layout efficiently.
Related: custom display manufacturing
What to Prepare Before Requesting a Custom Light Box Quote
A clear specification request helps the manufacturer assess structure, materials, production complexity and delivery logistics accurately. Before reaching out for a quotation, prepare:
- Display dimensions — width, height and preferred depth
- Quantity and number of design variations
- Indoor or outdoor use
- LED configuration preference (backlit or edge-lit) or a description of the intended lighting effect
- Acrylic type or desired visual effect (uniform glow, frosted, printed graphic, clear)
- Graphic method — fixed UV print or replaceable panel
- Color temperature — warm white, neutral white or adjustable
- Installation method — wall-mounted, suspended, freestanding, counter-integrated or recessed
- Logo file or artwork in vector format (AI or PDF preferred)
- Store photos or design renders showing where the light box will be installed
- Delivery destination and required arrival date
If a reference image of a similar light box is available, include it. A visual reference helps the manufacturer gauge frame depth, surface finish and structural complexity faster than a written description.
For branded retail projects, request a custom light box display quote.
Frequently Asked Questions
What is the best frame depth for a retail light box display?
It depends on the display size, LED configuration and viewing distance. Edge-lit signs typically use 25–40 mm frames. Backlit wall panels work well at 60–100 mm. Large window display backgrounds may need 100–150 mm to ensure even light distribution without visible LED hot spots.
Can light box graphics be changed after installation?
Yes, if the light box is designed with a snap-open frame or slide-in graphic channel. Replaceable panels are standard for seasonal campaign displays. For permanent brand signage, fixed UV-printed acrylic is more durable and requires no graphic management.
What acrylic is best for light box diffusion?
Milky white acrylic is the most common diffuser for uniform backlit illumination. Frosted acrylic provides a softer matte finish used in luxury retail environments. Clear acrylic is used for logo covers, protective layers and transparent layered effects.
What is the difference between backlit and edge-lit light boxes?
Backlit light boxes have LED modules behind the panel and need more frame depth (60 mm or more) but produce stronger, more even illumination. Edge-lit light boxes mount LEDs along the frame edge and can achieve slimmer profiles (25–40 mm), though brightness is limited on larger panels.
How should custom light boxes be packed for international shipping?
Acrylic panels require protective film, foam lining and corner guards. For export projects, light boxes are typically crated in ISPM 15-compliant wood with internal bracing. Knockdown packing — shipping the frame, panel and LED system separately — reduces volume and shipping cost for multi-store rollouts.
Do retail light boxes need aluminum frames?
Not all light boxes use aluminum frames, but aluminum is recommended for retail projects. It provides structural rigidity, precise edge profiles, heat dissipation for the LED system and internal channels for cable routing — all of which contribute to a cleaner, more durable finished display.