Quick Answer: What Drives Window Display Production Cost?
Window display production cost is shaped by seven design decisions made before manufacturing begins: material selection, surface finish specification, prop scale and structural complexity, order quantity, production timeline, packaging and shipping method, and installation requirements. Surface finish typically creates the widest cost variation — the same prop shape can cost two to four times more with an electroplated mirror surface than with a standard painted finish. Providing a complete brief at the quotation stage is the most effective way to keep a custom display project on budget.
Most brand teams have the same experience. The concept render looks finished, the creative direction is approved, and the brief goes out for production quotations. Then the numbers come back, and they do not match the expectation built by the render alone.
The reason is straightforward. A render is a picture. A production quote prices every physical decision behind that picture: what the prop is made of, how its surface is treated, how large it is, how many copies are needed, how quickly they must ship, how they are packed and how they will be installed. Change any one of those decisions and the quote changes with it.
This guide explains the seven design decisions that most affect window display production cost, written from the manufacturer’s side of the conversation. It is not a price list. Retail display projects vary too much for fixed numbers to be useful. Instead, it explains the cost logic behind each variable so that brand teams, VM managers and procurement leads can read a quote with more clarity and adjust briefs before locking the production file.
If you are earlier in the project and still choosing materials, start with our guide to window display props. If you need a broader overview of how a project moves from concept to storefront, see our guide to store window displays.
1. Material Choice Sets the Display Production Cost Baseline
Material is usually the first cost lever. Two props with the same shape, the same size and the same colour can sit in very different price ranges if one is made in FRP and the other in stainless steel.
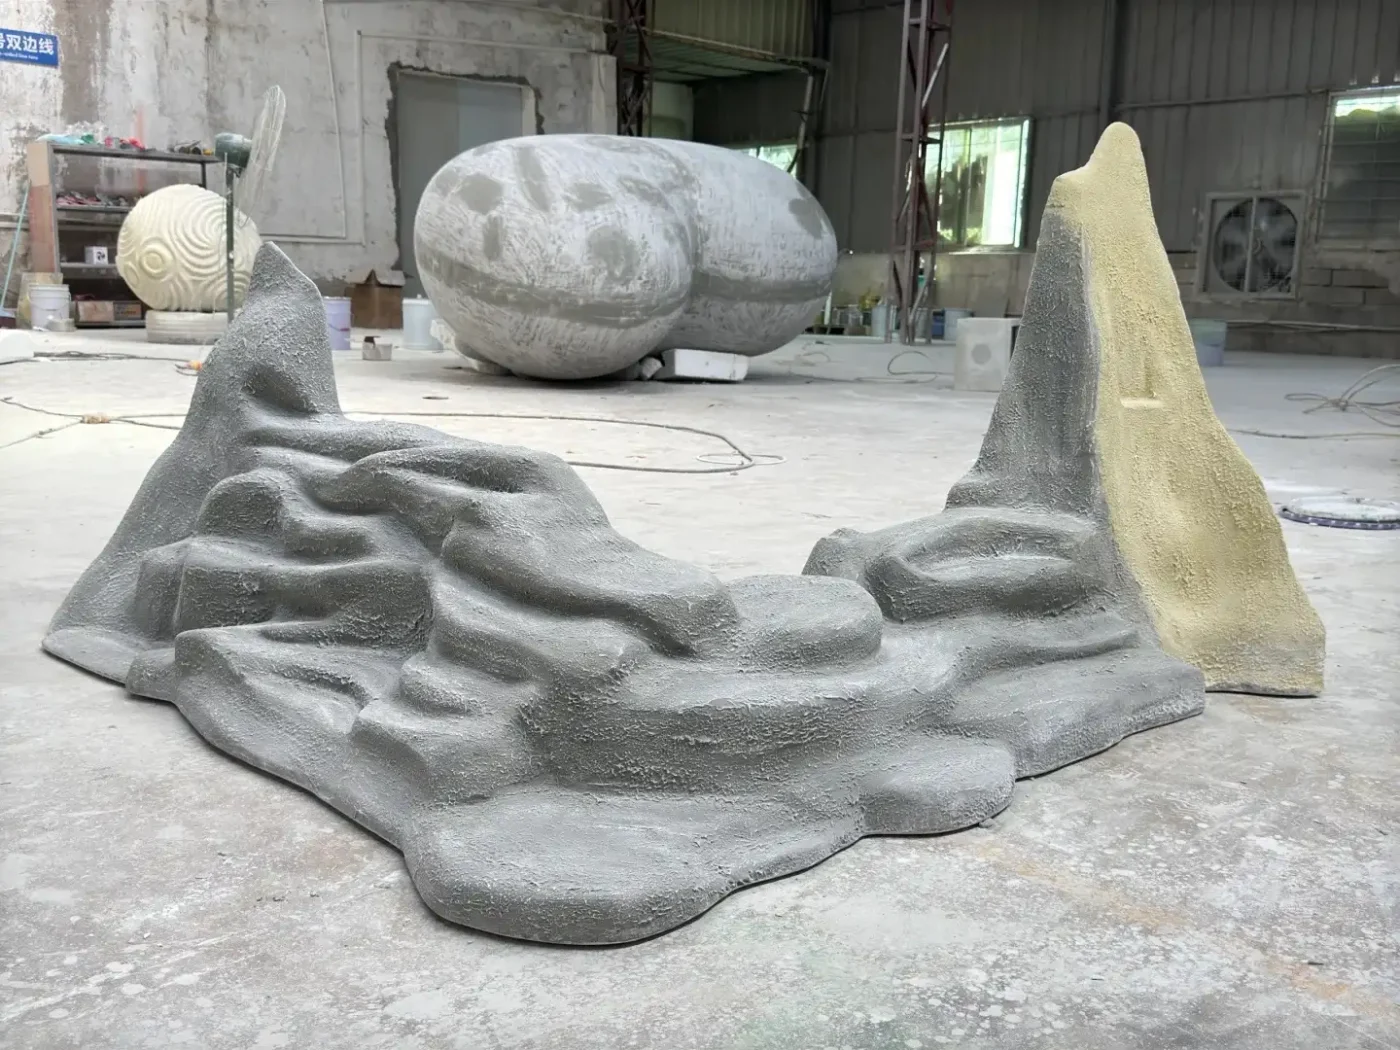
Each material carries its own cost structure. FRP is strong and lightweight, which helps with shipping and installation, but sculpting and mould-making add upfront cost that only pays off at higher quantities. Metal is structurally predictable and finishes well, but welding, polishing and PVD coating are labour-intensive. Acrylic gives clean optical effects and works well with internal lighting, but large acrylic panels are fragile in transit and need careful packing. MDF and wood are cost-efficient for bases, backdrops and platform structures, but they are heavier and less suitable for complex curved forms.
The cheapest material is not always the cheapest project. A lighter material may save enough on freight to offset a higher unit price. A more durable material may reduce damage claims across a multi-store rollout. A material that accepts the required finish in fewer production steps may shorten lead time and lower labour cost.
The useful question is not which material costs less per kilogram. It is which material delivers the required visual result, structural performance and shipping safety at the lowest total project cost.
For a detailed comparison of common display prop materials, explore our Knowledge Hub guides on FRP, acrylic, metal fabrication and MDF.
2. Surface Finish Is Where Display Costs Diverge Fastest
Surface finish is the single variable that surprises brand teams most often. In a render, a metallic surface is a slider. In a factory, it is a choice between four or five completely different process routes, each with its own cost, lead time and visual result.
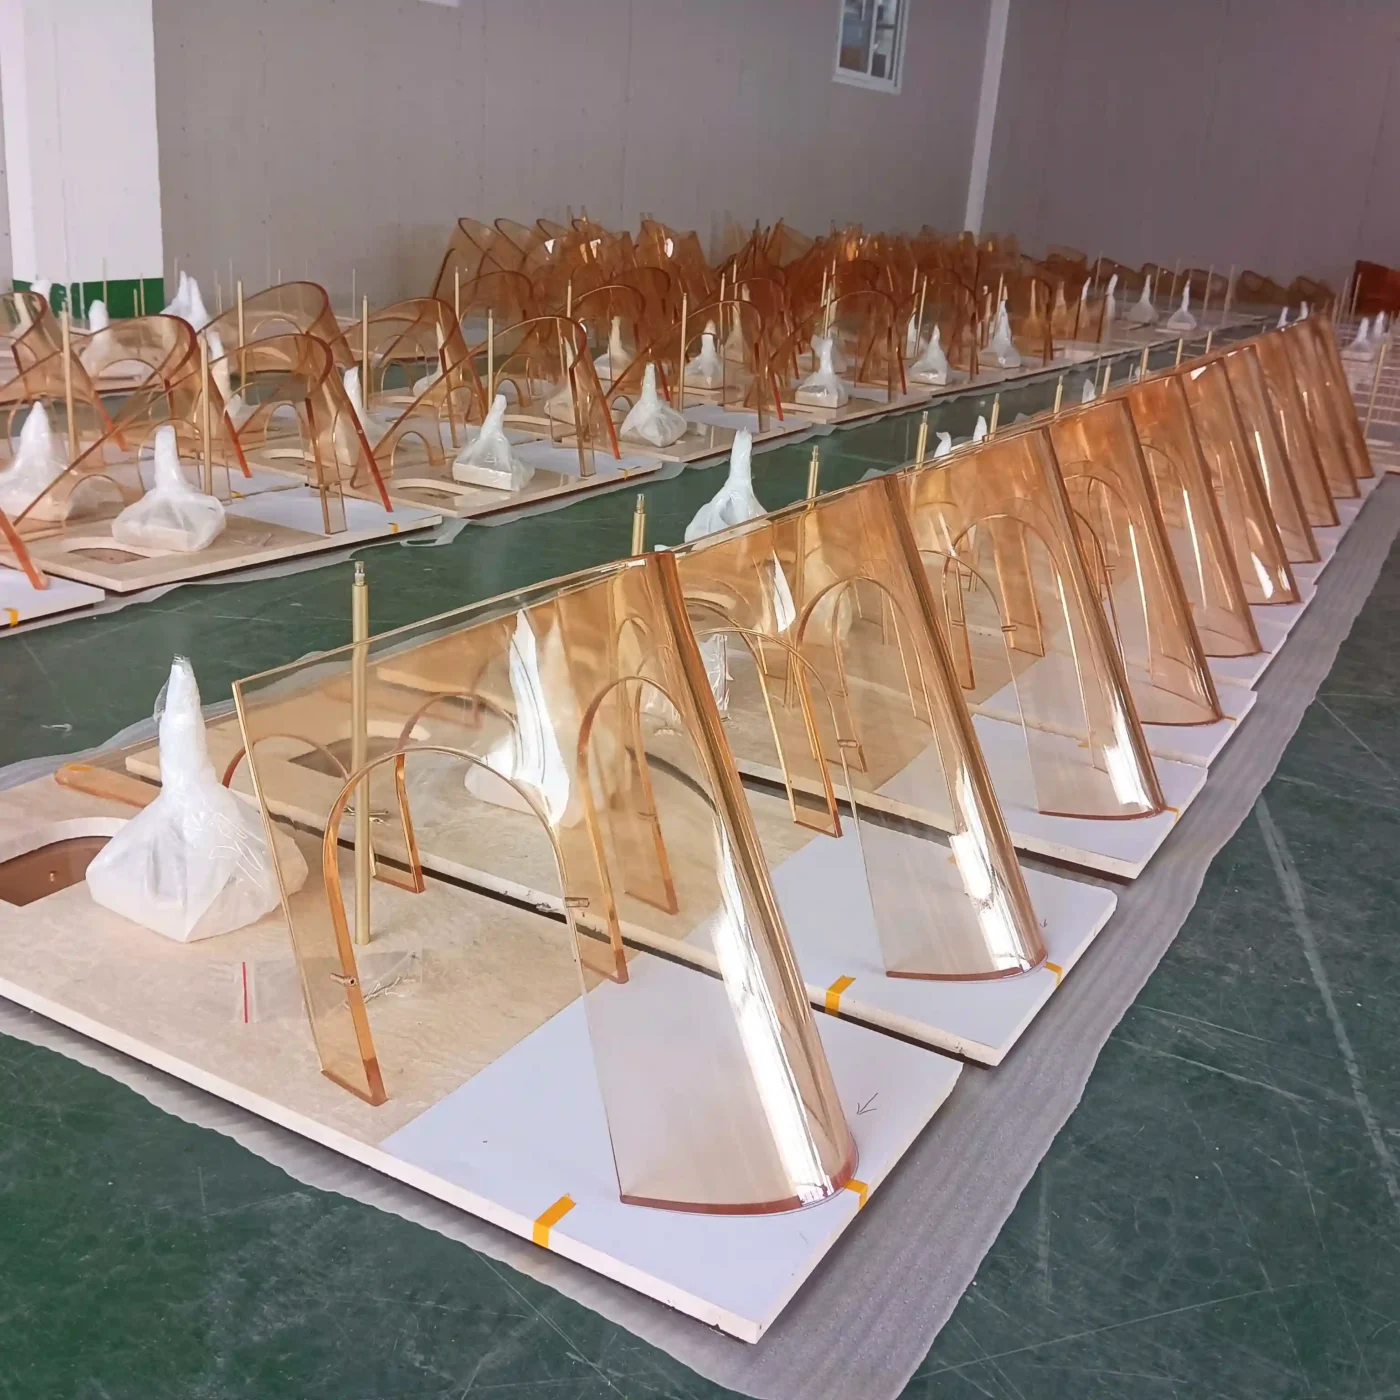
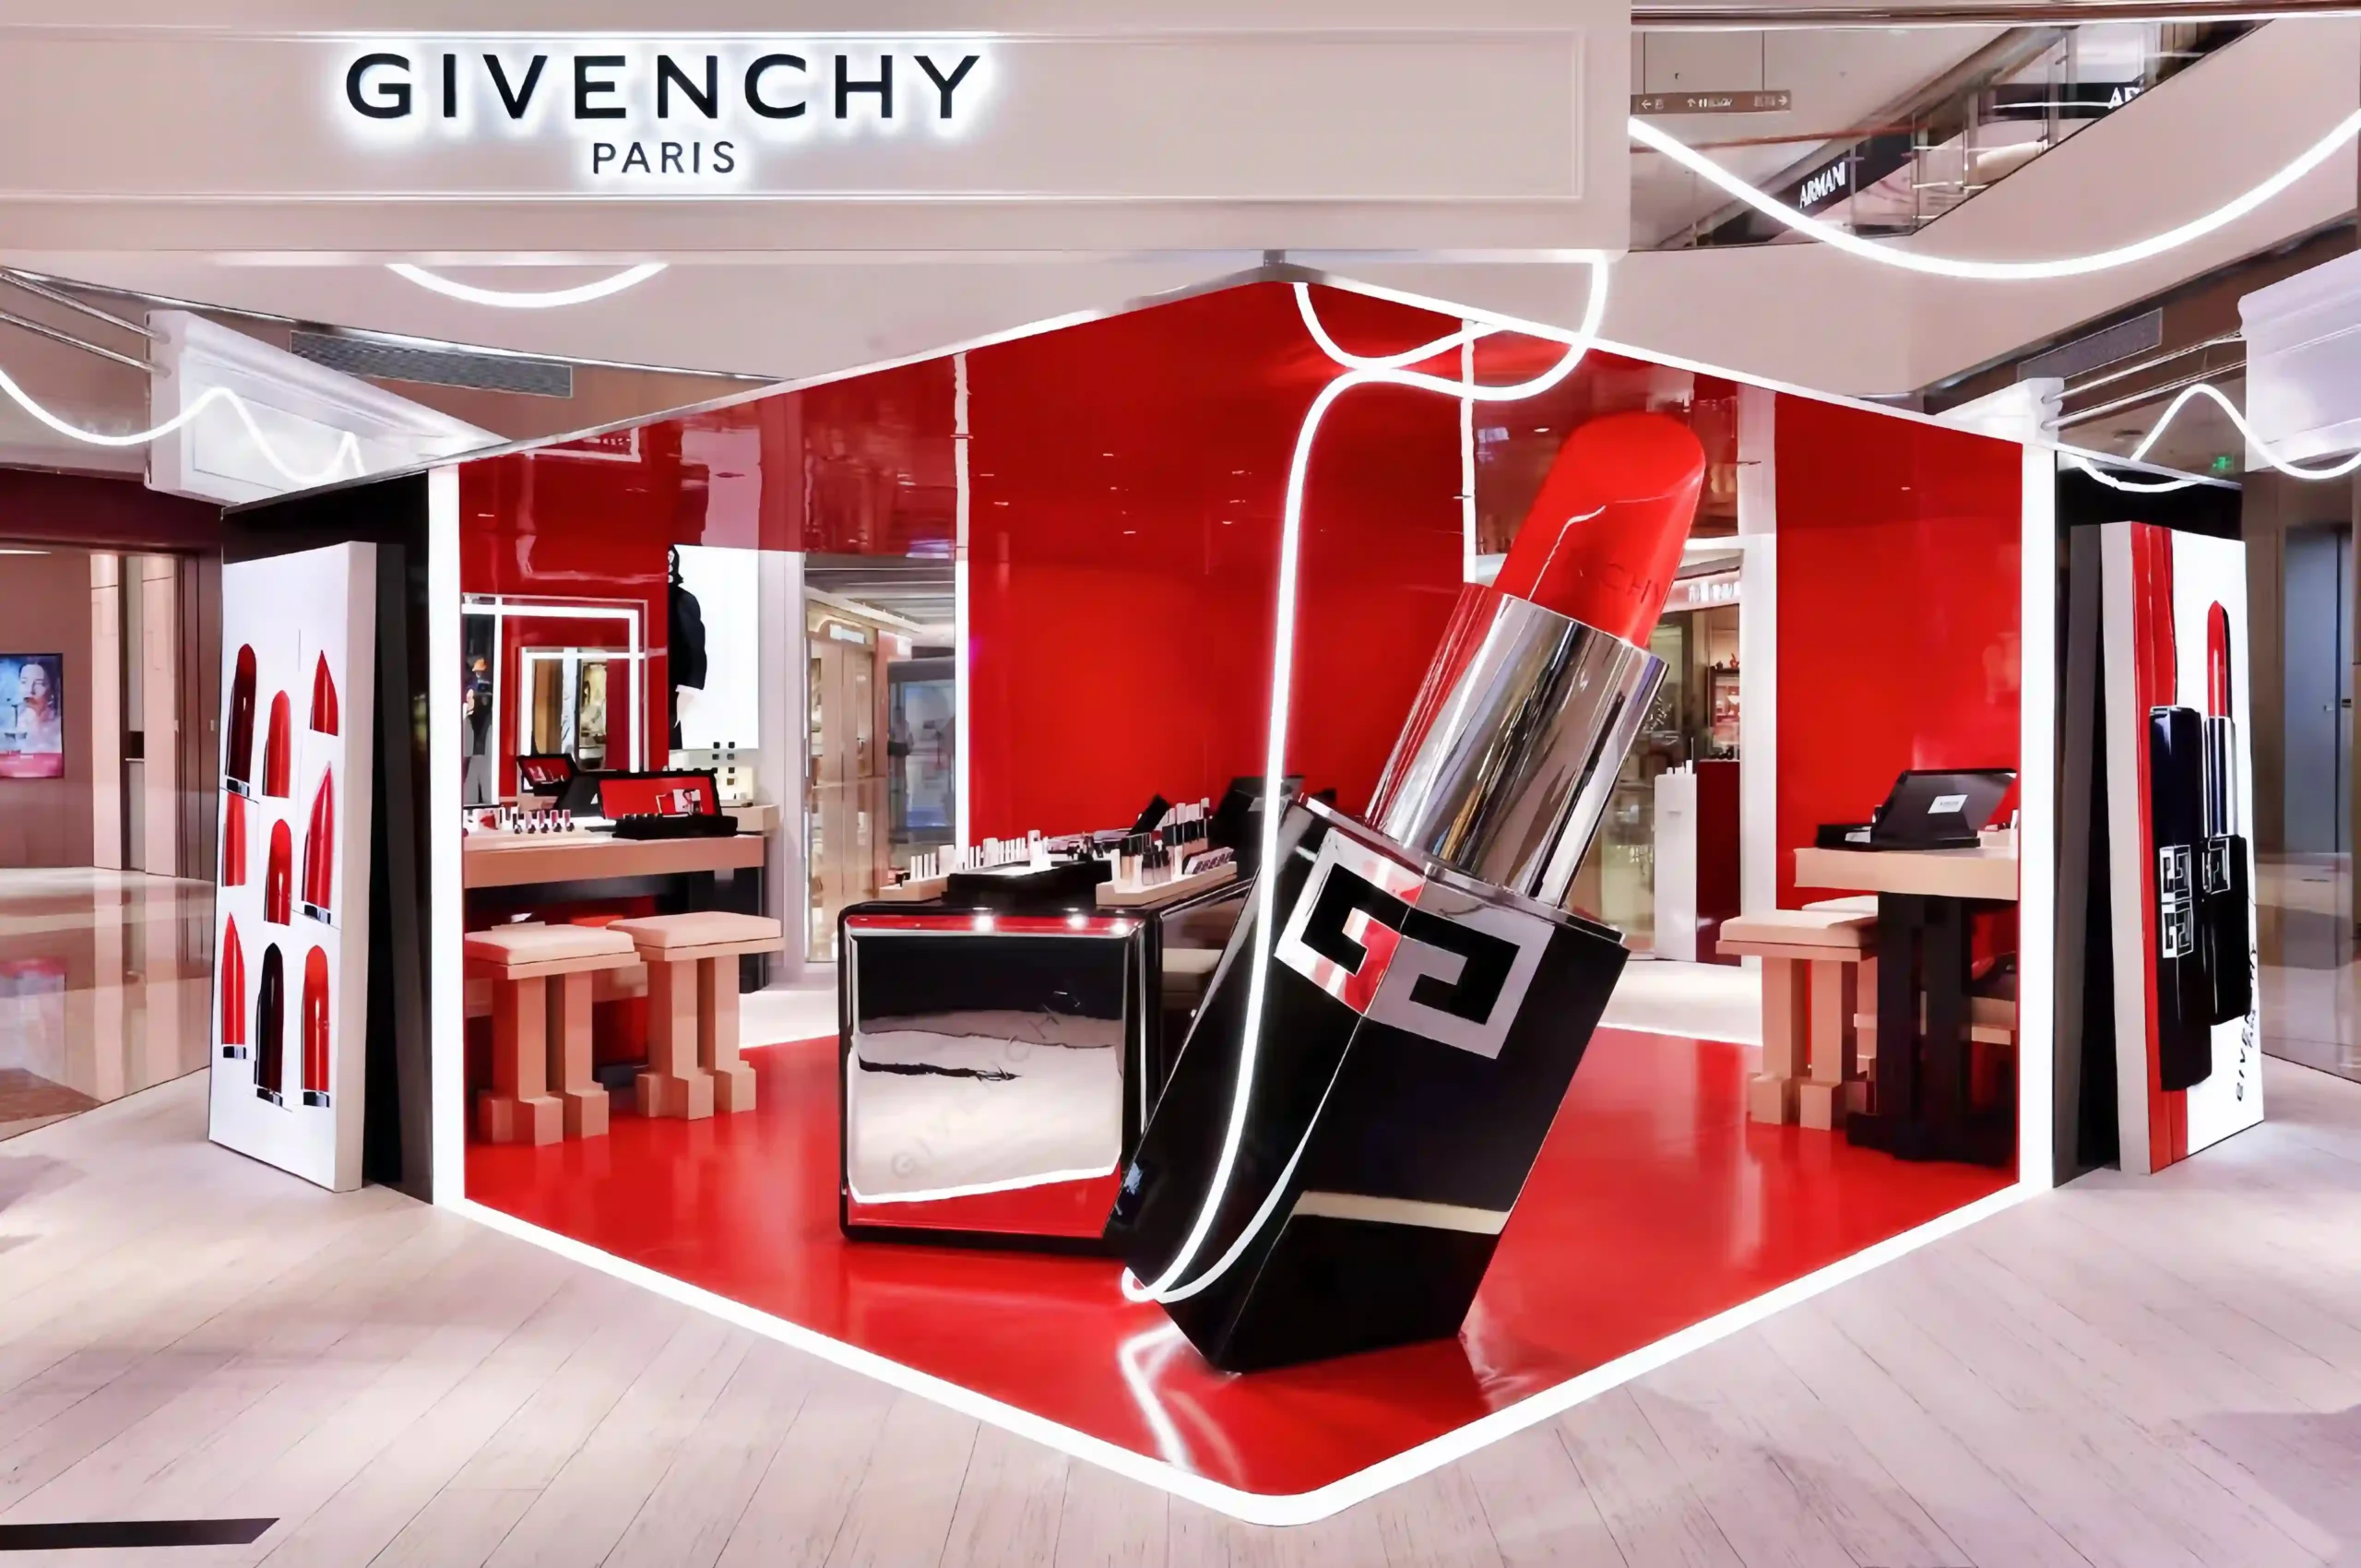
A prop that needs a matte painted surface follows a relatively standard route: primer, colour coat, clear coat. A prop that needs a mirror-gold metallic surface may go through vacuum forming, body filler application, multi-stage sanding, electroplating and a protective polyurethane top coat. Those are not the same project, even if the prop shape is identical.
Common finish routes and their relative cost impact:
Standard spray paint in a RAL or Pantone colour is usually the most affordable finish. It works on FRP, metal, MDF and most substrates.
UV vacuum metalising creates a reflective metallic surface at moderate cost. It requires careful surface preparation and a sealed top coat to protect the finish.
Electroplating produces a heavier, more durable metallic surface with stronger reflective depth, but it costs more than vacuum metalising and adds production time.
PVD coating on stainless steel delivers a premium metal finish with excellent durability, but it requires the base metal to be polished to a high standard first, which adds labour.
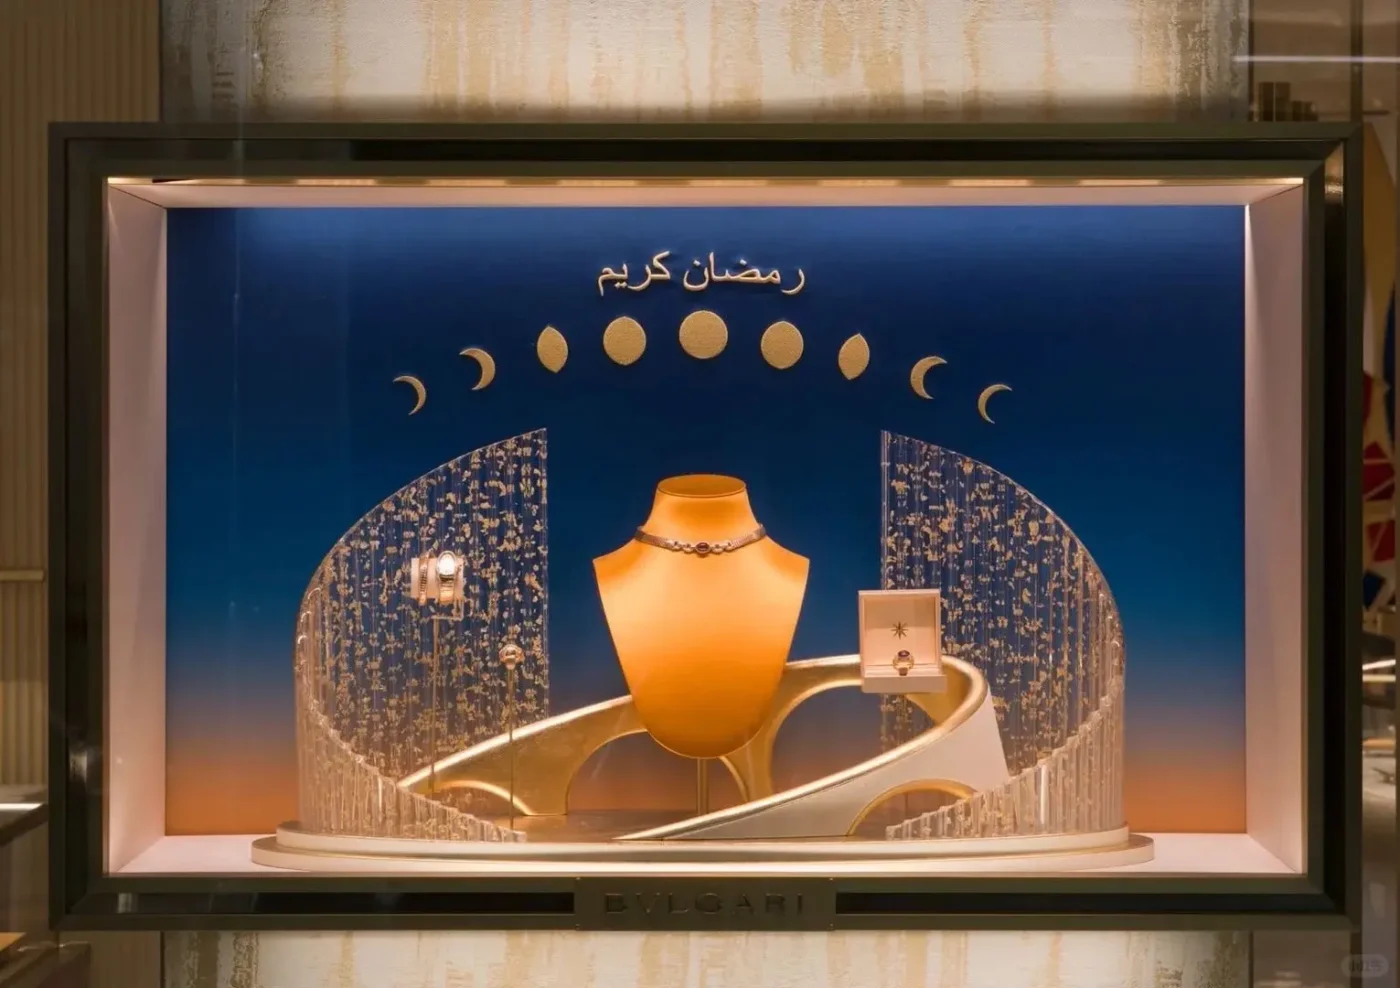
Gold or silver leaf gilding is a hand-applied process used for ultra-luxury projects. It is the most expensive surface treatment and is typically reserved for flagship or one-off installations.
Electrostatic flocking creates a soft velvet texture. It is moderately priced but adds a dedicated production step after the base form and primer are complete.
The production cost of a prop with a simple painted finish and the same prop with an electroplated mirror surface can differ by two to four times. That gap is almost entirely in the finish, not the structure.
If the budget is fixed, the finish specification is often the most productive place to look for savings. A skilled manufacturer can suggest alternative process routes that achieve a similar visual effect at a lower cost — for example, using vacuum metalising instead of electroplating where the viewing distance and campaign duration allow it.
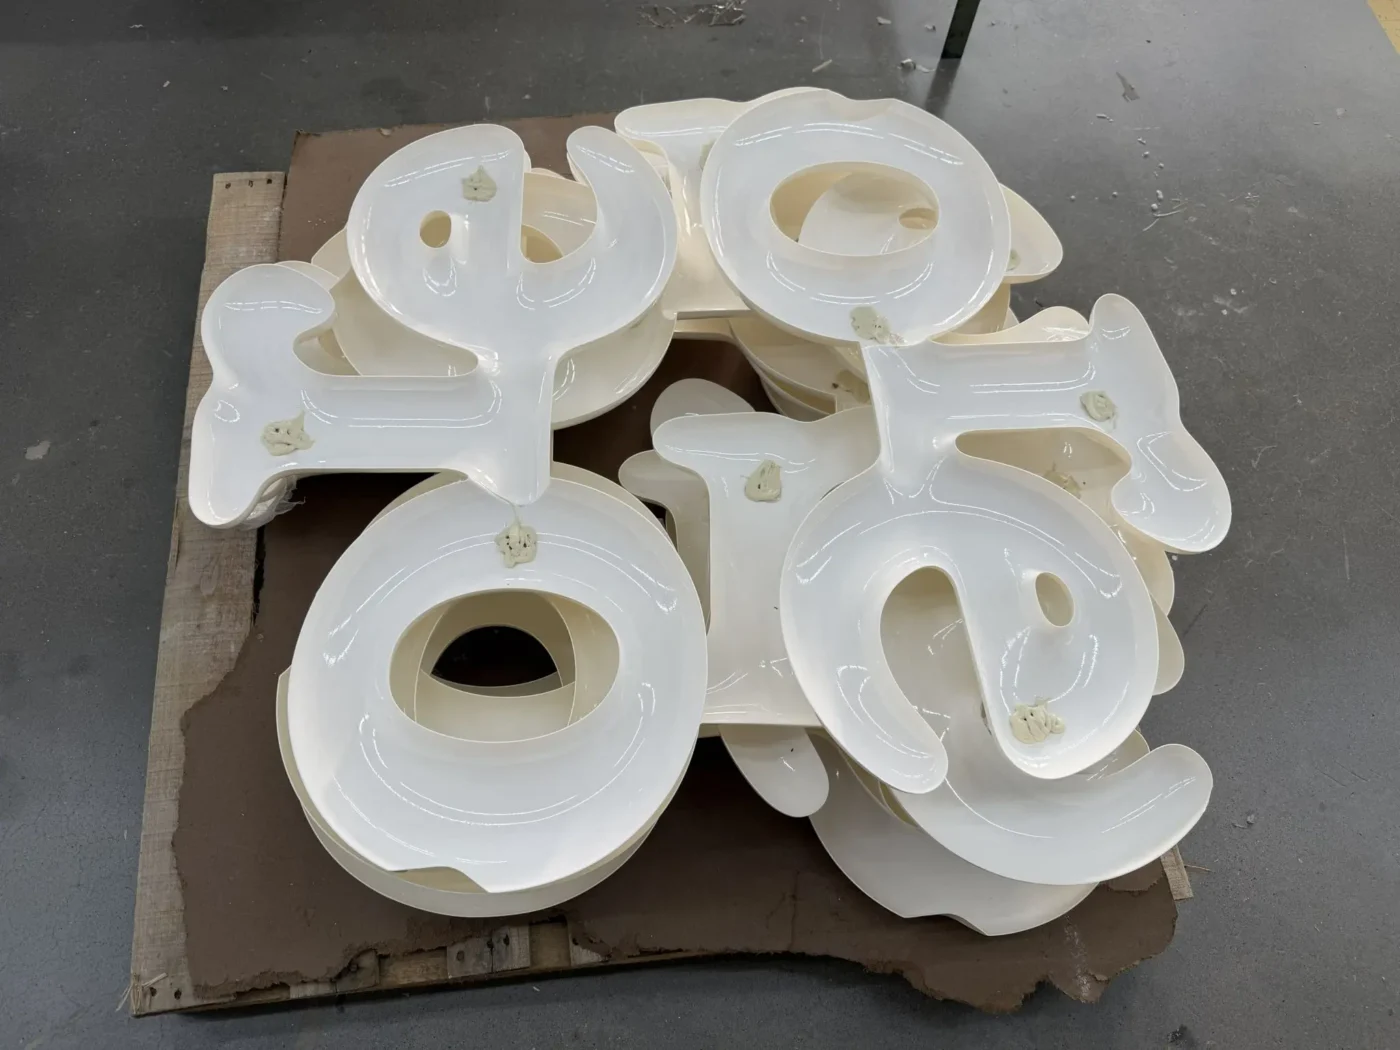
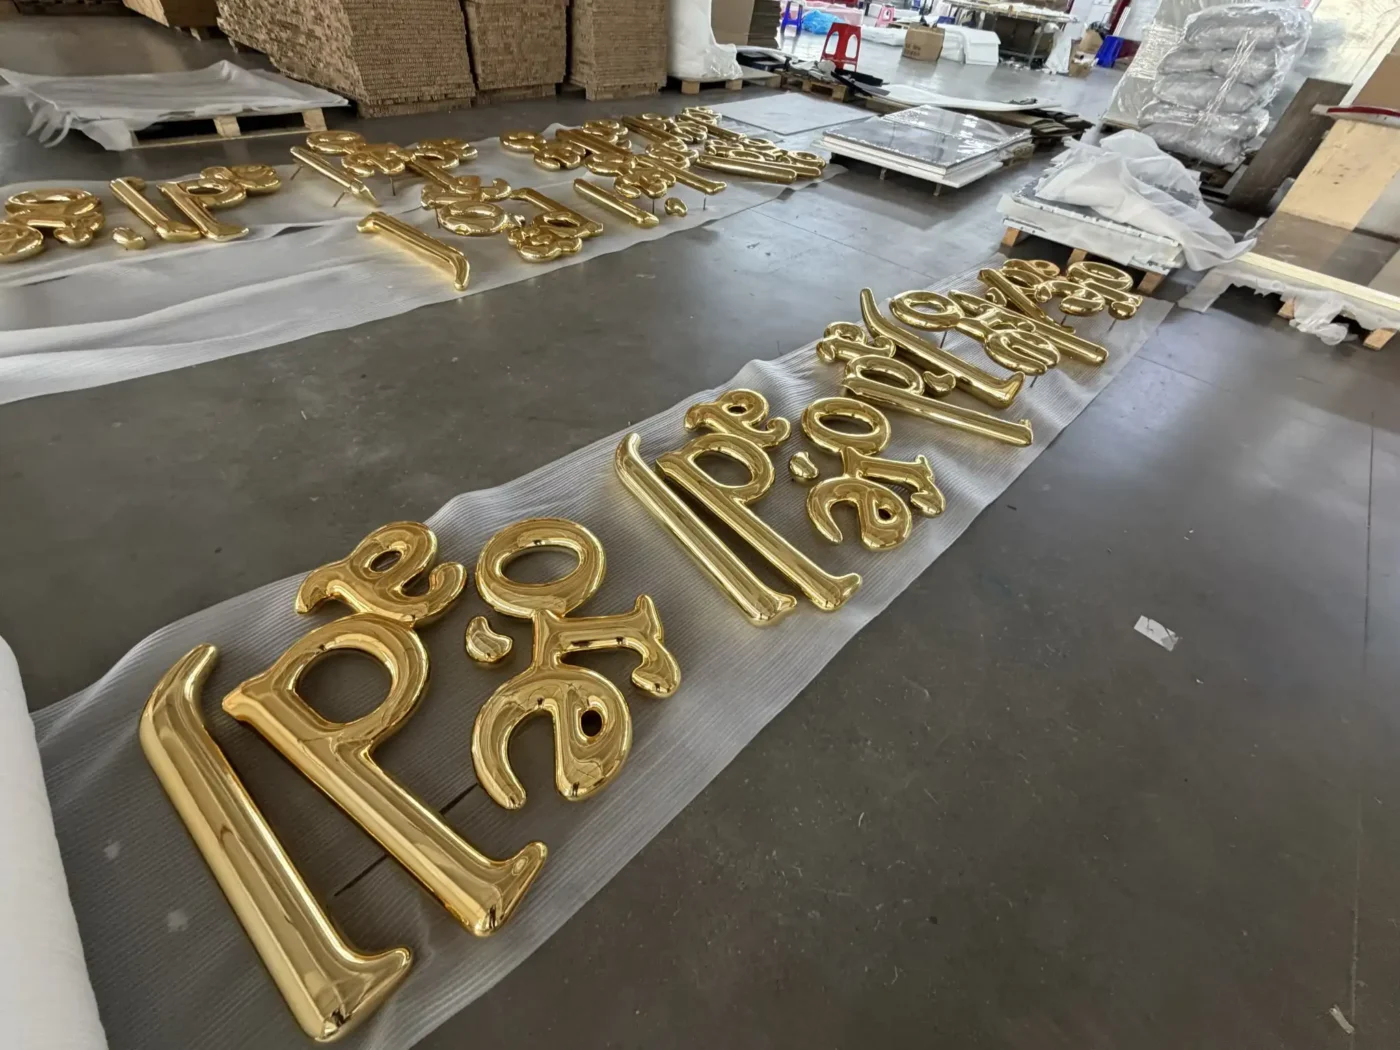
3. Scale and Structural Complexity: Why Display Prop Costs Are Not Linear
Doubling the size of a prop does not double the cost. It often increases it by three to five times, because several production variables scale faster than dimensions.
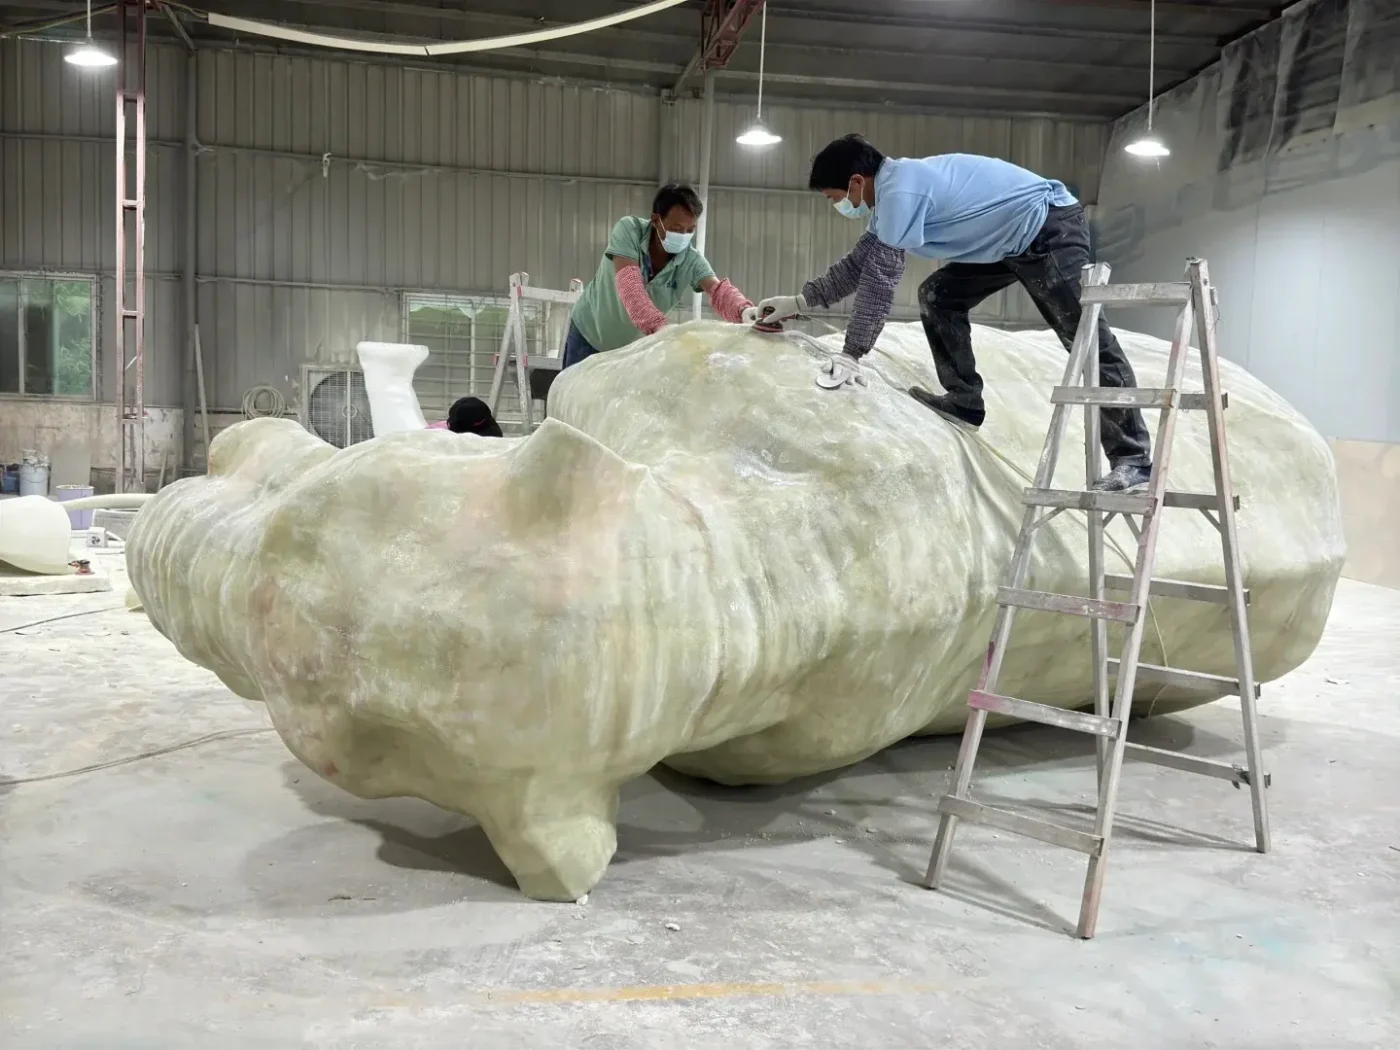
A larger FRP prop needs a larger mould, which takes more material, more workshop space and more labour to build. The internal structure needs stronger framing — steel armature, thicker fibreglass layup, or a combination of materials — to keep the prop stable and safe. The weight increases, which affects handling, packing and freight.
Structural complexity adds cost independently of size. A simple geometric plinth is a straightforward production. A curved organic sculpture with undercuts, internal lighting and concealed mounting points is a different category of work, even at the same overall height.
Hidden complexity is common in render-to-production projects. A floating element in a render needs a physical support in a real window. A hollow form that looks lightweight on screen may need an internal steel skeleton to stand safely. A prop designed to hang from a ceiling must account for load rating, rigging hardware and cable routing.
The earlier these structural requirements are identified, the less they cost. When structural decisions are made during the 3D modelling stage, they can be integrated cleanly. When they are discovered during fabrication, they become corrections — and corrections are always more expensive than planned engineering.
4. Order Quantity and How Tooling Amortisation Affects Unit Cost
For custom display props, the relationship between quantity and unit cost is steeper than most brand teams expect.
A one-off sculptural prop carries the full cost of mould making, 3D modelling, surface preparation and finish development on a single unit. When the same prop is produced in a run of 20 or 50 units, those fixed costs are shared across the batch, and the unit price drops significantly.
The cost structure typically breaks down into fixed costs and variable costs. Fixed costs include 3D modelling, mould fabrication, tooling, colour matching and sample development. These are roughly the same whether the order is for one piece or one hundred. Variable costs include raw material, labour, finishing, packing and shipping per unit. These scale more predictably with quantity.
For FRP props, mould cost is often the single largest fixed expense. A mould for a medium-sized sculptural prop can represent a substantial share of the total cost on a single unit, but less than ten percent of the total on a run of fifty.
This is why manufacturers often recommend producing a sample first, then confirming the full order. The sample absorbs the mould and development cost. The production run then benefits from the established tooling and process.
For multi-store rollout projects — 10, 50 or 100 sets — the cost advantage of batch production is significant. But it requires the design to be confirmed and stable before the run begins. Design changes after tooling is complete can reset part of the fixed cost.
5. Timeline Pressure Adds Real Production Cost
A standard production timeline for custom window display props is typically three to six weeks from design approval to shipping, depending on complexity. For larger or multi-material projects, eight to twelve weeks is common.
When that timeline compresses, costs increase in several ways.
Overtime and weekend labour rates are higher than standard shifts. Priority scheduling may require displacing other production jobs, which has a cost even if it is not always visible on the invoice. Faster-curing materials or accelerated finishing steps may be needed, some of which carry quality trade-offs. And if the project misses the sea freight window, air freight replaces it — at roughly five to ten times the shipping cost for bulky display items.
Sea freight from a manufacturing facility in China to Europe or North America typically takes 40 to 50 days. Air freight door-to-door can deliver in 8 to 12 days for bulky items, but the cost difference is substantial.
The most effective way to manage timeline cost is to start earlier. For seasonal campaigns, the brief and sampling should ideally begin four to six months before the in-store date. Projects that start sampling in the last eight weeks before installation are almost always more expensive — not because the manufacturing itself costs more, but because every other cost around it inflates.
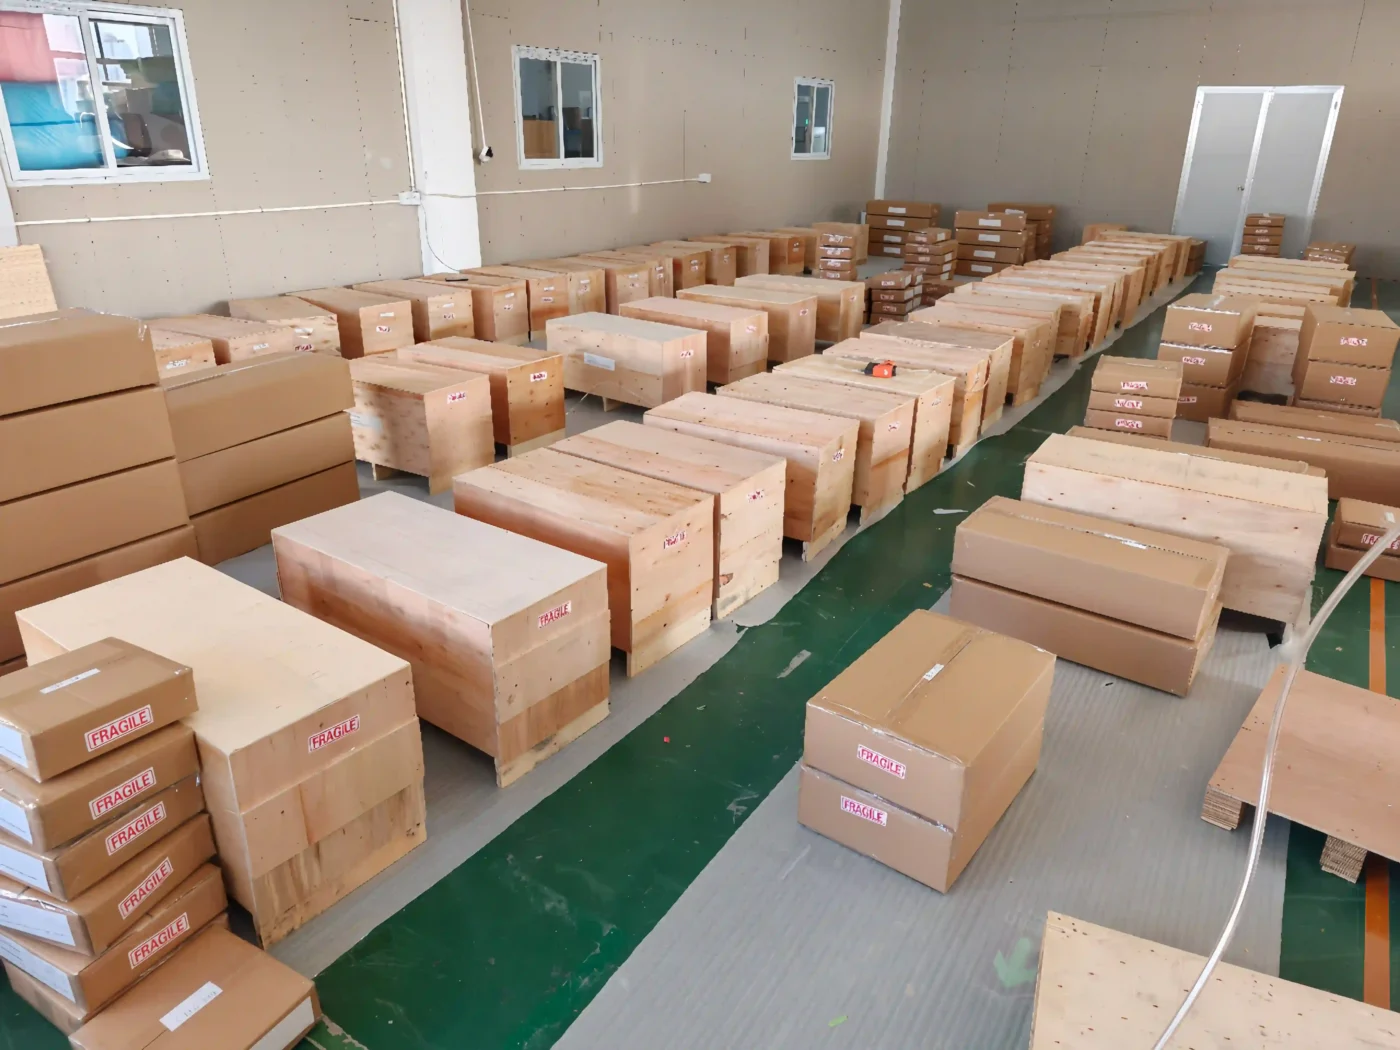
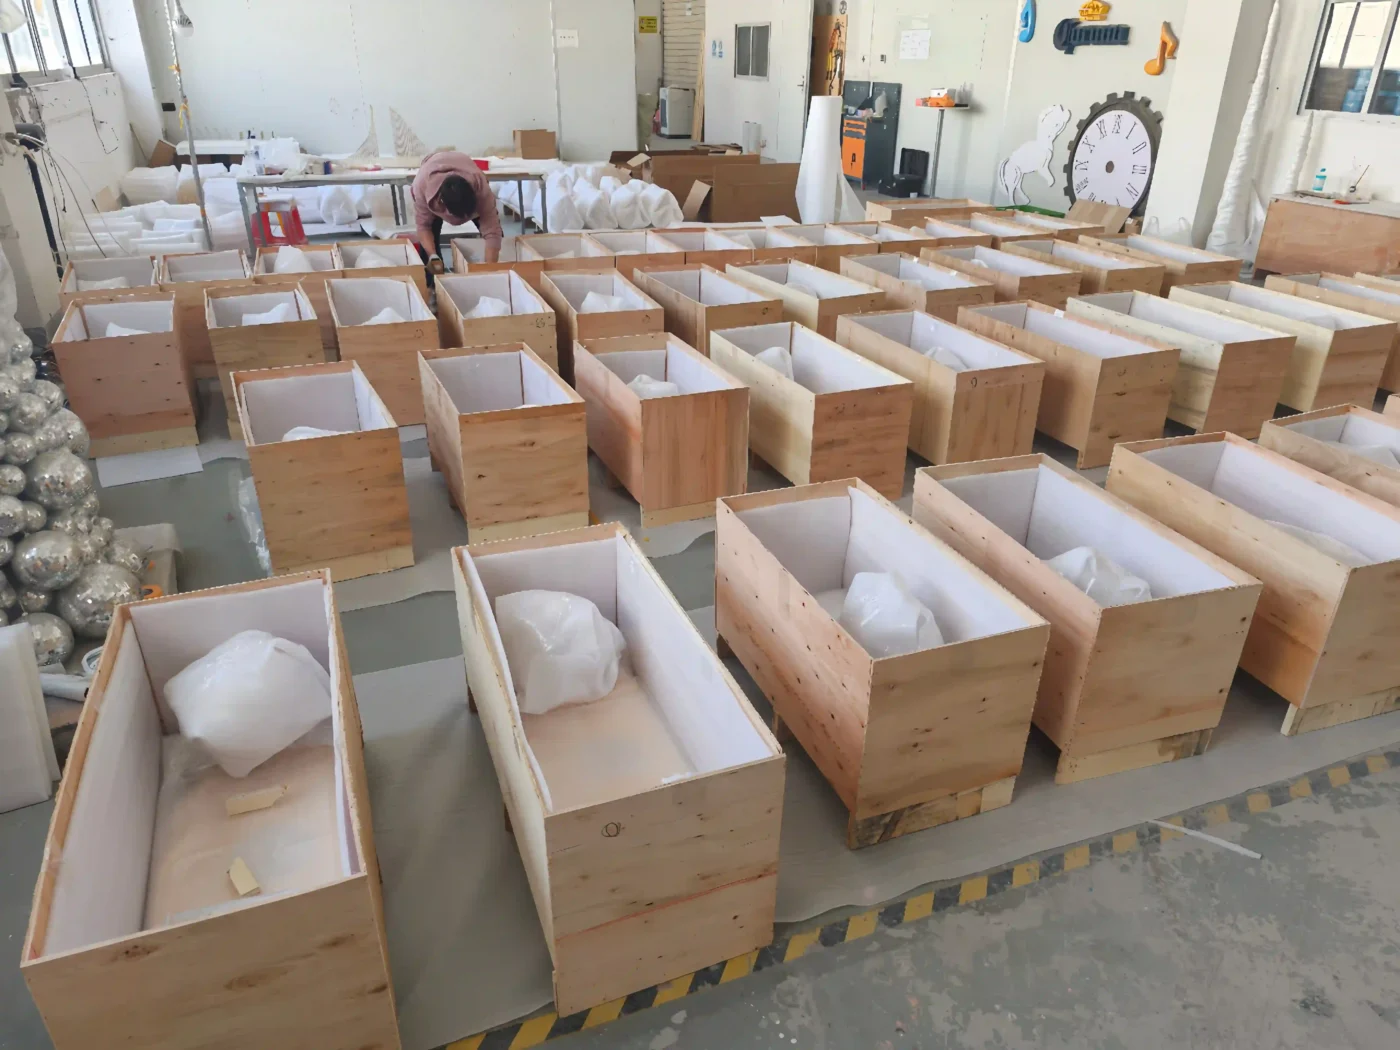
6. Packaging and Shipping: Display Cost That Hides in the Freight Quote
Packaging and freight are production costs that are decided — or defaulted — at the design stage.
A prop designed as a single large piece may require a custom wooden crate, internal foam support, corner bracing and moisture protection. A prop designed as a modular kit with knock-down assembly may fit into a smaller crate, ship more efficiently and reduce damage risk.
The design affects the freight quote directly. Shipping cost for bulky items is calculated by volumetric weight, not actual weight. A large hollow prop that weighs 15 kilograms but occupies the space of a 200-kilogram crate is priced on the larger figure.
For international projects, the shipping method also affects customs, duties and delivery logistics. A DDP (delivered duty paid) arrangement where the manufacturer handles customs clearance simplifies the process for the brand but adds handling cost. FOB (free on board) shifts logistics responsibility to the buyer and may reduce the invoice total, but it requires the brand to manage import logistics.
For multi-store rollouts shipping to several countries, freight planning should start during the design phase. The prop dimensions, packing method and per-store allocation all affect whether the project ships in one container or three — and that difference flows directly to the budget.
7. Installation Complexity: The Display Cost That Arrives Late
Installation cost is often the last line on a project budget, but it is shaped by decisions made at the very beginning.
A prop that bolts to a pre-installed base plate with four screws is a different installation project from a prop that needs ceiling rigging, concealed wiring, on-site assembly and a two-person team with tools. Both may look identical in a photograph, but the site cost is not comparable.
Common design decisions that increase installation cost:
Props that need electrical connection for internal lighting require cable routing, access panels and coordination with the store’s electrical system.
Suspended or hanging elements need load calculations, rigging hardware, and sometimes structural surveys of the ceiling or window frame.
Large or heavy props that cannot pass through the store entrance, elevator or corridor may need to be designed in sections with concealed join lines, adding both production and assembly complexity.
Props installed across multiple stores by different teams benefit from clear installation documentation: numbered parts, assembly drawings, pre-assembly photos, labelled connectors and a hardware kit. Producing this documentation is a cost, but it reduces installation errors and avoids the much higher cost of sending a technician to fix problems after launch.
For international rollout projects, installation documentation can be the difference between a smooth launch and an expensive series of corrections.
How to Reduce Window Display Production Cost Without Weakening the Design
Cost optimisation in display production is not about cutting quality. It is a form of value engineering: making design decisions with full visibility of their cost consequences, then focusing the budget where it matters most. The goal is to protect the visual result while removing cost that does not contribute to it.
A few principles that experienced VM teams apply:
Prioritise finish quality on shopper-facing surfaces. Internal panels, back surfaces and areas hidden by product can often use a simpler specification without affecting the customer experience.
Choose the finish route that matches the campaign duration. A six-week pop-up window does not need the same coating durability as a permanent installation. A lighter finish process may deliver the same visual impact at a lower cost.
Design for the shipping method, not just the window. A beautiful prop that arrives damaged is more expensive than a slightly simpler prop that arrives intact.
Lock the design before production begins. Late changes after mould-making or tooling are the most common source of budget overruns in custom display projects.
Share a complete brief at the start. The more information a manufacturer has at the quotation stage — reference images, dimensions, quantity, deadline, installation method, finish specification and shipping destination — the tighter the pricing will be. A detailed brief allows the manufacturer to build an accurate BOM (bill of materials) and production plan from the beginning. Incomplete briefs produce wider cost estimates, which usually resolve upward during production.
FAQ
What is the typical cost range for custom window display props?
Costs vary widely depending on material, finish, size, quantity and project complexity. Single FRP props for a campaign window typically range from several hundred to several thousand dollars per piece. Multi-material, large-scale or highly finished pieces for flagship installations can cost significantly more. The most useful step is to share a detailed brief with a manufacturer and request a project-specific quotation.
Which design decision has the biggest impact on window display production cost?
Surface finish usually creates the widest cost variation between otherwise similar projects. The difference between a standard painted finish and a multi-stage electroplated or metalised finish can multiply the per-unit cost several times, even when the prop shape and size are identical.
How can I reduce display production cost without losing visual quality?
Focus the highest finish quality on shopper-facing surfaces. Consider alternative surface treatment routes that achieve a similar visual effect at lower cost — for example, vacuum metalising instead of electroplating for shorter campaigns. Design for efficient packing and shipping. And provide a complete brief at the quotation stage so the manufacturer can price accurately from the start.
Does ordering more units always reduce the unit price?
Yes, for custom display props, higher quantity almost always lowers the per-unit cost. Mould, tooling and setup expenses are fixed costs shared across the production run. A larger batch spreads those costs more thinly. The savings are especially significant for FRP and moulded components.
How far in advance should I plan a custom window display project?
For standard projects, three to six weeks of production time from design approval is typical. For complex, multi-material or large-quantity projects, eight to twelve weeks is common. Seasonal campaigns — especially Christmas — should ideally begin briefing and sampling four to six months before the in-store date. Starting late usually means air freight, overtime rates and reduced flexibility, all of which increase cost.
Why do two similar-looking displays have very different quotes?
Because cost is driven by decisions that are not visible in a photograph: internal structure, surface treatment process, material specification, packing method, shipping destination, quantity and timeline. Two props that look identical on screen may follow completely different production paths.
For a deeper look at materials and how they perform in retail display production, explore the VM Display Solution Knowledge Hub. To start a conversation about your next project, request a custom display props quote.