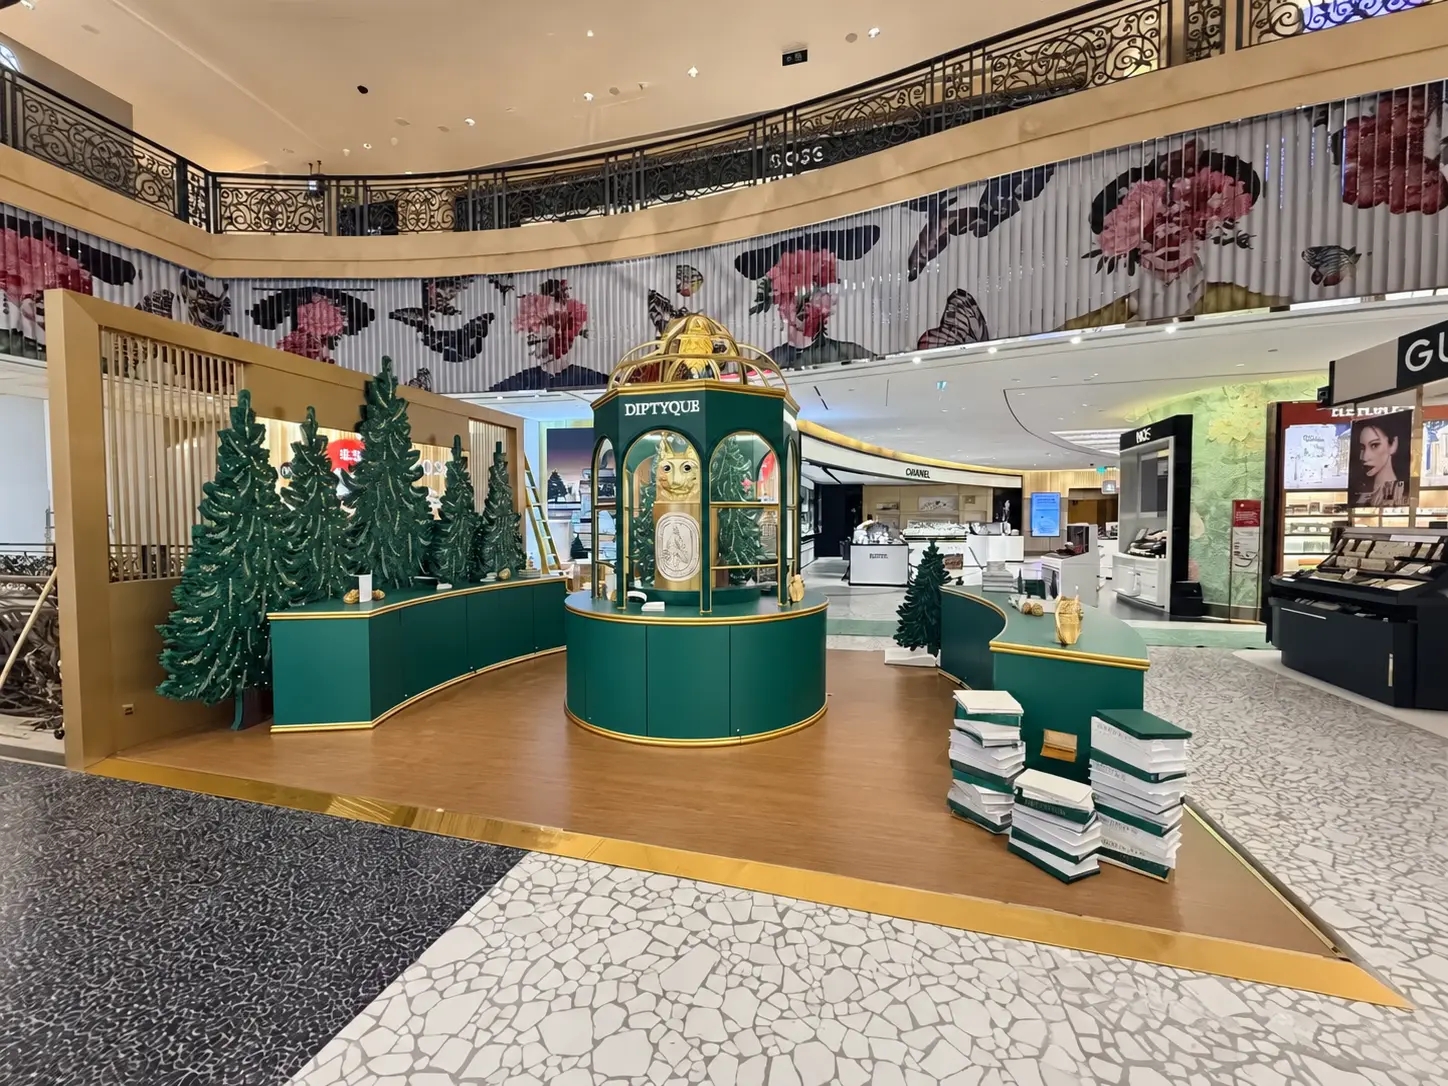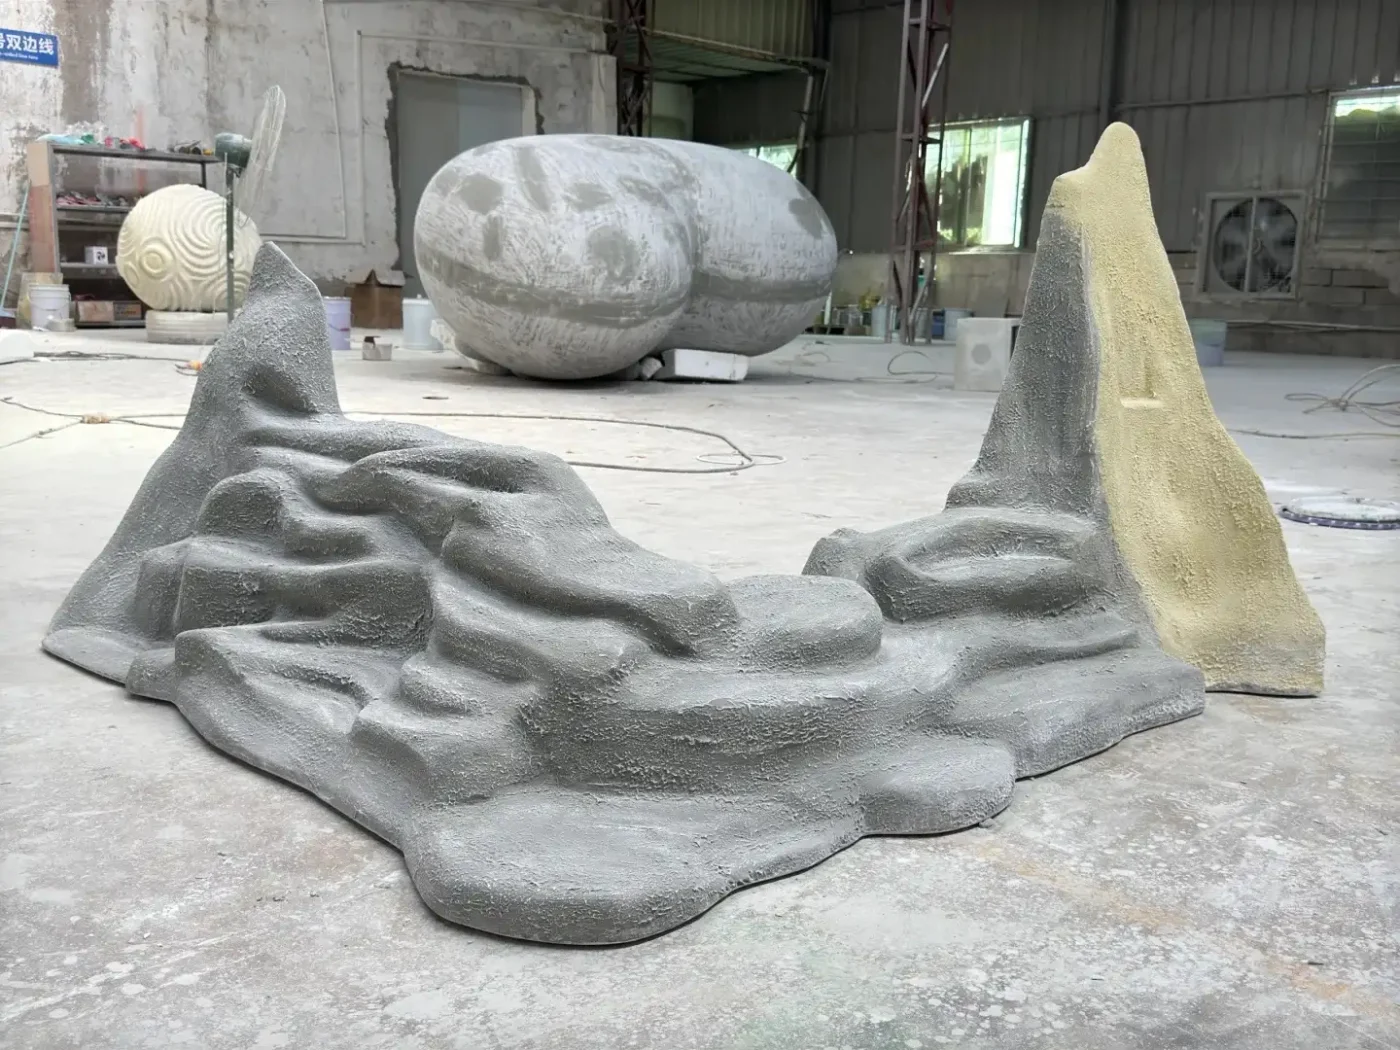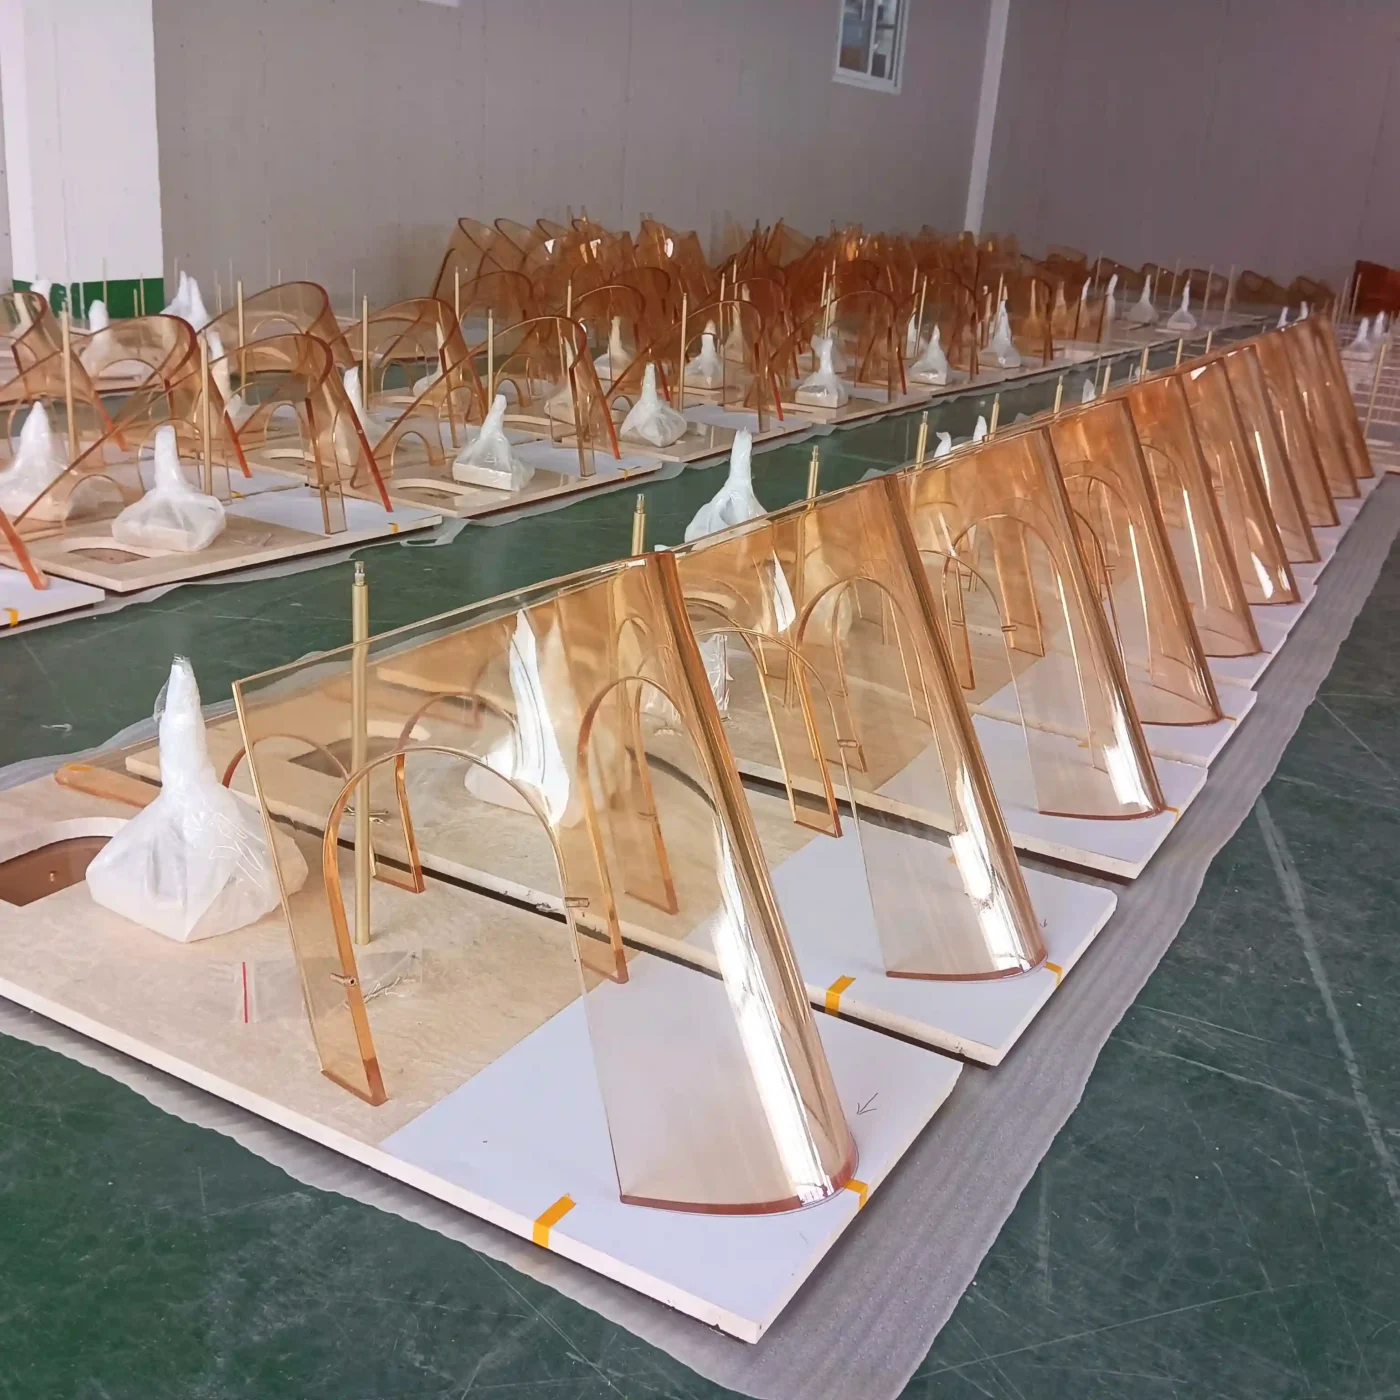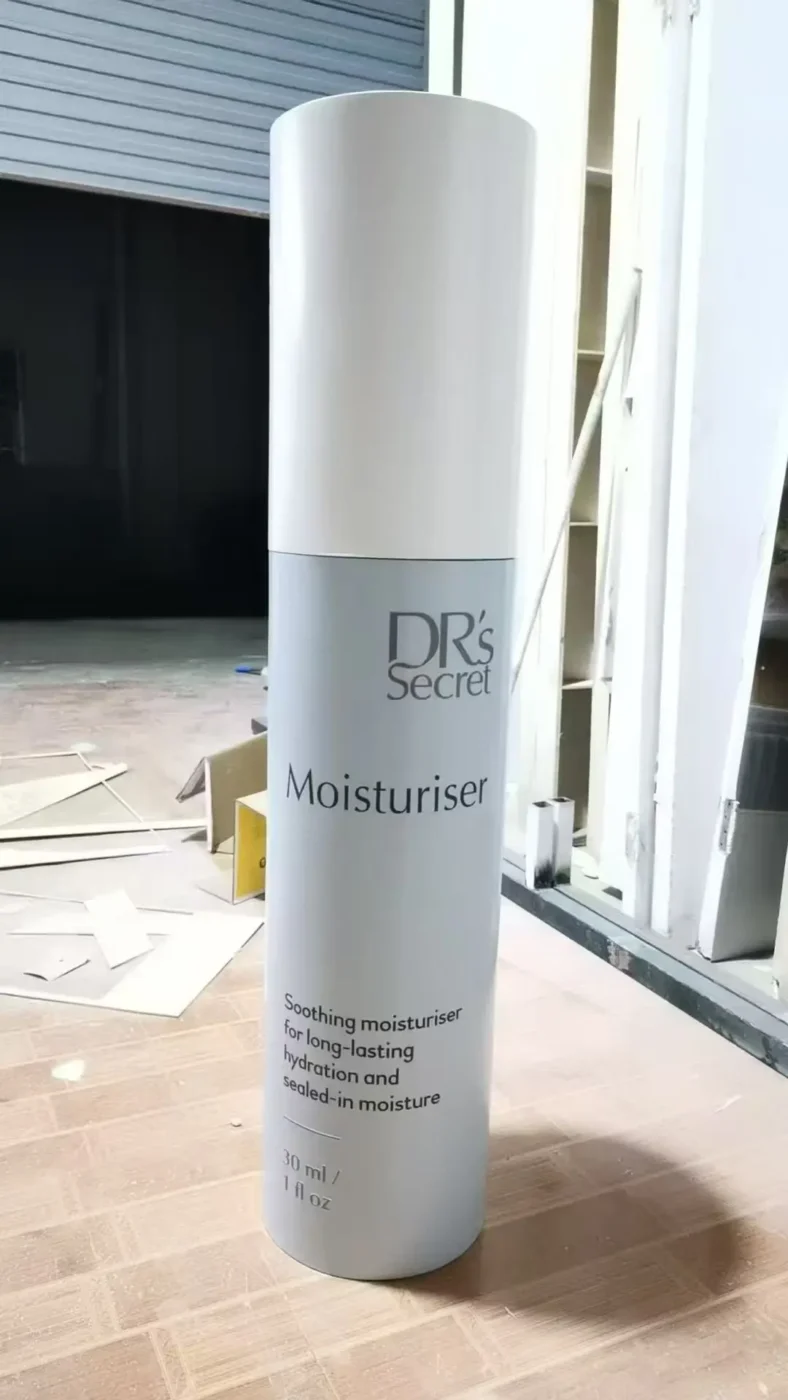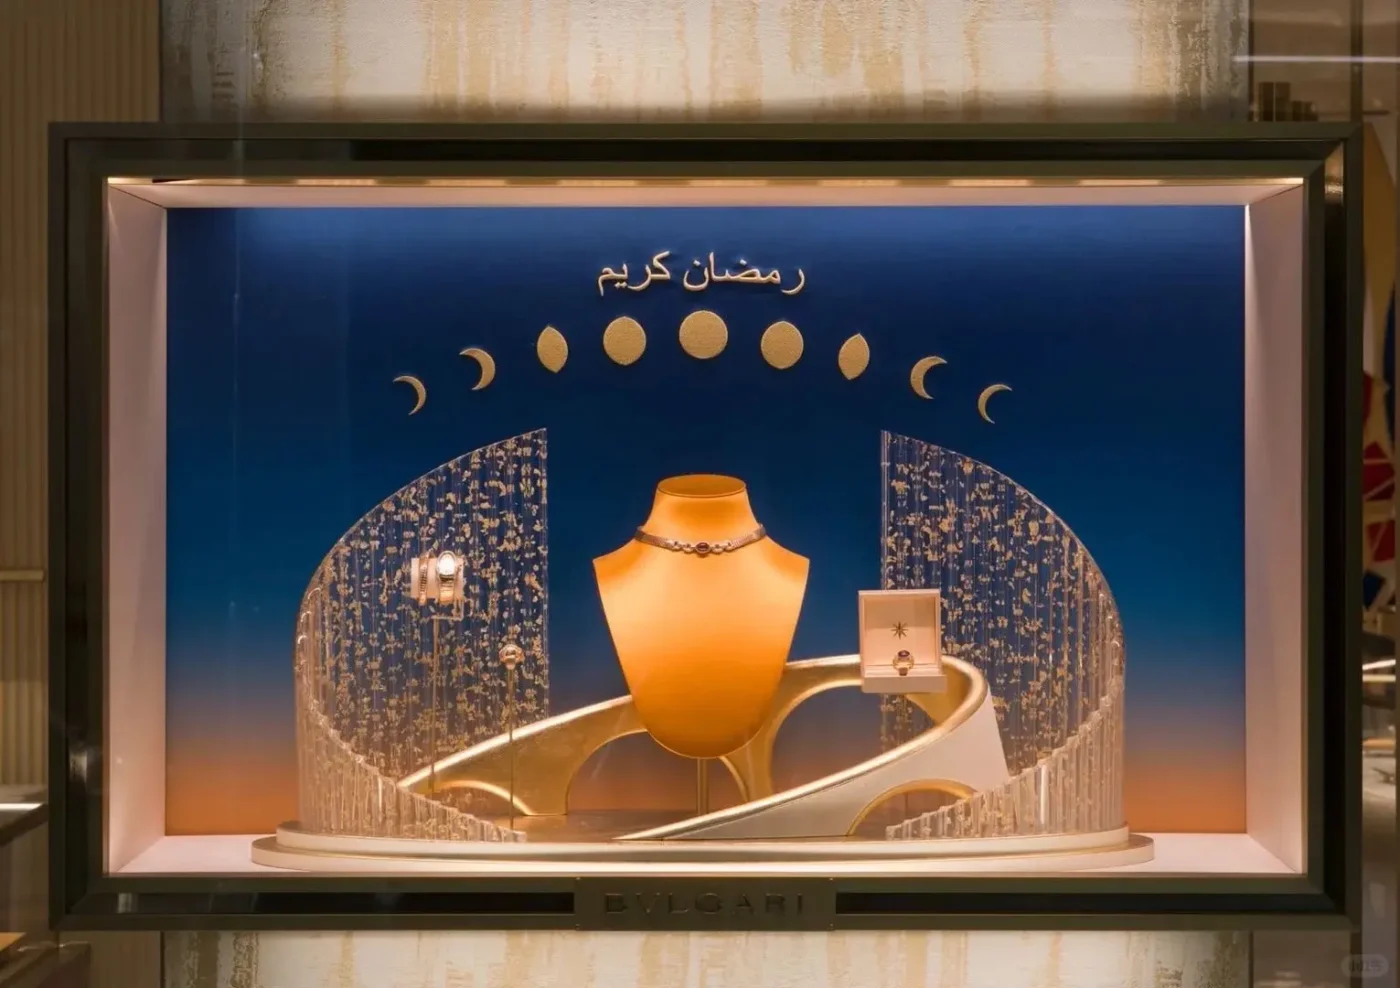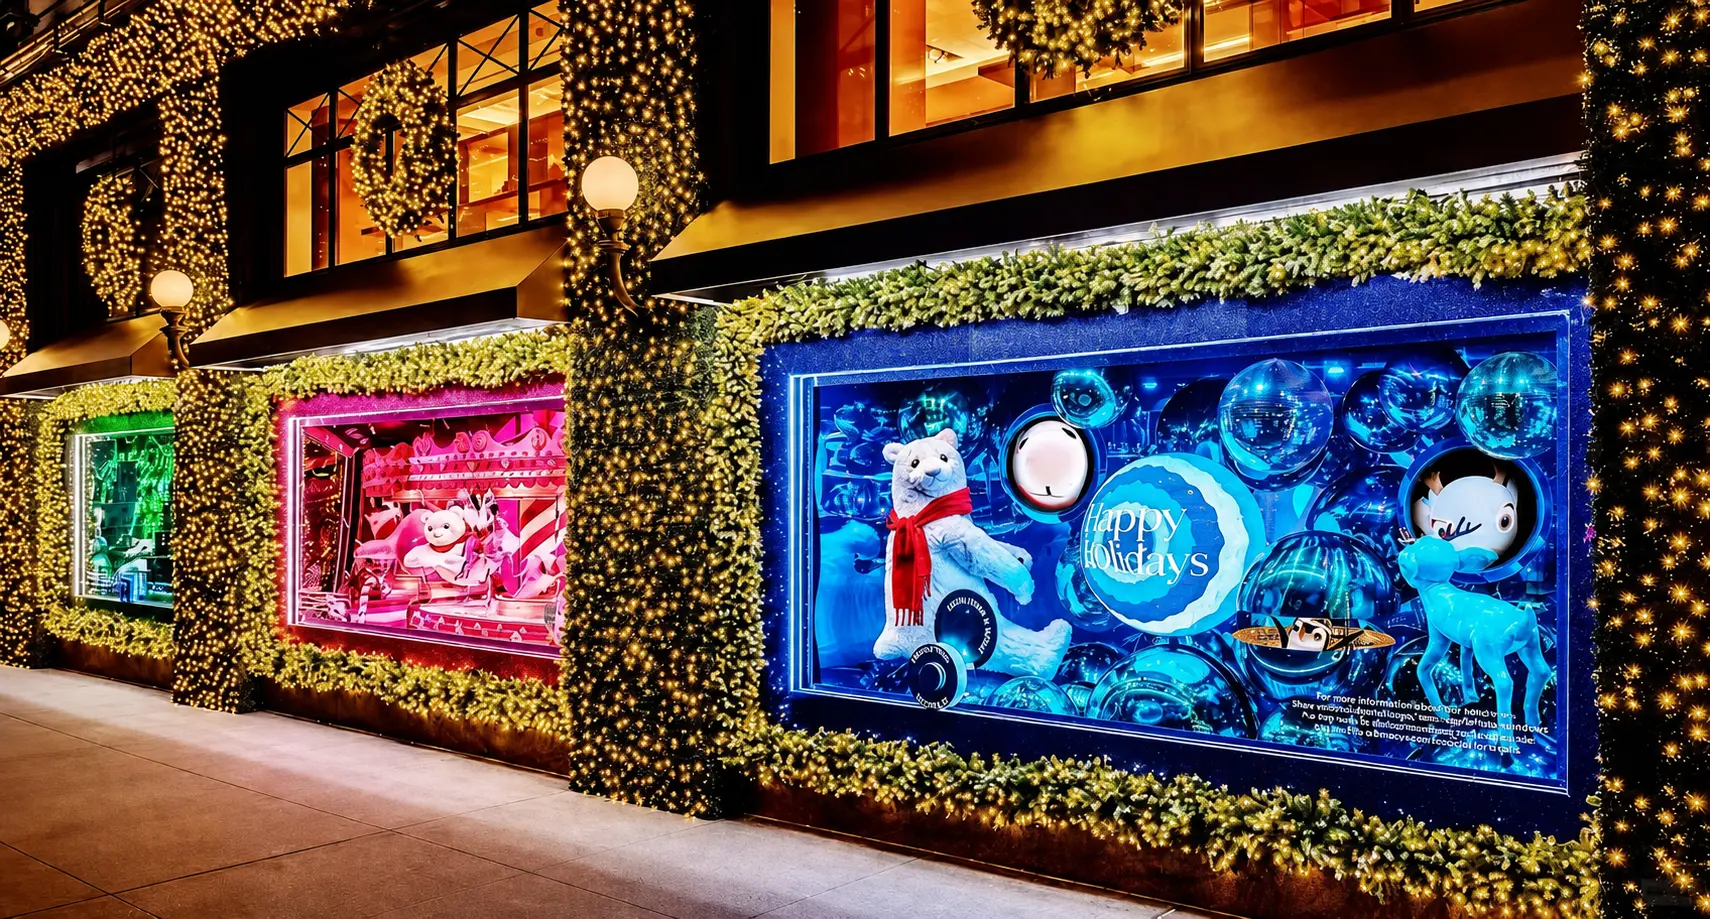
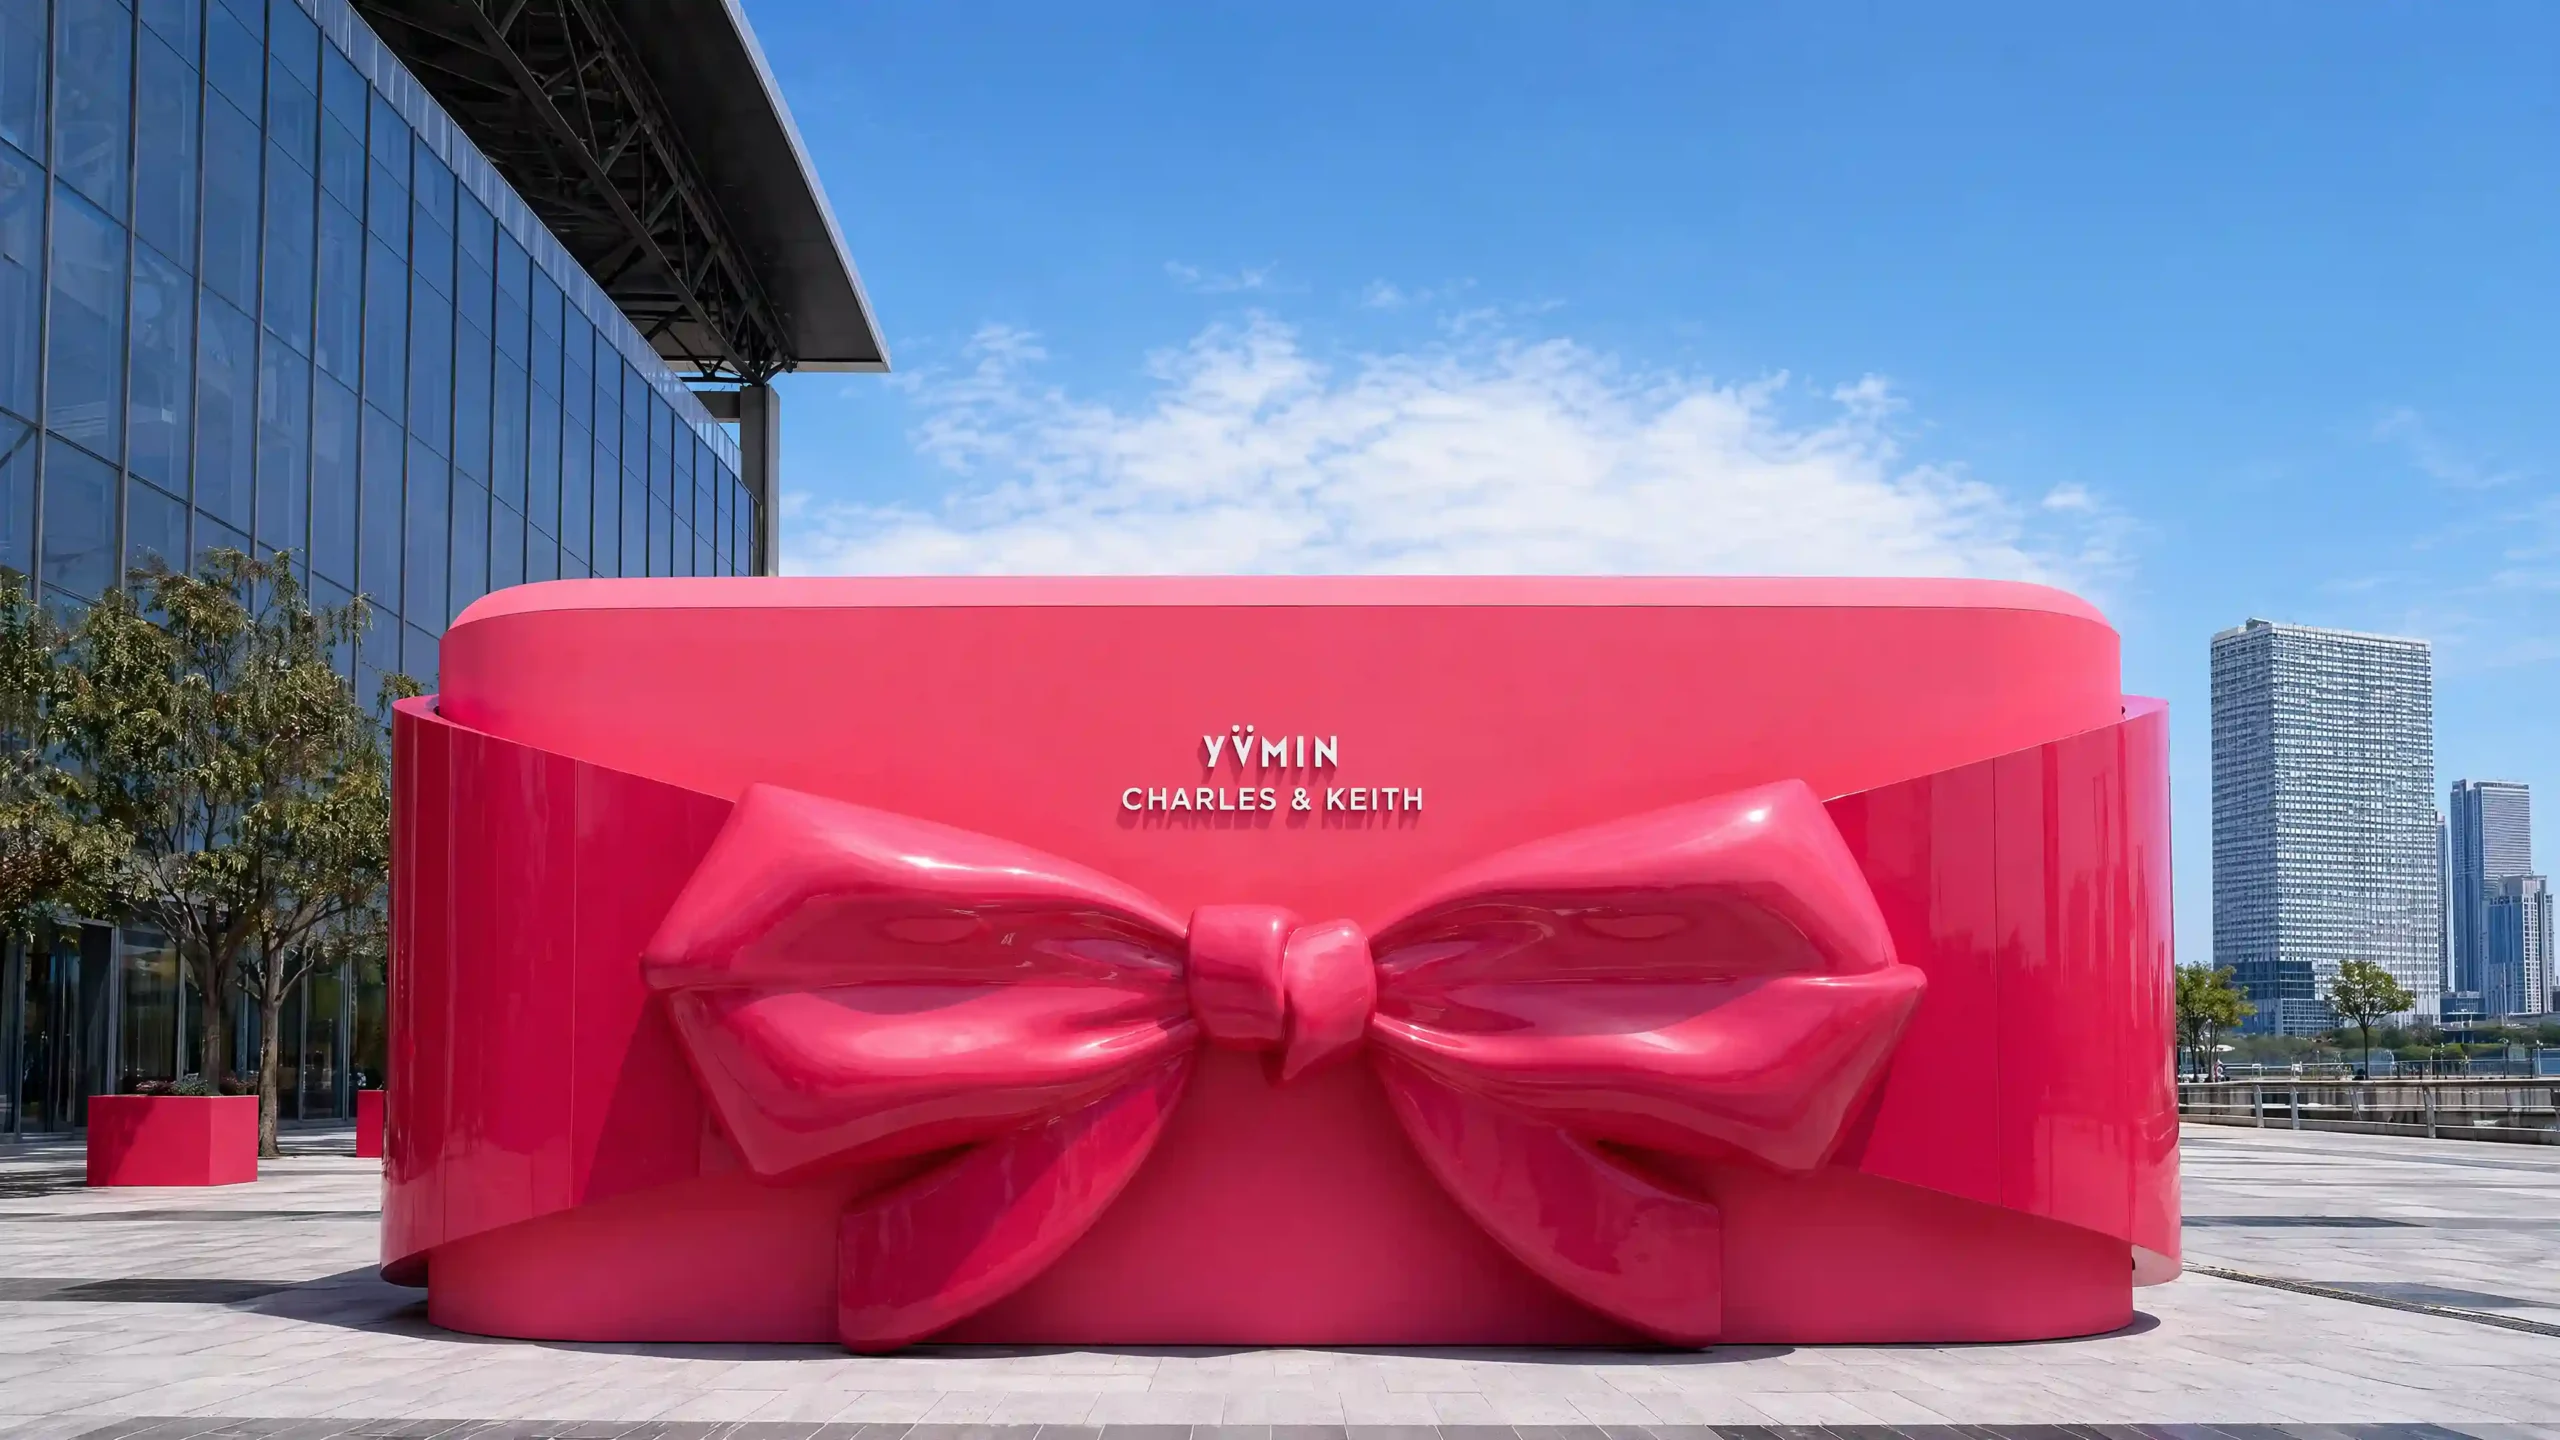
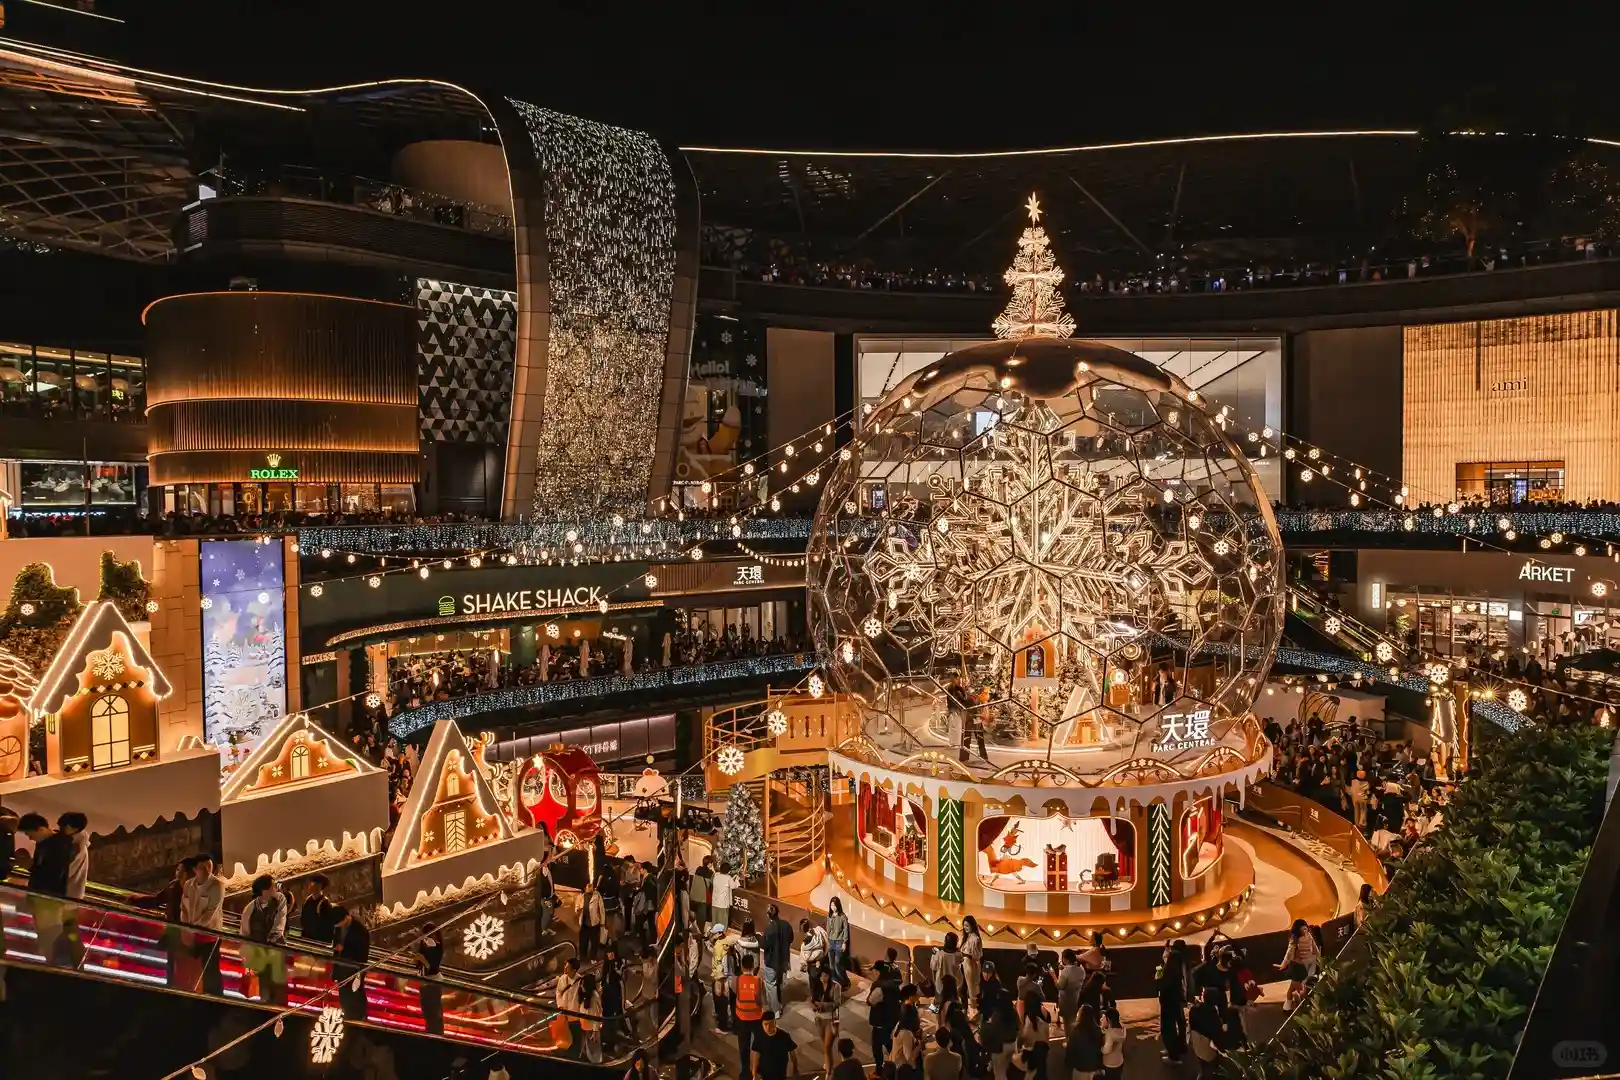
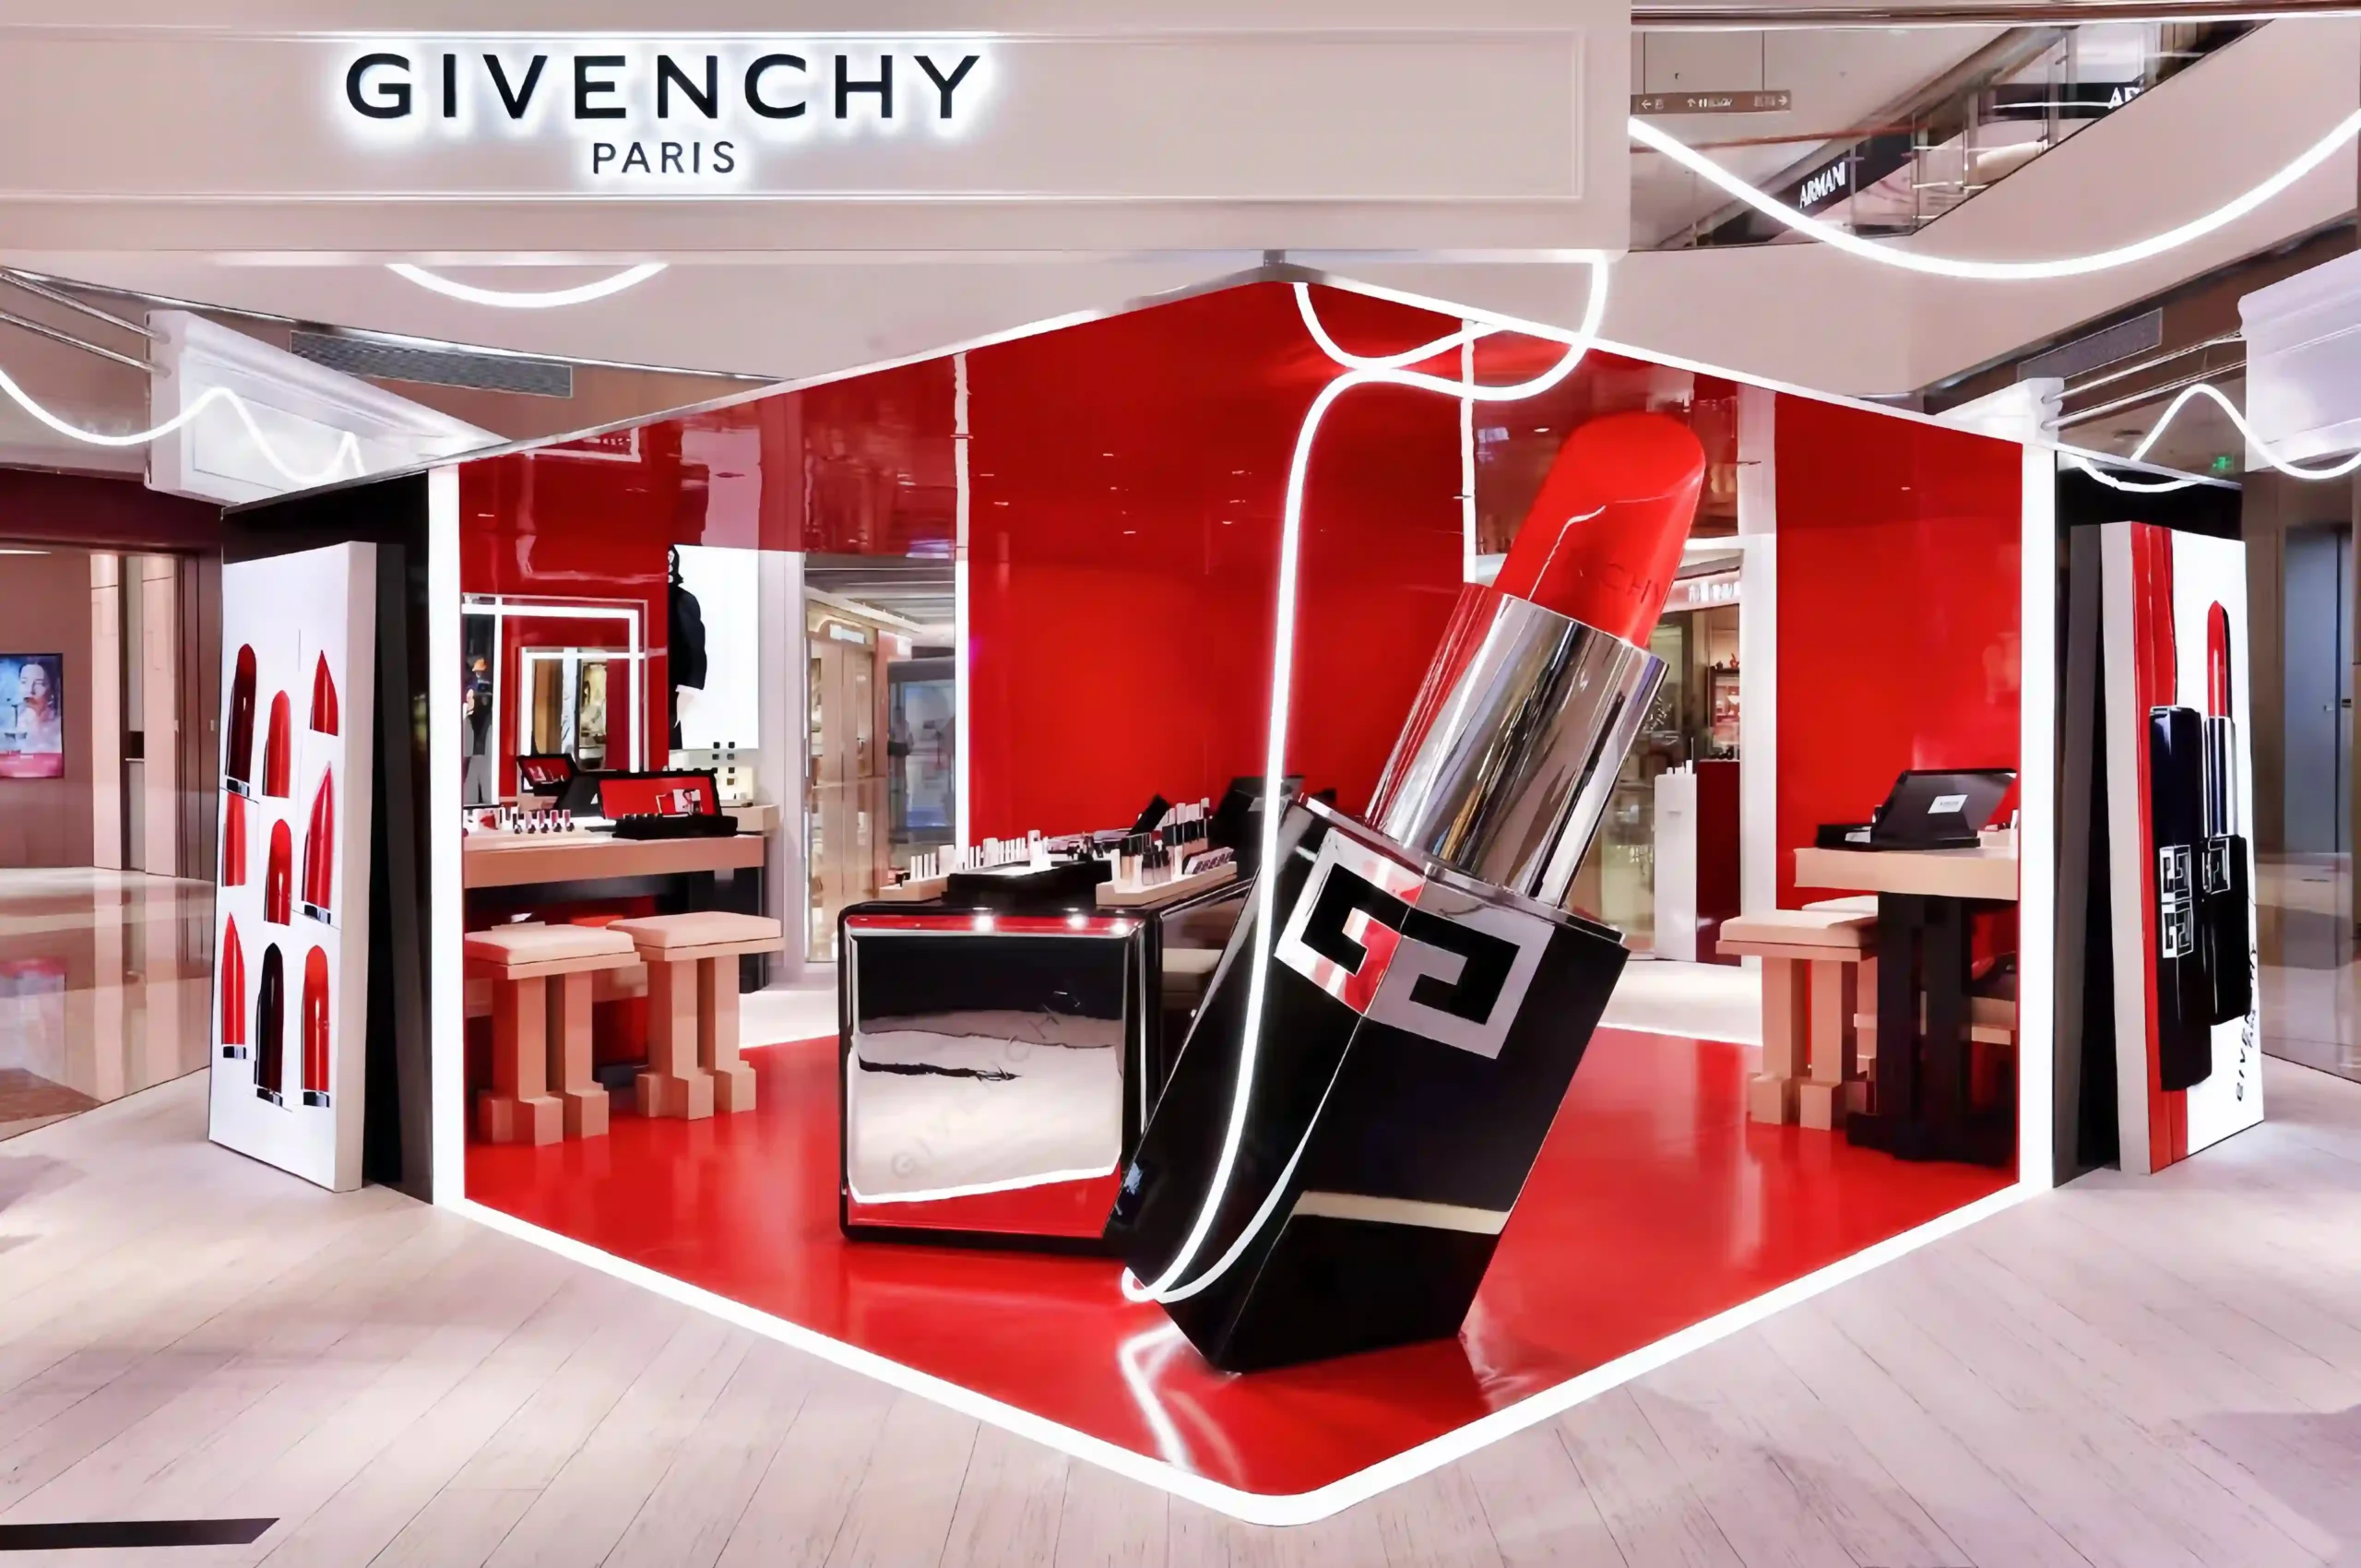
A store window display is a production project before it is a decoration project. The brands that get the best results are the ones that make their key decisions — product focus, material, scale, installation method — before the design goes too far to change.
I work with luxury and retail brands on custom display props. The most common problem I see is not a lack of creative ideas. It is a gap between what looks right in a rendering and what can actually be built, shipped, installed, and repeated across stores on time. A window concept that cannot survive production is not a strong concept, no matter how beautiful the visual is.
This guide is written for brand VM teams, retail agencies, and procurement managers who are moving a store window display from concept toward production. It covers the decisions that protect the creative idea and the budget at the same time.

Why Should the Product Lead the Window Design?
The product should lead the design because a store window display exists to sell, not just to attract attention. Every prop, material, and lighting choice should make the hero product more visible and more desirable from the street.
When I review a window display brief, the first question I ask is not about materials or finishes. I ask what the hero product is. A brief that starts with “we want a floral window” gives the manufacturer very little to work with. A brief that says “we need to highlight three handbags in a spring campaign, with floral props supporting but not competing with the product” gives us everything we need to start planning.
This distinction matters because window space is expensive, and every object inside the frame should earn its place. If the props are louder than the merchandise, the window becomes an art installation instead of a selling tool. That is fine for a flagship brand moment, but for most seasonal campaigns, the product needs to win.
The relationship between the product and the props usually falls into one of four configurations: the product sits on the prop, hangs from it, stands beside it, or is framed by it. Each configuration affects prop dimensions, surface finish, structural load, and installation method. Deciding this early avoids engineering surprises later.
If your team is still exploring visual directions, retail window display ideas and examples can help compare different approaches before committing to production.
How Does Viewing Distance Affect Window Display Planning?
Viewing distance determines the scale, hierarchy, and detail level of a store window display. A design that looks balanced on screen may feel too small, too flat, or too cluttered when seen through glass from a real sidewalk.
People do not view a store window from one fixed position. They see it while walking, from across the street, standing close to the glass, or glancing from inside the store. The display needs to communicate at three distances: from far away, the customer should read the main shape and color; from middle distance, they should identify the product category; from close range, they should discover material quality, brand marks, and craftsmanship.
This is why scale is one of the most common sources of production rework. A prop that looks oversized in a rendering may feel proportional in a 3-meter-wide storefront. A product plinth that seems elegant in a design file may disappear behind a window frame.
One issue that comes up more than it should: the design does not account for the height of the store’s existing window platform or base step. The product display position looks correct in the rendering, but once the prop is installed on a raised platform, the product ends up sitting too low. From the sidewalk, customers look through the glass and the bottom of the window frame cuts off most of the merchandise. The product is technically there, but it is invisible to anyone walking past. This is the kind of problem that a site measurement would have caught in five minutes, but fixing it after production means reworking the prop height or adding a riser at the last minute.
Before production, the team should confirm actual window dimensions, sidewalk viewing distance, product display height relative to the window base, glass reflection conditions, ceiling or floor fixing points, lighting positions, and background material.
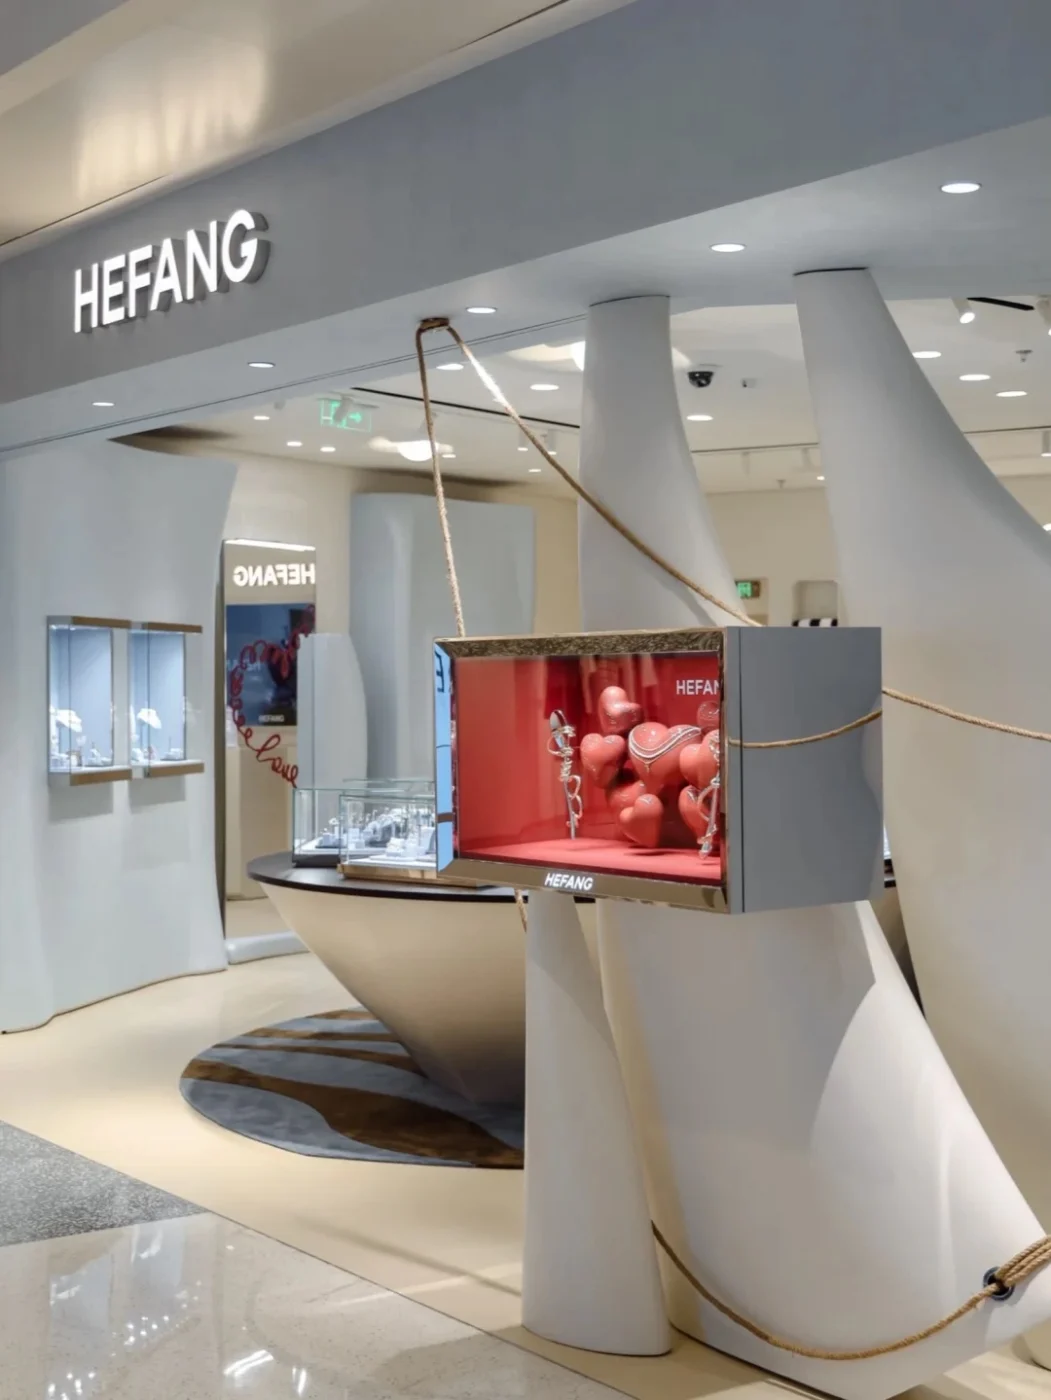
Retail Design Blog publishes storefront photography that shows how scale and brand atmosphere work in real store environments — useful for visual research when a team wants to understand how finished installations actually read from the street.
What Materials Work Best for Window Display Props?
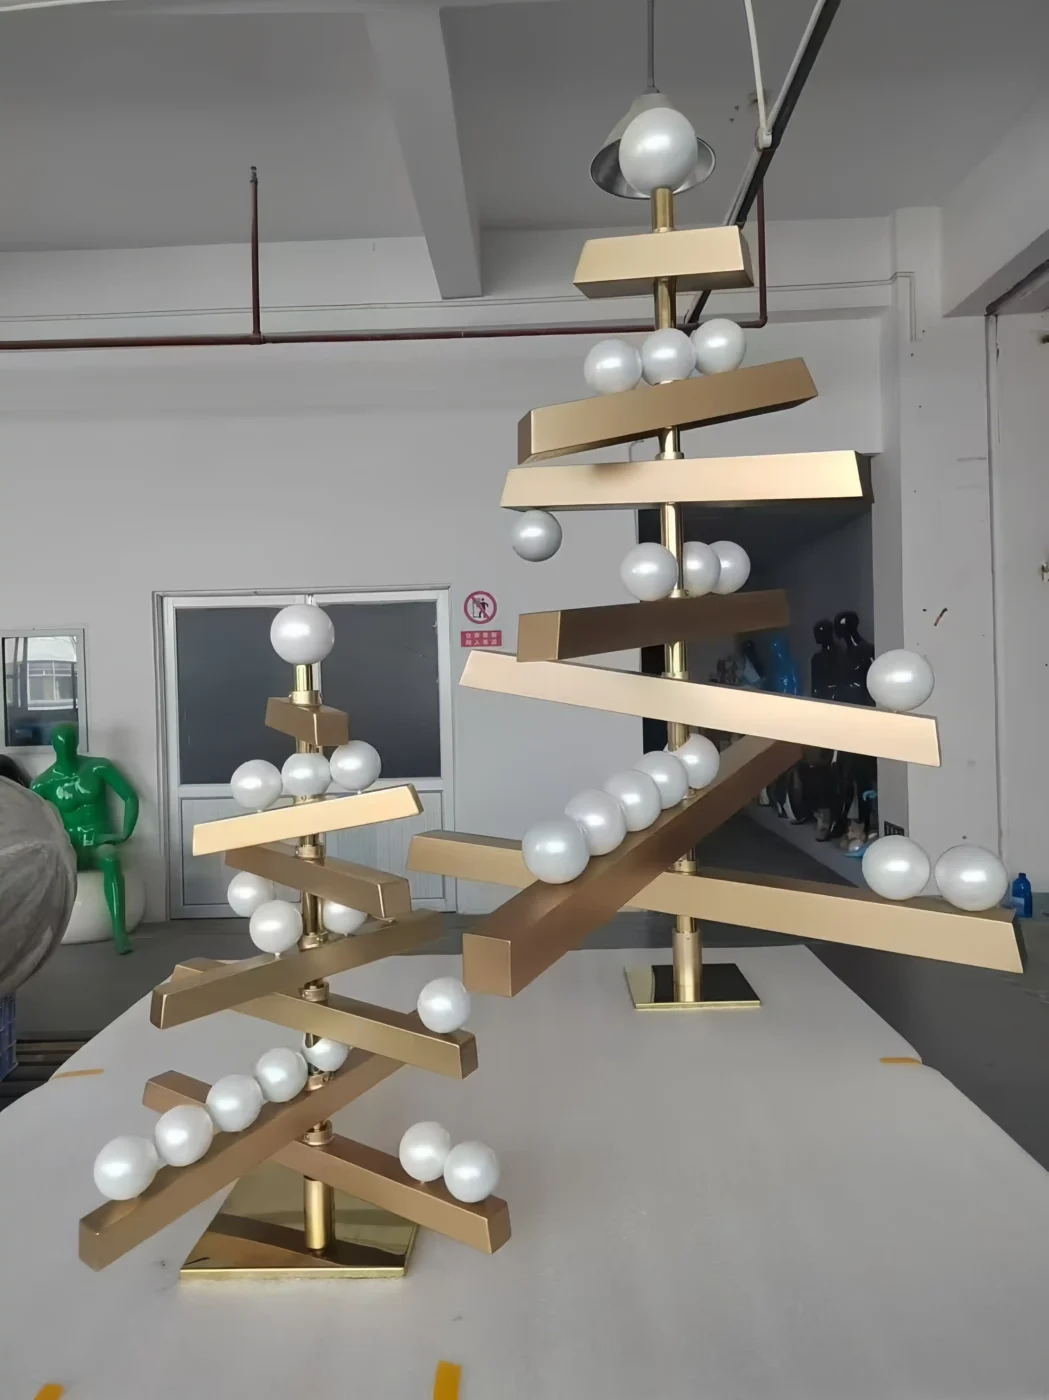
The right material depends on the prop’s shape, size, surface finish, weight limit, budget, and how many stores need the same piece. There is no single best material — only the best match for the specific production requirement.
Here is how the most common materials compare for store window display props:
| Material | Best For | Surface Options | Weight | Key Consideration |
|---|---|---|---|---|
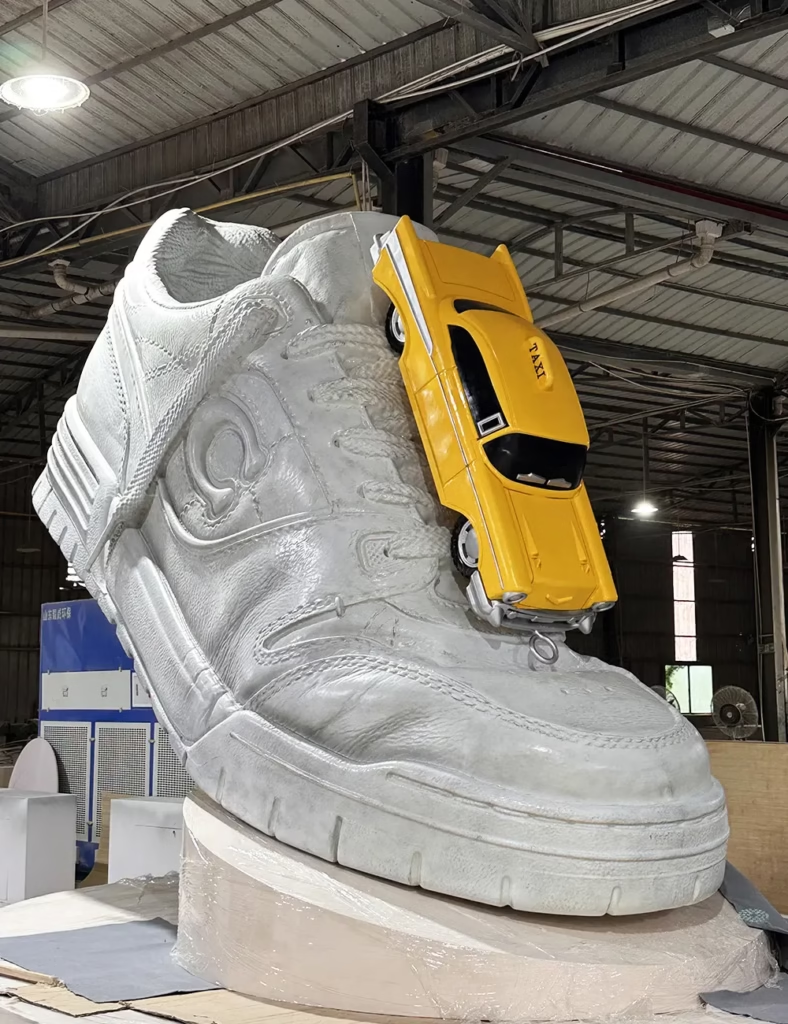
| FRP (fiberglass) | Oversized sculptures, organic shapes, product replicas, seasonal props | Paint, metallic coating, flocking, texture | Medium | Needs mold; cost-effective at quantity |
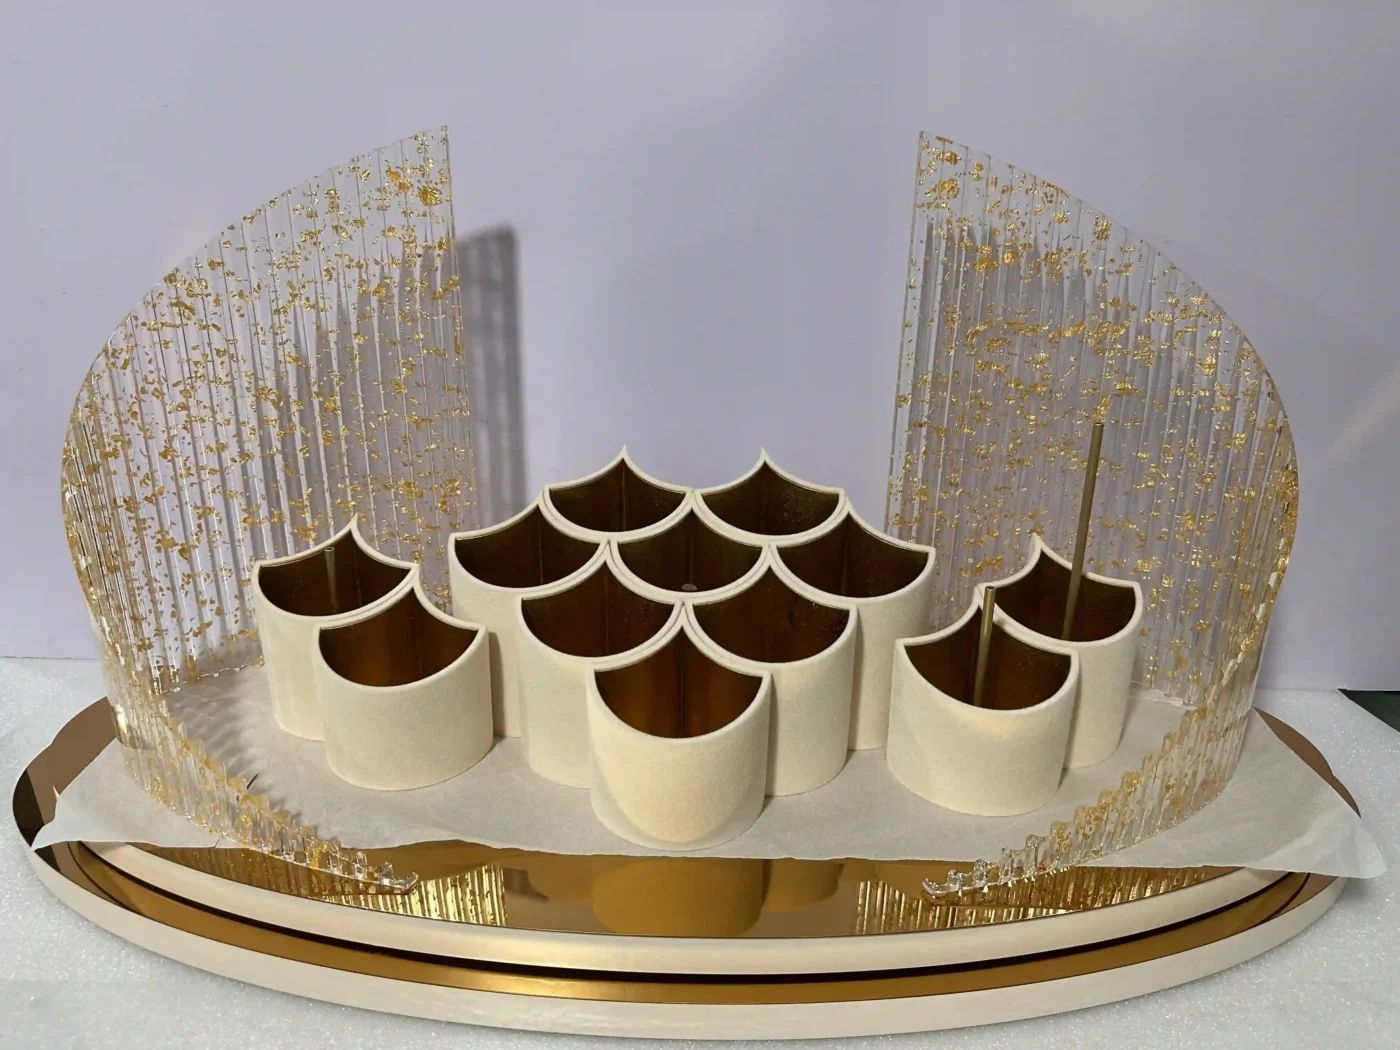
| Acrylic (PMMA) | Transparent elements, glowing effects, clean modern displays, logo blocks | Polished, frosted, colored, edge-lit | Light | Excellent for beauty, jewelry, perfume; fragile at thin gauges |
| Metal | Frames, plinths, hanging structures, mirror-finish elements | Brushed, PVD-coated, powder-coated, electroplated | Heavy | Strong and precise; higher unit cost |
| MDF / wood | Plinths, counters, panels, architectural elements, painted fixtures | Painted, laminated, veneered | Heavy | Good volume and stability; moisture-sensitive for export |
| Resin / foam | Lightweight decorative elements, large-scale low-weight props | Painted, coated | Very light | Fast to produce; less durable for reuse |
When a display uses mixed materials — acrylic attached to metal, FRP fixed onto MDF, LED lighting hidden inside a resin form — the connection points become engineering decisions. These joints need to be resolved before production starts, not during installation.
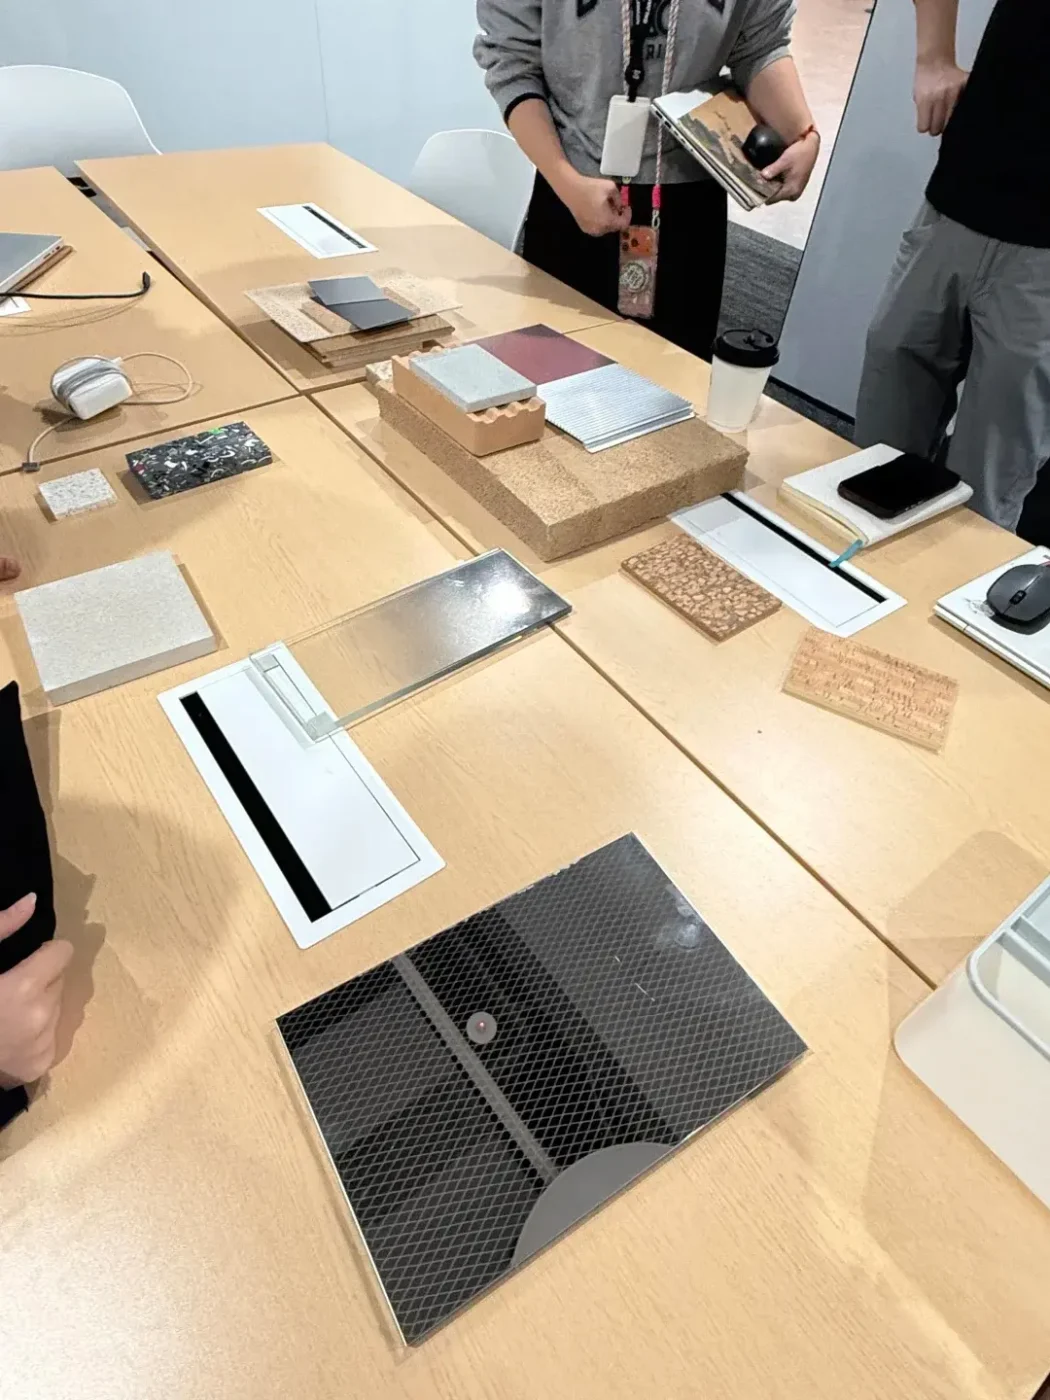
One of the most costly mid-project changes is a surface finish switch after the mold has already been made. For example, a brand decides during sampling that they want to change from painted gold to PVD gold plating, or from a matte lacquer to a vacuum-metalized mirror finish. These are not just color changes — they are entirely different production processes. A surface prepared for paint is not the same surface that works for plating. The mold may be the same, but the part needs to be re-sanded, re-primed, and re-processed through a different coating line. The result is extra time, extra cost, and sometimes a delay that pushes the project past its shipping window. If the finish direction can be confirmed before the first sample is produced, this situation is avoidable.
If a brand team is not yet sure which material fits, that is normal. A good manufacturer can recommend options based on the brief. But the more clearly the brief explains the display’s purpose, environment, and quantity, the faster the recommendation will be.
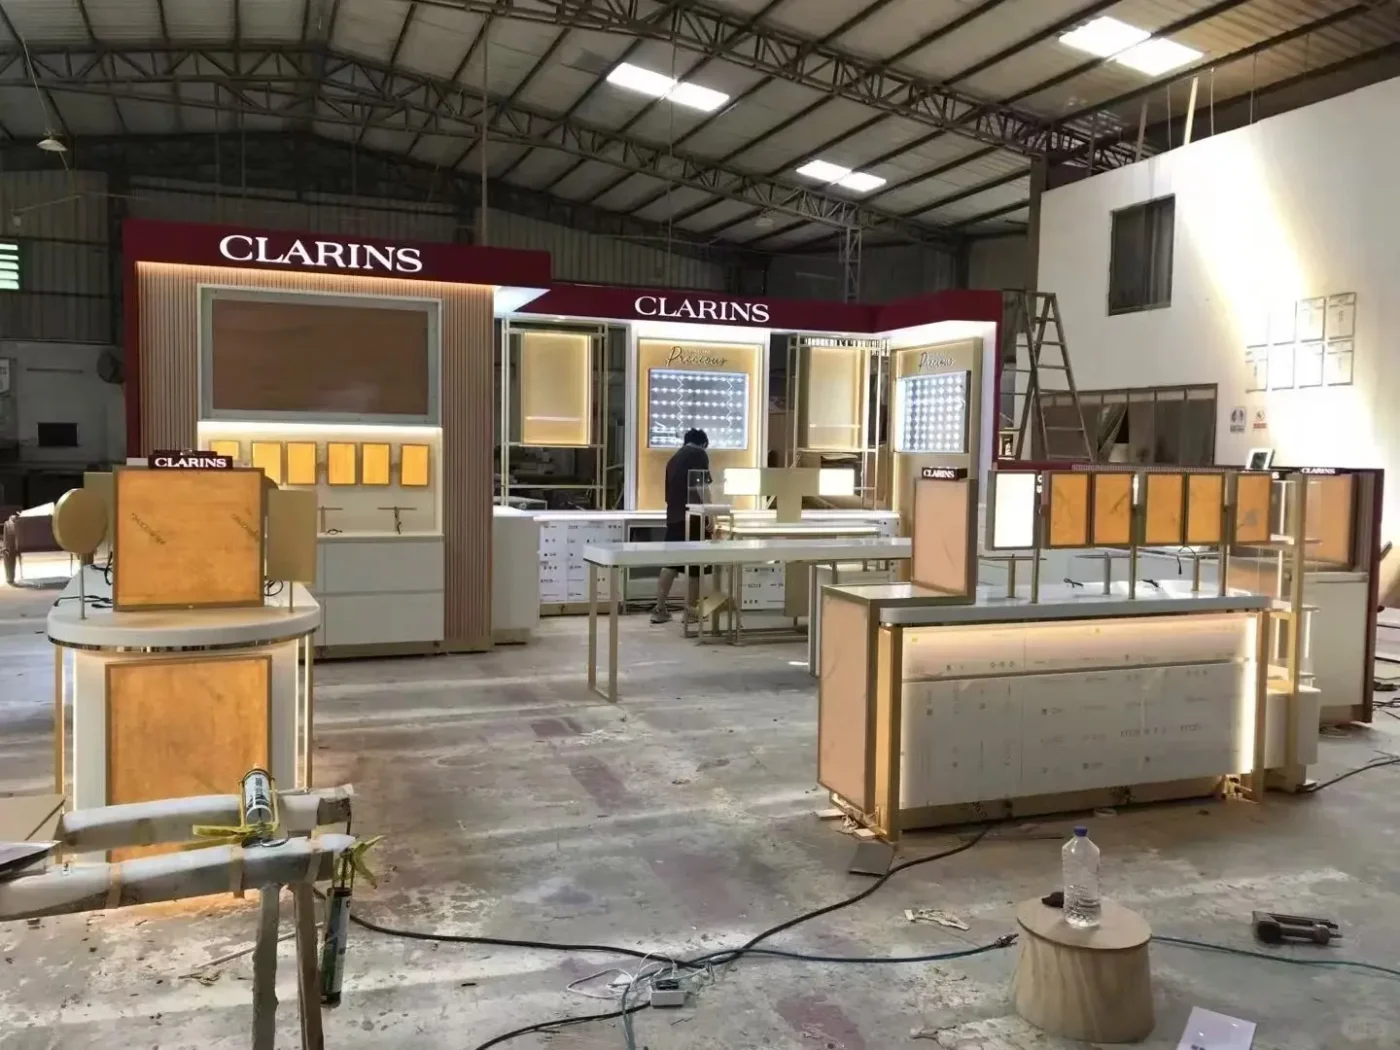
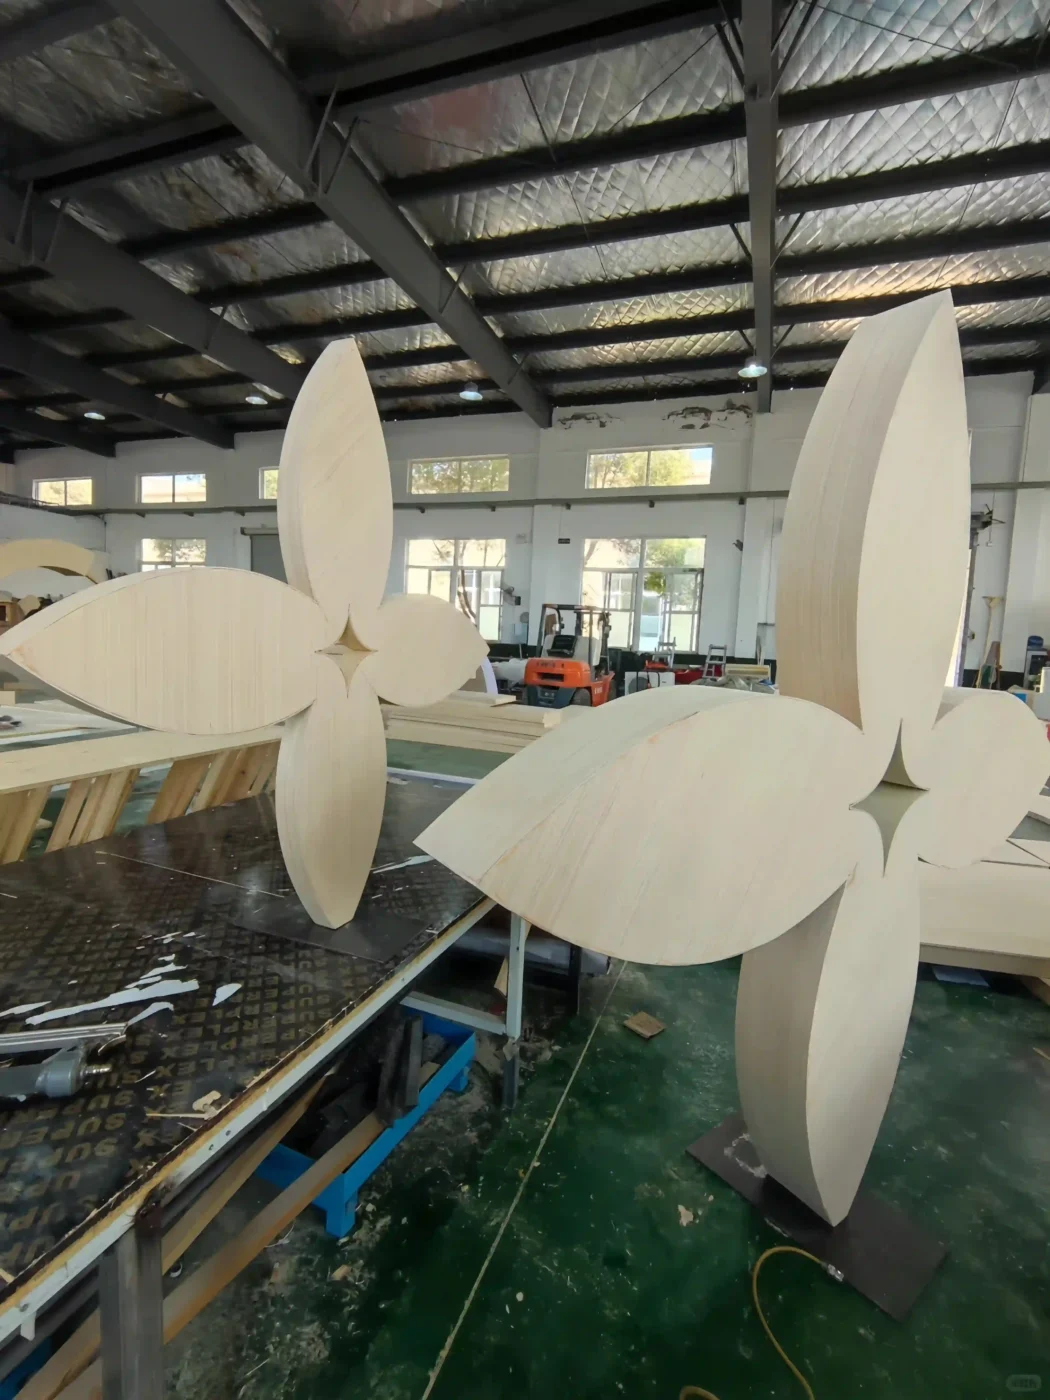
For a closer look at how these materials and finishing processes work in production, retail display props manufacturing explains the factory side of FRP, metal, acrylic, wood, and surface finishing.
Why Should Installation Be Planned Before Production?
Installation should be planned before production because the most beautifully made prop is a failed prop if it cannot enter the store doorway, assemble safely on site, or survive unpacking without damage.
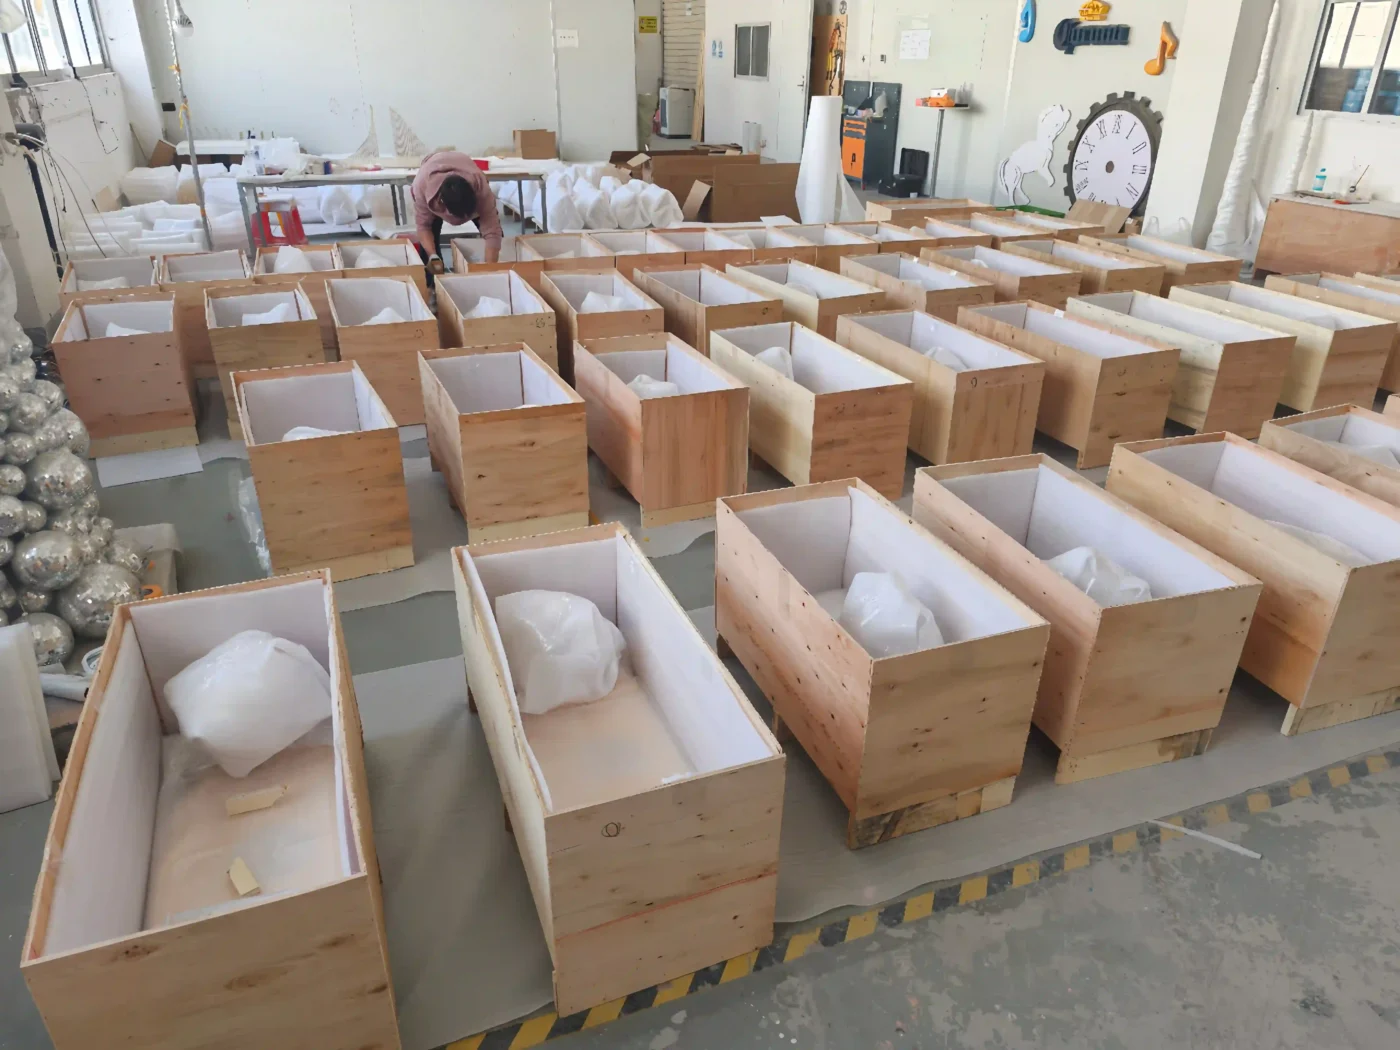
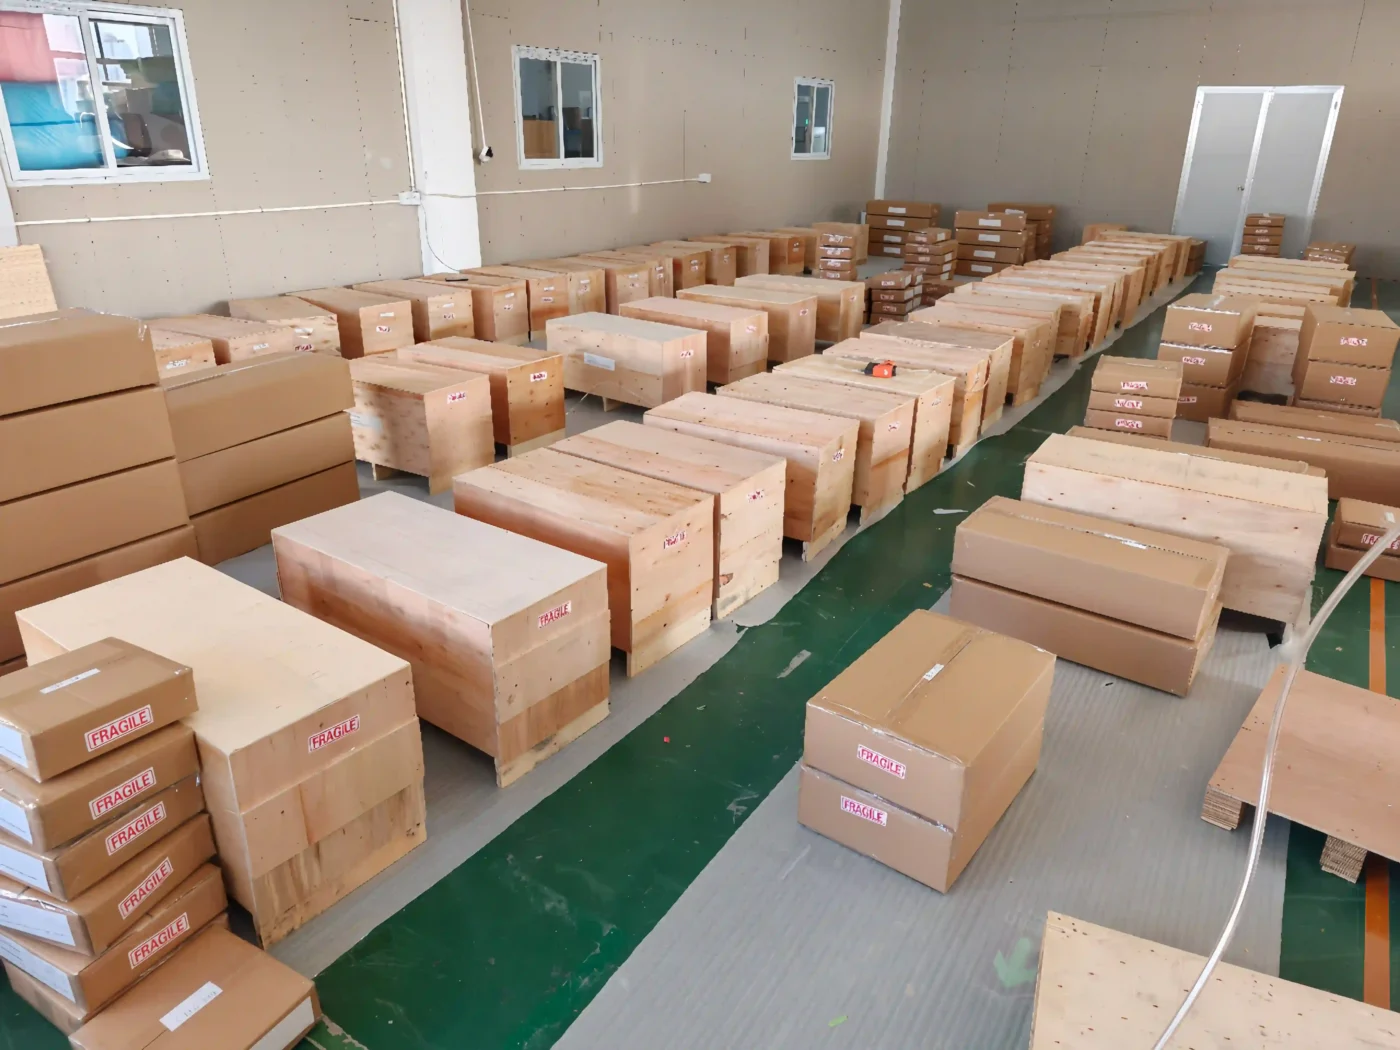
This is one of the most underestimated parts of store window display projects. I have seen props that were perfectly finished in the factory but had no clear assembly sequence for the store team. I have seen fragile painted surfaces damaged during unpacking because the packing was designed around shipping cost, not surface protection. I have seen multi-store rollouts delayed because each store received parts without labels or an installation guide.
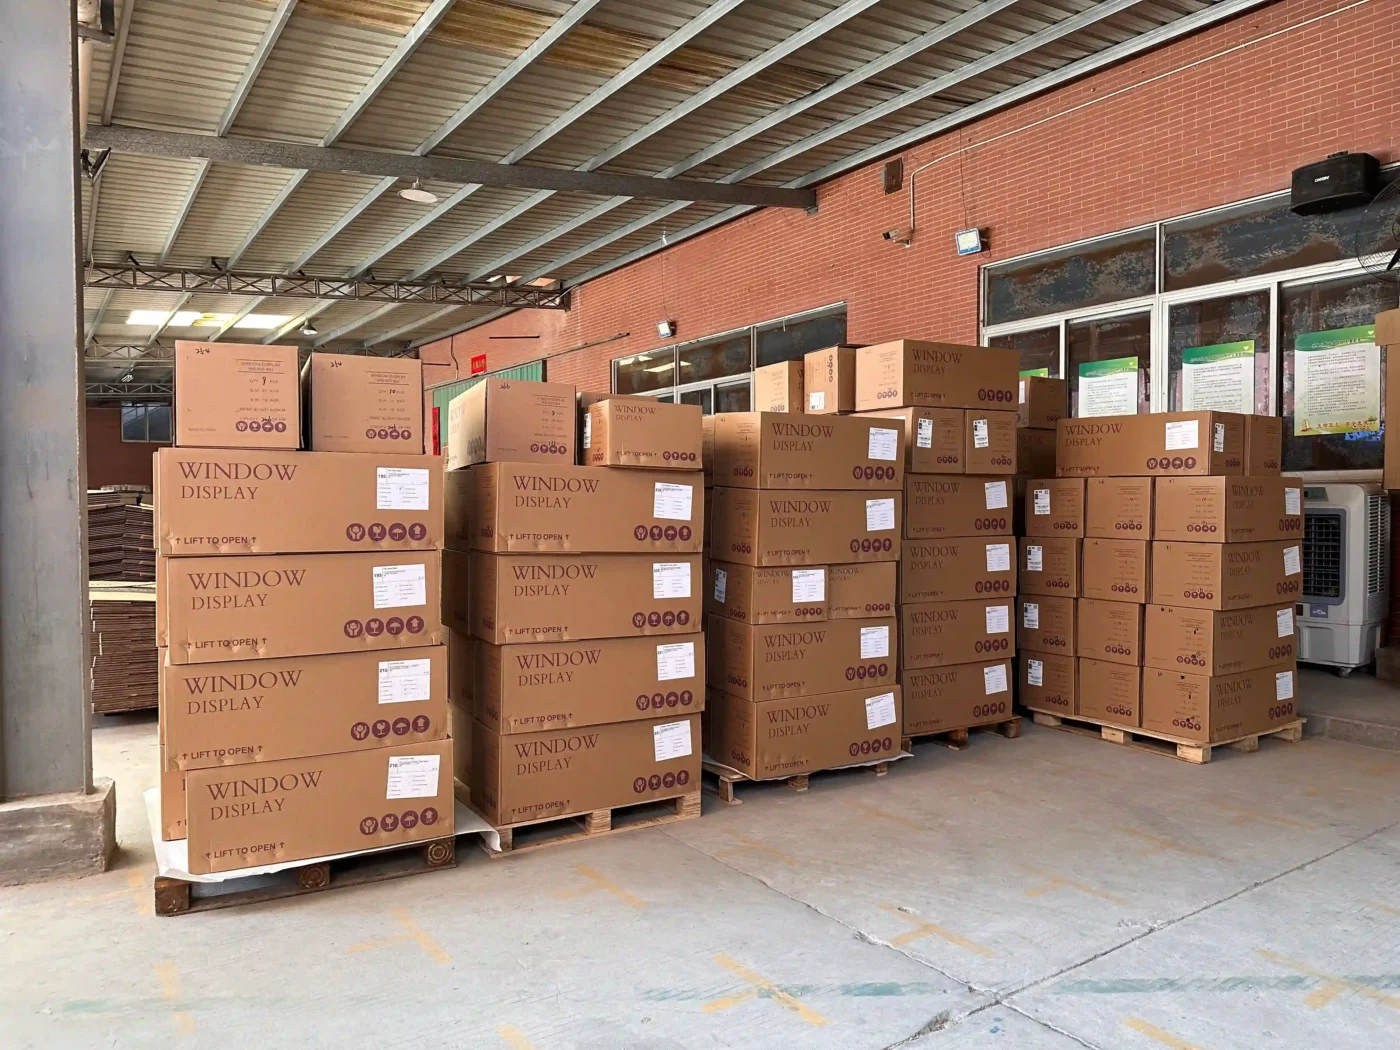
For a single flagship store, brands may accept more complexity in the build. But for multi-store rollouts — which is where most of the production volume sits — the display must be repeatable. That means parts should be clearly labeled, hardware organized in kits, assembly achievable by one or two people, and the packing designed to match store-by-store distribution.
Before production, the team should resolve these questions: Can the prop split into sections for transport? Does assembly require special tools, or can it use standard hardware? Will the surface finish survive handling and unpacking? Does each store receive identical parts? Is there a printed or visual installation guide?
VM&RD (VMSD) covers how brands integrate store windows into broader retail experience strategies, including rollout logistics and visual merchandising standards across store networks.
What Information Does a Manufacturer Need to Quote a Window Display?
A manufacturer needs enough information to understand the real production scope. A mood image alone is not enough for an accurate quotation — it shows the visual direction but tells us nothing about size, material, quantity, installation method, or delivery timeline.
The most common situation we encounter is a client sending a single image — sometimes a Pinterest screenshot, sometimes a photo from a competitor’s store window — and asking for a quote. We can evaluate production methods from a visual reference, and we are happy to do that. But one image typically shows only one angle. We cannot see the back, the sides, the internal structure, or how the product interacts with the prop. Without knowing dimensions, quantity, or the target market, we have to make assumptions about everything from material to shipping method. That means before we can even quote, we need to go back with questions, wait for answers, and often go back again. In some cases, this back-and-forth adds two to three weeks to a project that may already be on a tight schedule. The brief does not need to be perfect, but the more information it contains upfront, the less time is spent on clarification and the faster the project moves.
The difference between a vague brief and a production-ready brief is significant. Here is what that looks like in practice:
Vague brief: “We need a pink display prop.”
Production-ready brief: “We need three lightweight FRP floral props, approximately 120 cm high, matte painted in Pantone 182C, for an indoor fashion window. Each prop supports a handbag on a recessed shelf. Packed individually for three stores in France. Delivery needed by mid-October.”
The second version allows a manufacturer to estimate mold cost, material weight, paint system, shelf engineering, packing dimensions, shipping method, and production timeline immediately. The first version requires multiple rounds of questions before any pricing is possible.
The most useful information for a store window display quotation includes: reference images or concept renderings, approximate dimensions, quantity, store location or rollout market, preferred materials, surface finish expectations, lighting requirements, product load requirements, installation method, packing requirements, target delivery date, and shipping destination.
When your team has gathered this information and the project is ready to move from concept to pricing, requesting a custom display props quote is the natural next step.
What Are the Most Common Mistakes in Window Display Production?
Five production mistakes appear repeatedly in store window display projects, and all of them can be avoided with earlier planning.
Too many messages in one window. When a window tries to show every product, every color, and every campaign idea simultaneously, customers understand nothing. A clear single message outperforms a crowded one.
Props that overpower the merchandise. The prop’s job is to amplify the product story, not replace the product. If a customer remembers the prop but not what was being sold, the window has failed commercially.
Fragile details that cannot survive shipping. Very thin unsupported extensions, delicate paint edges, oversized unsupported acrylic panels, and unclear hanging systems consistently create problems between the factory and the store.
Decisions based only on rendering appearance. A rendering does not show weight, structural load, fixing points, surface durability, packaging volume, or installation access. Production decisions need to account for all of these.
Late material changes. Switching from acrylic to FRP, or from paint to metallic vacuum coating, mid-project can affect mold requirements, surface preparation, curing time, lead time, and cost. Material direction should be confirmed before sampling begins.
How Should a Brand Plan a Store Window Display From Concept to Production?
A structured planning sequence protects both the creative idea and the production timeline. When the production logic is clear early, the design does not need to be weakened at the last minute to meet deadlines or budgets.
Based on the projects I have worked on, this sequence works well:
- Confirm the campaign objective and timeline.
- Identify the hero product or product group.
- Define the storefront type and viewing distance.
- Develop the visual direction with product-prop hierarchy in mind.
- Confirm approximate size and quantity.
- Discuss materials and surface finishes with the manufacturer.
- Resolve installation, packing, and delivery requirements.
- Produce a sample or finish reference for approval.
- Confirm production schedule and shipping method.
- Prepare store-by-store delivery and installation information.
This process does not slow the project down. It prevents the delays that happen when these decisions are made under pressure at the end.
Custom visual merchandising services can support brands at any stage of this process, from concept development through production coordination and delivery.
A strong store window display is not only beautiful when photographed. It is clear from the street, logical to install, realistic to produce, and strong enough to last the full campaign. That is the kind of display that actually sells.
FAQ: Store Window Display Production Planning
How far in advance should brands plan store window displays?
For seasonal campaigns like Christmas, large-scale display projects with complex designs or material testing typically begin in April or May. Projects starting in July are common and can still meet sea freight timelines if the design is straightforward and sampling rounds are kept efficient. More complex builds that require mold development, special surface finishes, or multiple material tests benefit from an earlier start. Starting later than August generally does not leave enough production and shipping time for international delivery.
What is the difference between FRP and acrylic for display props?
FRP (fiberglass-reinforced plastic) is best for large sculptural shapes, organic forms, and oversized props that need complex molds and durable painted finishes. Acrylic is best for transparent, glowing, or clean modern elements and works especially well for beauty, jewelry, and perfume displays. Many window displays combine both materials, with FRP providing structural form and acrylic providing light-transmitting or polished elements.
Can store window displays be adapted for different store sizes?
Yes, but the adaptation should be planned during the design phase, not after production. Modular designs with core props and optional extension elements allow brands to scale a window display for different storefront widths while maintaining visual consistency across locations.
What information does a display manufacturer need to provide a quotation?
A manufacturer needs reference images or renderings, approximate dimensions, quantity, store locations, preferred materials, surface finish expectations, lighting requirements, product load needs, installation method, packing requirements, target delivery date, and shipping destination. The more specific the brief, the more accurate and faster the quotation.
Why do some window display projects go over budget?
The most common causes are late material changes, unclear installation requirements discovered after production, fragile design details that require rework or additional protective packing, and vague briefs that lead to multiple rounds of revision. Confirming materials, installation method, and packing requirements before production starts is the most effective way to control costs.