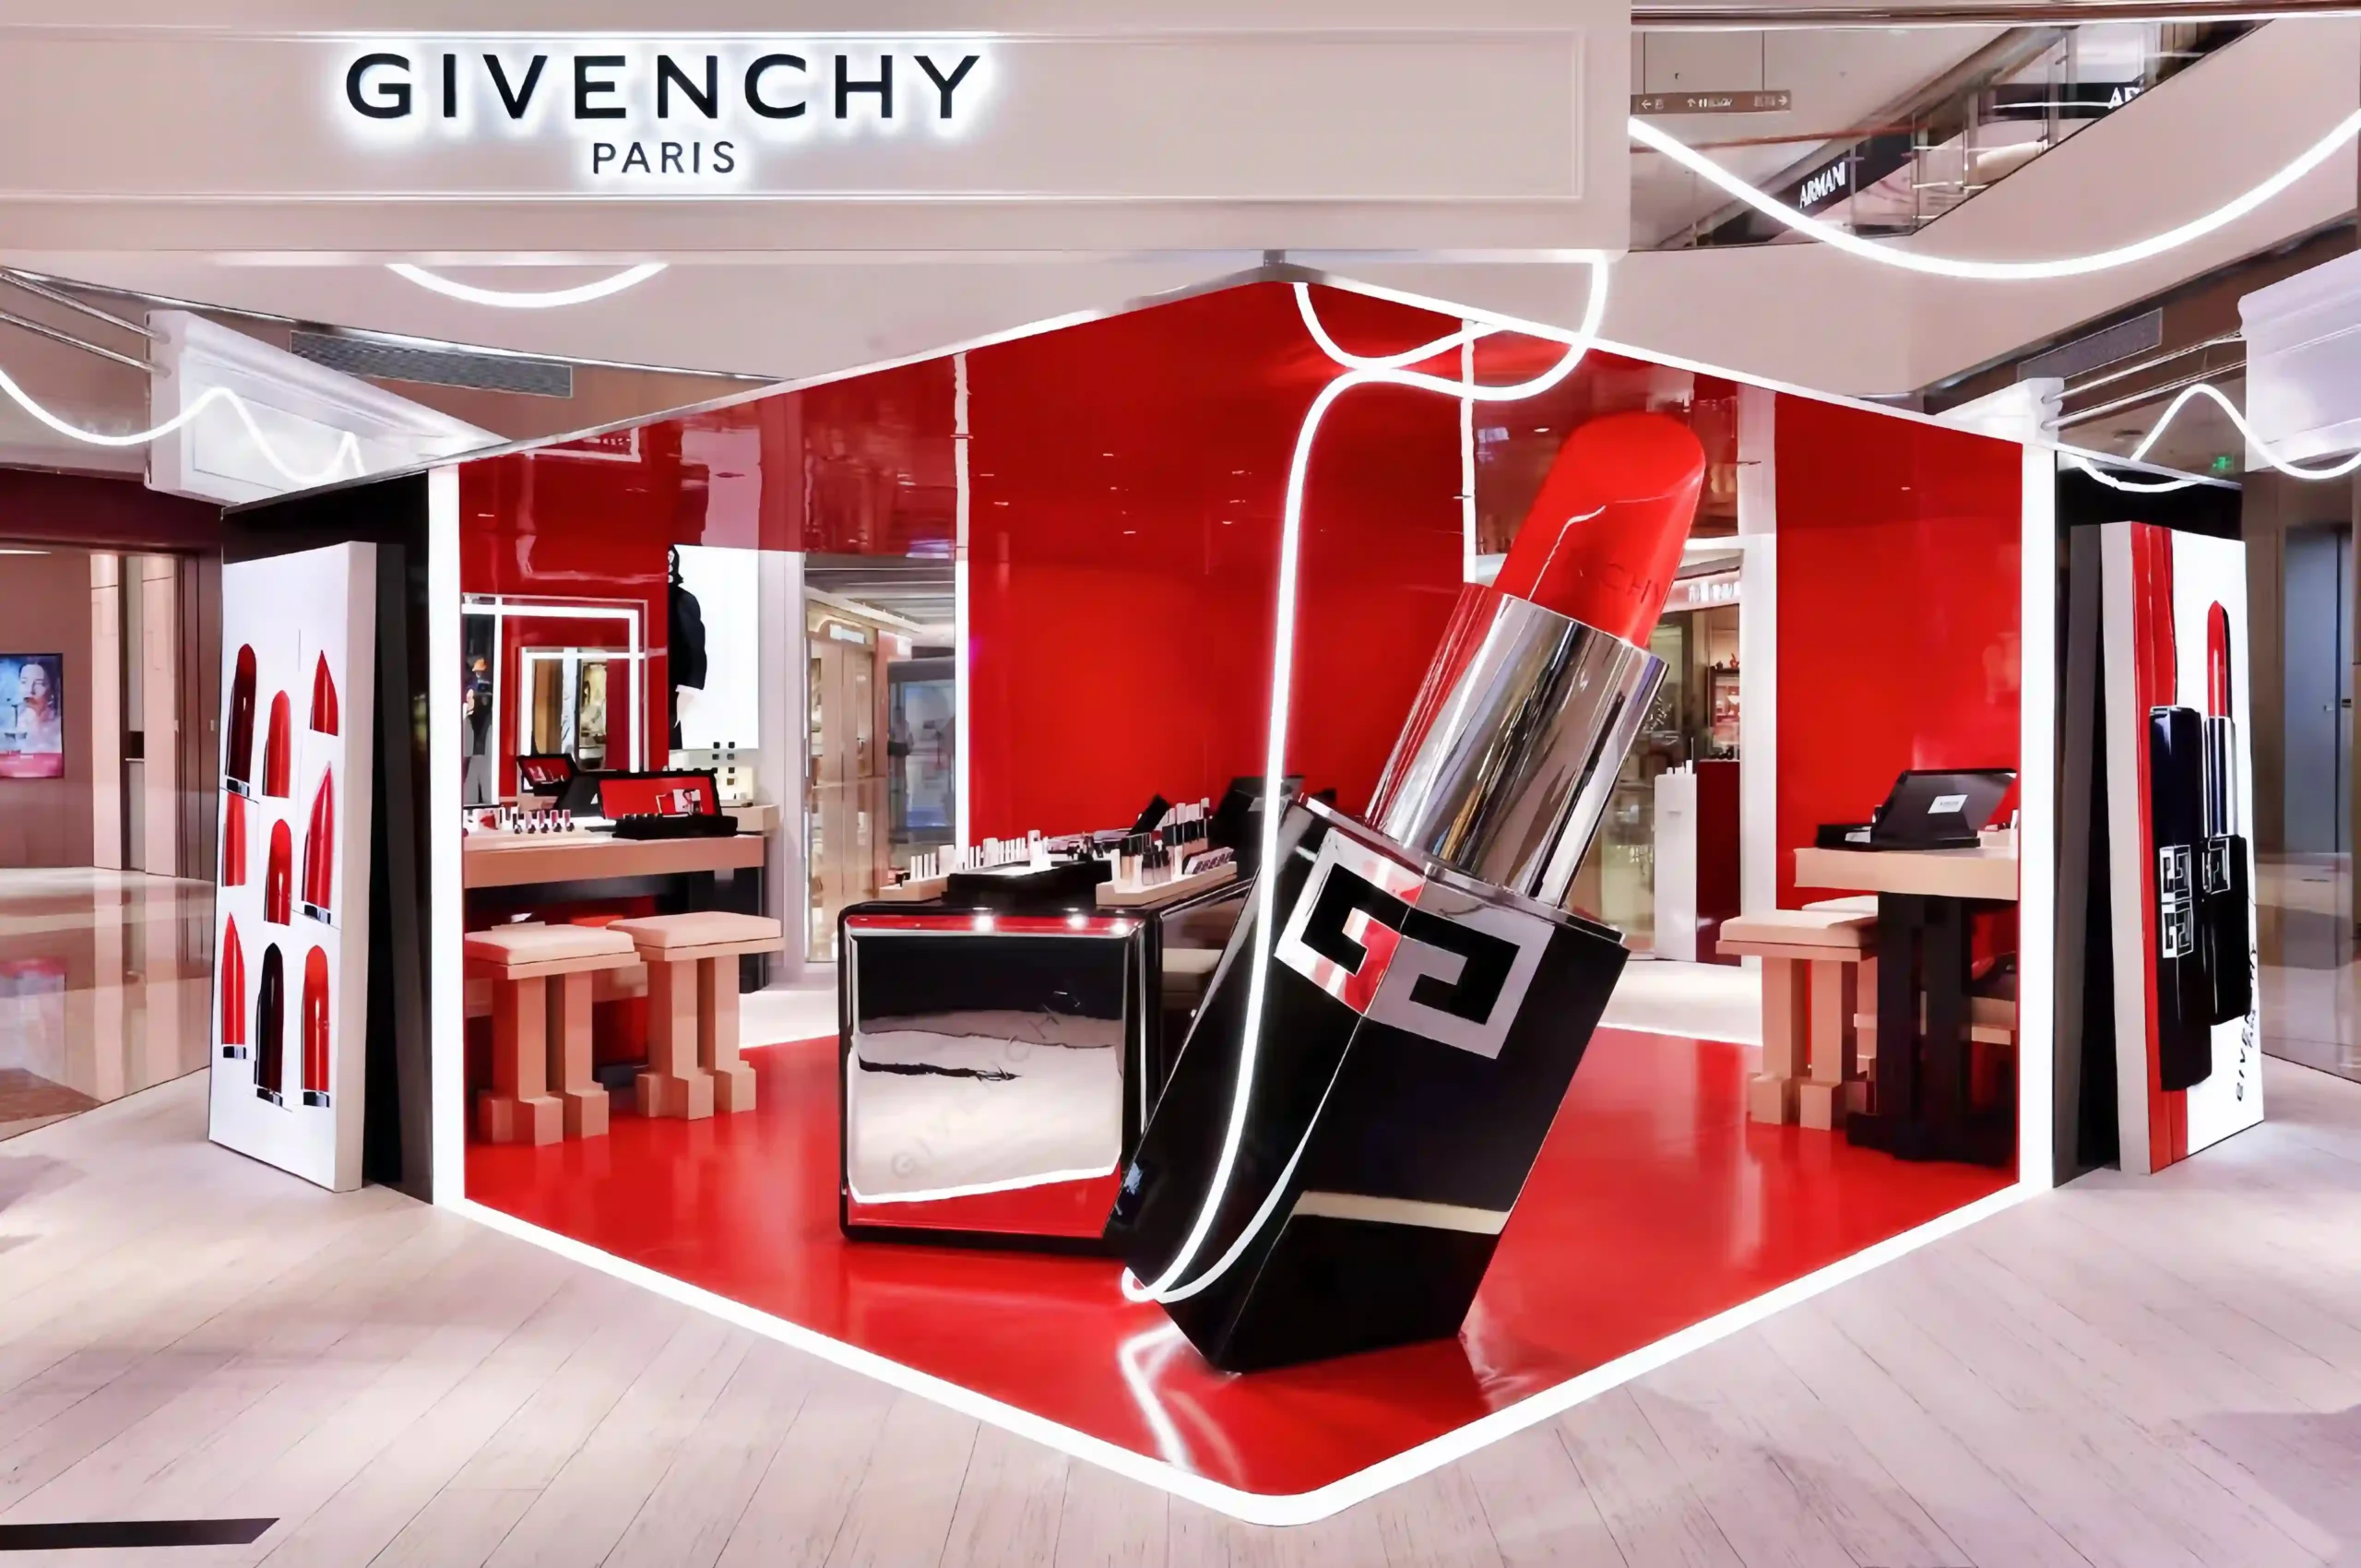
3D modeling for display props is the process of building a digital three-dimensional model of a custom prop before any physical production begins. The model confirms the size, shape, proportion, structure and surface detail of the piece, so that what a brand approves on screen is what arrives in store.
In retail visual merchandising, 3D modeling matters most when a prop is sculptural, oversized, branded, repeated across multiple stores, or based on a real product that must be enlarged with complete accuracy. In these cases, a two-dimensional sketch leaves too much open to interpretation — and interpretation is where production errors begin.
At VM Display, 3D modeling and prototyping sits at the front of every complex project, forming the bridge between a client’s creative reference and custom display props manufacturing.
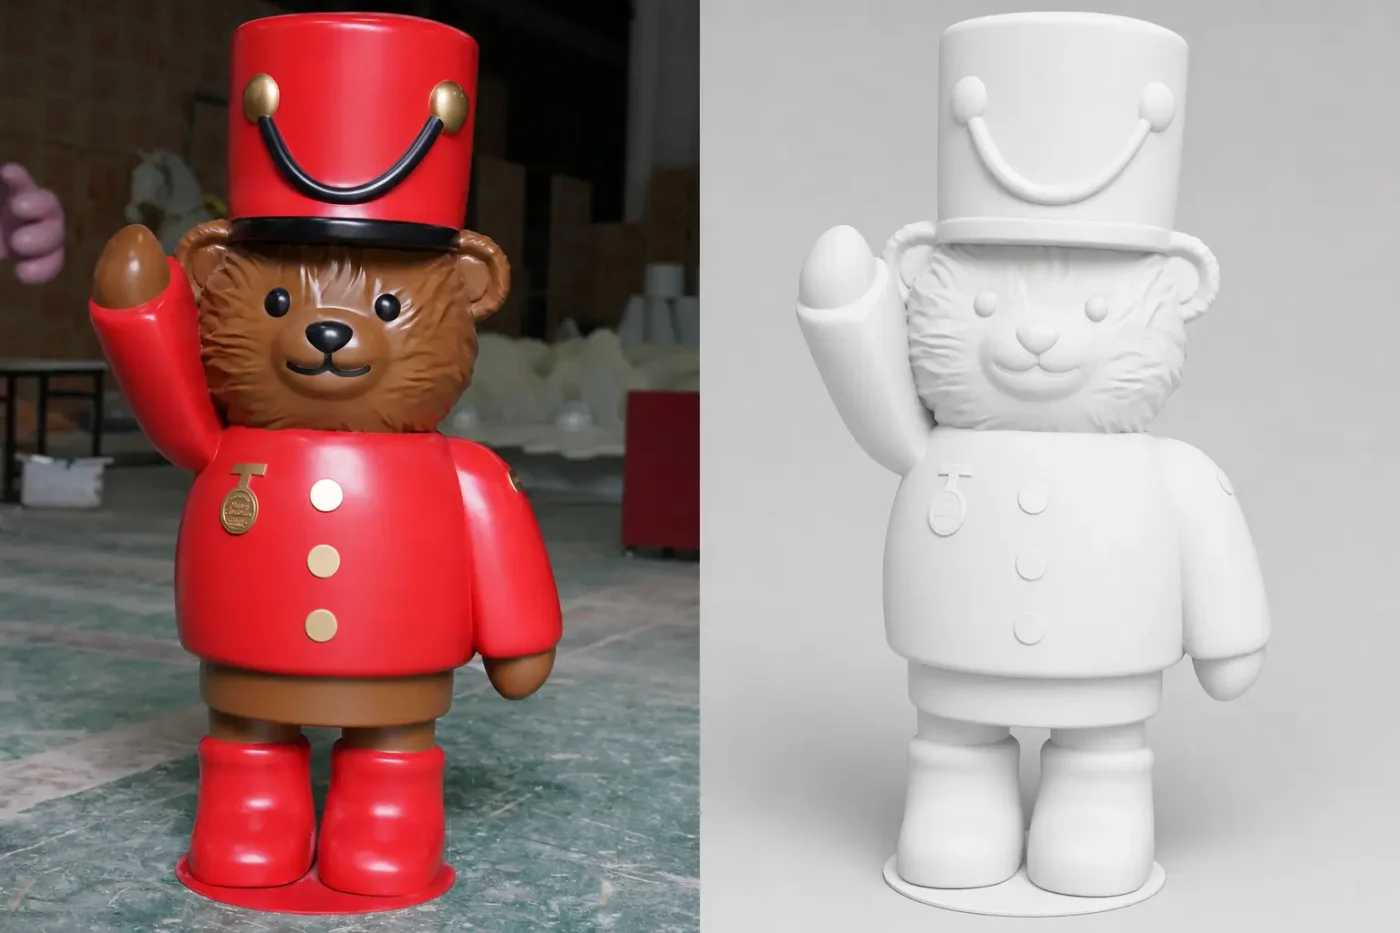
Why Is 3D Modeling Important?
3D modeling removes uncertainty before production begins. On screen, both the client and the manufacturer can confirm three things that a flat drawing cannot fully answer: whether the shape reads correctly from every angle, whether the size is practical for the retail space, and whether the design can actually be made in the chosen material.
This step protects both sides of the project. For the brand, it means the approved design is locked before tooling and material costs are committed. For the factory, it means the production team is working from a single, unambiguous reference. In our experience producing custom display props for luxury retail programs, the projects that begin with an approved 3D model consistently move through sampling faster and with fewer revision rounds.
A well-built model also becomes a shared language. Designers, brand managers, engineers and mold makers may sit in different countries, but they are all looking at — and approving — the same object.
When Should 3D Modeling Be Used?
Not every prop needs a full digital model. A simple geometric plinth can often go straight to production drawing. 3D modeling earns its place when the form is complex, the scale is unusual, or the brand’s proportions must be reproduced exactly.
It is recommended for:
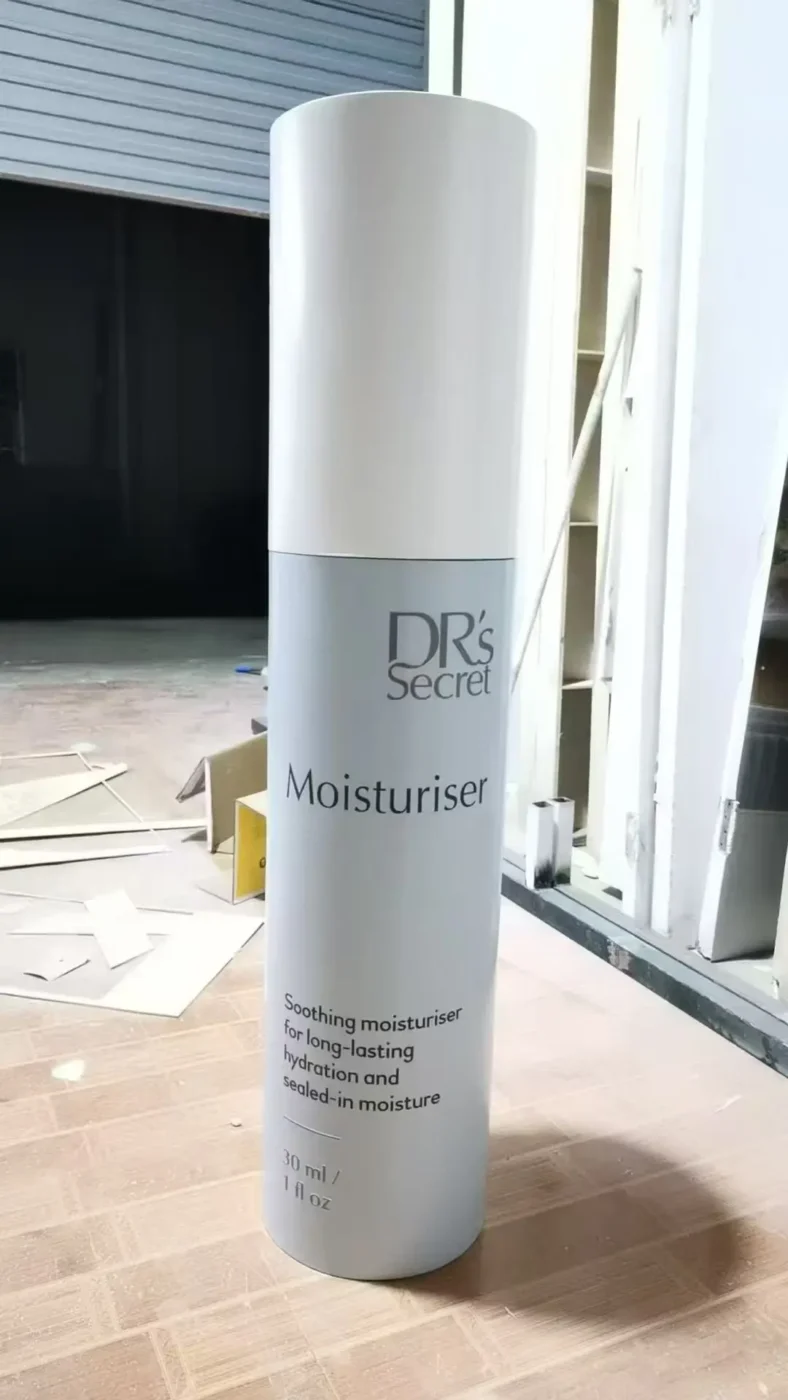
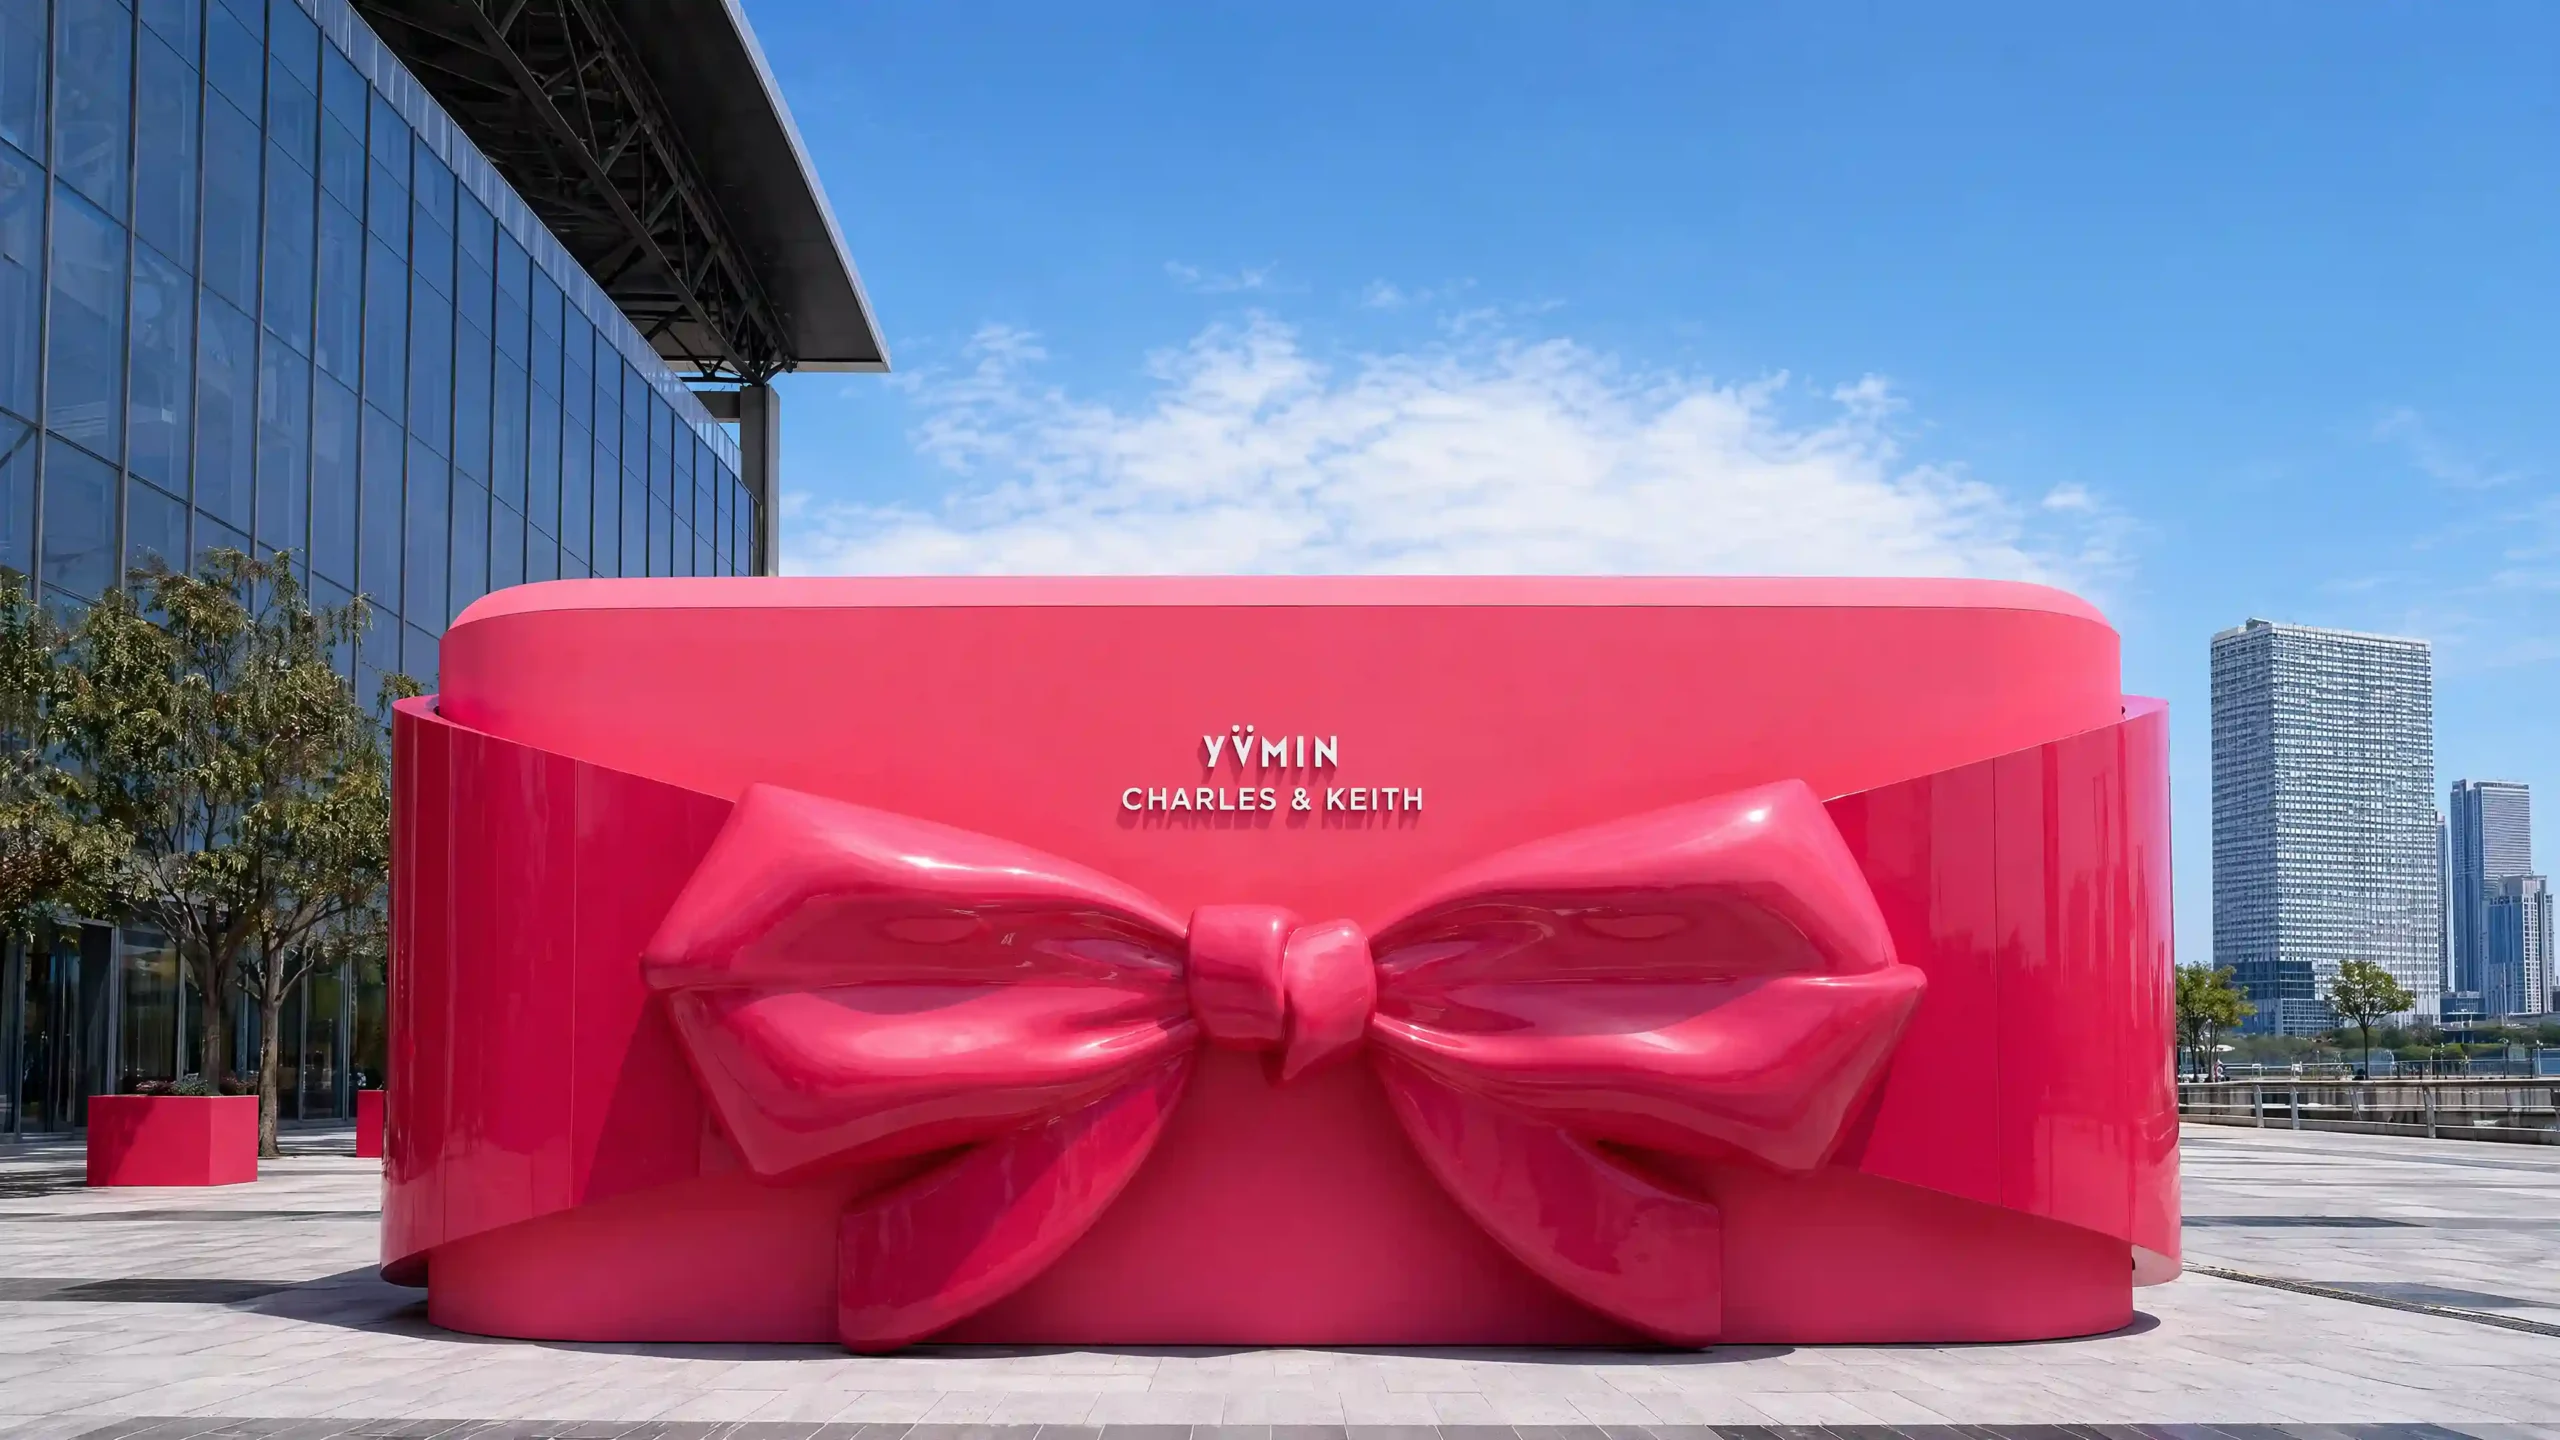
- Oversized product replicas — handbags, fragrance bottles or watches enlarged several times over, where every curve must stay faithful to the original. See how these are developed as oversized product replicas.
- Character figures and animal statues — sculptural forms with organic surfaces that cannot be described accurately in 2D.
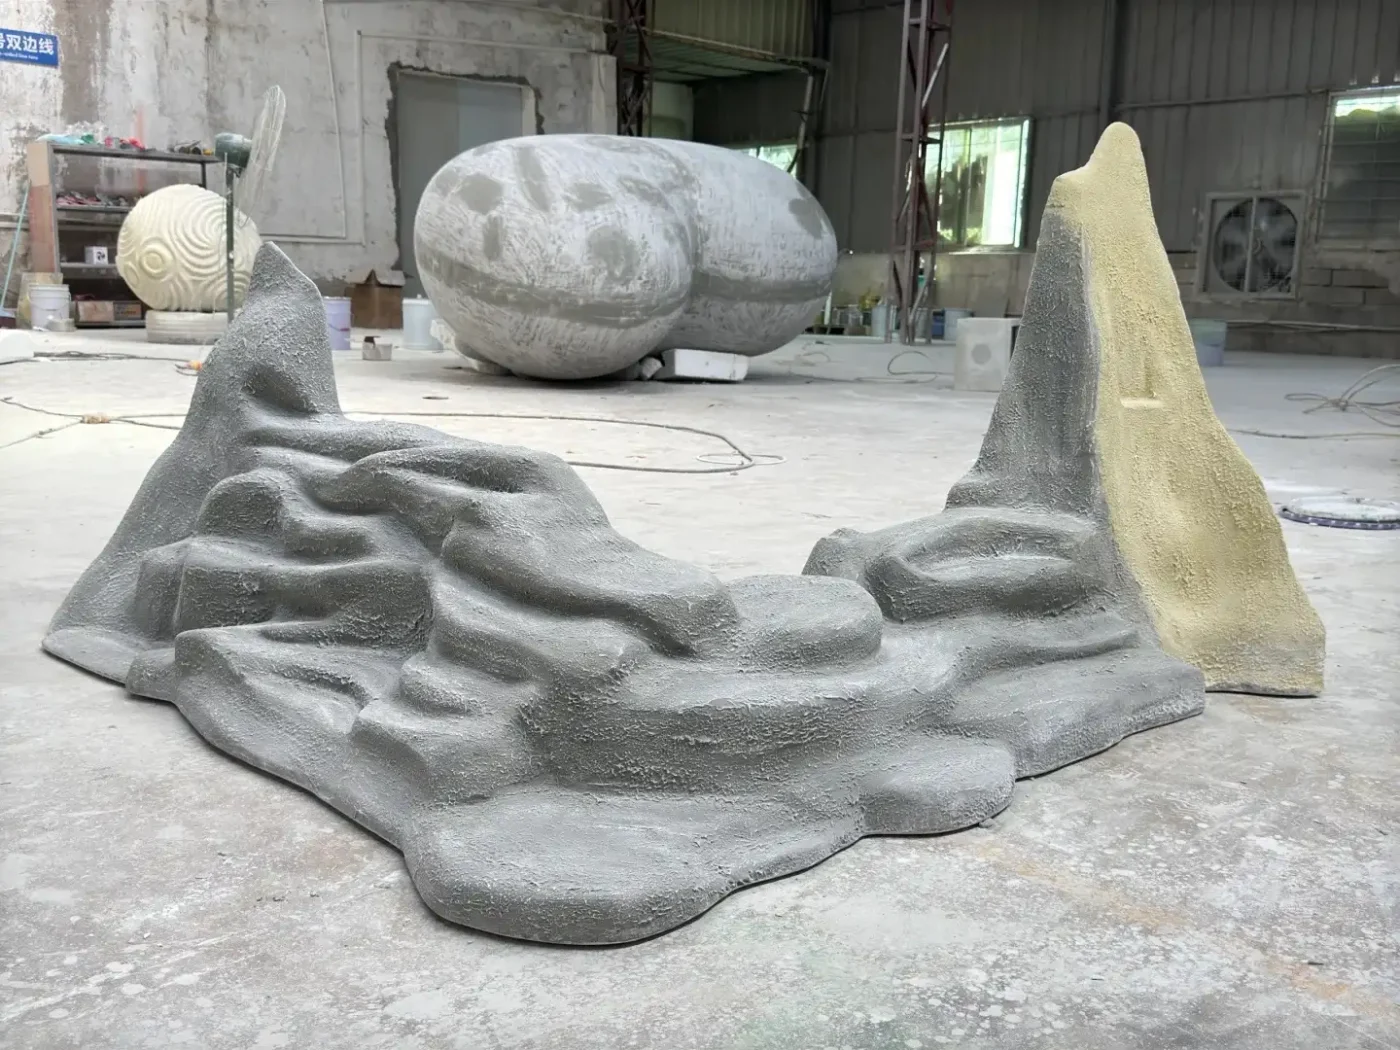
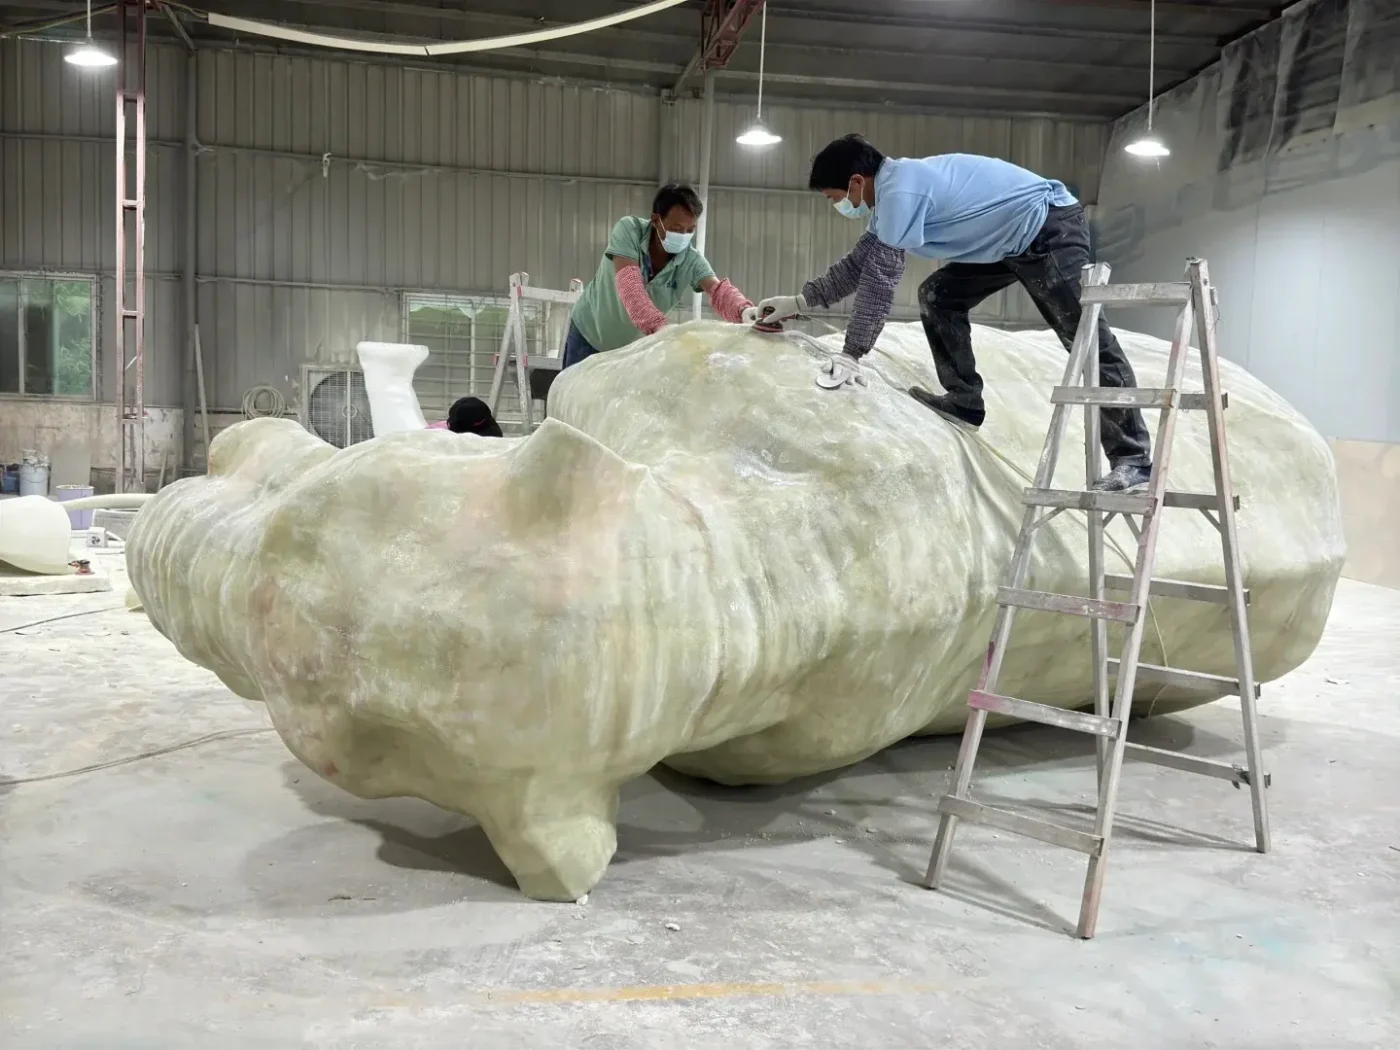
- Complex FRP sculptures — fiberglass display props with compound curves, where the model feeds directly into mold making.
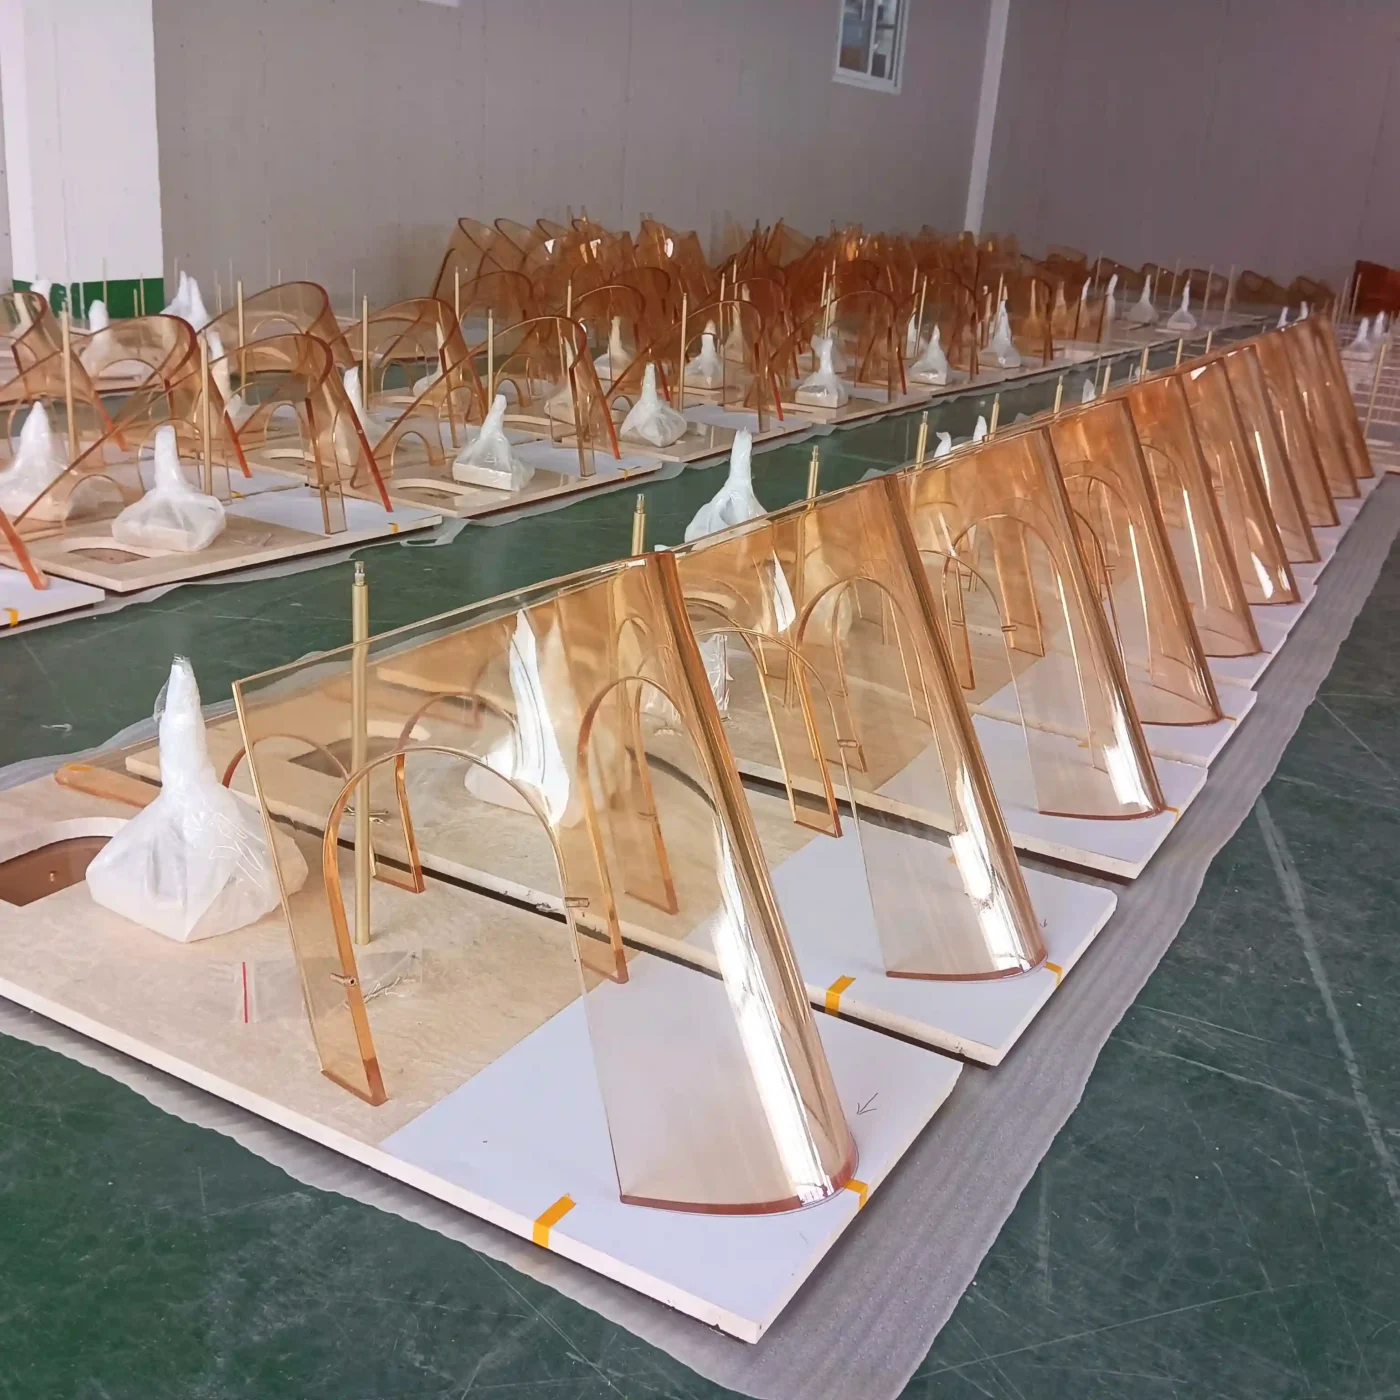
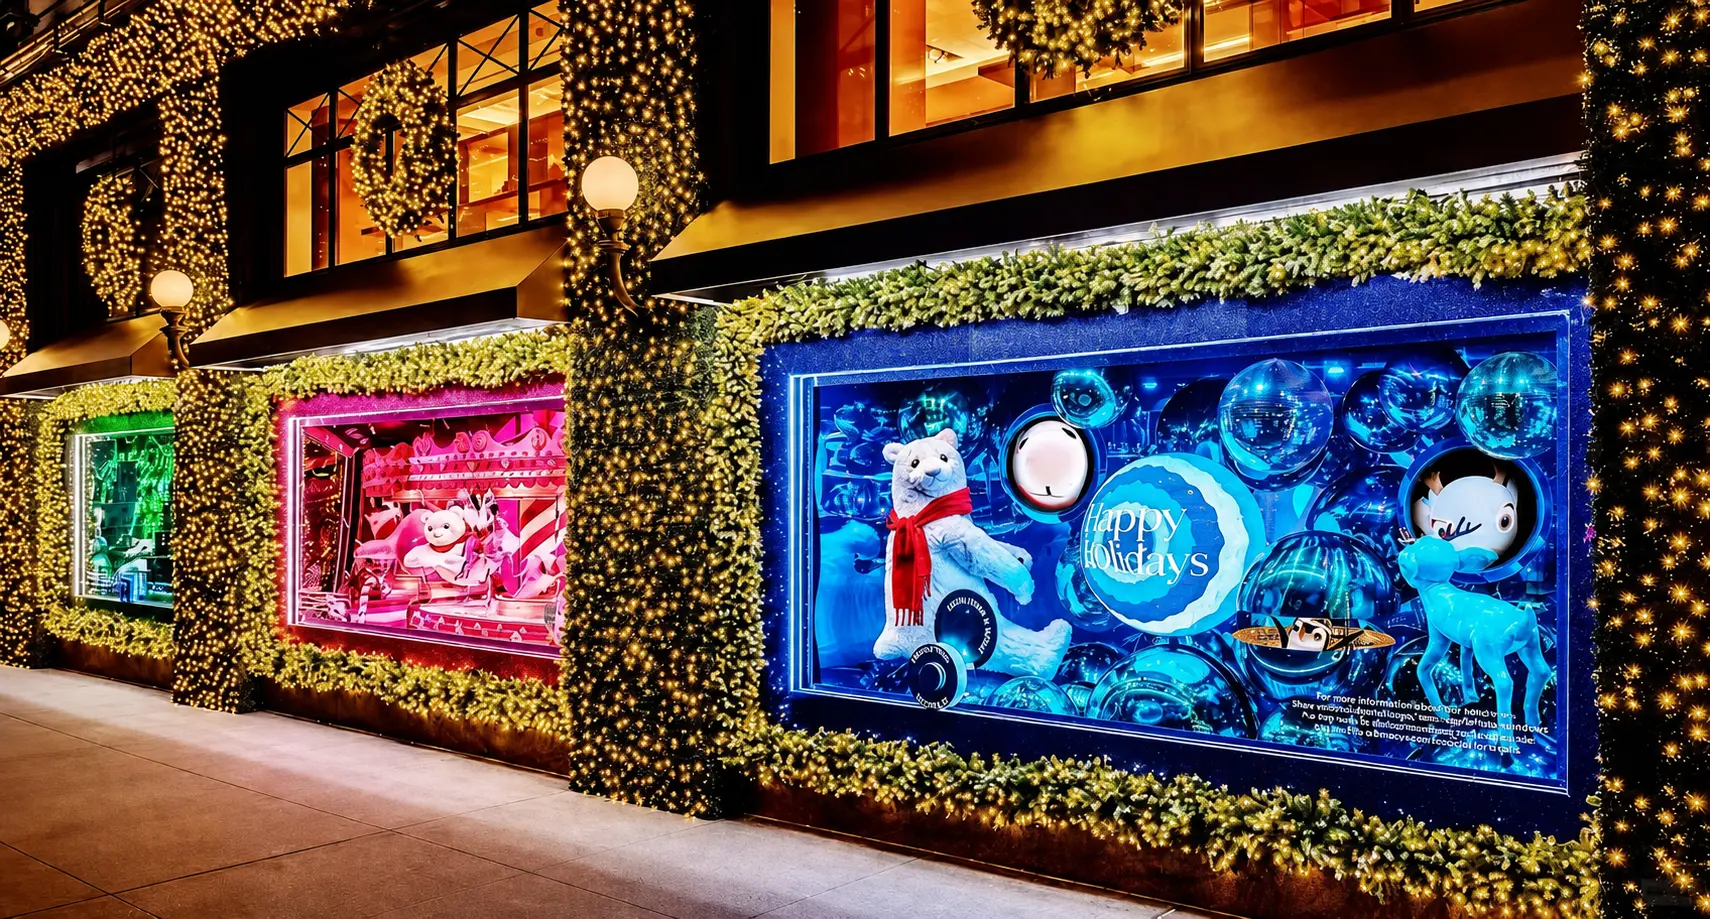
- Acrylic structures and layered window sets — pieces where multiple components must align precisely during assembly.
- Props requiring exact brand proportions — anything where the client’s design guidelines leave no tolerance for visual drift.
If a prop falls into more than one of these categories — an oversized, branded FRP replica rolled out across twenty stores, for example — 3D modeling is not optional. It is the only reliable way to guarantee consistency.
3D Modeling vs Production Drawing
The two documents answer different questions, and most complex projects need both.
| 3D Model | Production Drawing | |
|---|---|---|
| Primary purpose | Visual confirmation | Manufacturing accuracy |
| Shows | Volume, shape, proportion, surface character | Dimensions, internal structure, joints, materials, assembly details |
| Approved by | Client / brand team | Factory / engineering team |
| Answers | “Does it look right?” | “How exactly do we build it?” |
A 3D model shows what the finished prop will look like; a production drawing specifies how it will be built. Skipping either one shifts risk downstream: without the model, the client approves blind; without the drawing, the factory improvises. The full display props manufacturing process depends on both documents agreeing with each other before material is cut.
How 3D Modeling Supports Sampling
Once the 3D model is approved, it becomes a working production asset rather than a visual reference. The manufacturer can generate molds, CNC cutting files, sample parts or small-scale prototypes directly from the model data.
This is where digital work converts into physical confidence. A small-scale display props prototype lets the client hold the form, check proportions in real light, and evaluate surface finish before committing to full production. Any adjustment made at this stage costs a fraction of what the same change would cost after tooling — which is why disciplined sampling from an approved model is standard practice on every complex program we run.
Frequently Asked Questions
How long does 3D modeling take for a custom display prop? A straightforward prop model typically takes 2–5 working days. Complex sculptural forms, oversized replicas or multi-component window sets may take one to two weeks, including client revision rounds.
Can a 3D model be created from just a sketch or product photo? Yes. A sketch, render or product photograph is a sufficient starting point. The modeling team rebuilds the form digitally, then confirms dimensions, proportions and material feasibility with the client before the model is finalized.
Is 3D modeling necessary for simple display props? Not always. Simple geometric pieces such as plinths, risers or basic frames can often move directly to production drawings. 3D modeling becomes essential when the form is sculptural, oversized or must match brand proportions exactly.
What file formats are used for display prop 3D models? Common working formats include STEP, OBJ, STL and native CAD files. The approved model is then translated into CNC files, mold data or production drawings depending on the manufacturing method.
Have a Sketch, Render or Product Photo?
VM Display can turn your reference image into a 3D model, a technical plan and a production-ready custom display prop. Start a custom prop project with our team, or see the from-render-to-reality service to understand how the full process works.