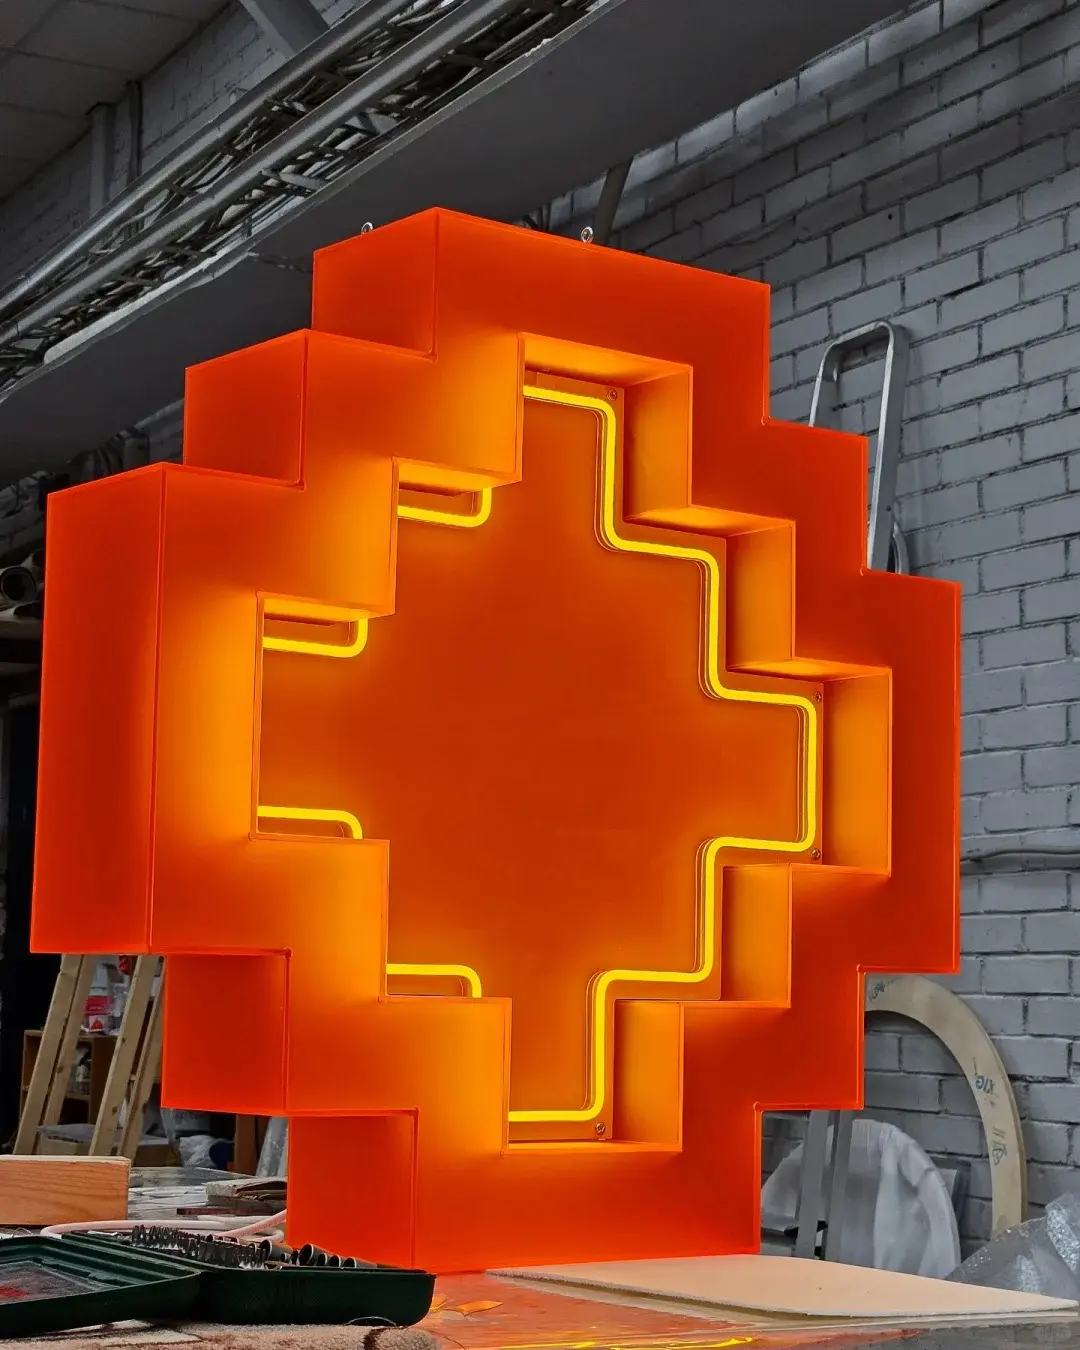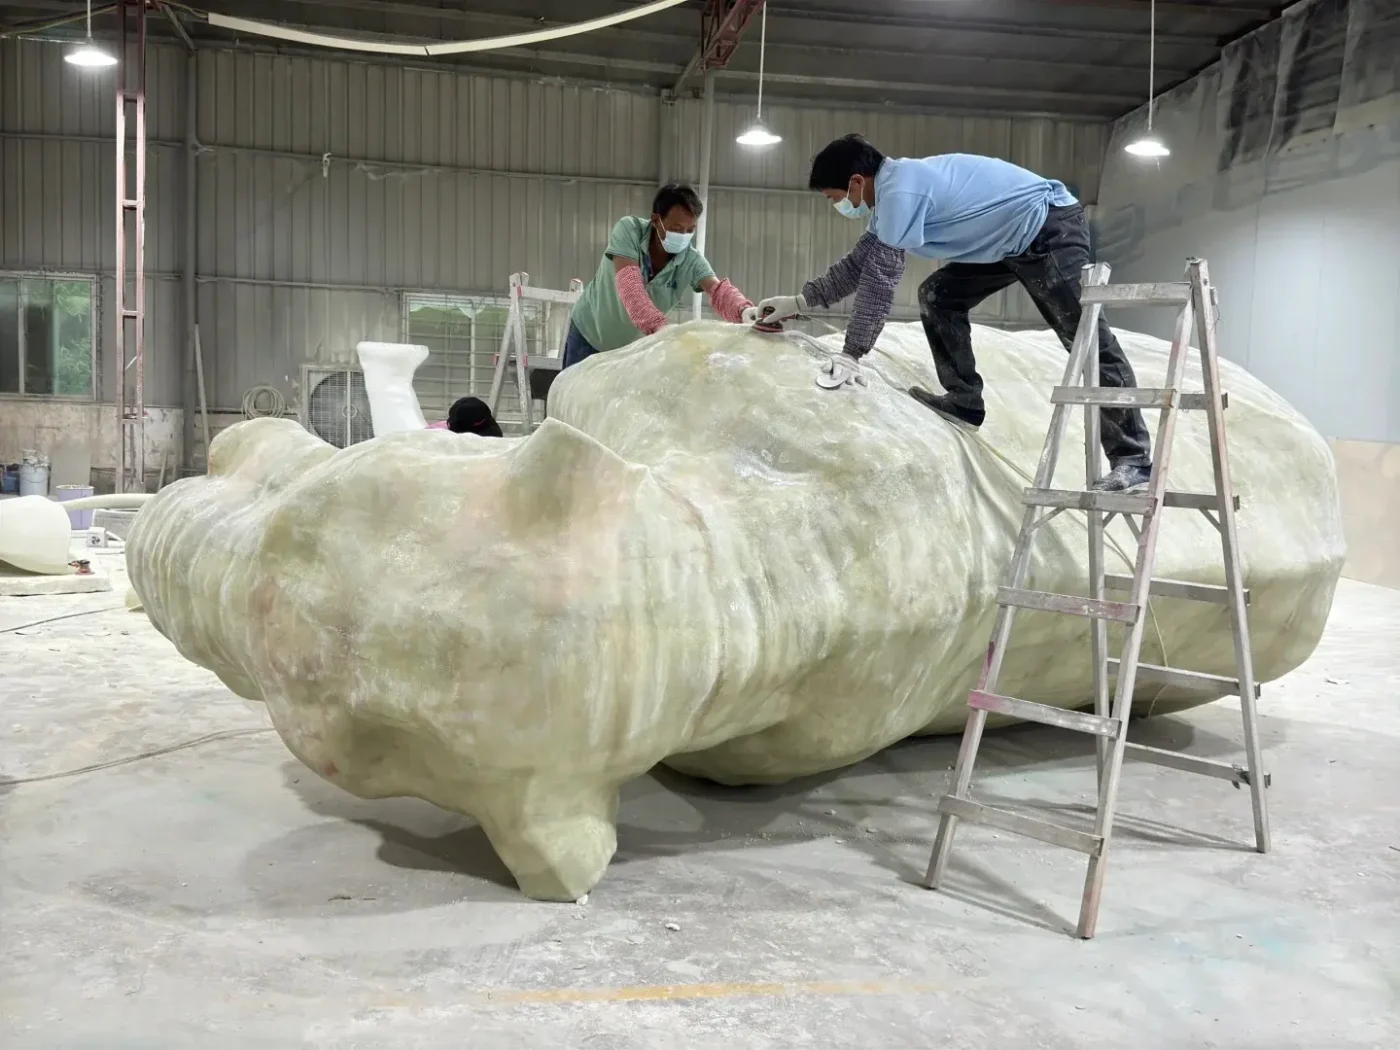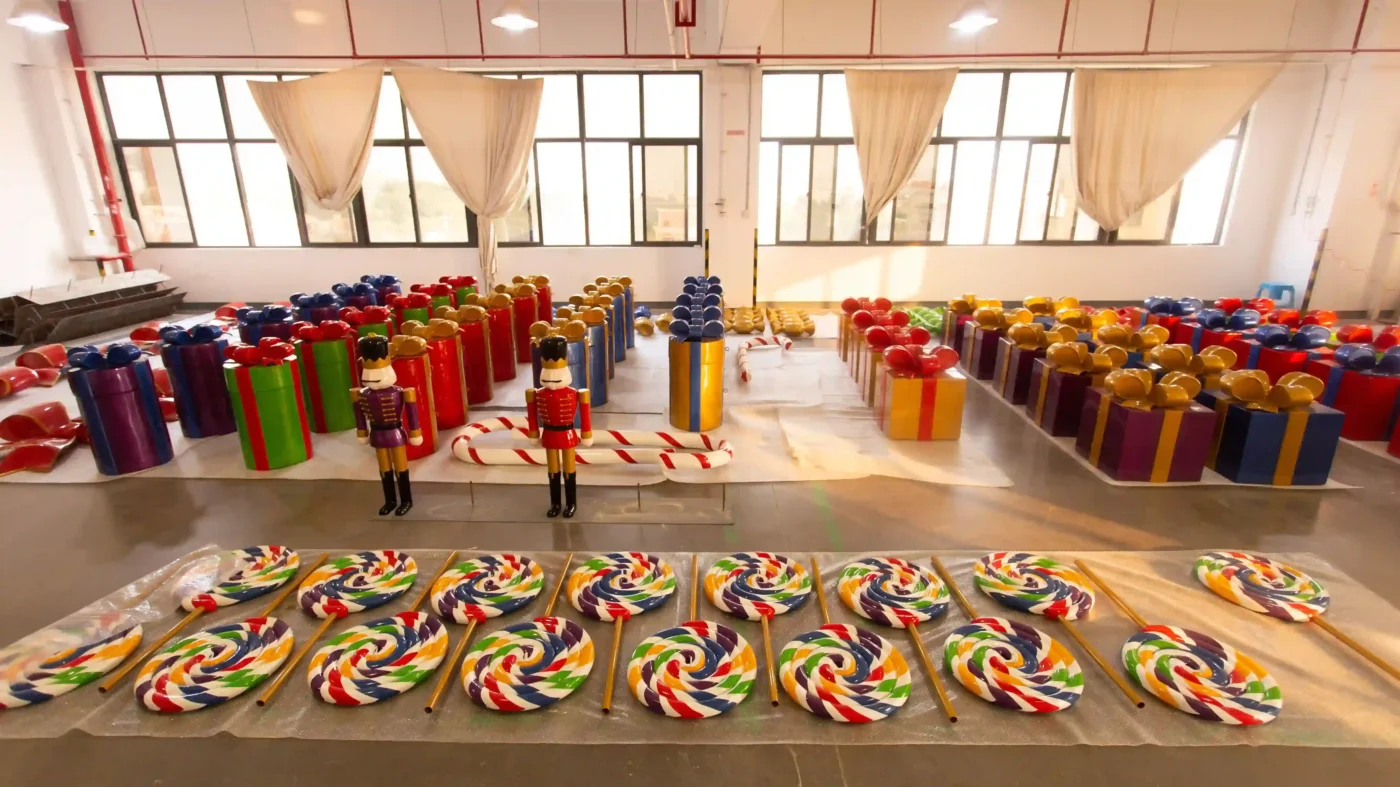


FRP stands for Fiberglass Reinforced Plastic — a composite material made by layering woven glass-fibre cloth with liquid resin inside a mold, then allowing the resin to cure into a rigid shell. The Chinese industry term 玻璃钢 (literally “glass steel”) captures the idea well: glass-fibre for reinforcement, plastic resin for shape.
The result is a material that can be molded into virtually any three-dimensional form — animals, human figures, abstract sculptures, oversized product replicas — while remaining far lighter than stone, concrete or metal. That combination of sculptural freedom and practical weight is why FRP has become the default material for window-display props, in-store installations and visual merchandising sculptures across the luxury retail industry.
At our factory, FRP accounts for more project volume than any other single material category. When a brand needs a life-size floral installation or a set of oversized perfume bottles for a seasonal campaign, the answer is almost always FRP.
Why FRP Dominates Retail Display Manufacturing
Several properties make FRP uniquely suited to visual merchandising:
- Unlimited geometry. Unlike metal fabrication or woodworking, FRP is shaped by a mold, so organic curves, undercuts and highly detailed surfaces are all achievable without additional tooling cost per feature.
- Low weight. A finished FRP prop weighs roughly one-fifth of an equivalent concrete piece and significantly less than metal, making global shipping and in-store installation far more practical.
- Surface versatility. The same FRP shell can be finished to look like natural stone, brushed metal, high-gloss lacquer, raw plaster or weathered wood — all through paint and coating techniques applied after molding.
- Mold reusability. Once a silicone mold is made, it can produce 15–25 identical copies, making FRP economical for multi-store rollouts where the same prop ships to dozens of locations.
- Reasonable cost. Compared to cast bronze, carved stone or CNC-machined solid surfaces, FRP delivers comparable visual impact at a fraction of the material and labour cost.
The mechanical properties behind these advantages are well documented. The general principles of fibre-reinforced polymer behaviour are outlined in ASTM D3039, the standard test method for tensile properties of polymer-matrix composites — the same framework our engineers reference when evaluating laminate strength for load-bearing display elements.
The FRP Production Process — Step by Step
Understanding the production sequence helps you set realistic timelines and know where quality risks concentrate. Here is the standard workflow we follow for a typical sculptural display prop:
| Step | What Happens | What to Specify or Watch |
|---|---|---|
| 1. 3D Modeling | A digital model is built in Rhino, 3ds Max or ZBrush, defining dimensions, proportions and surface detail | Confirm the final approved version before proceeding — revision control matters |
| 2. Prototype Fabrication | The digital model is turned into a 1:1 physical master using 3D printing (small pieces) or CNC-carved foam (large pieces) | Surface quality of the prototype transfers directly to the final product; layer lines and seams must be sanded smooth |
| 3. Silicone Mold Making | Liquid silicone is brushed over the prototype to create a flexible mold, then a rigid FRP “mother mold” is built around it for structural support | Mold quality determines consistency across copies — a well-made silicone mold yields 15–25 faithful reproductions |
| 4. FRP Layup | A gel coat is applied inside the mold first, then alternating layers of resin and glass-fibre cloth are laid up (typically 3–4 layers for display props), then the assembly cures and is demolded | This is the most critical step for structural integrity — layer count determines strength |
| 5. Trimming and Sanding | Flash lines, parting seams and rough edges are cut and sanded to achieve the correct shape | Parting lines from the mold split must be completely invisible on the finished surface |
| 6. Body Filler Application | A thin skim of automotive-grade body filler is applied to correct minor surface imperfections | Filler should be a thin correction layer only — thick filler indicates a poor-quality shell underneath |
| 7. Fine Sanding | Progressive sanding from 180-grit through 600-grit (or finer) produces a smooth substrate | Check under raking light — the surface should show no waviness or undulation |
| 8. Primer Coats | Two to three coats of primer are sprayed, with light sanding between coats, to seal the substrate and build adhesion for the topcoat | Fewer than two primer coats risks poor paint adhesion and premature peeling |
| 9. Topcoat and Effects | The final colour and finish are applied — solid colour, metallic paint, gradients, faux-stone texture, faux-woodgrain, and so on | Colour must be verified against a physical colour standard (Pantone chip or approved sample) under natural light |
| 10. Inspection and Packing | Full quality check, then wrapping in pearl cotton, bubble wrap and custom timber crating | FRP is vulnerable to impact — protruding features and sharp edges need extra padding |
For projects requiring a metallic finish, the FRP shell often continues to a PVD coating or electroplating stage after the primer step.
Polyester vs. Epoxy Resin — Choosing the Right Matrix
The resin used in FRP layup is not a minor detail — it determines the prop’s durability, weather resistance and suitability for its intended environment. Two resin families dominate display-prop manufacturing:
| Property | Unsaturated Polyester Resin | Epoxy Resin |
|---|---|---|
| Relative Cost | Lower | Roughly 2–3× higher |
| Mechanical Strength | Moderate | High |
| UV and Weather Resistance | Limited — yellows and degrades with prolonged outdoor exposure | Good — significantly better UV stability |
| Odour During Production | Strong styrene smell | Mild |
| Best Application | Indoor displays, short-term campaign installations | Outdoor installations, long-term or permanent displays, high-value projects |
Practical guidance: For a three-week window campaign that lives entirely indoors, polyester resin is perfectly adequate and keeps costs down. For a courtyard installation expected to last a full season or longer under direct sunlight, epoxy is worth the premium — polyester will yellow and become brittle within months of UV exposure.
If your brief specifies epoxy resin, it is worth verifying during production. On the factory floor, the simplest check is the smell: polyester resin produces a strong, sharp styrene odour that is unmistakable, while epoxy is comparatively mild.
Typical Lead Times
Lead times vary with size and whether tooling (mold-making) is required or an existing mold can be reused:
| Prop Size | With New Mold | Recast from Existing Mold |
|---|---|---|
| Small (under 50 cm) | 7–12 days | 3–5 days |
| Medium (50 cm – 1.5 m) | 15–22 days | 5–8 days |
| Large (over 1.5 m) | 22–35 days | 8–15 days |
| Oversize (over 3 m, sectional assembly) | 35–50 days | 15–25 days |
A common source of timeline misunderstanding is the gap between “shell complete” and “finished product.” The raw FRP shell (white body) may be ready quickly, but the surface preparation, primer, topcoat and finishing stages typically add another 5–10 working days. Always confirm whether a quoted lead time covers the fully finished, paint-ready state.
Quality Benchmarks and Common Defects
Years of production have taught us where FRP quality most often breaks down. These are the issues we watch for during our own QC process — and the benchmarks we recommend specifying:
Glass-Fibre Layup Count
Display-grade FRP should have a minimum of 3–4 layers of glass-fibre cloth. Fewer layers produce a shell that is thin and brittle — it may survive shipping but crack on installation or when a store associate bumps it during a window change. A quick diagnostic: tap the cured shell with a knuckle. A solid, sharp sound indicates adequate layup; a hollow, drum-like resonance suggests the wall is too thin.
Surface Preparation Discipline
Cutting corners on sanding is the most common time-saving shortcut in FRP production, and the most visible one in a retail environment. Under the flat ambient light of a workshop, a hastily sanded surface may look acceptable. Under the directional spotlights of a luxury storefront, every ripple and depression is magnified. We check all surfaces under raking light before primer application — waviness visible at this stage will be visible in-store.
Body Filler Thickness
A thin skim of body filler to correct minor surface imperfections is normal and expected. Large areas of filler exceeding 2–3 mm in thickness are a red flag — they indicate that the underlying FRP shell has significant shape deviations. Because body filler and FRP have different coefficients of thermal expansion, thick filler will eventually crack and detach, taking the paint finish with it.
We learned this the hard way on an early project: a subcontractor delivered a batch of large sculptural shells where filler had been applied 4–5 mm thick across entire panels to compensate for warped layup. Within weeks of installation under store lighting, hairline cracks began appearing across every piece. The entire batch had to be re-shelled from scratch — a costly lesson that now drives our standard of rejecting any shell that requires more than spot-level filler correction.
Gel Coat Integrity
The gel coat is the outermost resin layer applied directly against the mold surface before glass-fibre layup begins. It produces the smooth exterior surface of the demolded part. Skipping the gel coat or applying it too thinly results in a rough surface where the texture of the glass-fibre weave shows through — no amount of sanding and paint can fully disguise this.
Surface Pinholes and Air Bubbles
Trapped air during layup creates small voids (pinholes or “sand eyes”) in the cured surface. If left unrepaired, paint will eventually flake away from these points. Each pinhole should be individually filled and sanded before primer.
When FRP Is — and Isn’t — the Right Choice
FRP excels at organic, sculptural, one-off or short-run props where weight matters and complex geometry is required. It is not the right material for every situation:
Choose FRP when:
- The design involves organic curves, figurative sculpture or complex 3D geometry
- Weight is a concern for shipping or installation
- The prop needs to be replicated across multiple stores from a single mold
- The surface will be painted, coated or finished to simulate another material
Consider alternatives when:
- The design is primarily rectilinear and flat-panelled — MDF or metal fabrication will be more cost-effective and structurally sound
- The prop must be fully transparent — acrylic (PMMA) is the better choice
Specifying FRP for Your Next Project
When briefing a manufacturer on an FRP display prop, these are the parameters that most affect outcome quality:
- Resin type — polyester or epoxy, based on indoor/outdoor use and expected display duration
- Layup specification — minimum 3–4 layers of glass-fibre cloth for display-grade strength
- Surface finish standard — specify the inspection method (raking-light check, gloss meter reading) and the reference standard (approved painted sample or Pantone swatch)
- Dimensional tolerances — typically ±2 mm for props under 1 m, ±5 mm for larger pieces, but confirm against your installation requirements
- Packing specification — FRP is impact-vulnerable; custom timber crating with internal foam support is standard for international shipping
We use these five parameters as the backbone of every FRP project brief at VM Display Solution. To make specification easier on your end, we have distilled them into a one-page FRP specification checklist that you can download and fill in before your next enquiry — reach out to our team and we will send it over. Having these details agreed in writing before production starts eliminates the most common sources of quality disputes and ensures the finished prop meets the visual standard your retail environment demands.
Frequently Asked Questions
What does FRP stand for and what is it made of?
FRP stands for Fiberglass Reinforced Plastic. It is a composite material made by combining woven glass-fibre cloth with a liquid polymer resin (typically polyester or epoxy) inside a mold. The resin cures to form a rigid, lightweight shell reinforced by the embedded glass fibres.
Is FRP suitable for outdoor retail displays?
Yes, provided the correct resin is specified. Epoxy resin offers significantly better UV and weather resistance than polyester resin, which will yellow and become brittle with prolonged outdoor exposure. A UV-resistant topcoat is also recommended for any outdoor FRP installation.
How much does an FRP display prop weigh compared to alternatives?
FRP is roughly one-fifth the weight of an equivalent concrete piece and substantially lighter than cast metal. A 1.5-metre sculptural prop in FRP might weigh 15–25 kg, whereas the same form in concrete could exceed 100 kg — a significant difference for both shipping cost and in-store handling.
How many copies can be made from one FRP mold?
A well-made silicone mold typically produces 15–25 faithful copies before it begins to degrade. The exact number depends on the complexity of the geometry and the care taken during each demolding cycle. For larger rollouts, a second mold can be made from the same master prototype.
What surface finishes can be applied to FRP?
Almost any visual effect is achievable on an FRP surface: high-gloss lacquer, matte paint, metallic finishes (via paint, PVD coating or vacuum metalizing), faux stone, faux woodgrain, flocking, and colour gradients. The versatility of FRP finishing is one of its primary advantages over materials that have a fixed natural appearance.
How do I check FRP quality on a finished prop?
Key checks include tapping the shell to listen for hollow sounds (indicating insufficient glass-fibre layup), inspecting surfaces under raking light for waviness, checking for pinholes or air bubbles in the paint surface, and verifying that body filler has been applied sparingly rather than used to mask a poor-quality shell.
What is the typical lead time for a custom FRP display prop?
Lead time depends on size and whether a new mold is required. A medium-sized prop (50 cm to 1.5 m) with new tooling typically takes 15–22 working days from approved 3D model to finished, painted product. If an existing mold is reused, the same prop can be ready in 5–8 days.
What is the difference between polyester and epoxy resin in FRP?
Polyester resin is less expensive and adequate for indoor, short-term displays. Epoxy resin costs roughly two to three times more but offers higher mechanical strength and substantially better resistance to UV light and weathering, making it the correct choice for outdoor or long-term installations.