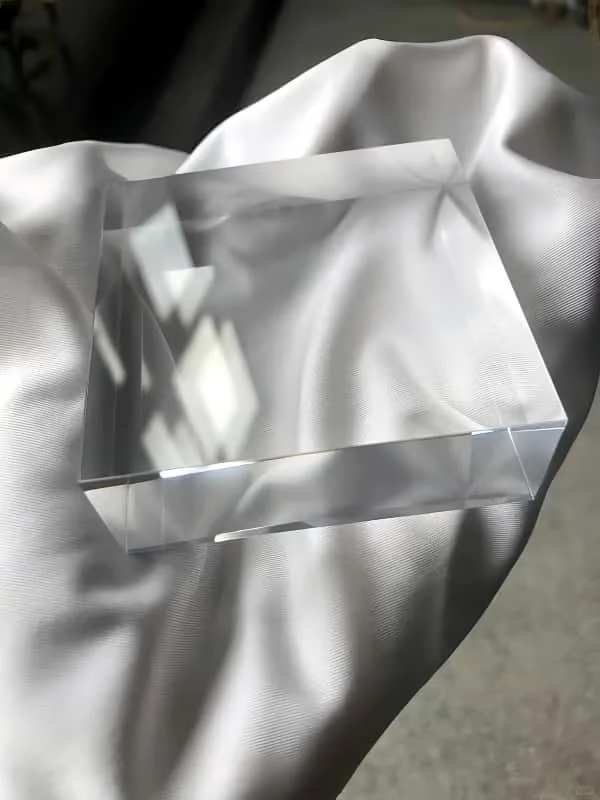
Acrylic loses its signature optical clarity as thickness increases. A 10mm acrylic sheet transmits light cleanly; a 150mm block of the same material looks cloudy. This is the core engineering problem in thick acrylic display fabrication — and the reason why precision CNC engraving, temperature control, and multi-stage polishing are not optional refinements but structural requirements.
This article explains why thick acrylic behaves differently from thin sheet, what manufacturing controls maintain clarity at depth, and how these techniques were applied in a Louis Vuitton architectural installation.
Why Thick Acrylic Loses Clarity — The Physics
Standard cast acrylic sheet (Plexiglas, Perspex) transmits approximately 92% of visible light at thicknesses below 5 cm. As thickness increases, two things happen that degrade optical performance.
First, internal stress. Acrylic is a thermoplastic — it responds to temperature changes by expanding and contracting. In thick blocks, the outer surfaces and the interior cool at different rates during the casting process, creating residual internal stresses. These stress zones refract light differently from the surrounding material, producing visible haze and distortion.
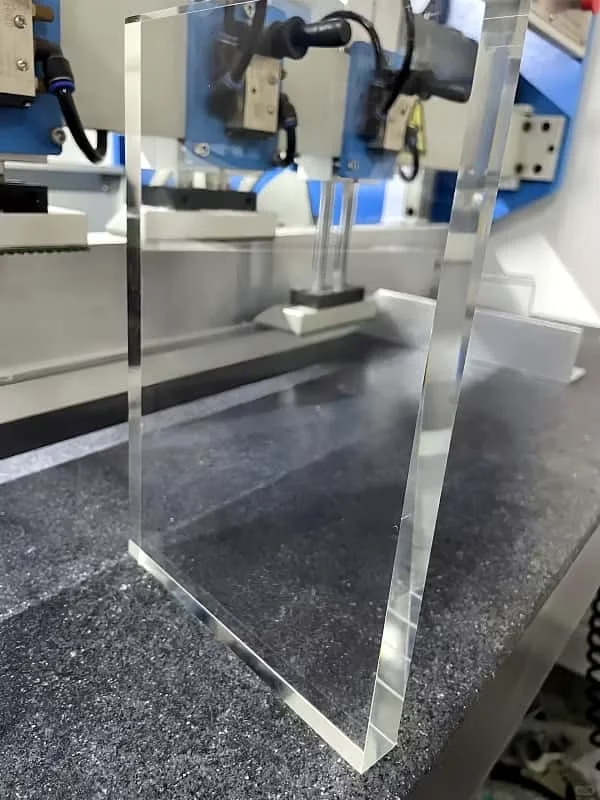
Second, surface quality amplification. Micro-scratches on the surface of a 5mm sheet are barely visible because light passes through a thin cross-section. The same micro-scratches on a 150mm block are visible from the side because the viewer is looking through the full depth of the material — every surface imperfection is amplified by the optical path length.
Both problems are solvable, but they require manufacturing controls that go beyond standard acrylic fabrication.
Five-Axis CNC Engraving — Equipment and Capabilities
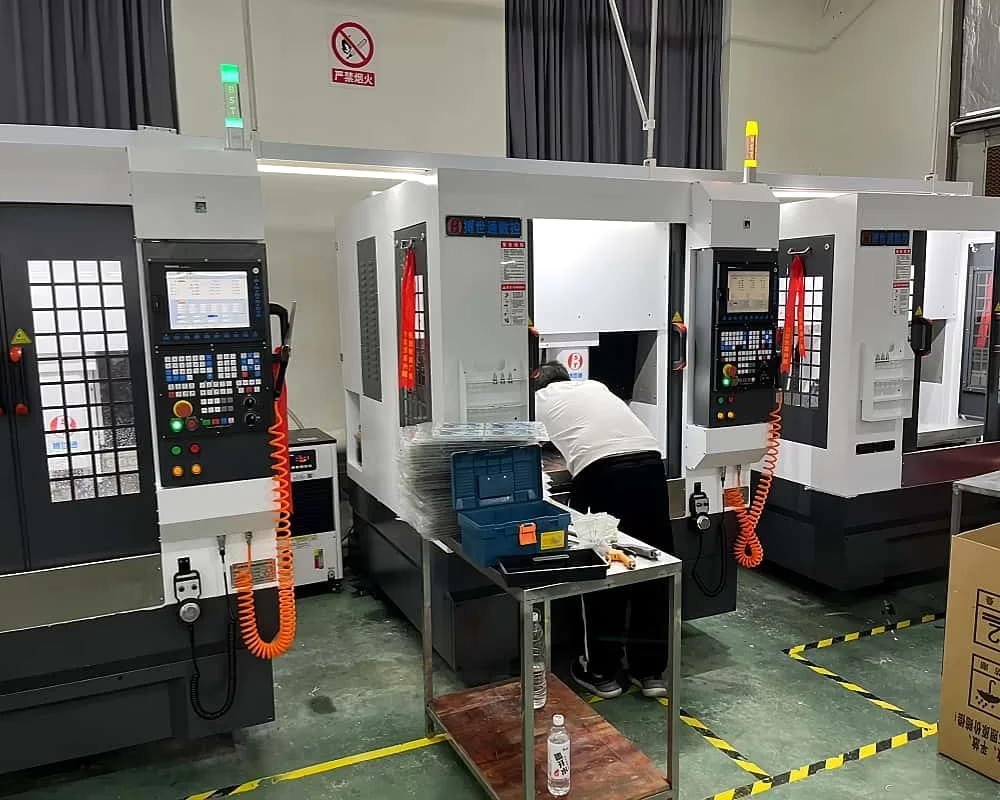
The primary fabrication tool for precision acrylic work is a five-axis CNC engraving center. Five-axis (as opposed to three-axis) capability matters for acrylic display props because it allows the cutting tool to approach the workpiece from compound angles without re-fixturing — which means complex three-dimensional surfaces, undercuts, and angled edge profiles can be machined in a single setup, eliminating the alignment errors that accumulate with each re-fixture.
Our facility operates industrial-grade five-axis equipment with the following specifications:
- Positioning accuracy: ±0.01 mm
- Repeatability: ±0.005 mm
- Surface roughness capability: Ra 0.2 μm
- Maximum workpiece envelope: 2000 mm × 1200 mm × 300 mm
The ±0.01 mm positioning accuracy is relevant for two specific applications in display prop fabrication. First, for multi-piece assemblies where acrylic panels must butt-join with invisible seams — at this tolerance, two adjacent panels can be machined so precisely that the joint line disappears when the panels are bonded. Second, for precision-cut strip arrays (as in the LV case study below) where hundreds of individually cut pieces must maintain consistent spacing and angle across a large installation.
Temperature Control — Why the Workshop Runs at 23±2°C
All thick acrylic fabrication in our facility takes place in a climate-controlled environment maintained at 23±2°C. This is not a comfort specification — it is a dimensional accuracy requirement.
Acrylic has a coefficient of thermal expansion roughly 7× higher than glass. A 1-meter acrylic panel machined at 30°C and installed in a 20°C retail environment will shrink by approximately 0.7 mm in length. For a single panel, this is manageable. For a multi-panel installation with tight butt-joints, a 0.7 mm cumulative shift across several panels creates visible gaps that undermine the entire visual effect.
By machining at a controlled 23°C — close to the typical temperature of air-conditioned retail environments — the dimensional state of the machined piece closely matches its installed state. The ±2°C tolerance ensures that thermal expansion during fabrication stays within the ±0.1 mm joint tolerance required for seamless assemblies.
Multi-Stage Polishing — From CNC Surface to Optical Clarity
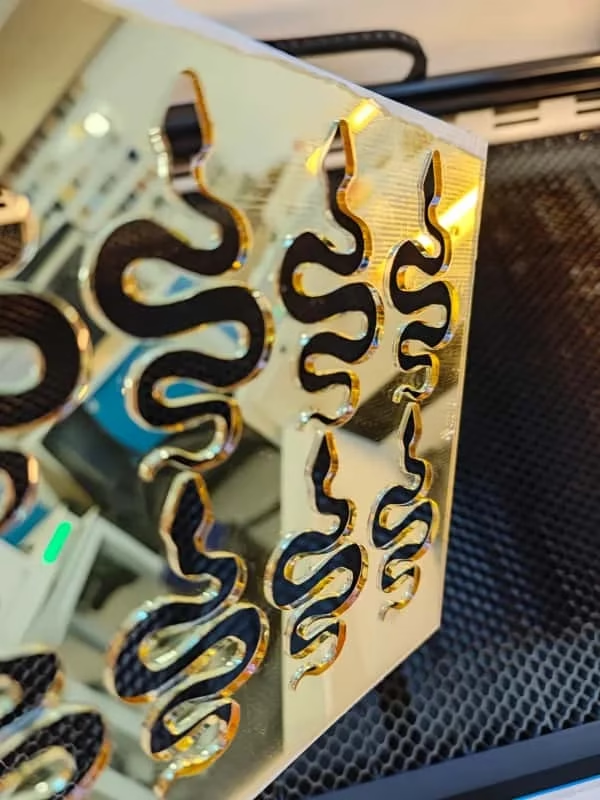
A CNC-machined acrylic surface, even at Ra 0.2 μm, is not optically clear. It looks frosted — smooth to the touch but visually hazy when you look through it. Restoring transparency requires a three-stage polishing protocol that progressively eliminates micro-scratches below the threshold of visible light diffusion.
Stage 1 — Surface preparation (120–220 grit). Removes tool marks and establishes a uniform surface plane. At this stage the surface is opaque.
Stage 2 — Diamond polishing (400–1200 grit). Progressively finer abrasives reduce scratch depth to below 1 μm. The surface transitions from opaque to translucent. This stage accounts for the majority of polishing labor time.
Stage 3 — Nano-level mirror finishing (2000+ grit with polymer compounds). Eliminates remaining sub-micron scratches to achieve full optical clarity. After this stage, the polished surface is visually indistinguishable from the original cast surface of the acrylic sheet.
This three-stage process is applied to every machined face that will be visible in the final display — cut edges, engraved surfaces, and any face where the viewer looks through the acrylic depth rather than across its surface.
Measured Light Transmittance — Our Results vs. Industry Average
The following data was measured using calibrated spectrophotometric equipment according to ASTM D1003 standards:
| Thickness Range | Industry Average Transmittance | Our Measured Transmittance |
|---|---|---|
| 1–5 cm | 88–91% | 93–95% |
| 5–15 cm | 72–85% | 89–92% |
| 15 cm+ | ≤65% | 86–90% |
The gap widens as thickness increases because the industry average reflects standard fabrication (three-axis CNC, uncontrolled workshop temperature, single-stage polishing), while our numbers reflect the combination of five-axis precision, temperature control, and full three-stage polishing. At 15 cm+, the difference is 21–25 percentage points — visible to the naked eye as the difference between “hazy block” and “clear solid.”
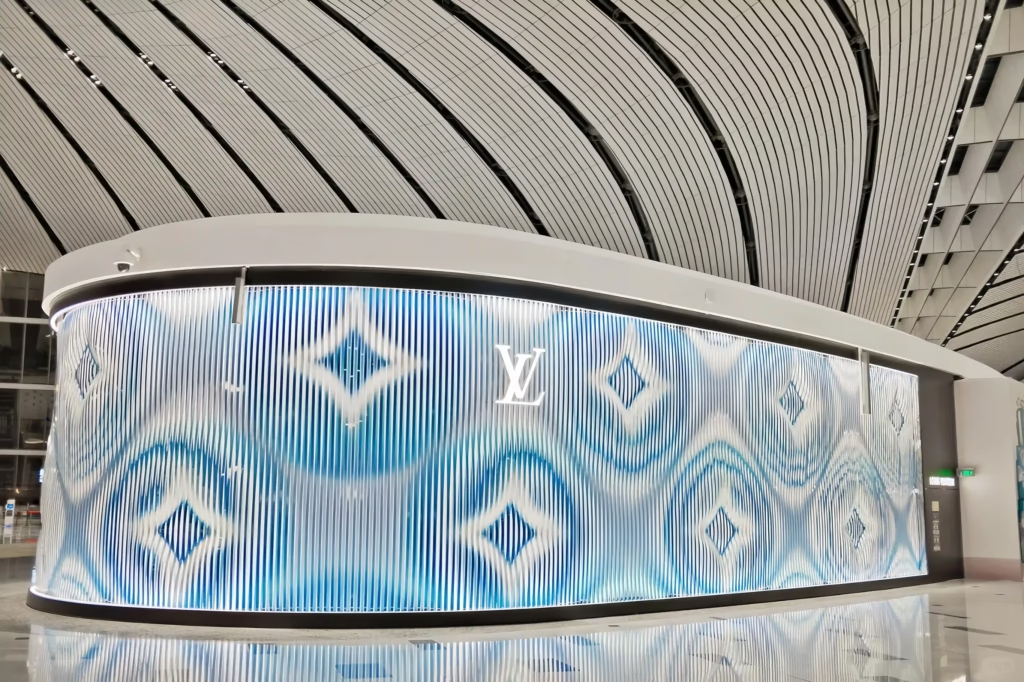
Case Study — Louis Vuitton Daxing Airport Storefront
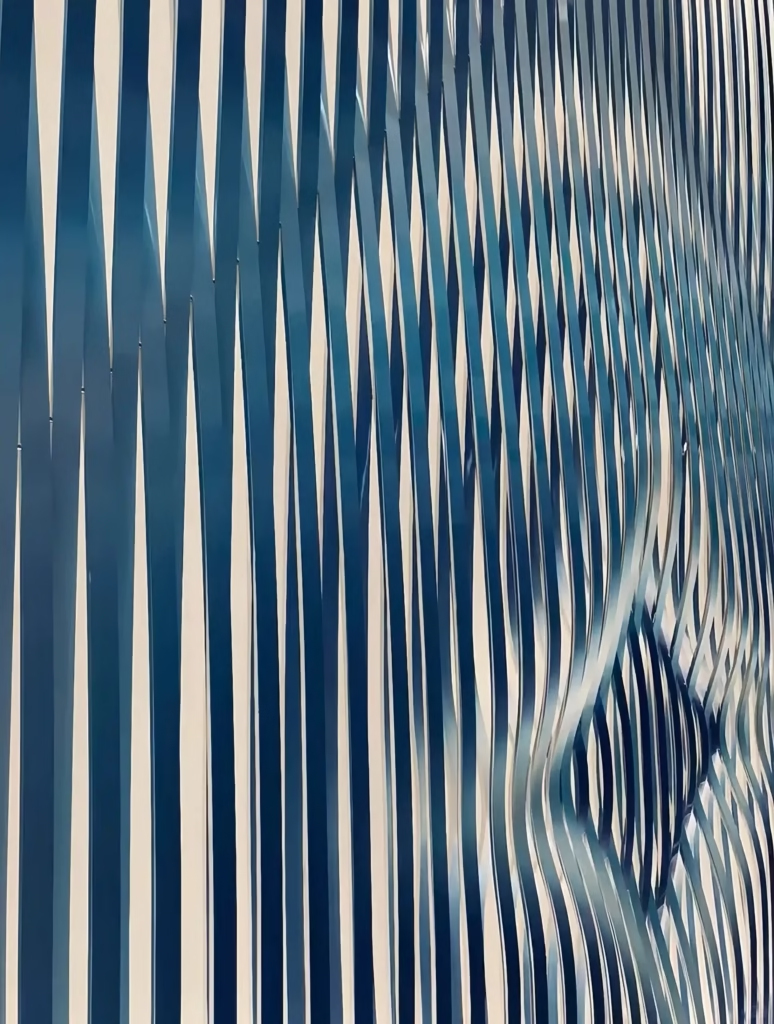
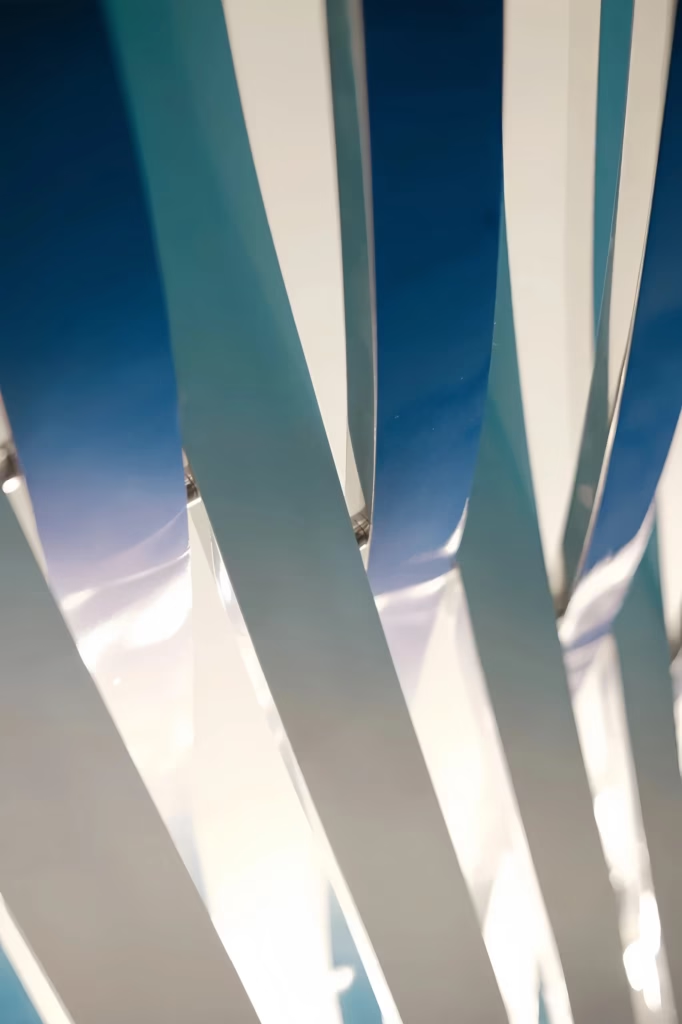
The Louis Vuitton boutique at Beijing Daxing International Airport demonstrates what precision acrylic fabrication enables at architectural scale. The curved storefront facade appears from a distance to be a dynamic LED screen — but it is entirely constructed from precision-cut acrylic strips.
How the Optical Illusion Works
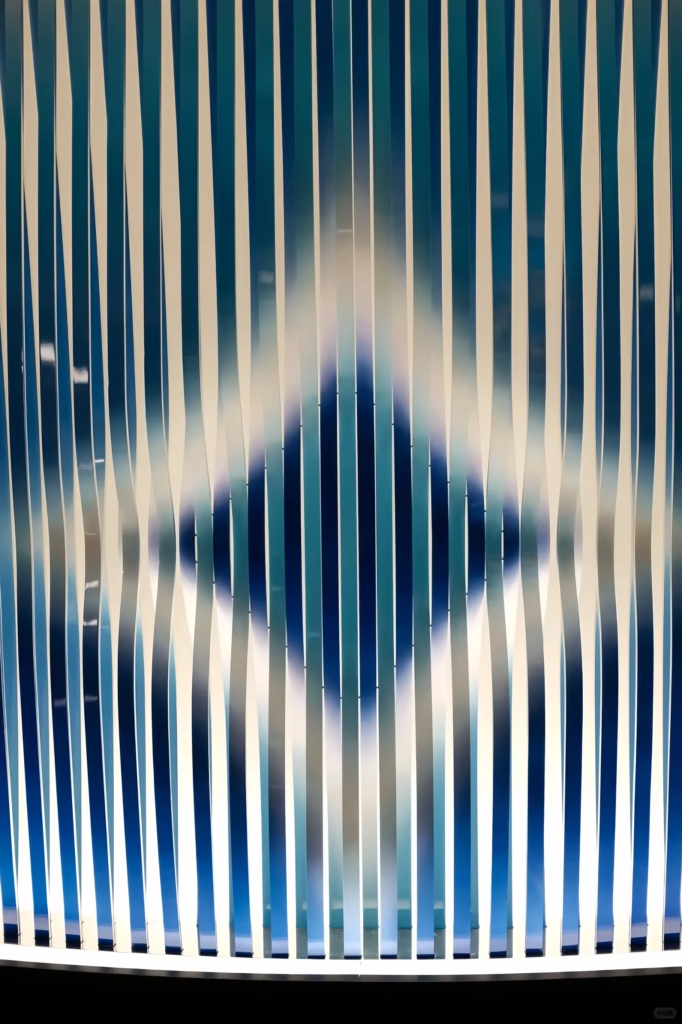
The installation consists of thousands of individual acrylic strips arranged in a curved array. Each strip is cut to a unique contour and angle profile. When illuminated by wall-washing LED fixtures positioned at the top and bottom of the display, the precisely angled cut faces reflect light at specific angles to the viewer, creating the LV monogram pattern through aggregate optical reflection — not through printing, projection, or digital display.
The effect is dynamic: as a viewer walks past the storefront, the reflected pattern shifts because their viewing angle changes relative to the strip array. This creates the impression of a moving, animated display using entirely static, non-electronic components.
Manufacturing Precision Required
The illusion depends entirely on angular precision across the strip array. Each strip’s cut angle must be accurate to within ±0.2 mm of the design specification. A deviation beyond this tolerance causes that strip to reflect light at the wrong angle, which appears as a dark spot or bright artifact in the monogram pattern — like a dead pixel on a screen.
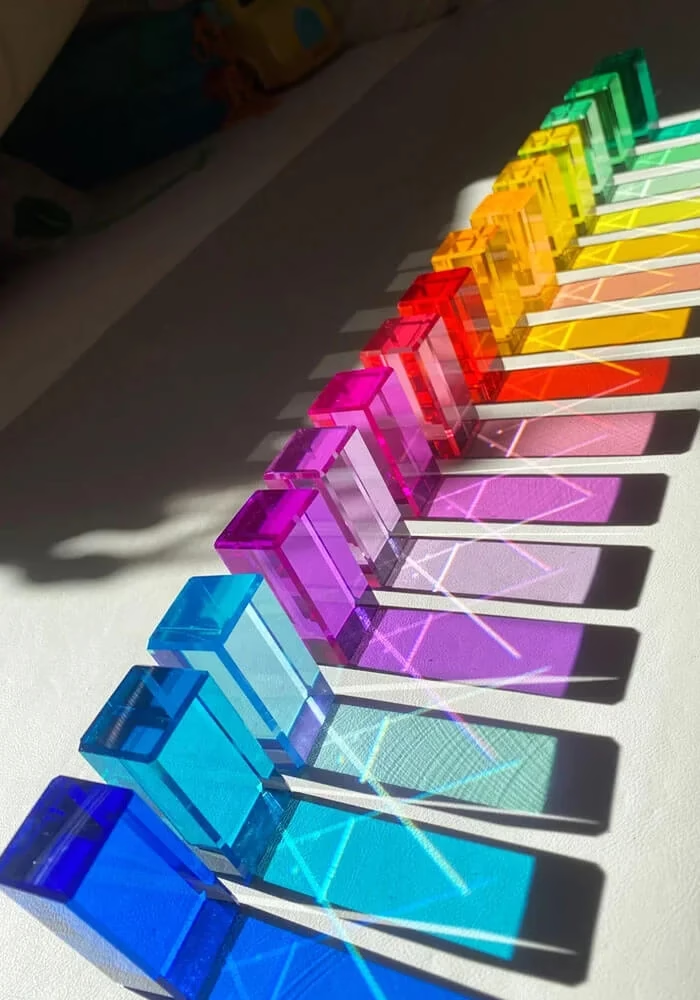
Spacing between strips must be consistent at ±0.2 mm across the entire curved structure. The strips transition through a gradient coloration from white to blue, with each gradient step precision-matched to its position in the array.
The installation also incorporates custom metal connecting fixtures between the acrylic layers, providing structural support for the curved geometry while remaining concealed from the viewer’s sightline.
Other Applications — Moncler Window Displays
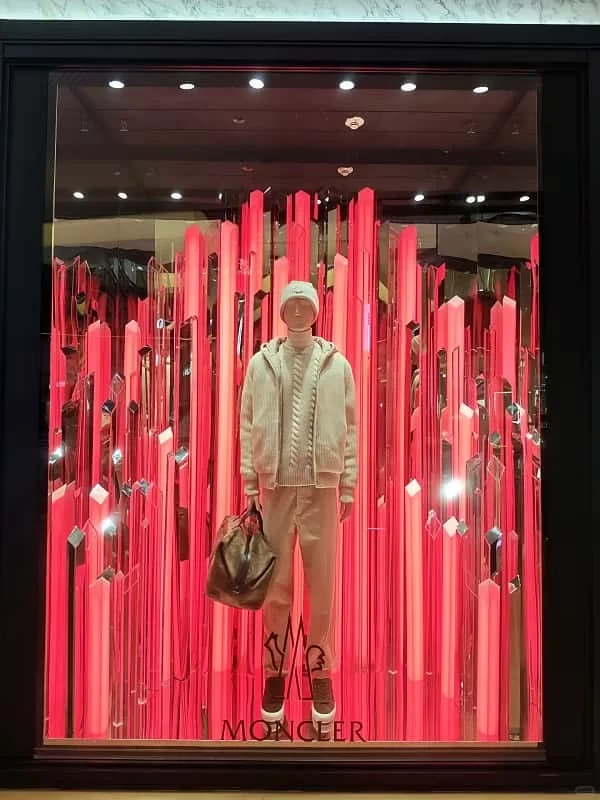

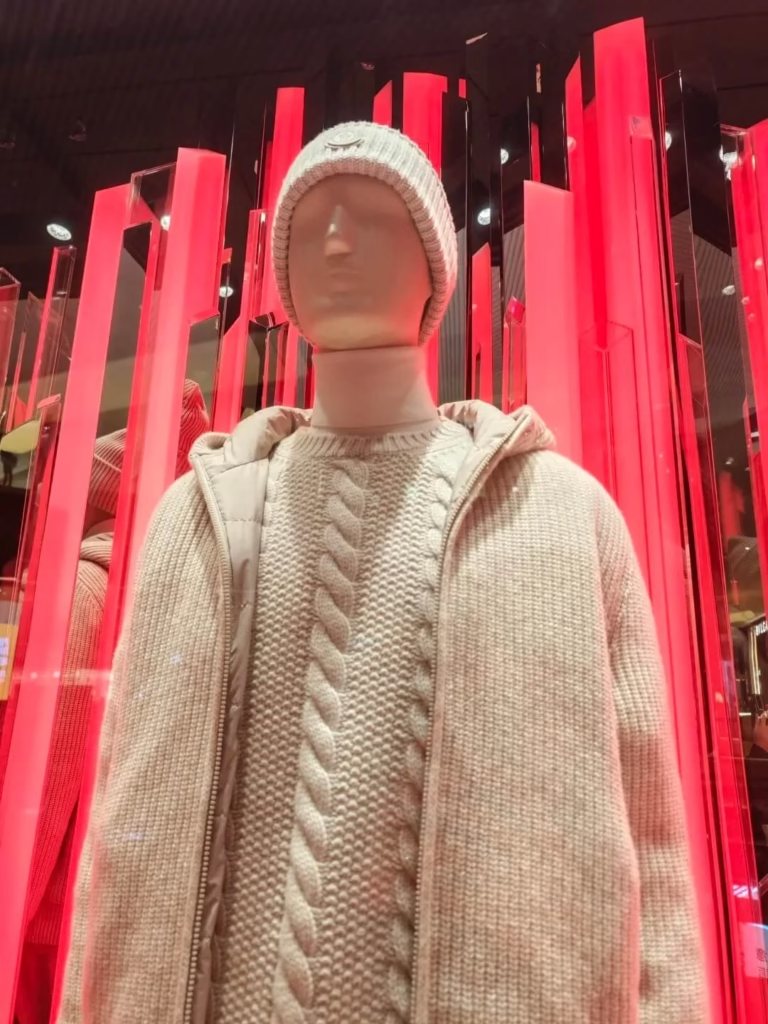
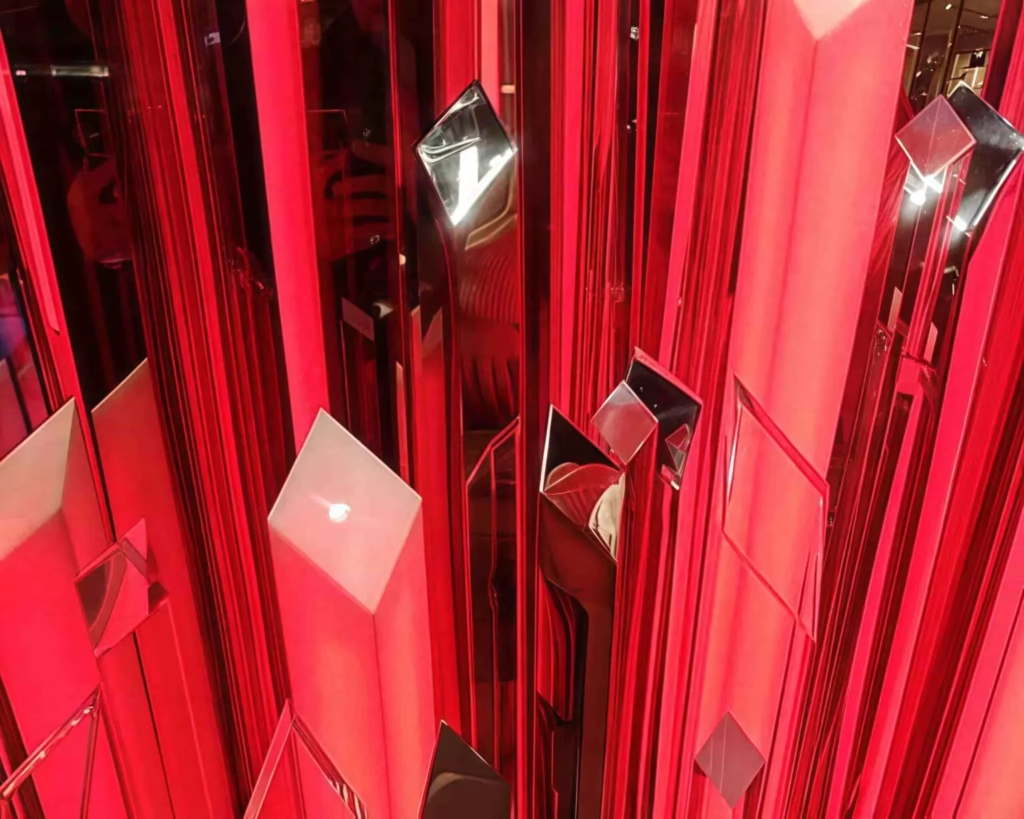
Moncler has used precision-cut acrylic as a window display backdrop material across multiple store locations. In these applications, the acrylic serves as both a structural and optical element — contoured acrylic panels create a mountain-like terrain that integrates with the brand’s alpine identity, while the material’s transparency allows layered lighting effects from behind.
These installations require the same precision fabrication chain — five-axis CNC cutting for the complex contour profiles, temperature-controlled machining for dimensional stability across large panels, and multi-stage polishing on all visible surfaces to maintain optical clarity in the thick sections.
Cast vs. Extruded Acrylic — Material Selection for Thick Fabrication
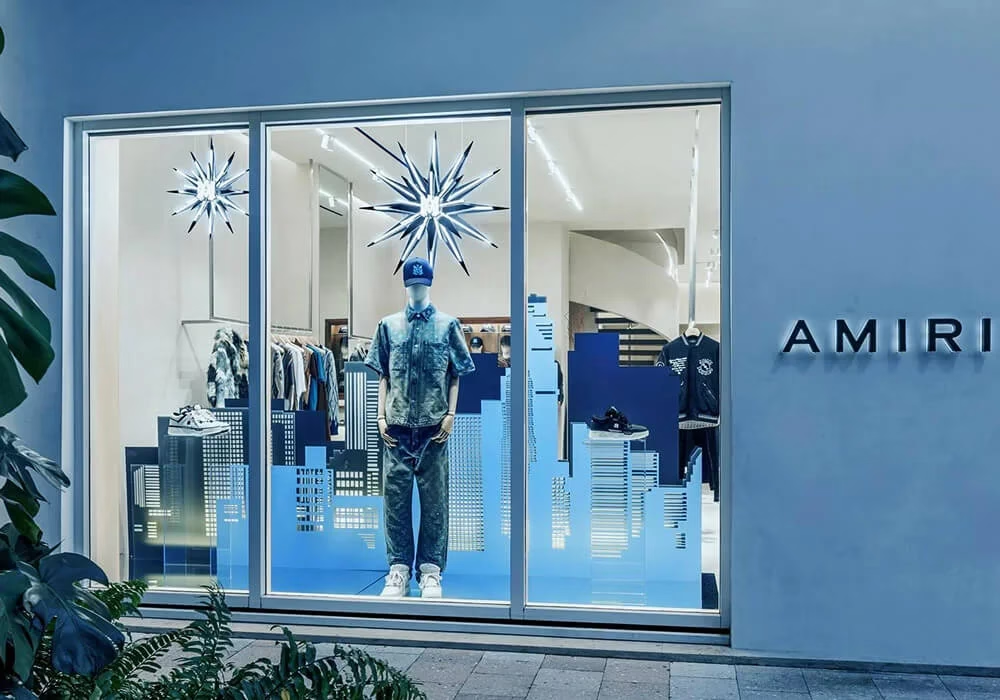
This is a related but distinct question from the cast vs. extruded discussion in our AMIRI acrylic case study, where the concern was edge quality during CNC cutting. For thick acrylic display applications, the choice also affects optical performance.
Cast acrylic is produced by pouring liquid monomer into a mold and polymerizing it in place. This produces a material with lower internal stress, better optical clarity at depth, and superior machinability. For any thick acrylic display application — particularly those where the viewer looks through the material depth — cast is the only viable option.
Extruded acrylic is produced by pushing heated acrylic through a die. It is available in a wider range of standard sheet sizes and is less expensive, but it has higher internal stress (from the extrusion process), a molecular orientation that causes directional weakness, and reduced optical clarity at thicknesses above 10 mm. For display applications, extruded acrylic is suitable for thin sheet work (signage, protective covers, light diffuser panels) but not for thick sculptural or architectural elements.
→ Read the AMIRI acrylic case study — CNC cutting and UV printing on acrylic
→ See our full manufacturing capabilities
→ Read about electroplating finishes for FRP and metal props