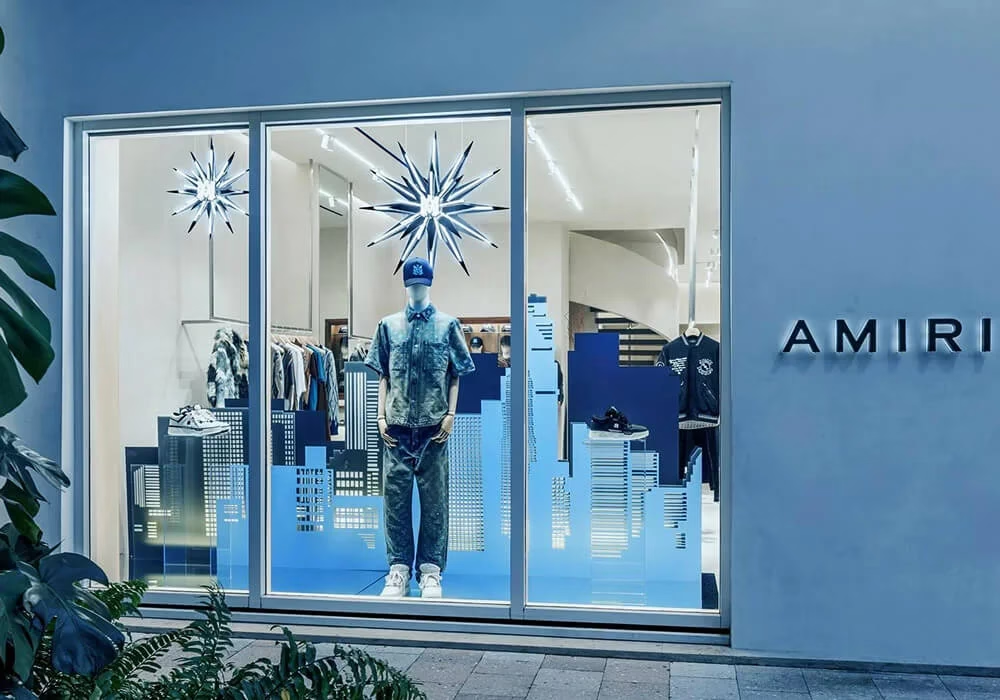
AMIRI’s store window concept for this project was built around a specific tension: the brand identity is dark, elevated streetwear, but the display scheme called for color — deep blue gradients, layered star motifs, and a lit logo that reads from the street. Acrylic was the natural material to hold all of this together, but making it work at retail quality meant solving several fabrication problems that are invisible in the final display.
This case study covers the manufacturing decisions behind the project, from material selection through LED integration.
The Design Brief — Gradient Acrylic Panels with Integrated Lighting
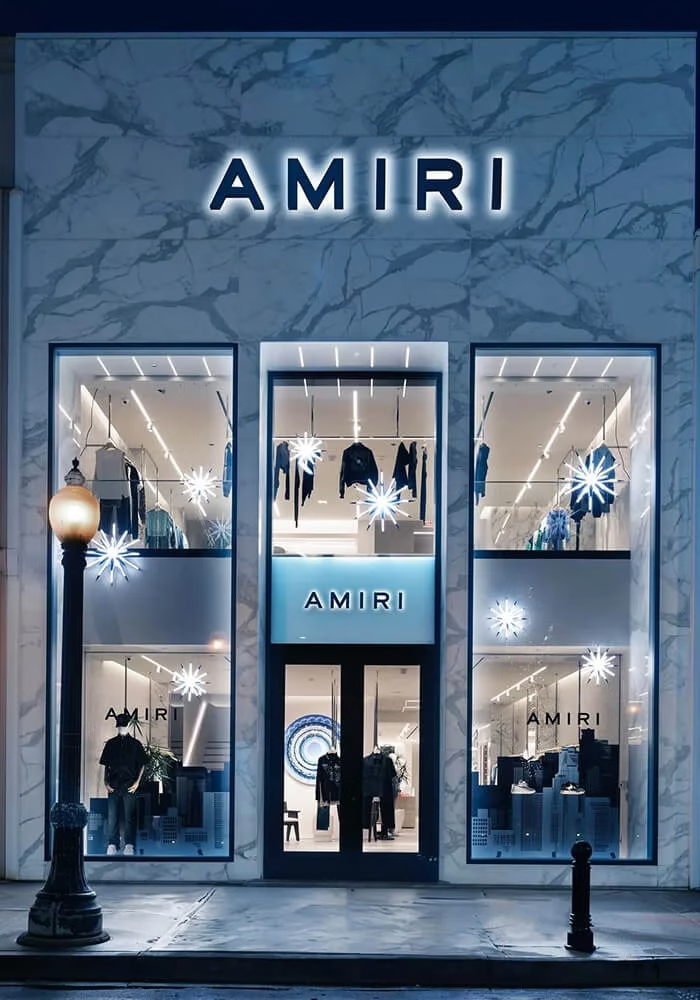
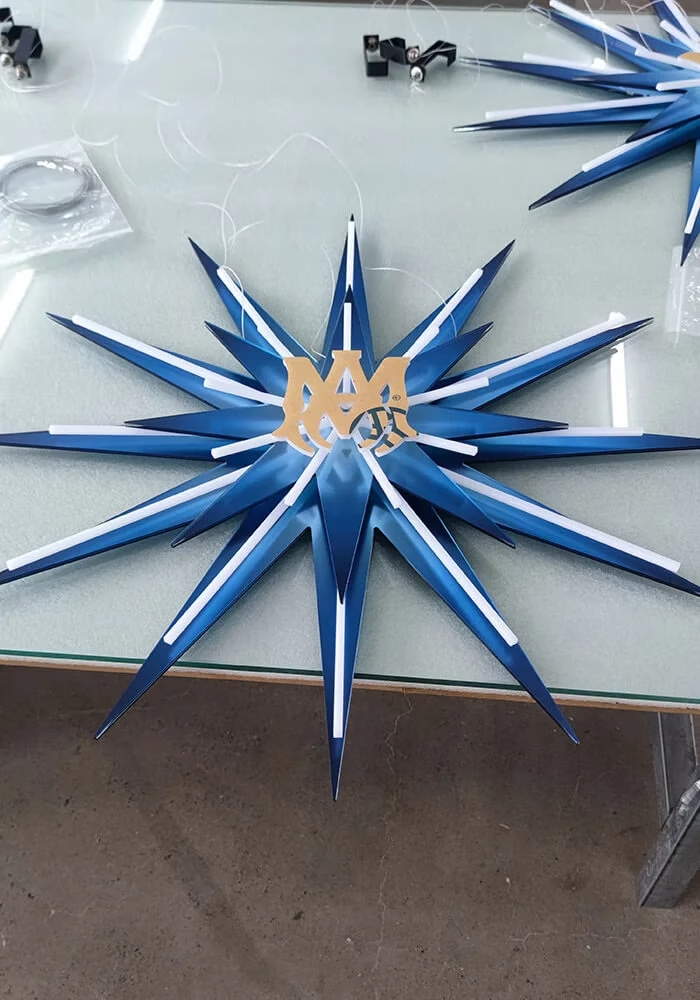
AMIRI’s VM team specified a window display system built around backlit brand signage and layered acrylic panels. The panels needed to carry a deep blue-to-black gradient printed surface while remaining transparent enough at the edges to let LED neon strip lighting bleed through.
Three technical requirements defined the scope: the acrylic panels had to hold UV-printed graphics that would not fade or peel under continuous LED exposure; the AMIRI logo sign needed to be internally lit with even light distribution and no visible hot spots; and the entire assembly had to mount cleanly in the window frame without exposed wiring or visible fasteners.
Material and Fabrication Decisions
Why Acrylic for This Application
For a window display that combines printed graphics, transparency, and integrated lighting, acrylic outperforms glass and polycarbonate in every relevant dimension. Acrylic transmits approximately 92% of visible light (compared to glass at roughly 90%), which matters when LED light needs to pass through printed layers without color distortion. It is also significantly lighter than glass at equivalent thickness, which simplifies mounting in retail window systems that were not engineered for heavy loads.
The trade-off is scratch resistance — acrylic scratches more easily than glass. For a window display viewed from the street side with no customer contact, this is an acceptable trade-off. For counter displays or interactive installations, we would recommend tempered glass or a polycarbonate with hardcoat finish instead.
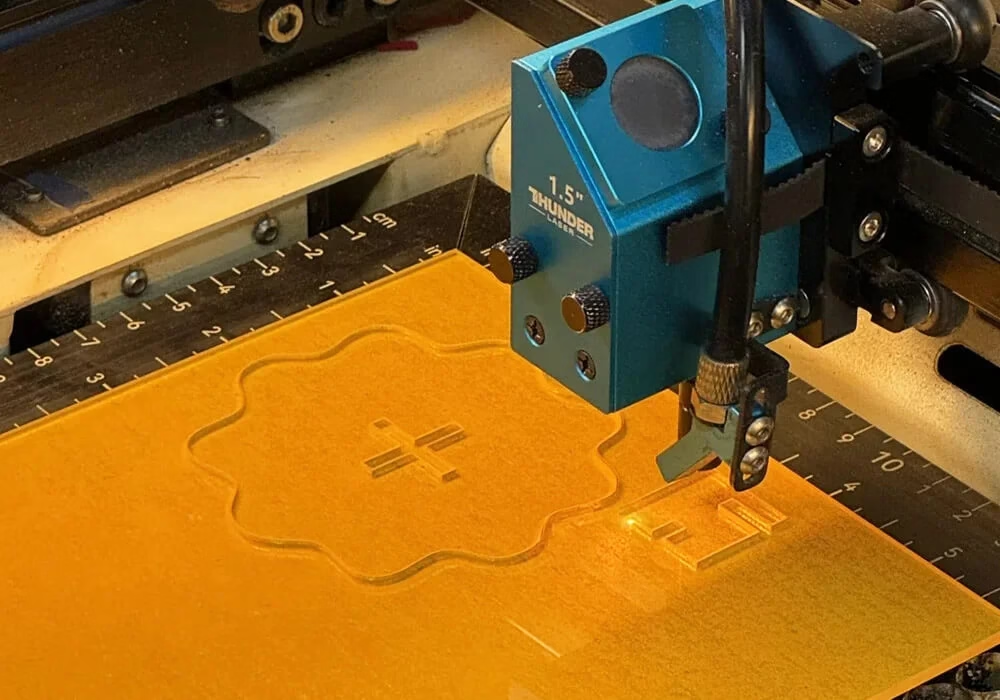
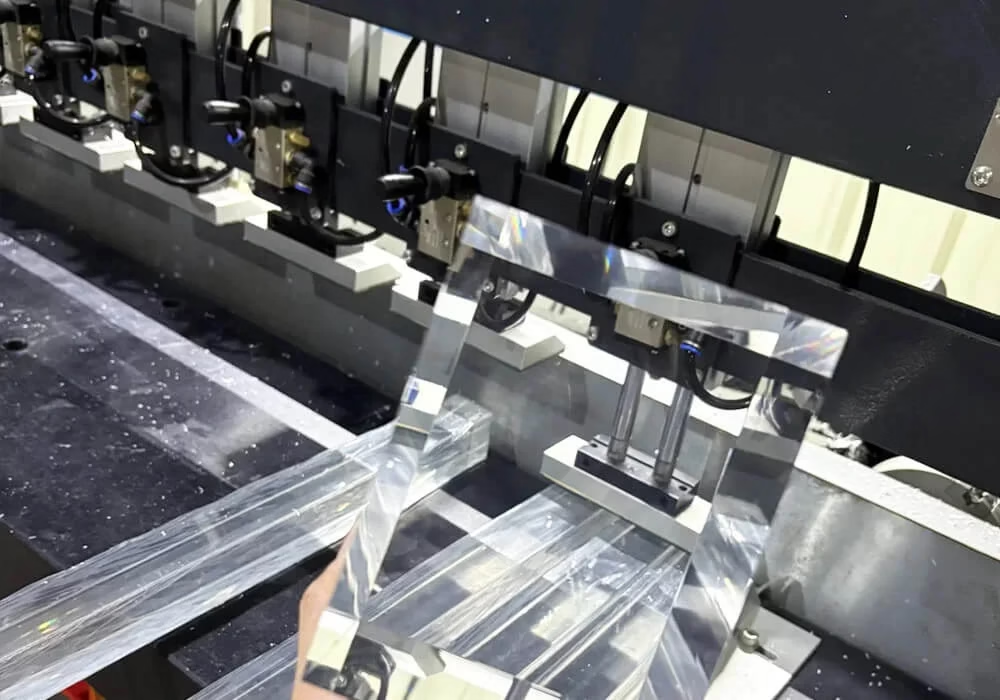
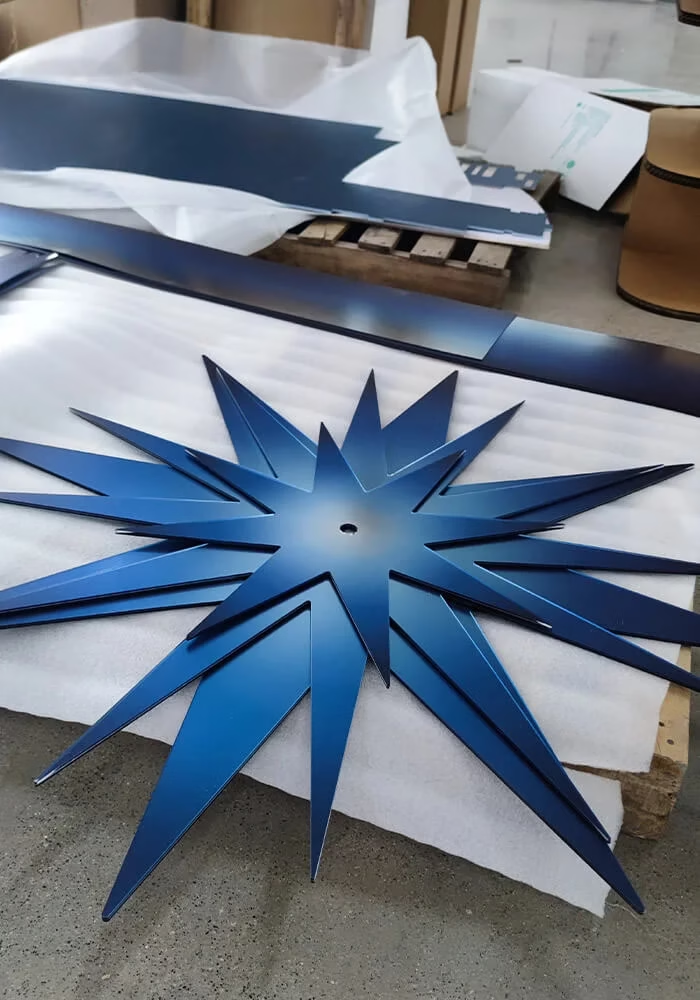
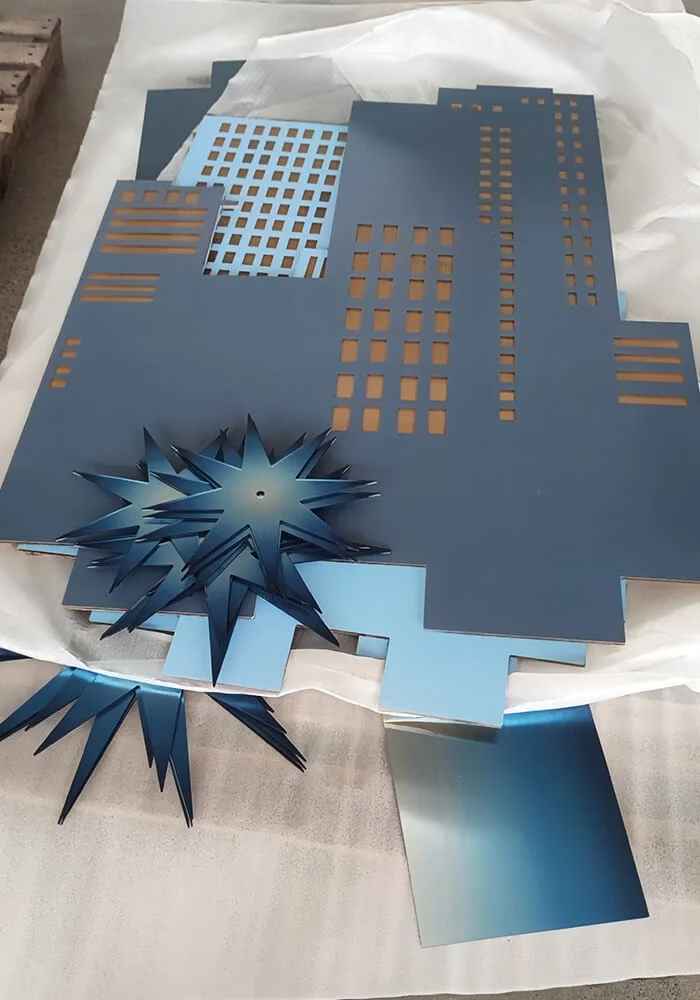
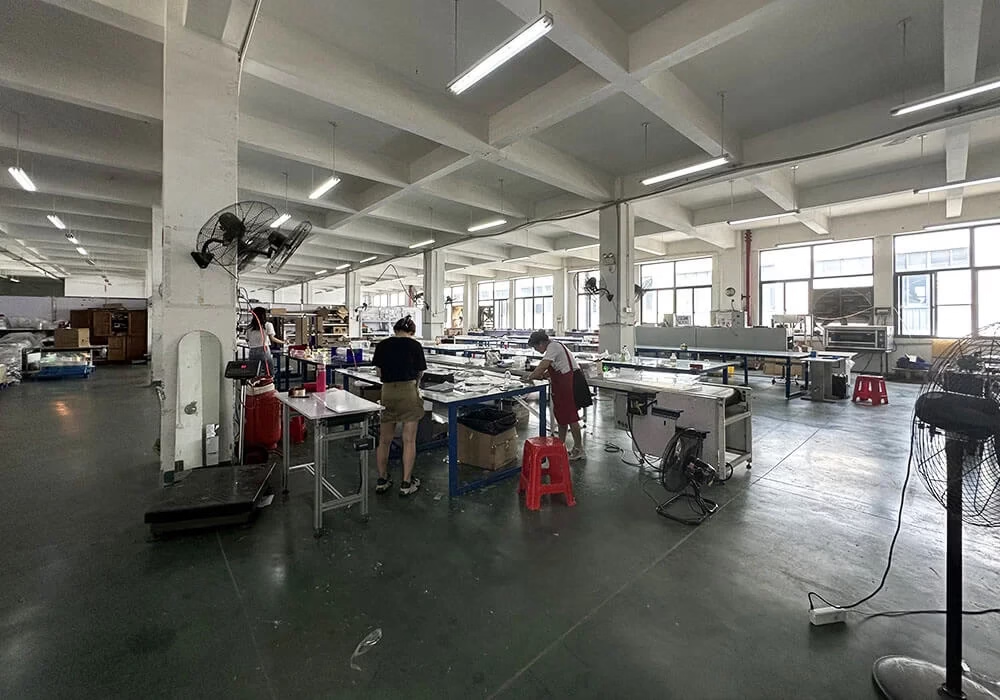
CNC Cutting and Edge Finishing
Each panel was CNC-cut from cast acrylic sheet stock. We used cast rather than extruded acrylic because cast holds tighter dimensional tolerances and produces cleaner edges during machining — extruded acrylic has a tendency to chip at cut boundaries, especially on curves and internal cutouts.
After CNC cutting, each edge was diamond-polished to achieve optical clarity. This step is critical for any display where the edge profile is visible: an unfinished CNC edge appears frosty and diffuses light unevenly. Diamond polishing restores transparency to the cut face and creates a clean light channel for the LED strips that sit along the panel perimeters.
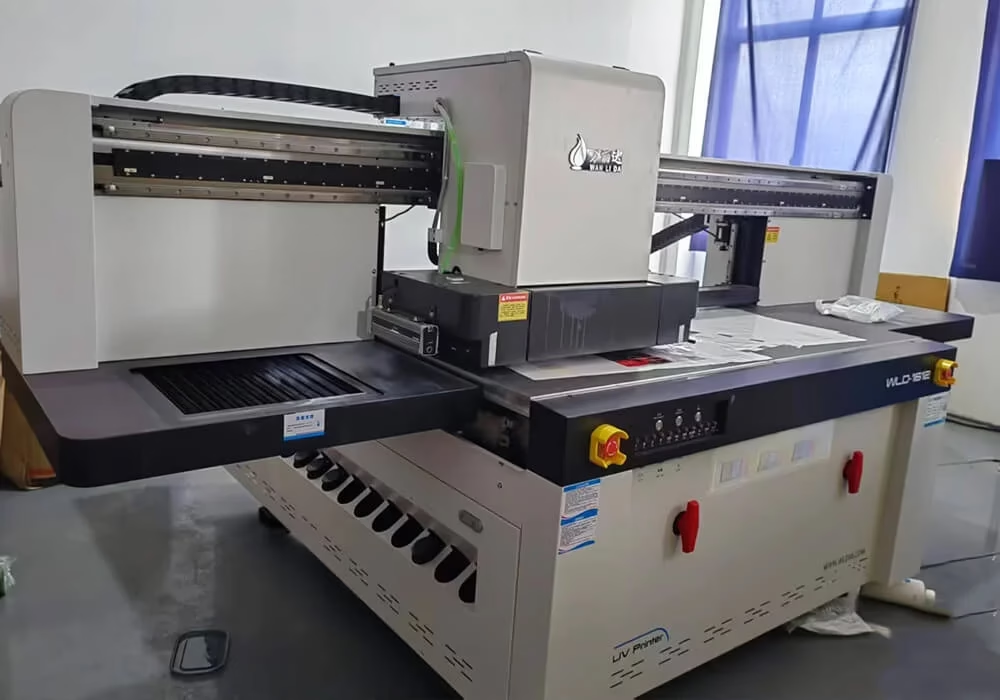
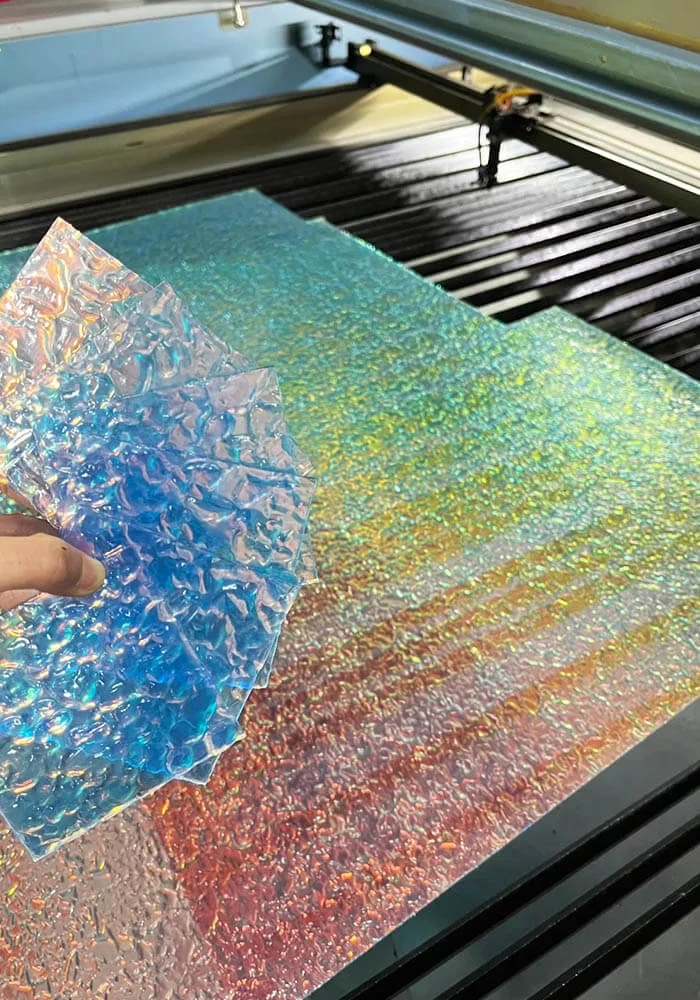
UV Printing on Acrylic — Color Fidelity Under LED Exposure
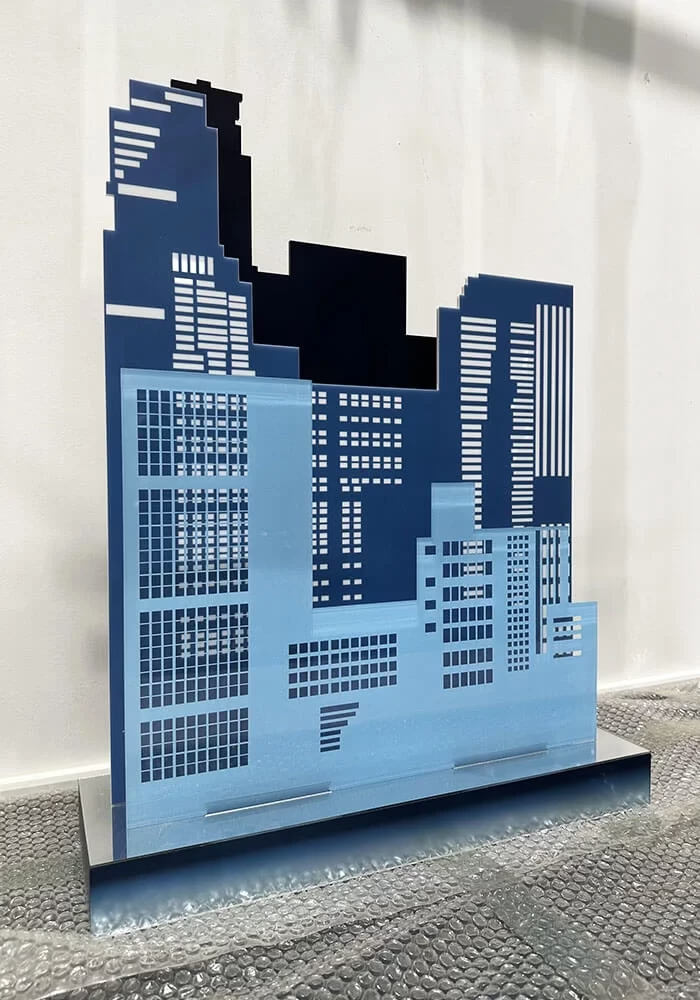
The deep blue gradient and layered star pattern were applied using direct-to-substrate UV flatbed printing. UV printing cures ink immediately under ultraviolet light, bonding it to the acrylic surface rather than sitting on top of it the way solvent-based inks do. This distinction matters for two reasons.
First, adhesion. Solvent inks on acrylic can delaminate over time, especially in environments with temperature cycling (retail windows exposed to sun during the day, air conditioning at night). UV-cured ink forms a mechanical bond with the acrylic surface that withstands this cycling without peeling.
Second, color stability under continuous LED illumination. LED strips generate UV light in small quantities. Solvent inks can fade or shift hue under prolonged LED exposure. UV-cured inks are inherently resistant to this because the curing process already saturated the ink’s UV absorption capacity.
For the AMIRI project, we ran color-match samples before production. The brand specified a Pantone reference for the deep blue, and we printed test panels that were placed under the same LED strips for 72 hours to verify no color drift. The production run proceeded only after the sample passed brand approval.
LED Integration — Logo Sign and Neon Strip Lighting
LED Logo Sign Construction
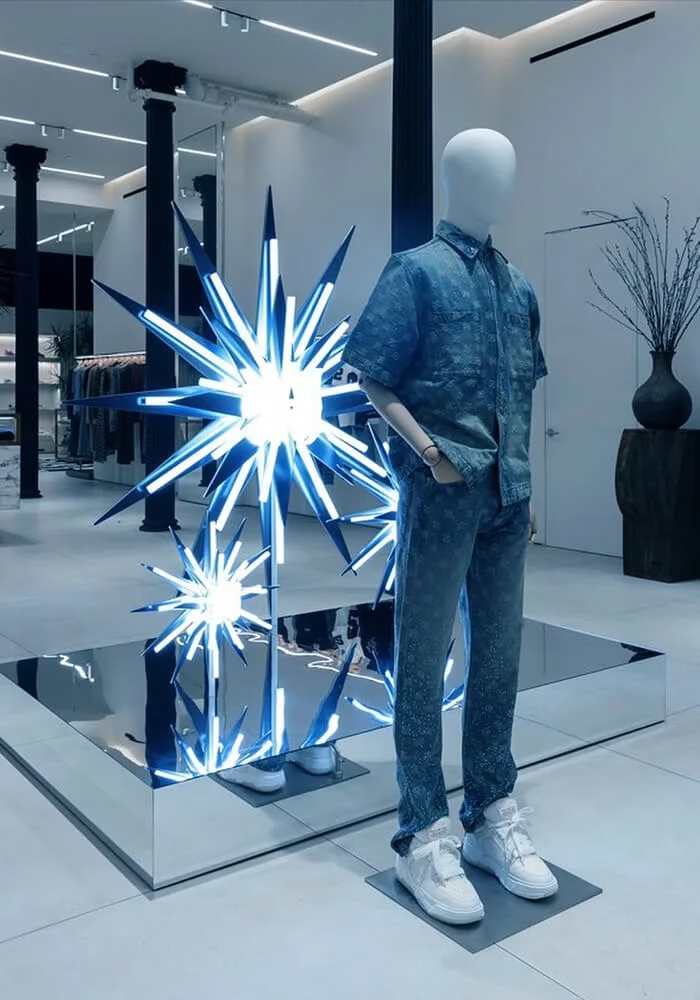
The AMIRI logo was fabricated as a separate acrylic element with rear-mounted LED modules. The challenge with backlit logo signs is achieving even light distribution: if LED modules are placed too close to the acrylic face, they create visible hot spots; too far back, and the edges dim out.
We resolved this by calculating the correct cavity depth for the logo’s letter geometry — wider strokes could tolerate shallower depth, while narrow strokes required more distance to allow light to diffuse evenly. The result is a uniformly lit logo with no bright-center/dim-edge falloff.
Neon Strip Integration Along Panel Edges
LED neon flexible strips were integrated along the perimeter edges of the acrylic panels. The strips sit in a routed channel along the panel edge, enclosed with a translucent diffuser cap. This achieves a continuous line of light rather than a dot pattern, which is a common failure mode when LED strips are surface-mounted without diffusion.
All wiring runs through internal channels routed into the back face of the panels and connects to a centralized driver hidden within the mounting structure. From the front, no wiring is visible.

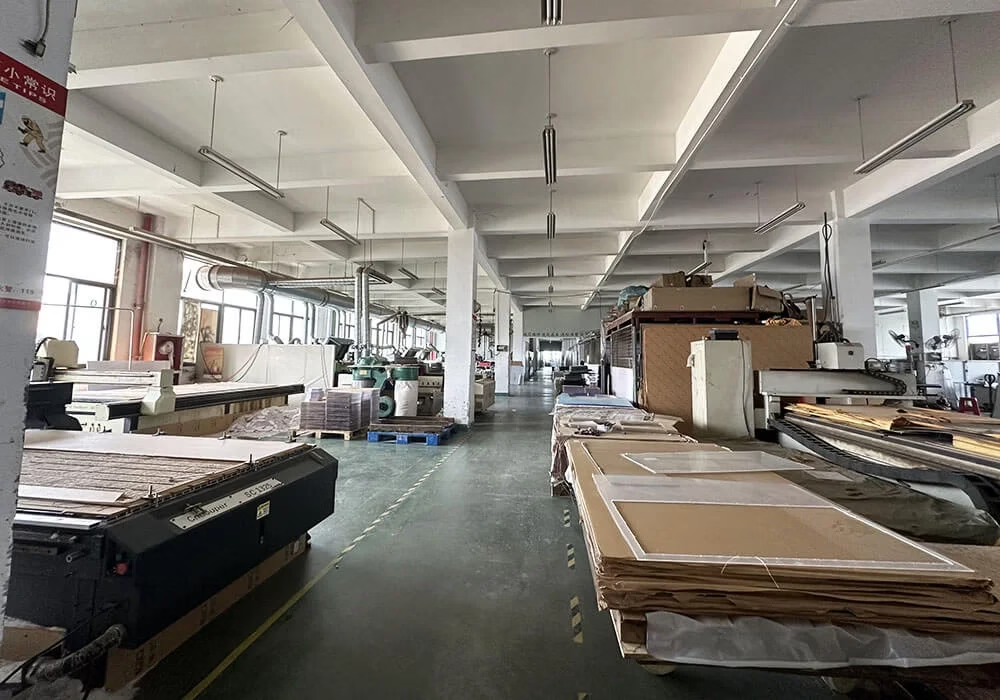
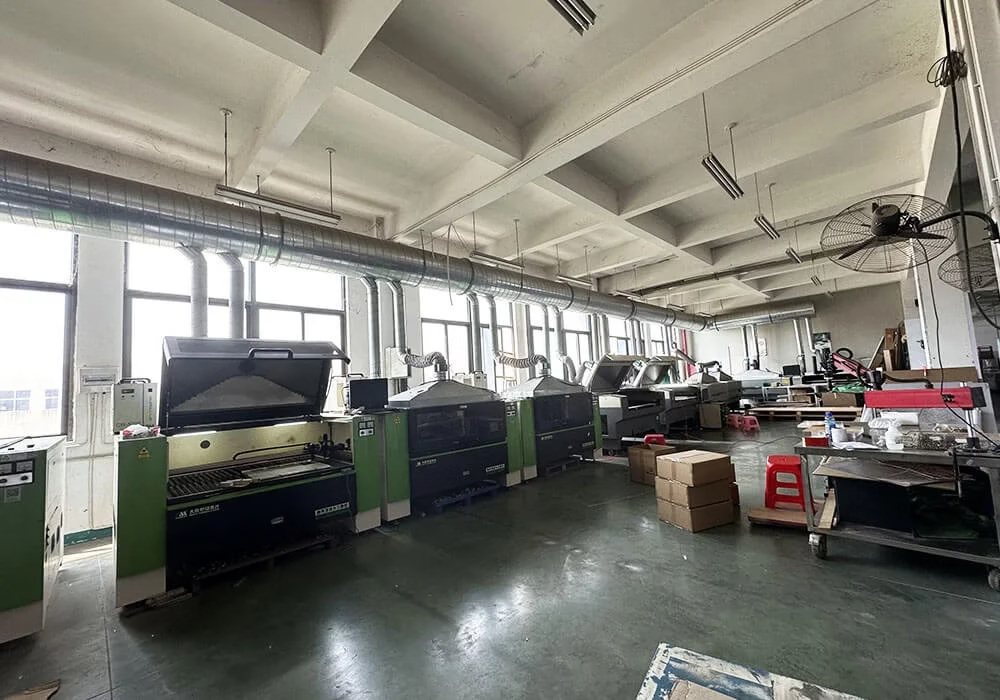
Production and Quality Control Sequence
The full manufacturing sequence ran through these stages:
- Technical drawing development — client design files converted to manufacturing-ready CAD with tolerances, mounting details, and LED cavity specifications
- Material procurement — cast acrylic sheet stock in required thicknesses, LED modules, neon flex strip, drivers
- CNC cutting — panels, logo elements, mounting brackets
- Edge finishing — diamond polishing on all visible edges
- UV printing — gradient and graphic elements, with 72-hour color stability verification under LED exposure
- LED assembly — logo module mounting, neon strip integration, wiring and driver installation
- Dry assembly and light test — full system assembled in workshop to verify light distribution, color consistency, and mounting alignment before packaging
- Protective packaging — foam-separated crating for freight
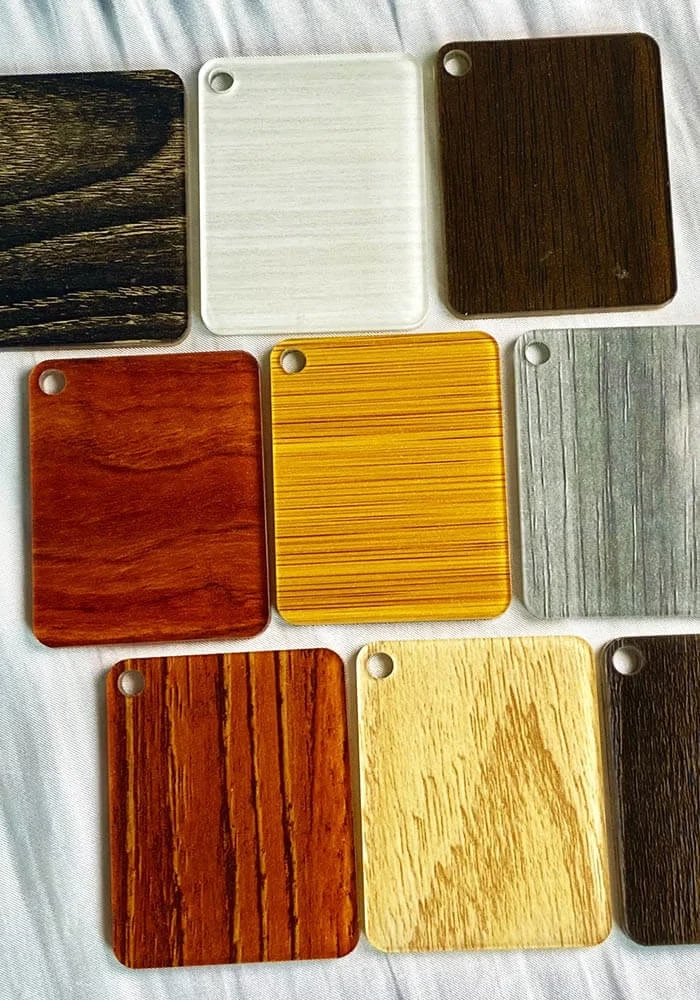
Color Sampling and Rapid Prototyping
One aspect of acrylic display projects that frequently causes timeline problems is color approval. UV printing on acrylic does not reproduce Pantone references the same way printing on paper does — the substrate transparency, surface texture, and backlighting conditions all shift the perceived color.
For the AMIRI project, we delivered physical color samples within 24 hours of receiving the Pantone reference. These samples were printed on the same acrylic stock used for production, viewed under the same LED lighting, and photographed under controlled conditions for remote brand approval. Full prototype delivery — a complete assembled unit with working LED integration — took 10 working days.
This rapid prototyping capability exists because our acrylic fabrication line is set up for short-run production, not batch manufacturing. CNC programming, UV print setup, and LED assembly can all run in parallel rather than sequentially.
What This Project Demonstrates About Acrylic Display Manufacturing
Acrylic display props for luxury retail are not just about cutting shapes and printing graphics. The material behaves differently under light, heat, and mechanical stress depending on how it was fabricated. A CNC edge that looks acceptable in overhead workshop lighting may look frosty and cheap under the angled LED lighting of a retail window. A UV print that matches the Pantone book on a sample card may shift blue-green when backlit.
These are manufacturing-level problems that surface only when the fabricator understands the final display environment. For AMIRI’s project, every fabrication decision — from cast vs. extruded acrylic to LED cavity depth to 72-hour color stability testing — was made with the retail window context in mind, not just the workshop.
→ See our full manufacturing process
→ Browse more project case studies