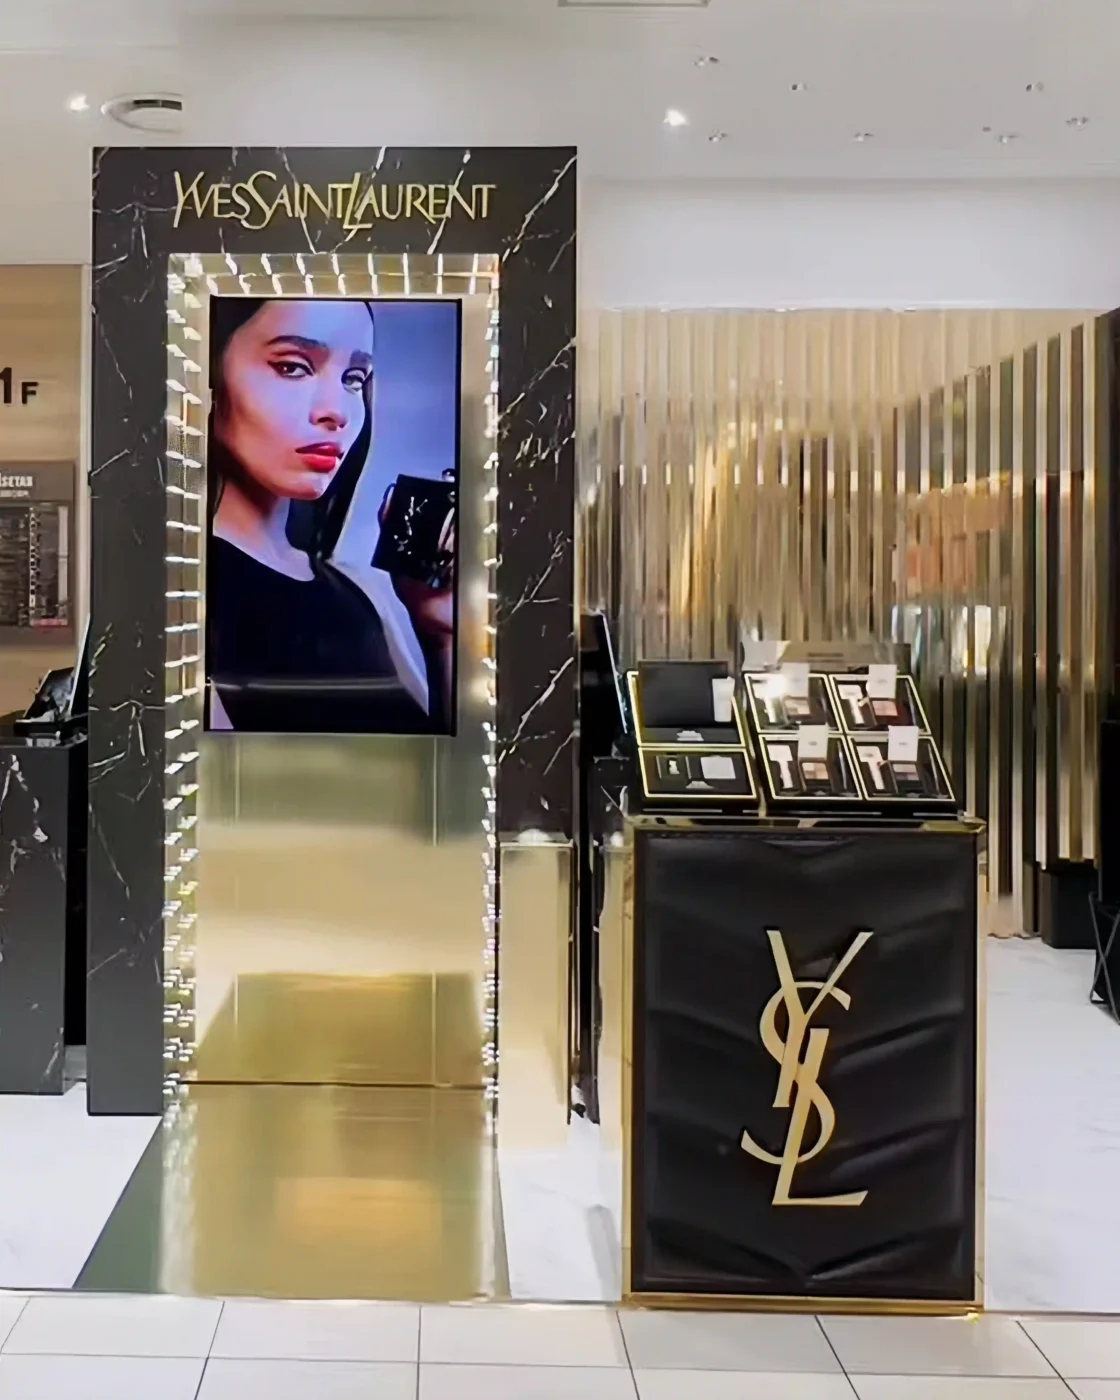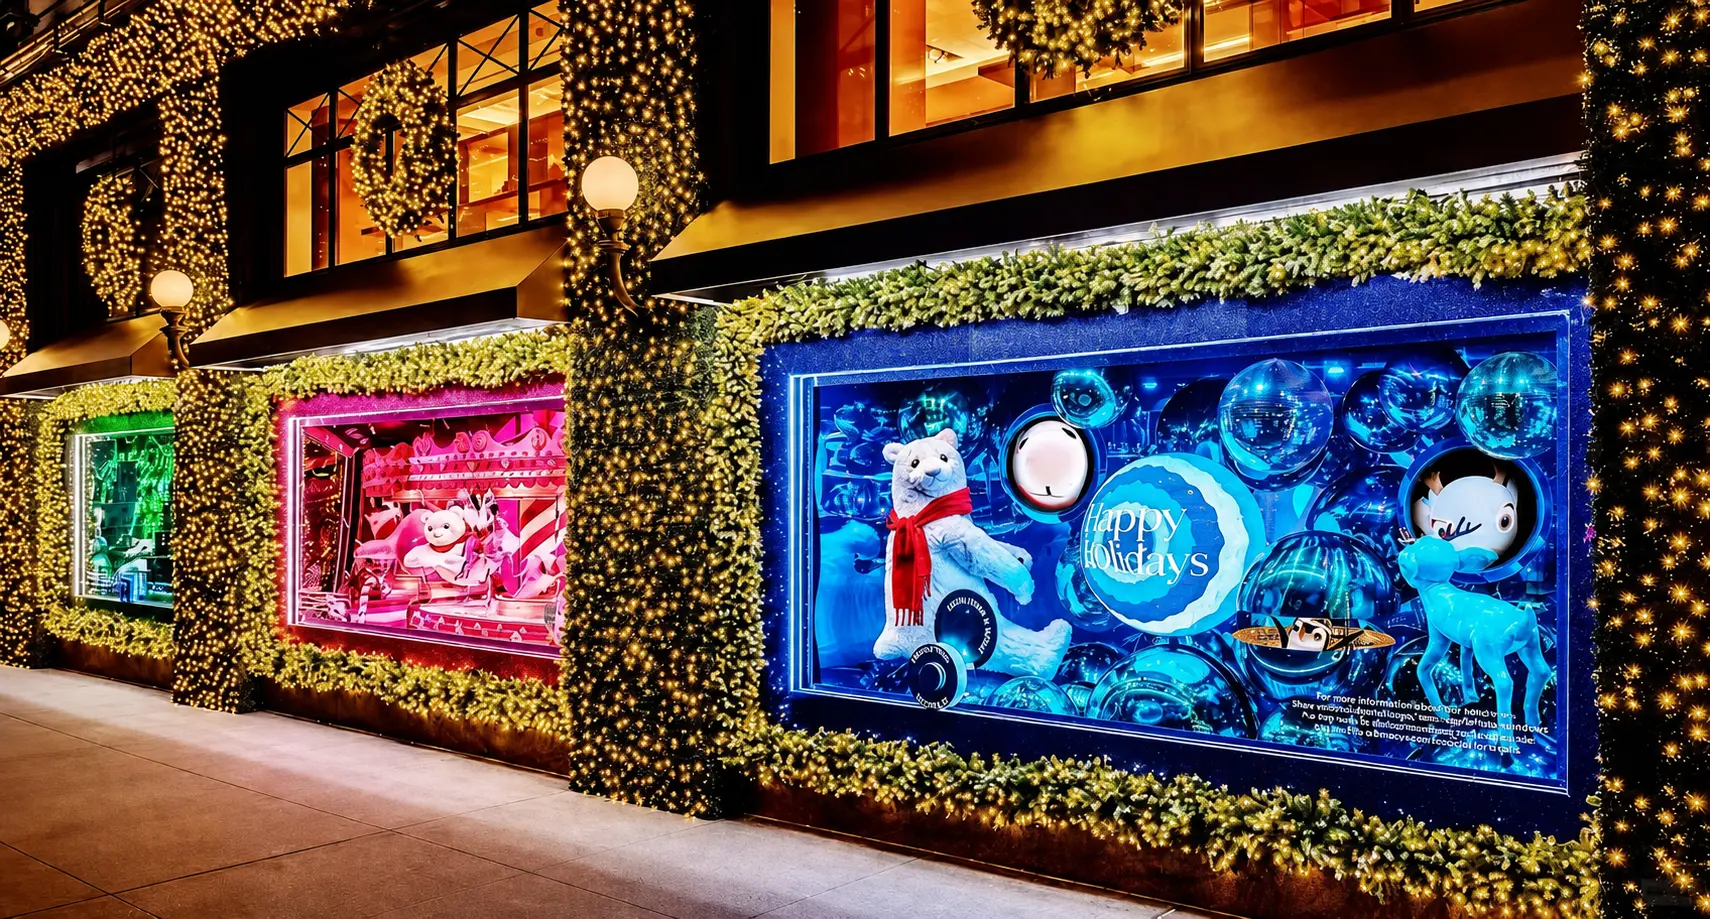
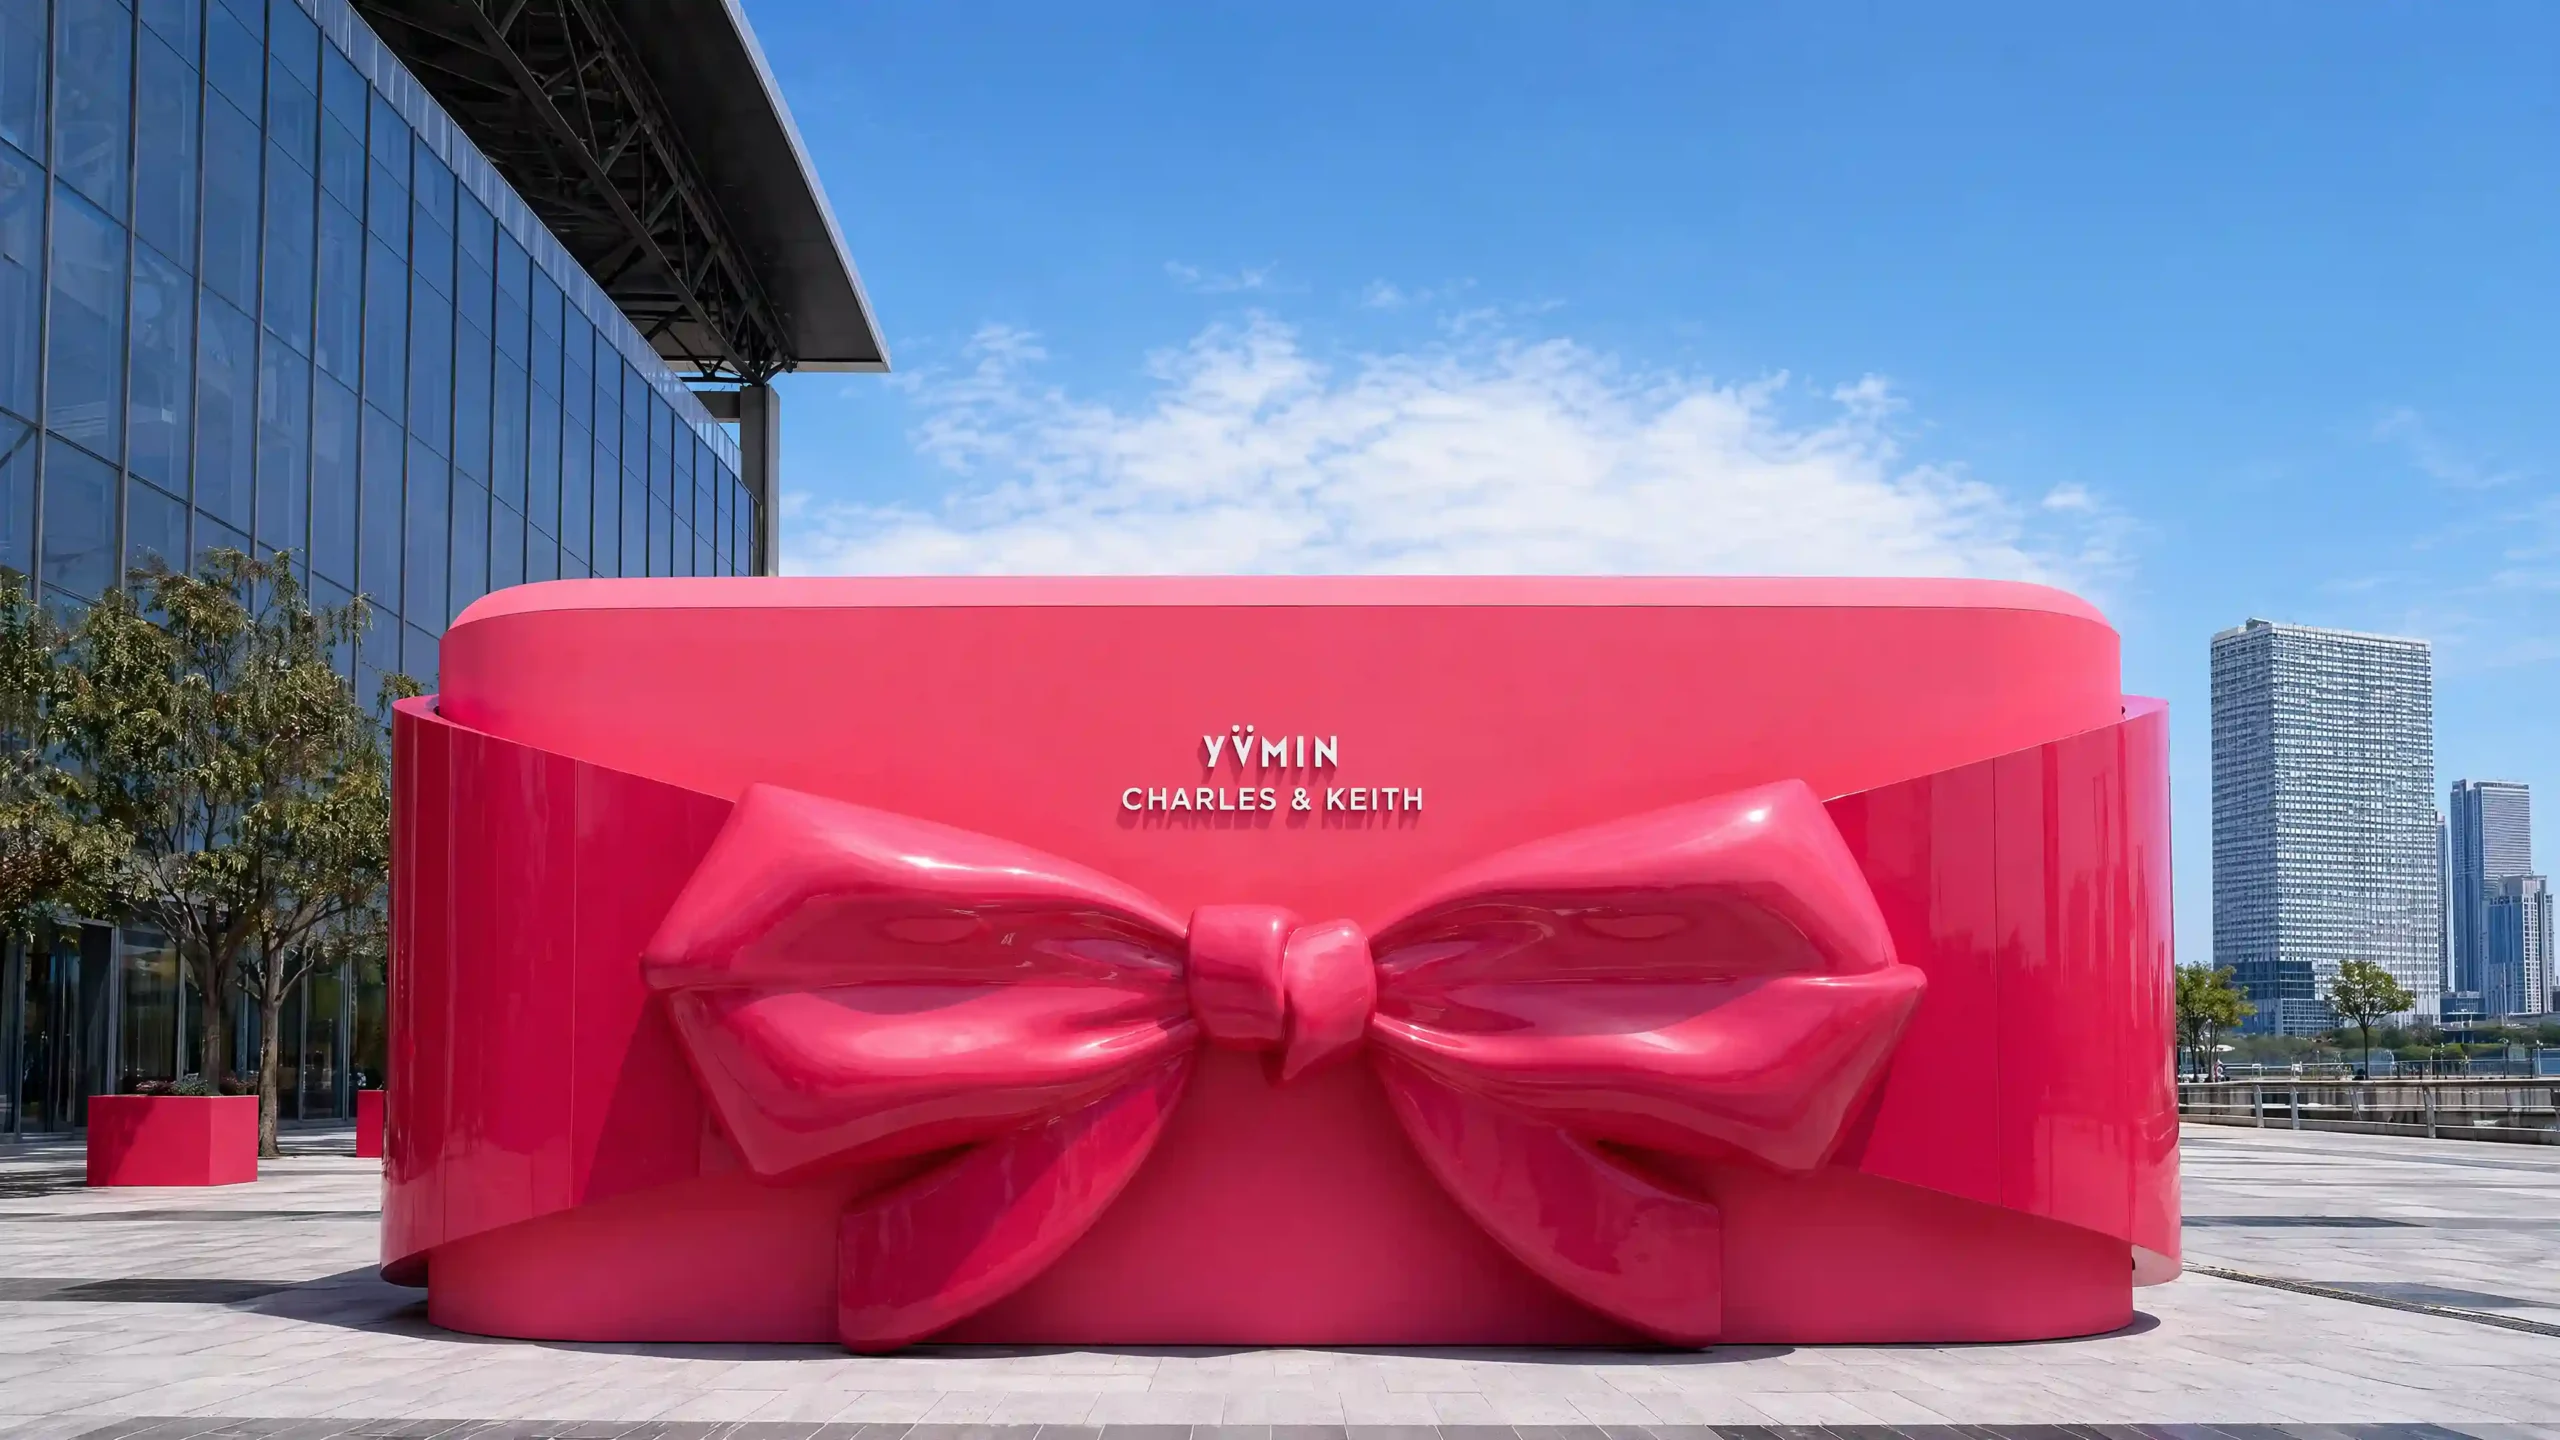
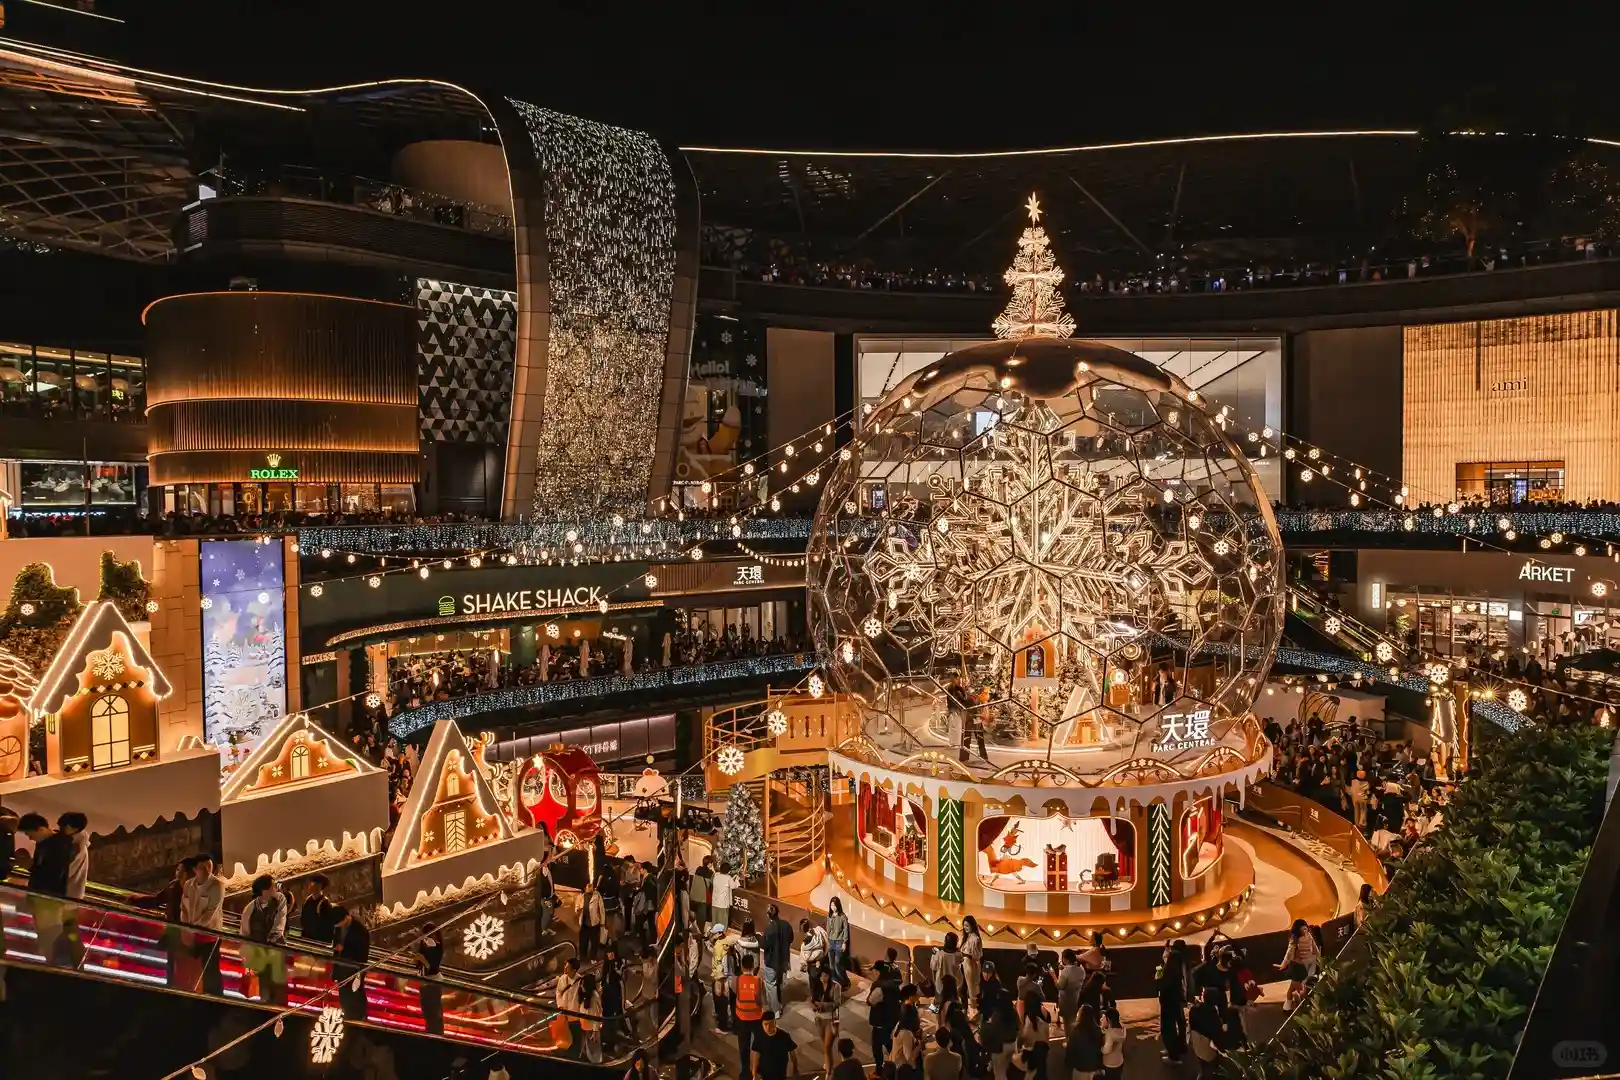
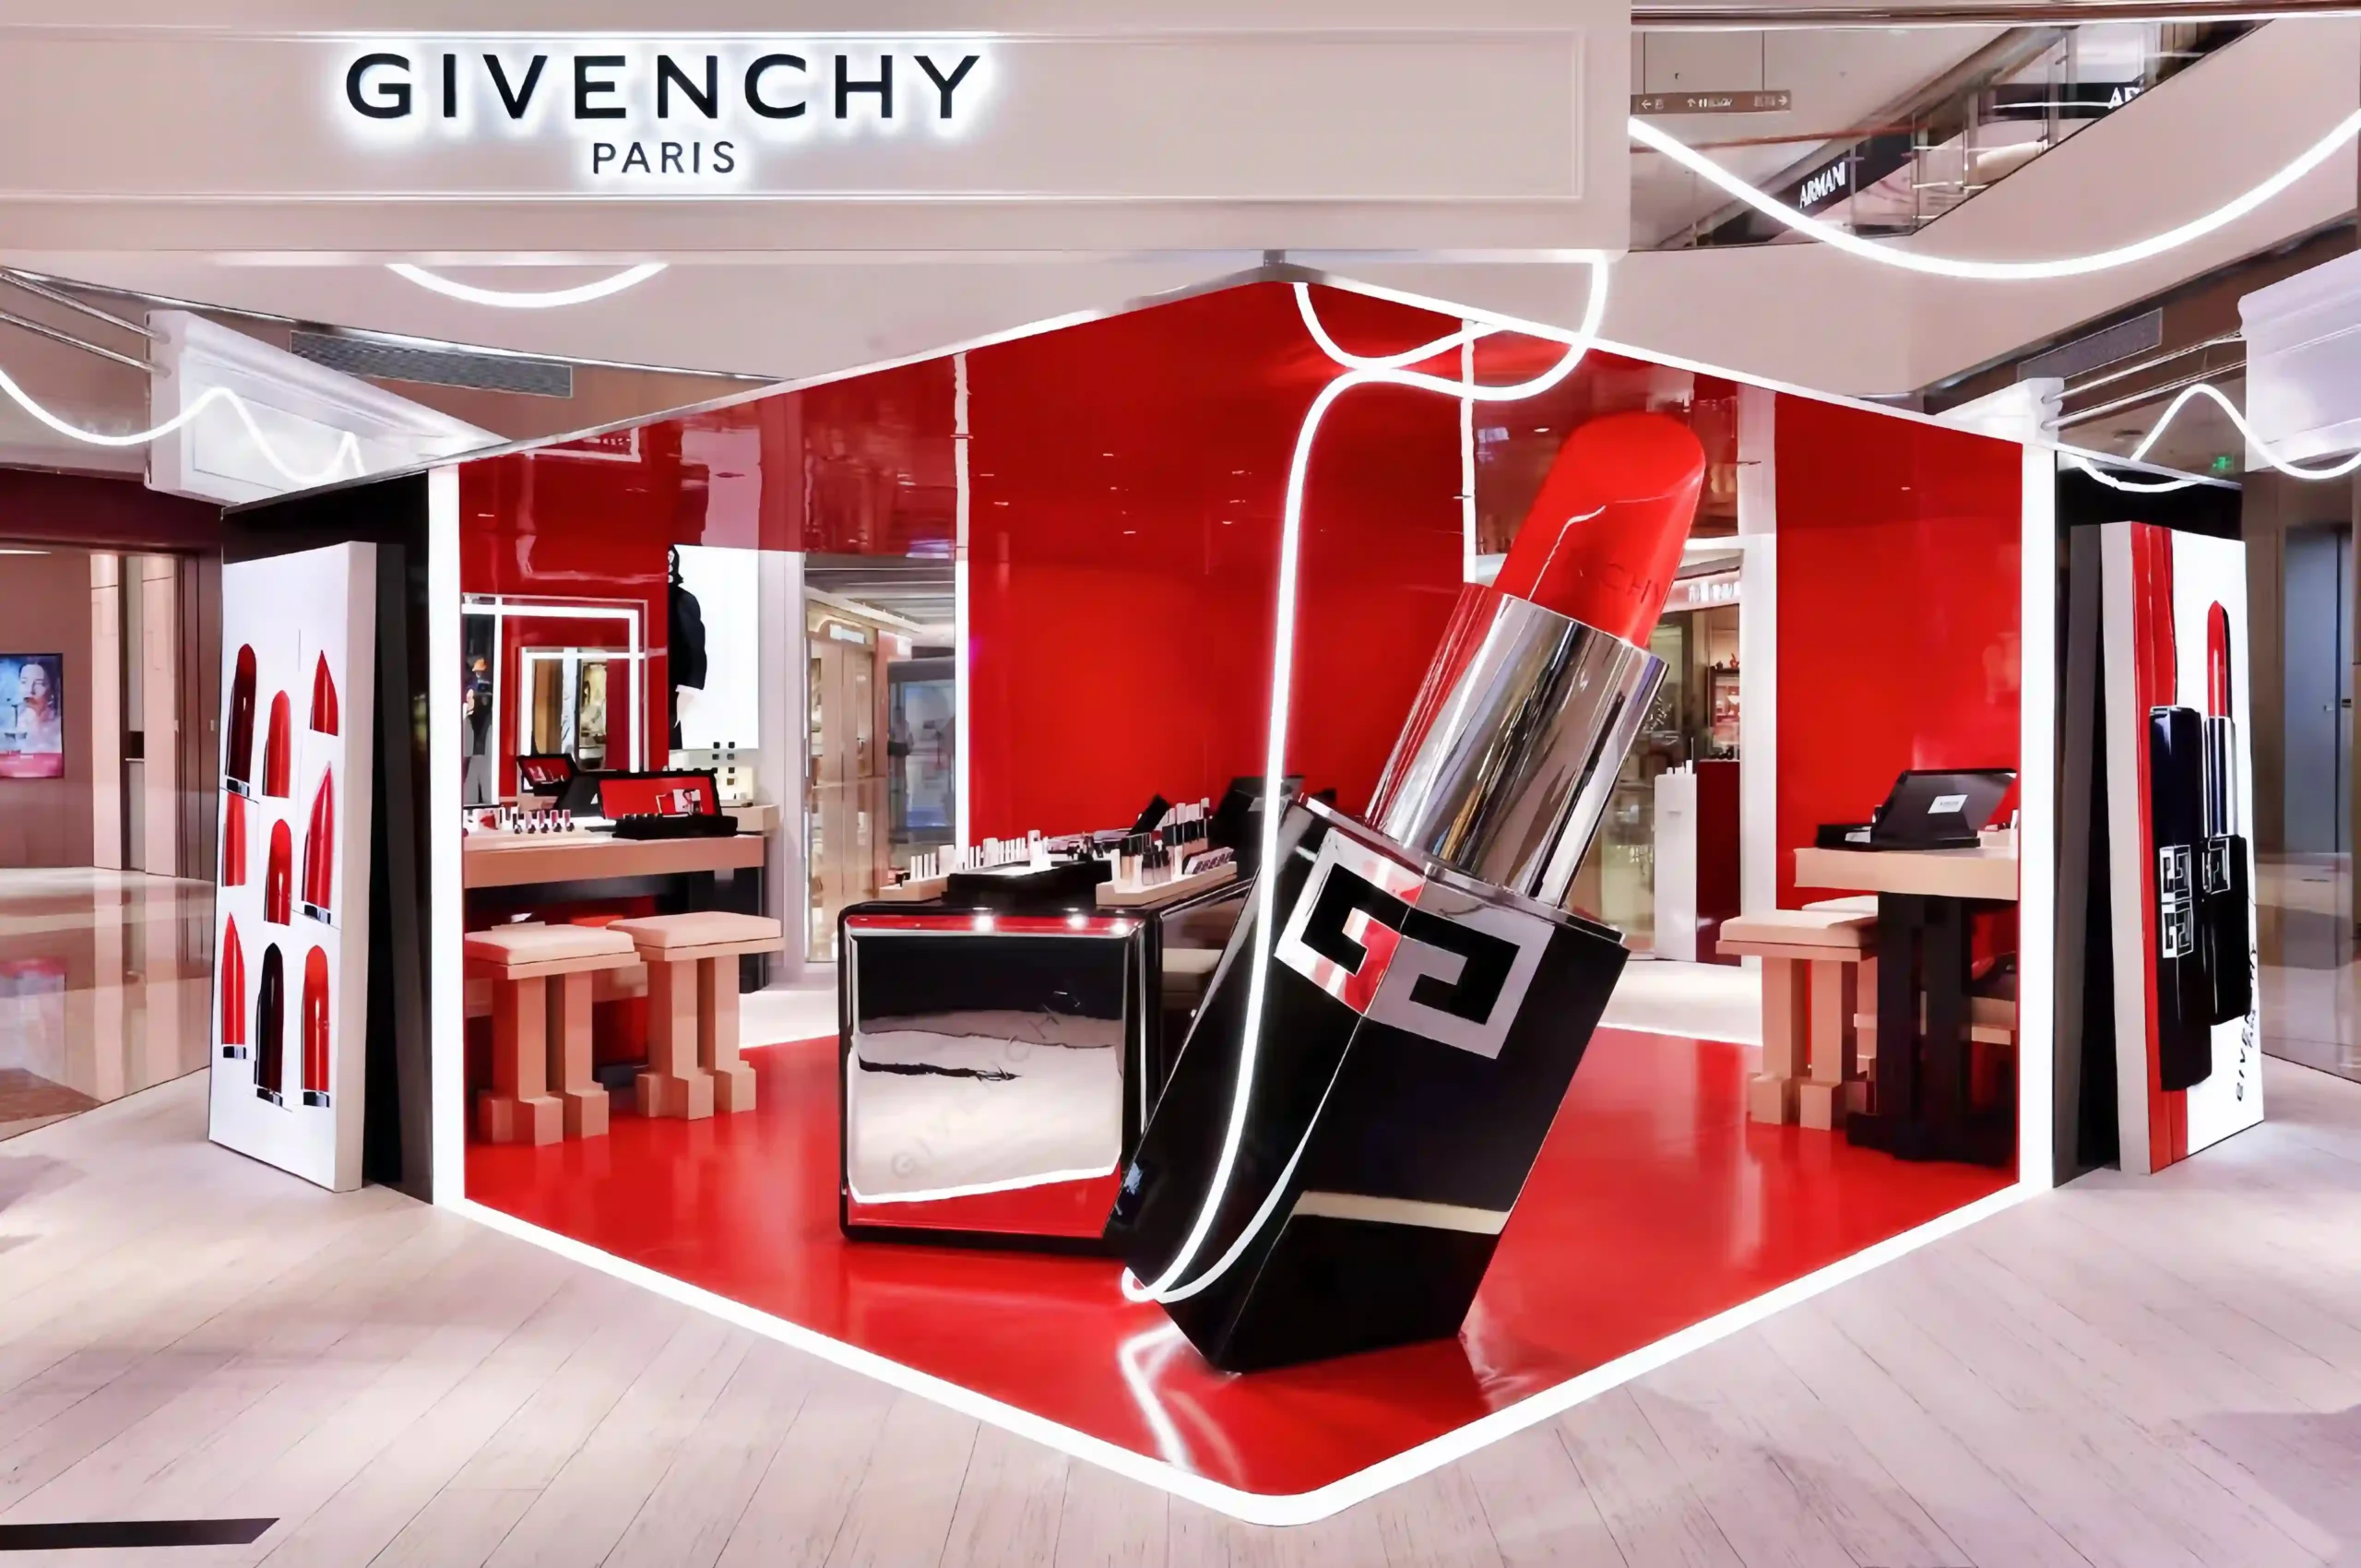
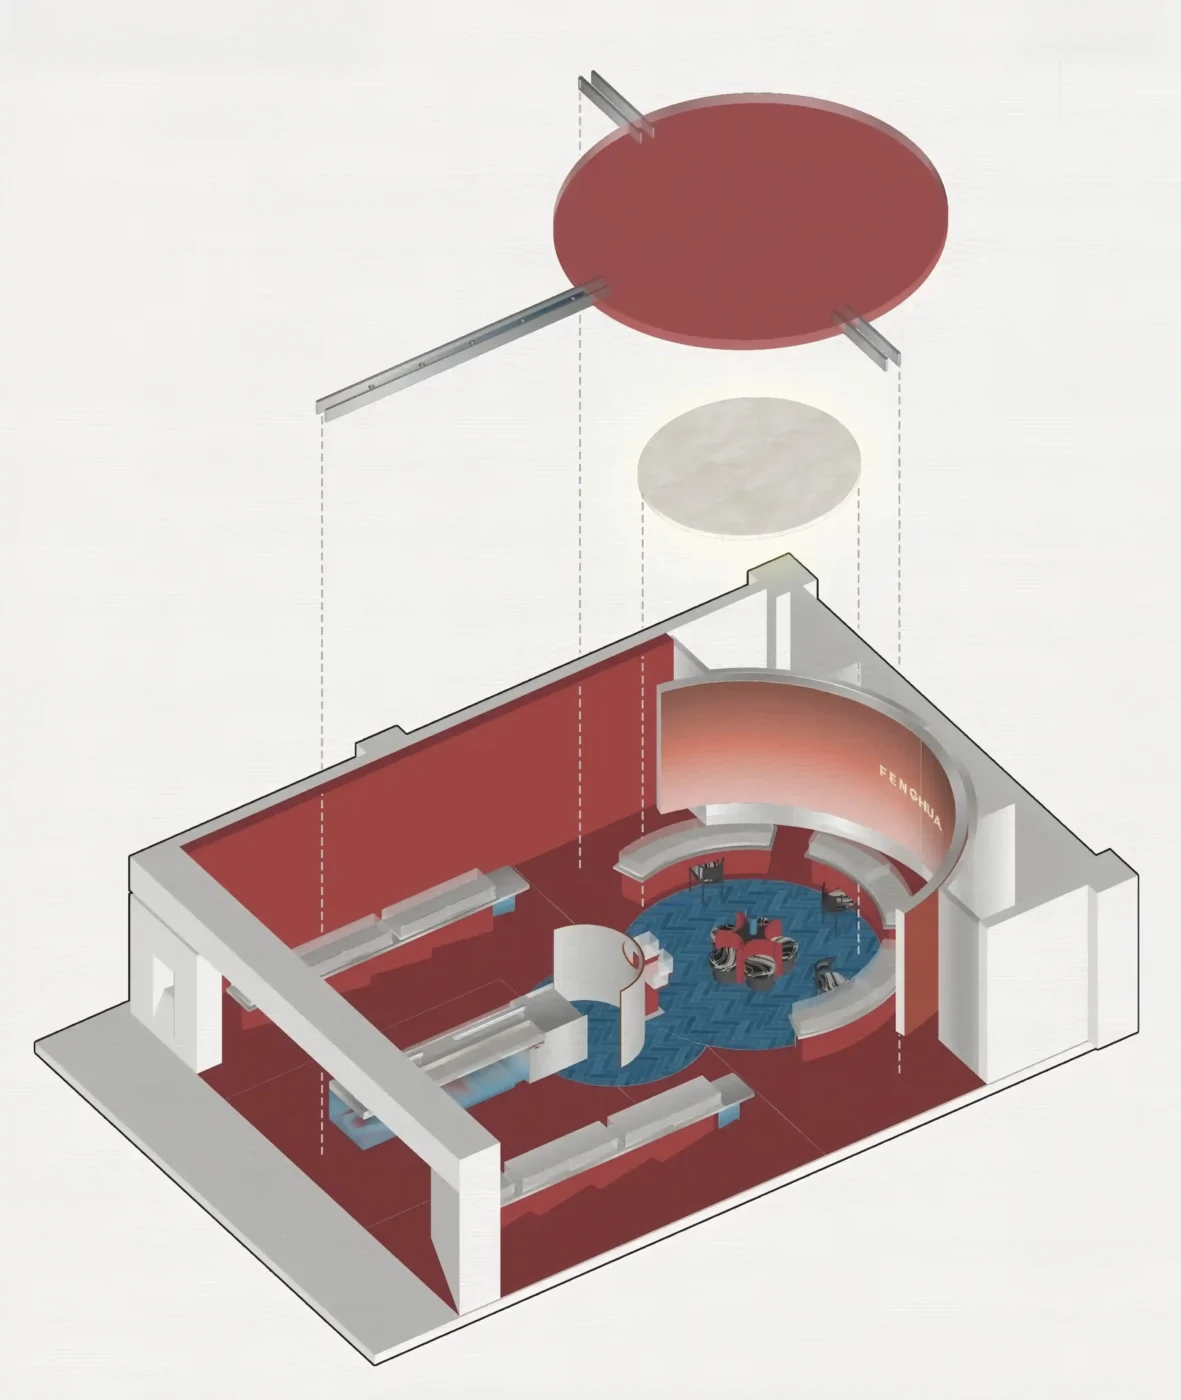
A retail store layout is the strategic floor plan that organizes merchandise, fixtures, aisles, service counters and display areas into a coherent shopping environment. Unlike a simple floor plan — which is primarily an architectural drawing — a layout is a behavioral tool. It shapes how customers move, where they pause, what they notice first, and how long they stay.
The core components of any retail store layout include:
- Entrance and decompression zone — the first 1.5 to 4.5 metres inside the door, where shoppers transition from outside and orient themselves. Research by retail anthropologist Paco Underhill shows that products placed in this zone are frequently overlooked because customers are still adjusting to the new environment.
- Main aisle and traffic flow — the primary pathway that carries the highest foot traffic and determines browsing direction.
- Product zones — defined areas organized by category, price point, season or brand story.
- Display and focal points — locations where visual merchandising elements such as plinths, lightboxes, mannequins and window displays draw the eye and communicate brand narrative.
- Checkout area — positioned to complete the journey logically, often near the exit.
- Back-of-house access — staff corridors, stockrooms and service areas that support the customer-facing layout without interrupting it.
A layout becomes effective when these components are coordinated around a clear set of objectives: guiding customer flow, maximising product visibility, reinforcing brand identity and converting browsers into buyers.
Why Retail Store Layout Matters
Store layout directly influences measurable business outcomes. According to retail industry data, an optimized layout can improve sales by up to 15 percent through better product exposure and customer dwell time. But the impact goes beyond revenue.
Customer flow and dwell time. A layout that guides shoppers smoothly through the space — with logical transitions between zones — increases the time they spend browsing. More dwell time means more product interactions and a higher likelihood of purchase.
Product exposure. Where products sit relative to the main traffic path determines whether they get noticed. High-margin items placed along primary sightlines or at focal points consistently outperform products tucked into low-traffic corners.
Brand perception. For premium and luxury retailers, the layout itself communicates brand values. A spacious, curated free-flow layout with generous negative space signals exclusivity, while a dense grid layout suggests volume and value. The layout is not decorating — it is brand strategy expressed in square metres.
Conversion support. Effective store layouts create natural “speed bumps” — deliberate moments of pause built through display focal points, product storytelling installations, or cross-merchandising clusters — that interrupt autopilot browsing and trigger purchase consideration.
For visual merchandising professionals, understanding the store layout is essential before proposing any display scheme. A window display concept, a seasonal installation or a product launch fixture only performs when it aligns with the layout’s traffic logic and spatial hierarchy.
Main Types of Retail Store Layout
Different store categories favour different layout types based on their product range, customer behaviour and brand positioning. The five most common retail store layouts are outlined below.
Grid Store Layout
The grid layout uses parallel aisles arranged in a uniform pattern to create a highly structured shopping environment. Shelving runs perpendicular to the store’s main wall, forming rows that customers walk between. It is the most space-efficient layout and maximizes the linear metres of display surface available.
This layout is standard in supermarkets, convenience stores, pharmacies and general merchandise retailers. Customers familiar with the grid format can navigate quickly, locate specific categories and complete routine shopping trips with minimal friction. However, the grid format offers limited opportunities for experiential storytelling, which makes it less suitable for brands seeking an immersive or emotionally driven shopping experience.
Loop Store Layout
The loop layout — also called a racetrack layout — creates a single defined pathway that guides customers in a circuit through the entire store. It offers strong control over traffic flow and ensures that shoppers are exposed to a wide range of merchandise as they follow the path.
This format works well for department stores, home furnishing retailers and lifestyle brands that benefit from sequential product storytelling. The loop layout gives visual merchandising teams clear “chapter” moments along the route where seasonal displays, brand stories and promotional installations can be placed at predictable intervals.
Free-Flow Store Layout
The free-flow layout removes fixed aisles and rigid pathways. Instead, it uses freestanding fixtures, display tables, plinths and sculptural elements to create an open, exploratory environment. Customers wander organically rather than following a prescribed route.
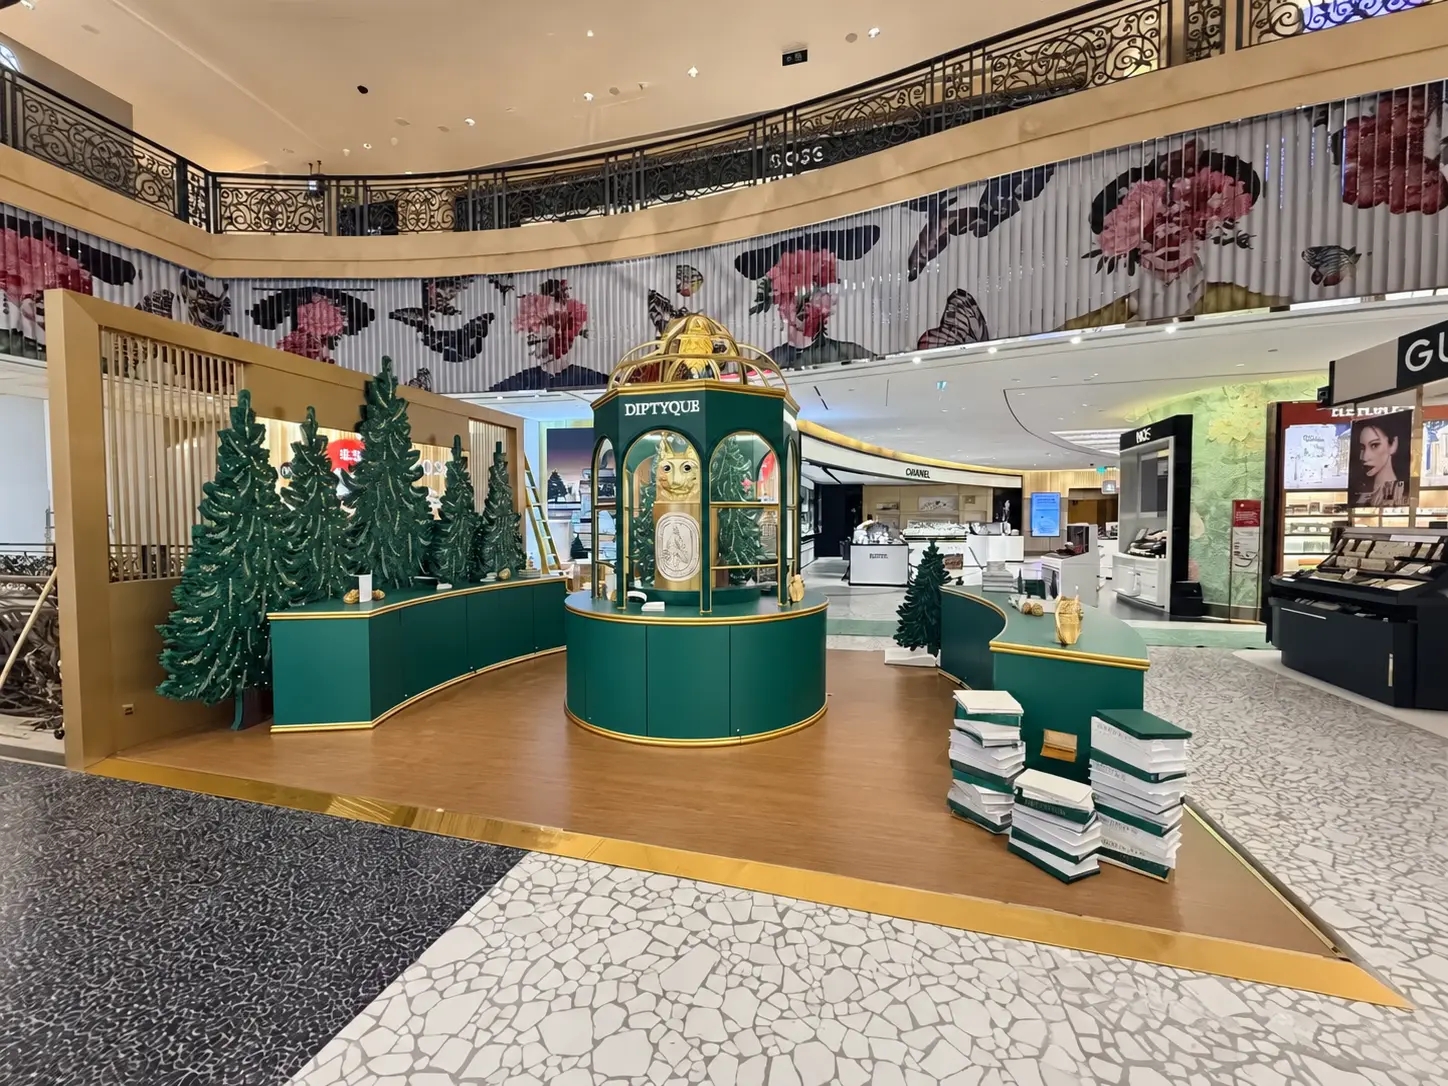
Fashion boutiques, luxury brands and lifestyle concept stores favour the free-flow format because it supports a curated, gallery-like atmosphere. Negative space becomes a design tool — fewer products on display, wider circulation areas and more room for visual merchandising installations. This is the layout where custom display props have the greatest visual impact, because each piece occupies uncluttered space and commands attention.
Boutique or Gallery Layout
The boutique layout divides the store into distinct zones or “rooms,” each with its own theme, product category or brand story. It functions as a series of curated vignettes within a single retail space, similar to gallery rooms in a museum.
High-end retail, jewellery stores and multi-brand department stores use this format to create differentiated experiences for different product groups. Each zone can have its own fixtures, lighting palette and display language, which gives visual merchandising teams significant creative scope but also demands a higher investment in display props and fixture variety.
Pop-Up Store Layout
Pop-up layouts are temporary, often modular, and designed for rapid installation and removal. Because the store exists for a limited period — typically days to weeks — the layout must communicate the brand story immediately and drive engagement without the luxury of repeat visits.
Pop-up design prioritises bold visual impact, photogenic moments and compressed customer journeys. Fixtures tend to be lightweight, reusable and brand-specific. For a deeper look at how pop-up layouts work, see our guide on what is pop-up design in retail visual merchandising.
Choosing the Right Layout
| Layout Type | Best For | VM Opportunity | Limitation |
|---|---|---|---|
| Grid | High-volume retail, grocery, pharmacy | End-cap displays, aisle signage | Limited storytelling space |
| Loop | Department stores, home furnishing | Sequential campaign moments along the path | Rigid traffic flow |
| Free-flow | Luxury, fashion, lifestyle | Full creative scope for display installations | Requires strong VM to guide movement |
| Boutique | High-end multi-brand, jewellery | Zone-specific display languages | Higher fixture investment |
| Pop-up | Brand launches, seasonal campaigns | Maximum impact, photogenic installations | Temporary, rapid turnaround |
Retail Store Layout and Customer Flow
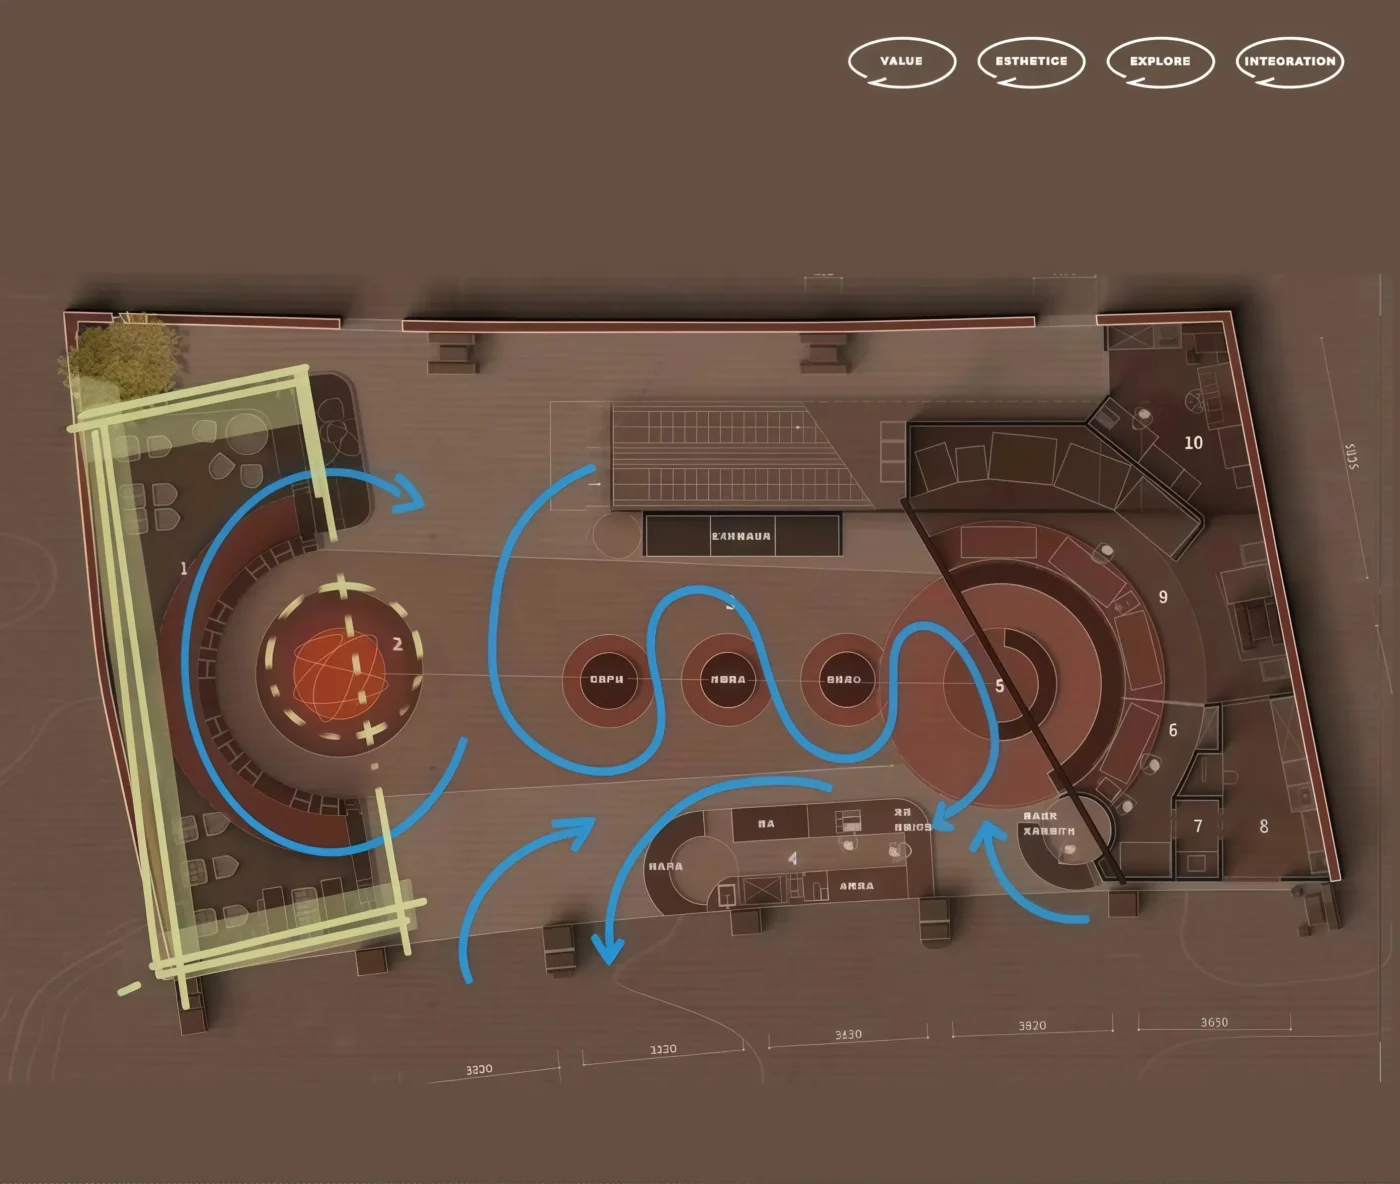
Customer flow refers to the route shoppers take through a store — from the moment they enter to the point they reach checkout or exit. A well-designed retail store layout manages this flow intentionally, rather than leaving it to chance.
Retail behavioural research has consistently identified a natural tendency among shoppers in right-hand-traffic countries to turn right upon entering a store and then circulate counter-clockwise. This pattern — sometimes called “the invariant right” — influences where high-impact displays and key product categories should be placed.
Beyond entry direction, effective customer flow planning considers several factors. Focal points are strategically placed visual anchors — a sculptural display, a hero product on a plinth, a backlit feature wall — that draw the eye and pull shoppers deeper into the store. Pause points are locations where the layout deliberately slows the customer down, typically through a cross-merchandising table or an interactive display, increasing product engagement. Transition zones move customers from one product category or brand story to the next, ideally with a visual cue — a change in lighting, flooring or fixture style — that signals a new chapter.
For visual merchandising teams, understanding customer flow is essential for placement decisions. A beautifully crafted window display loses its impact if it faces a low-traffic zone. A seasonal installation performs best when positioned along the primary traffic path, aligned with the store’s natural circulation rhythm.
How Window Displays Support Store Layout
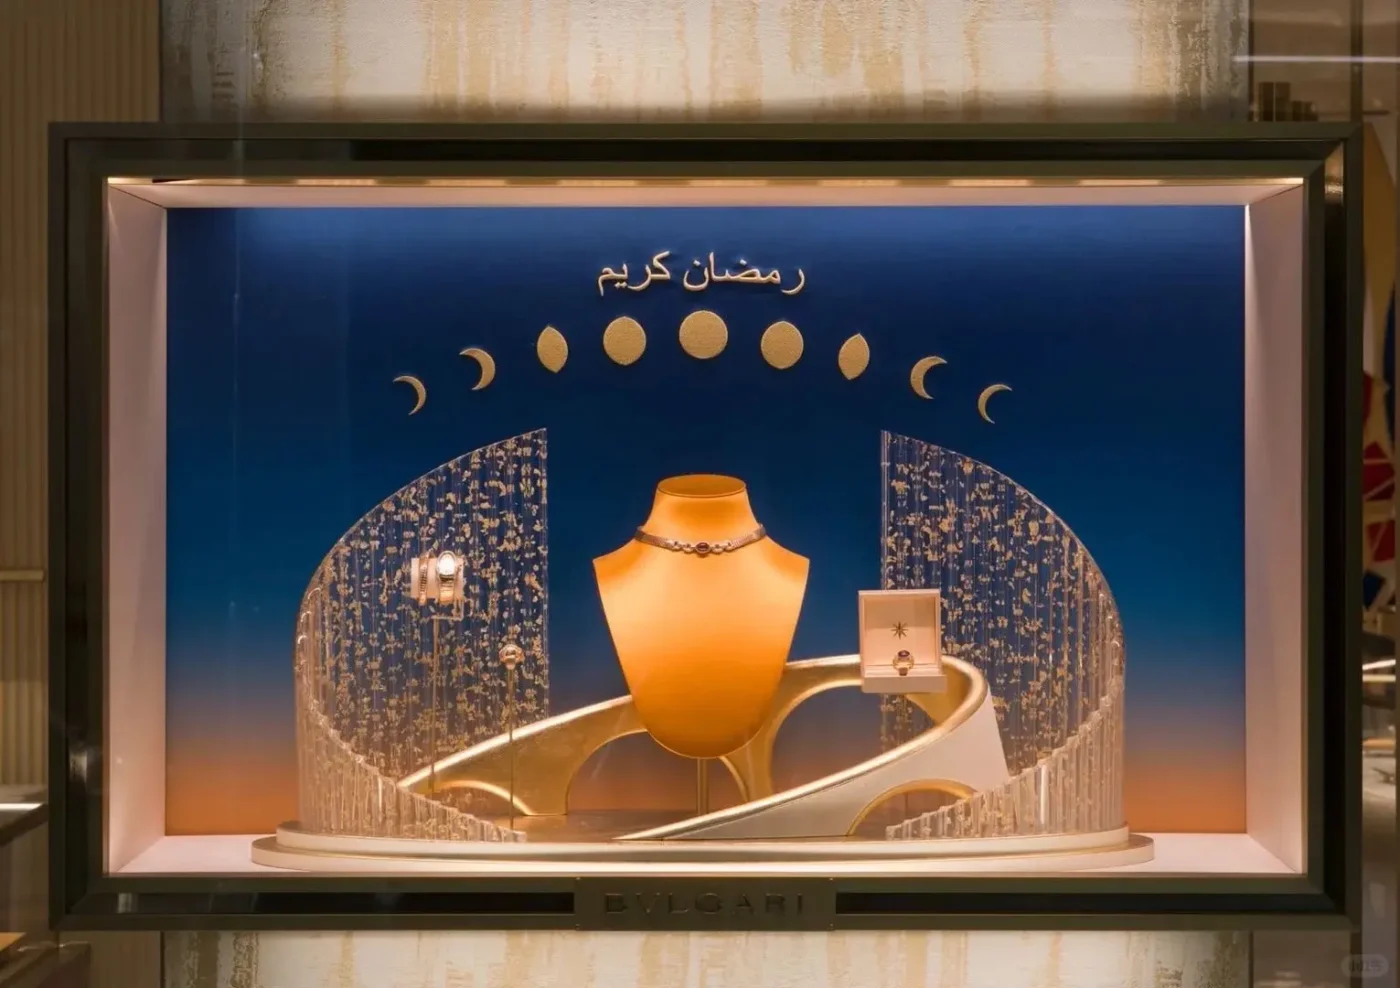
Window displays sit at the intersection of exterior communication and interior layout strategy. A window installation serves two functions simultaneously: it attracts foot traffic from outside the store, and it sets the visual tone for the layout experience inside.
In retail store layout terms, the window zone is the first chapter of the customer journey. A strong window display creates expectation and curiosity — it tells a passing shopper what kind of brand experience awaits inside. For luxury and fashion brands, the window is often the single most important visual element, because it establishes the perceived quality and exclusivity of the entire store before anyone walks through the door.
Effective window displays are designed with the store layout in mind. The transition from window to decompression zone to sales floor should feel like a continuous visual narrative, not a jarring shift. This requires coordination between the window design team, interior VM team and the architectural layout.
For examples of how window displays connect to broader retail strategy, see our collection of retail window display ideas and examples.
Display Props and Fixtures in Retail Store Layout
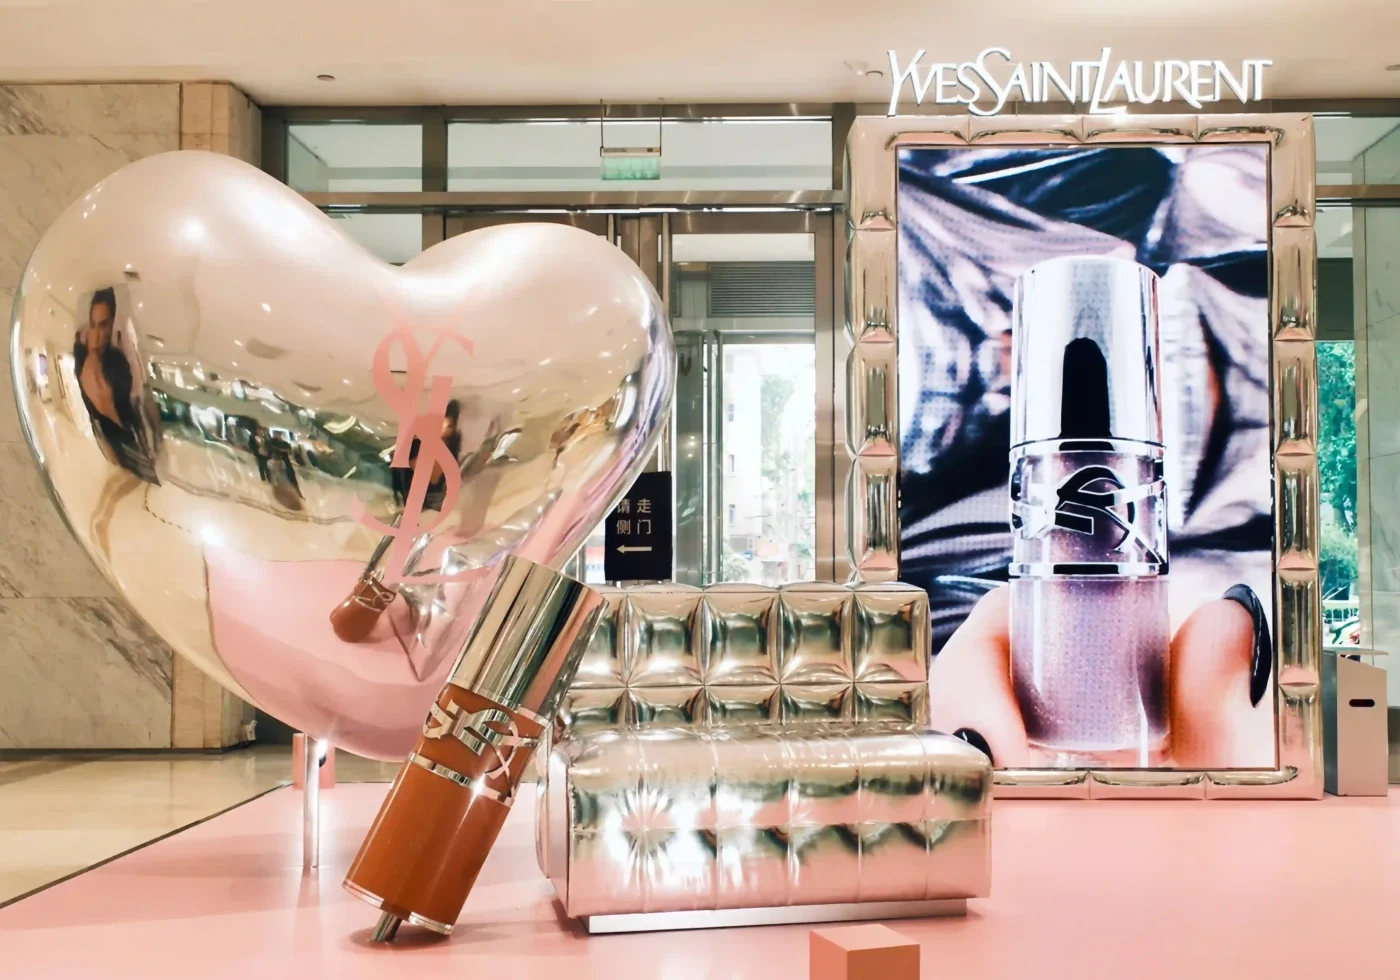
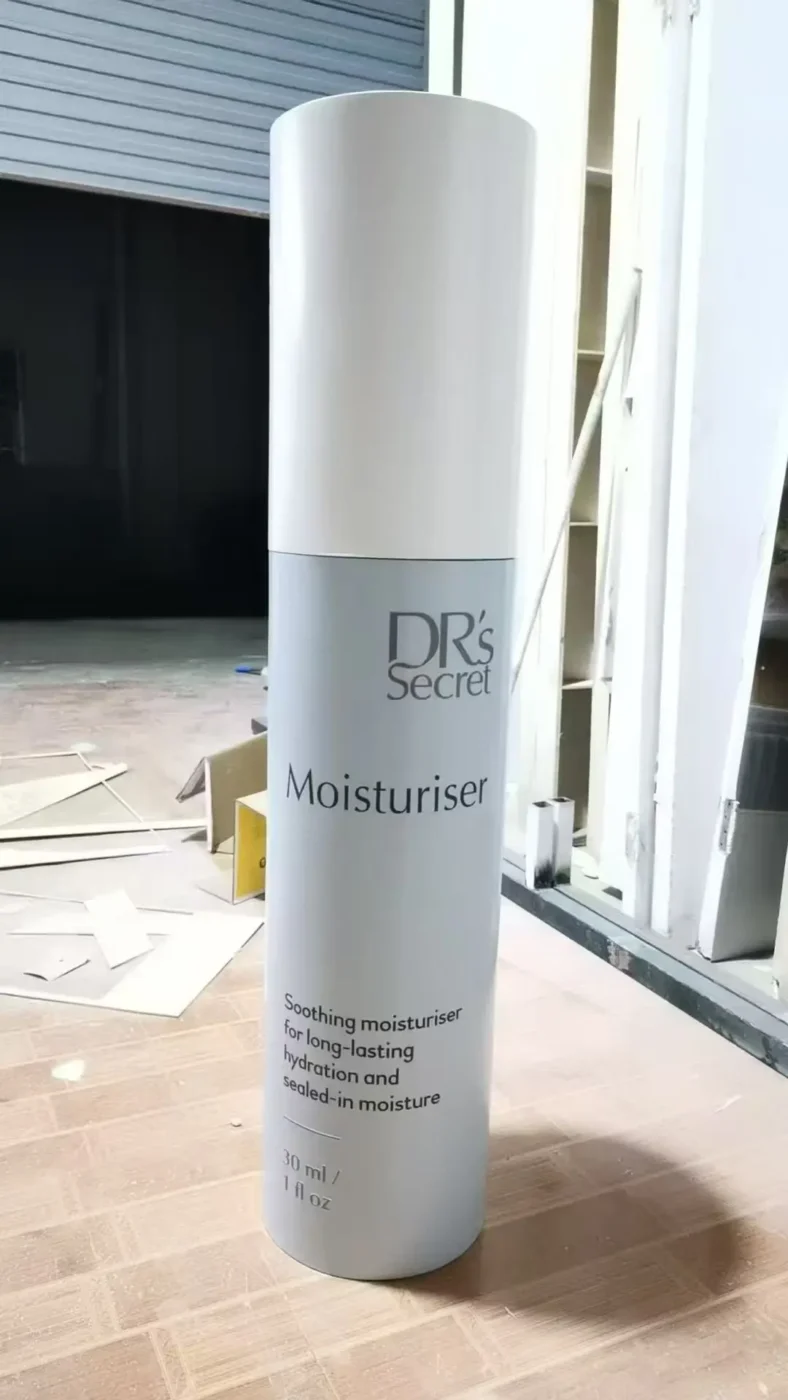
Display props and fixtures are the physical elements that bring a retail store layout to life. While the layout defines where things go, props and fixtures define how products are presented, elevated and framed within those spatial zones.
The most common display elements used within retail store layouts include:
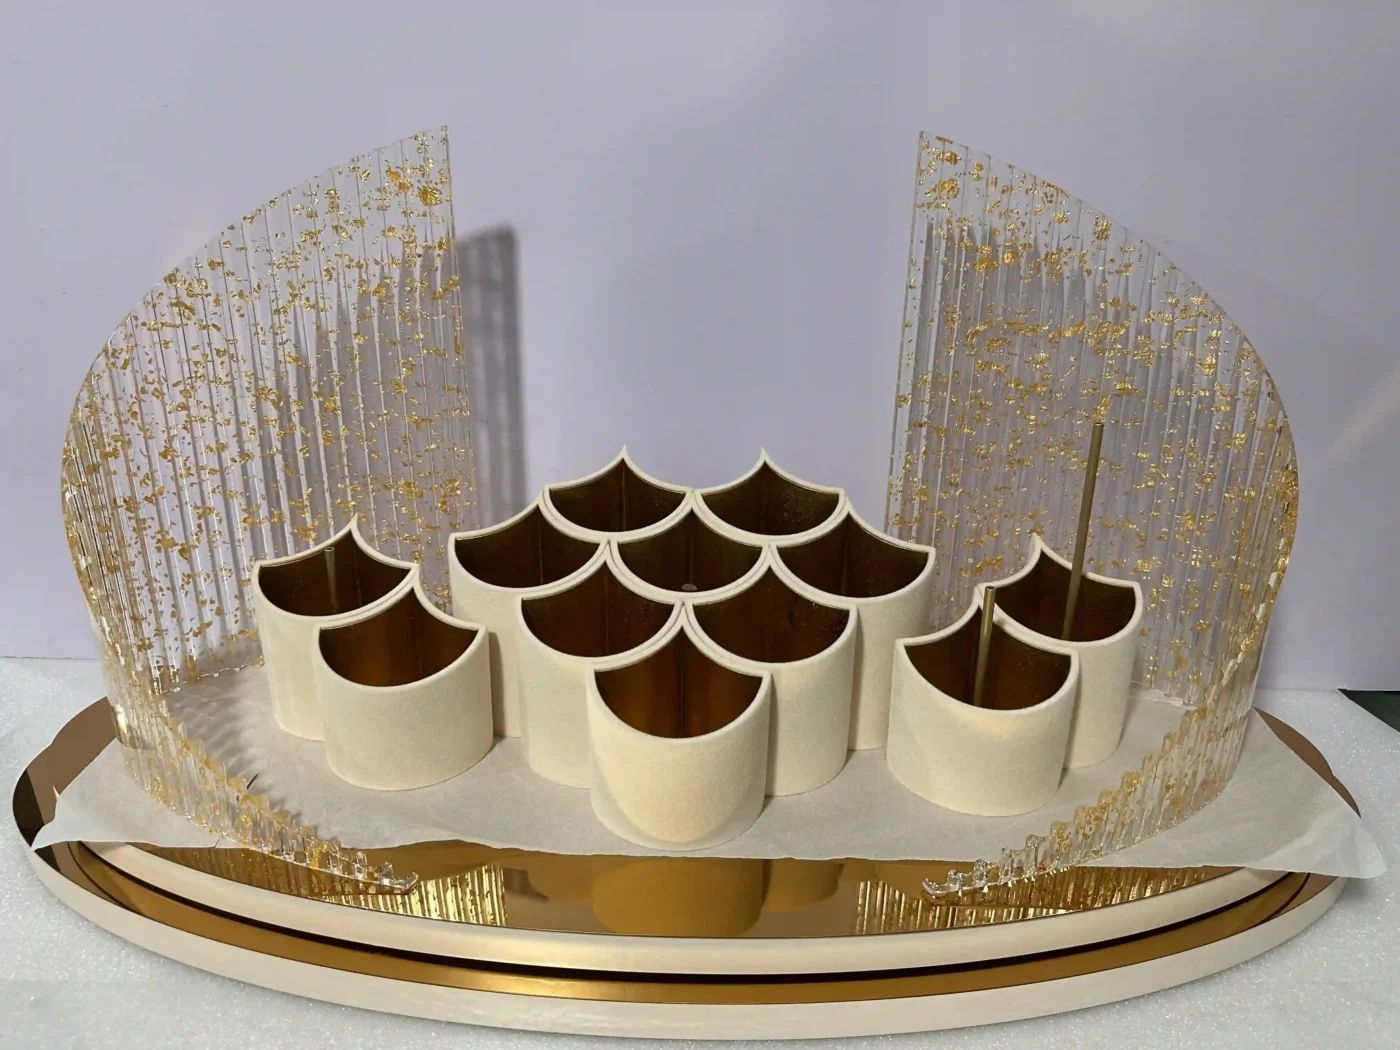
- Plinths and pedestals — raised surfaces that elevate individual products or small groupings, creating visual hierarchy and drawing attention to hero items.
- Lightboxes — illuminated panels or enclosures that highlight products or brand imagery with controlled lighting, often used in window displays and focal-point walls.
- Backdrops and feature walls — large-scale visual surfaces that define zone identity and set the scene for product storytelling.
- Counter displays and vitrines — glass-enclosed or open-top fixtures for small, high-value items such as jewellery, watches and accessories.
- Signage and wayfinding elements — directional and informational components that support navigation within the layout.
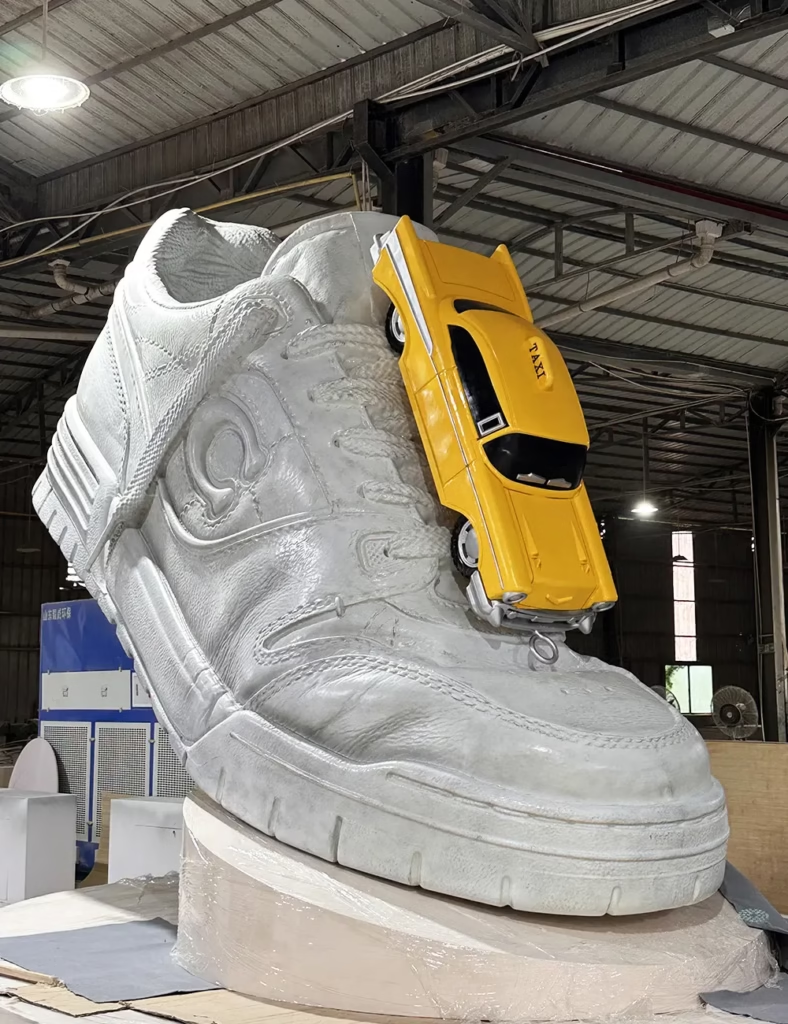
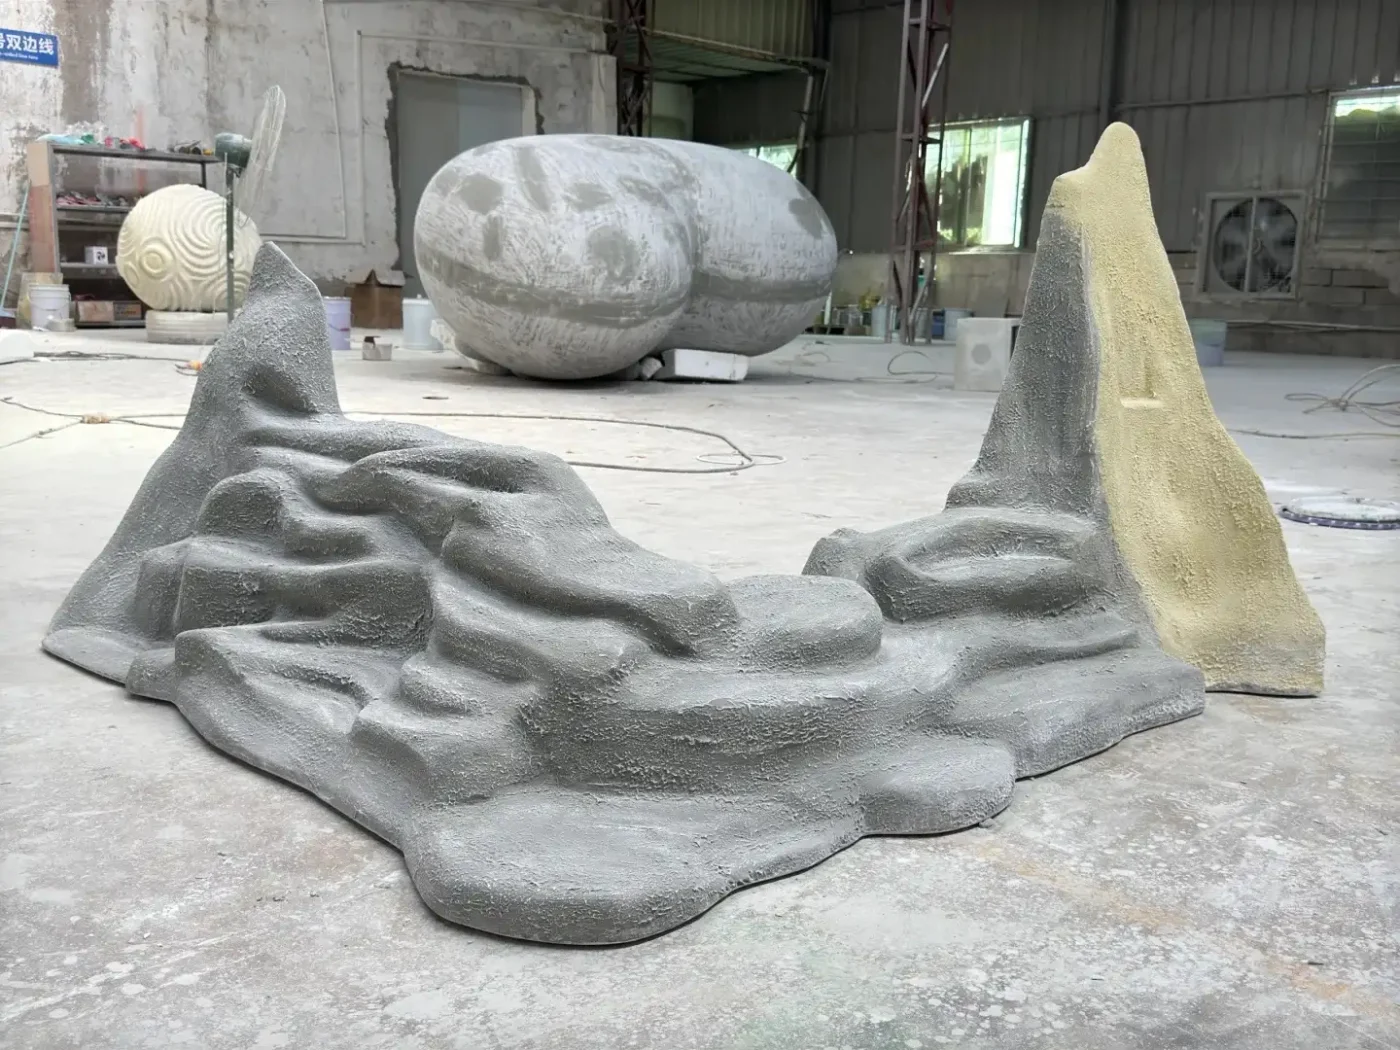
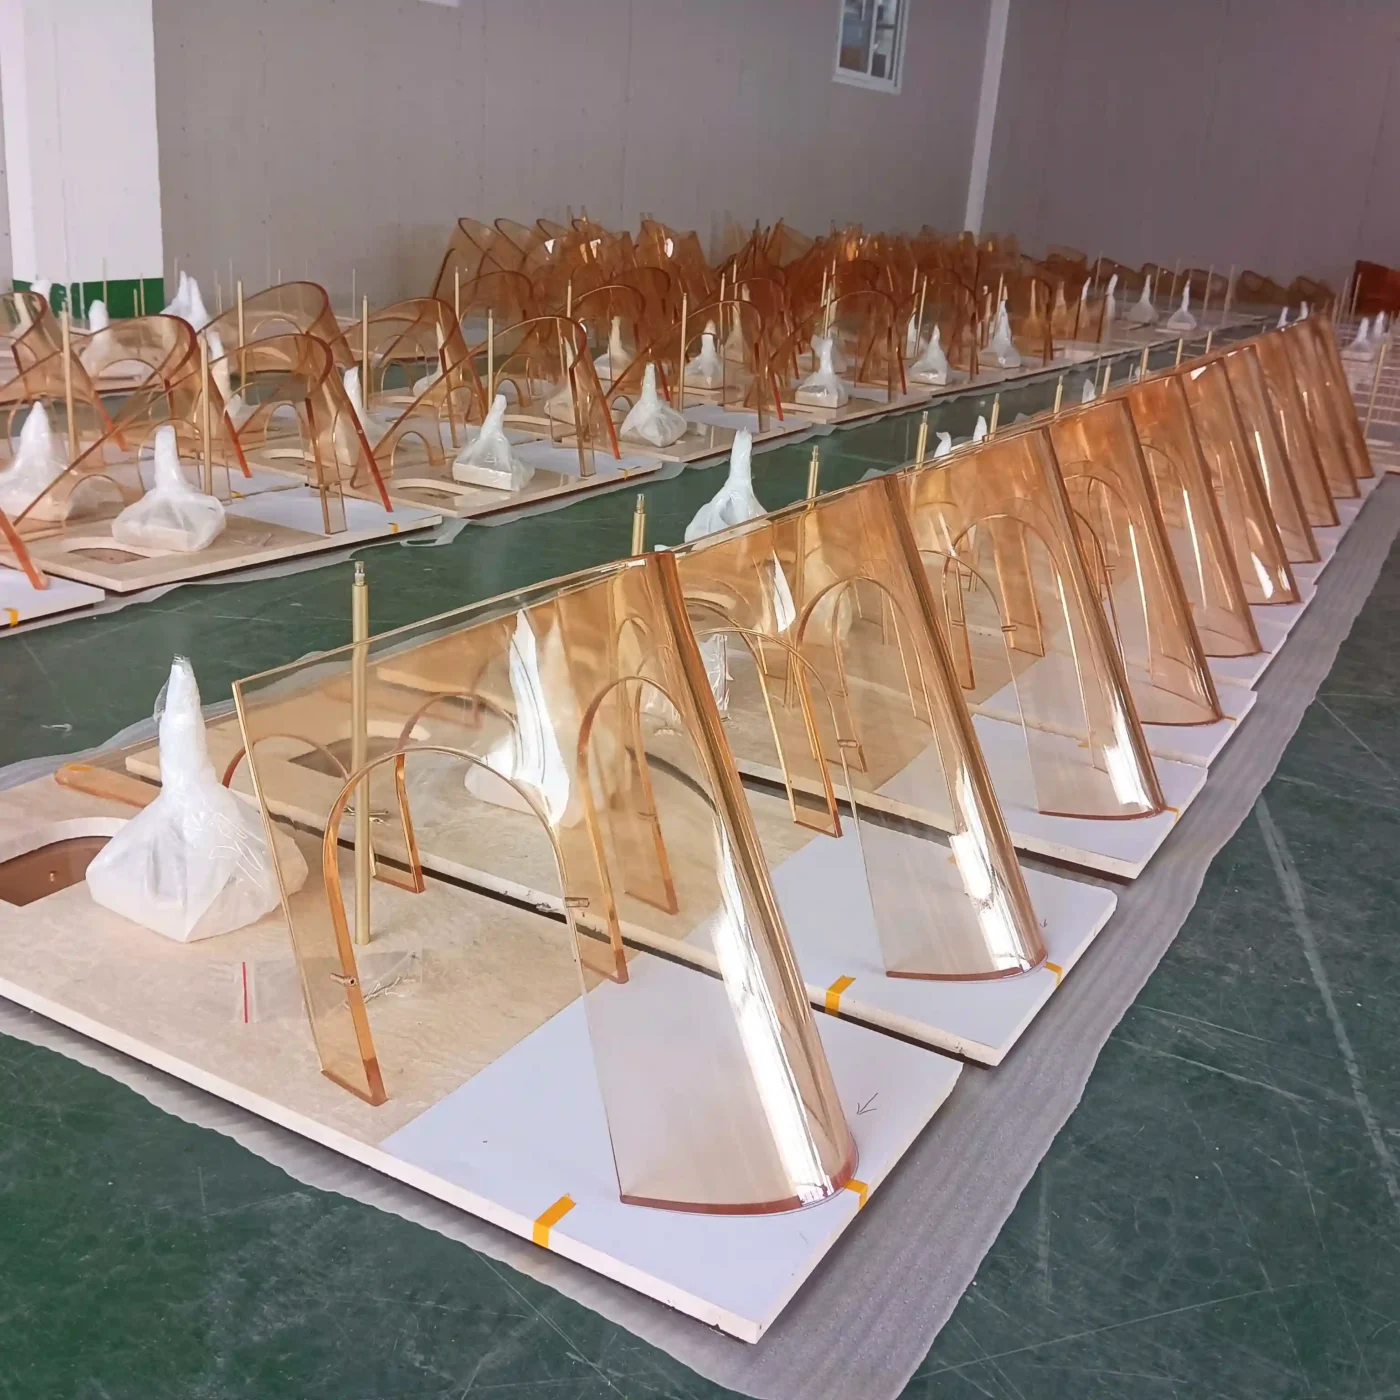
The materials and finish quality of these display elements matter as much as their placement. In premium retail environments, props are typically constructed from materials such as acrylic (PMMA), metal with PVD coating, lacquered MDF, and FRP (fibreglass-reinforced plastic) — each chosen for a specific combination of visual effect, structural strength and production feasibility.
The selection of display props should happen early in the layout planning process, not after the space is built. When props are specified in advance, they can be designed to the exact dimensions, material palette and brand standards the layout requires, avoiding costly retrofitting and compromised visual outcomes.
How to Plan a Retail Store Layout
Planning a retail store layout is a multi-step process that moves from strategic objectives to spatial execution. For visual merchandising teams involved in the planning stage, the following framework provides a practical starting point.
1. Define the layout objective. Begin with the intended customer experience. Is the store designed for rapid self-service, slow exploratory browsing, appointment-based luxury service, or a hybrid? The answer determines which layout type to use and how much space to allocate to circulation versus product display.
2. Map the product hierarchy. Identify hero products, seasonal features, high-margin categories and everyday stock. Assign priority levels that will guide placement decisions — hero items go to focal points, seasonal displays to high-traffic zones, and everyday stock to grid or secondary positions.
3. Plan customer flow. Sketch the intended traffic route from entrance through the store to checkout. Mark focal points, pause points and transition zones. Consider the “invariant right” pattern and place the strongest visual moment early in the journey.
4. Select fixtures and display props. Based on the layout type and product hierarchy, determine what display elements are needed — plinths, lightboxes, vitrines, feature walls, mannequins. Specify materials and finishes at this stage to align with brand standards.
5. Integrate window and exterior displays. Ensure that the window display concept connects visually and narratively to the interior layout. The customer should experience a seamless transition from street to store.
6. Test and adjust. Before final installation, walkthrough the layout from the customer’s perspective. Check sightlines, traffic bottlenecks, lighting balance and whether the visual hierarchy reads clearly from the main pathway.
Common Retail Store Layout Mistakes
Even well-resourced retail teams make avoidable errors in store layout planning. The most frequent issues include:
Cluttered focal points. When too many visual elements compete for attention in the same zone, none of them stand out. Effective focal points use restraint — one hero product, one display prop, one clear message.
Narrow or blocked aisles. Tight circulation paths cause shoppers to feel uncomfortable and leave faster. Industry guidelines recommend a minimum aisle width of 1.2 metres for standard retail, wider for luxury environments where spaciousness is part of the brand experience.
Over-investing in props, under-investing in planning. High-quality display props cannot compensate for poor spatial logic. A beautifully produced plinth placed in a dead zone delivers no return. Planning always comes before production.
Ignoring the decompression zone. Placing key products or promotional displays in the first 1.5 metres inside the entrance wastes them, because shoppers in this zone are not yet receptive.
Treating the layout as permanent. Retail layouts should evolve with seasonal campaigns, product rotations and customer behaviour insights. Building in flexibility — modular fixtures, reconfigurable display zones — protects the investment over time.
Late involvement of display fabricators. When custom display props manufacturing partners join the project after the layout is finalised, there is less room to optimise dimensions, materials and installation logistics. Early collaboration produces better results.
FAQs About Retail Store Layout
What is retail store layout?
Retail store layout is the strategic arrangement of floor space, product zones, customer pathways, fixtures and visual displays inside a physical store. It shapes how customers move through the space, what they see and how they perceive the brand.
Why is store layout important in retail?
Store layout directly affects customer flow, dwell time, product visibility and brand perception. A well-planned layout supports higher conversion rates and a more coherent brand experience. According to industry research, optimised layouts can increase sales performance by up to 15 percent.
What are the main types of retail store layout?
The five most common types are grid, loop (racetrack), free-flow, boutique (gallery) and pop-up layouts. Each suits a different retail category, product mix and customer experience objective.
Which retail store layout is best for luxury brands?
Luxury brands typically use free-flow or boutique layouts that emphasise negative space, curated product presentation and immersive brand storytelling. These layouts allow generous room for high-quality display props, sculptural fixtures and gallery-style visual merchandising installations.
How do window displays affect retail store layout?
Window displays serve as the first touchpoint of the customer journey. They attract foot traffic from outside and set visual expectations for the in-store experience. Effective window displays are designed in coordination with the interior layout to create a seamless brand narrative from street to sales floor.
What display props are used in store layout planning?
Common display props include plinths, pedestals, lightboxes, backdrops, feature walls, vitrines and counter displays. The material and finish quality of these elements — acrylic, PVD-coated metal, lacquered MDF, FRP — should be specified early in the layout planning process to ensure design consistency.
How do you plan a retail store layout for a pop-up shop?
Pop-up layouts prioritise rapid installation, bold visual impact and compressed customer journeys. Fixtures are typically modular and reusable. The layout should communicate the brand story immediately, since pop-up visitors rarely have a second opportunity to return.
When should a display props manufacturer join a store layout project?
As early as possible — ideally during the planning phase when fixture types, materials and dimensions are being specified. Early involvement allows the manufacturer to optimise designs for production feasibility, material sourcing and installation logistics. Waiting until after the layout is finalised often results in compromised quality or missed deadlines.
Need Display Props for a Retail Store Layout?
A good retail store layout becomes easier to execute when display props, fixtures, lightboxes, plinths and window elements are planned early. VM Display helps retail teams turn layout concepts into custom display props, material samples, production drawings and export-ready installations.
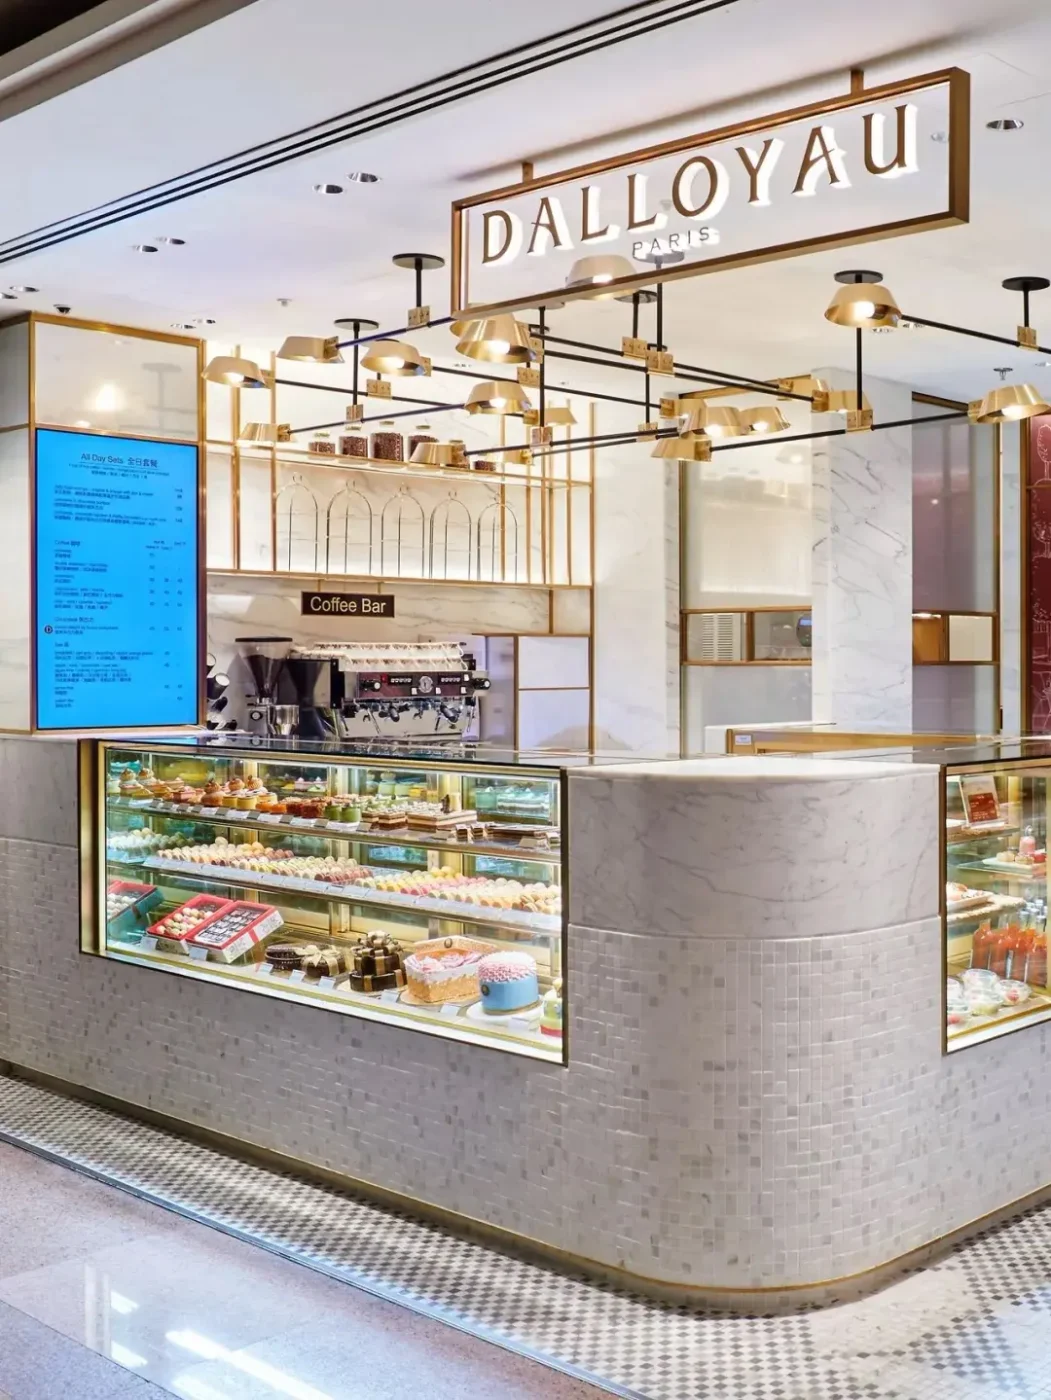
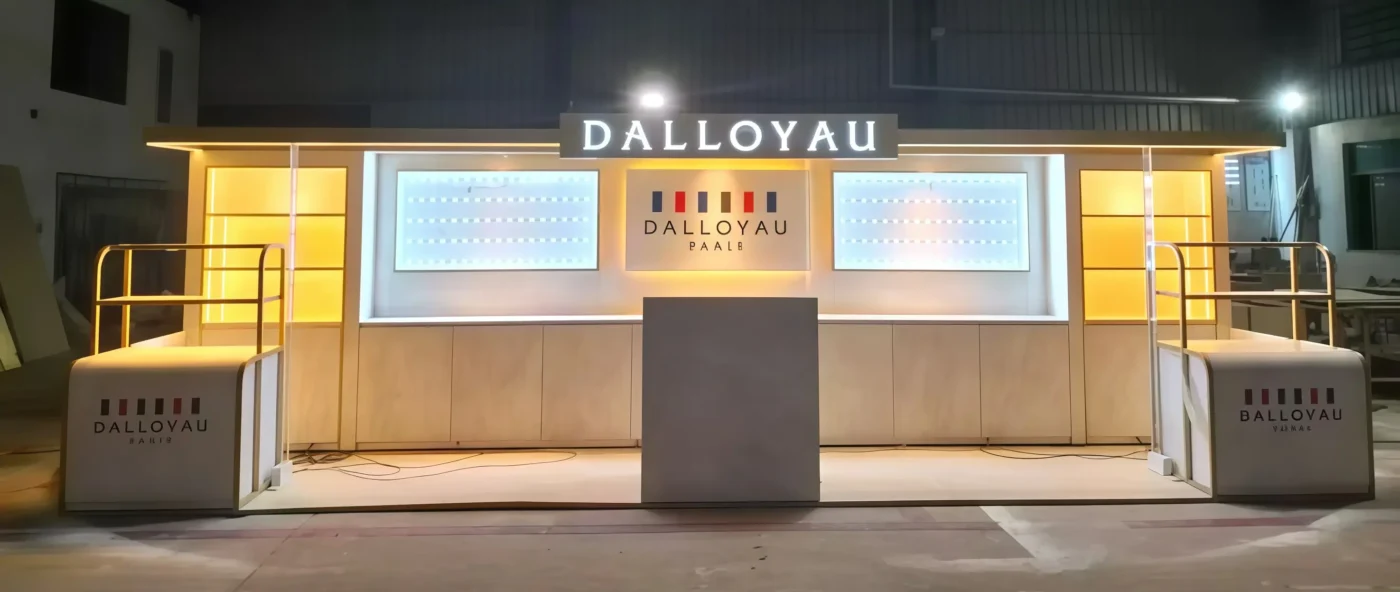
See examples of completed projects in our portfolio, or request a custom display props quote to start a conversation about your next retail layout project.